
AZ00208938

Normal
More than 30 minutes
$14.04
$15.59

Not sure if this is the right part?
Check now

AZ00208938
RV Toilet Valve Kit for Dometic 300 301 310 311 320 321 Toilets
Normal
More than 30 minutes
$14.04
$15.59
Save $1.55
In Stock
Fast delivery
Confirm the fit for your model
Find your model number and check it here to see if the part fits.
Description
Description
RV Toilet Valve Kit for Dometic 300 301 310 311 320 321 Toilets
Key Features
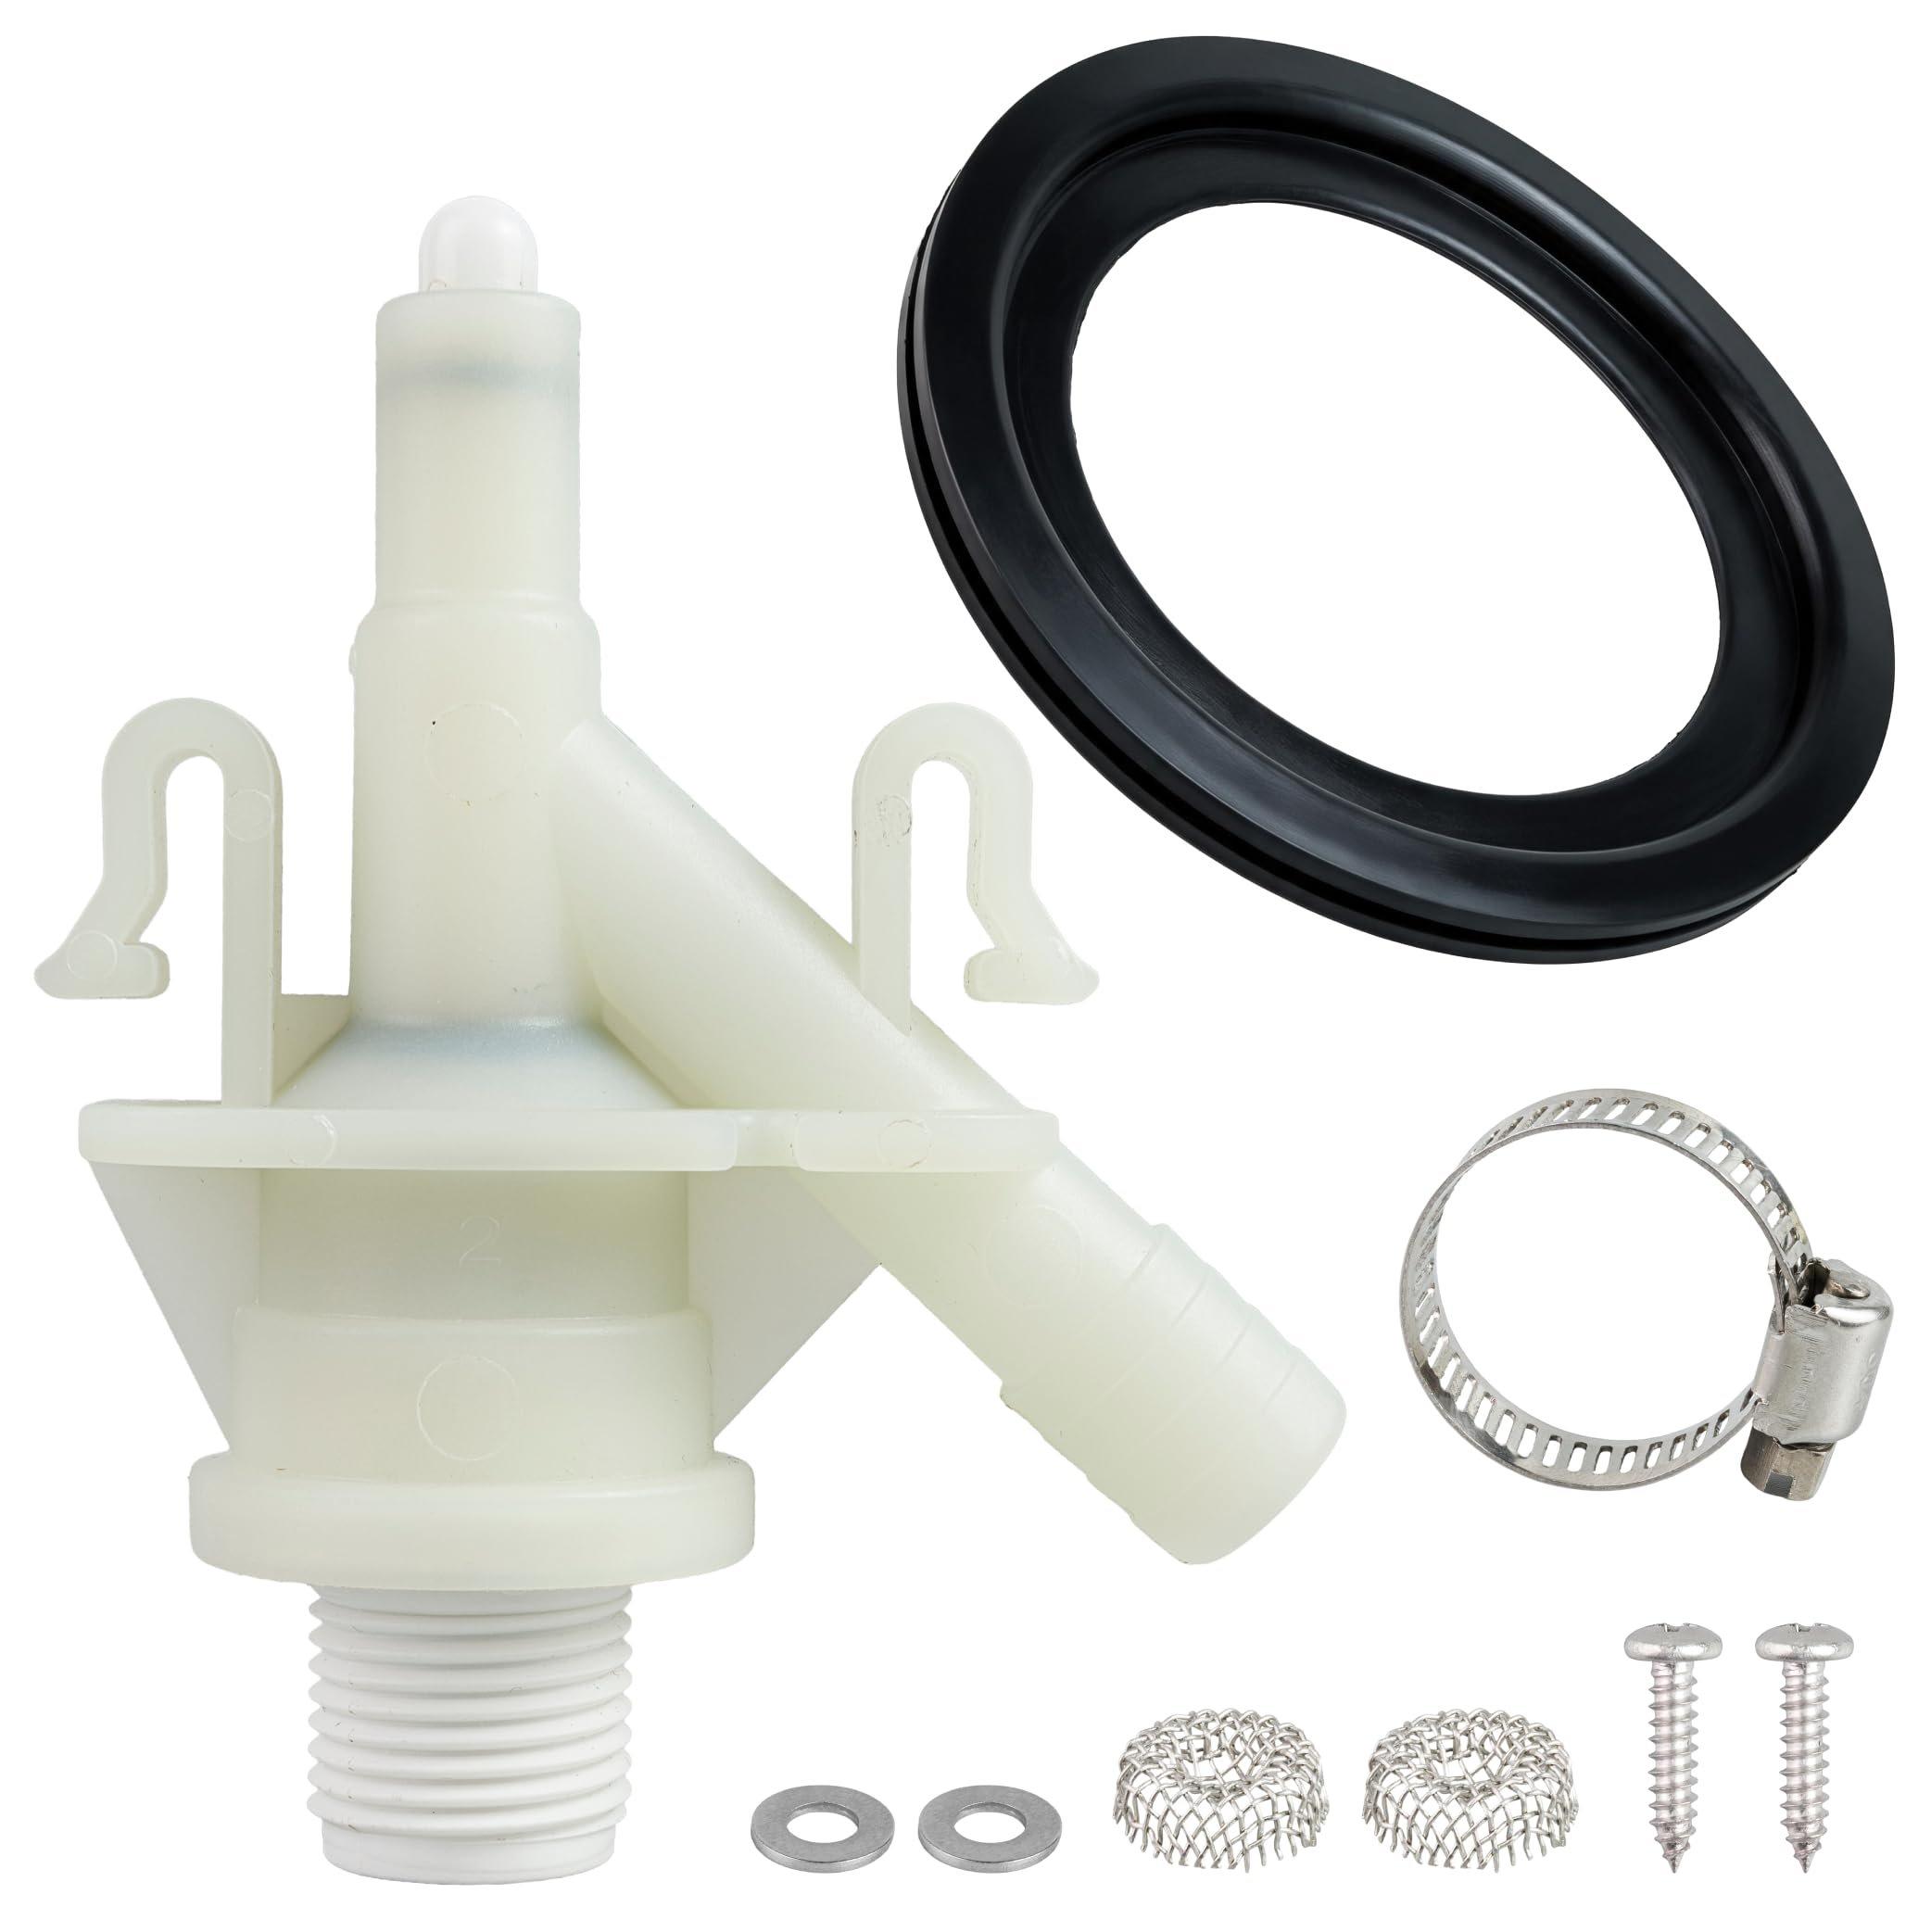
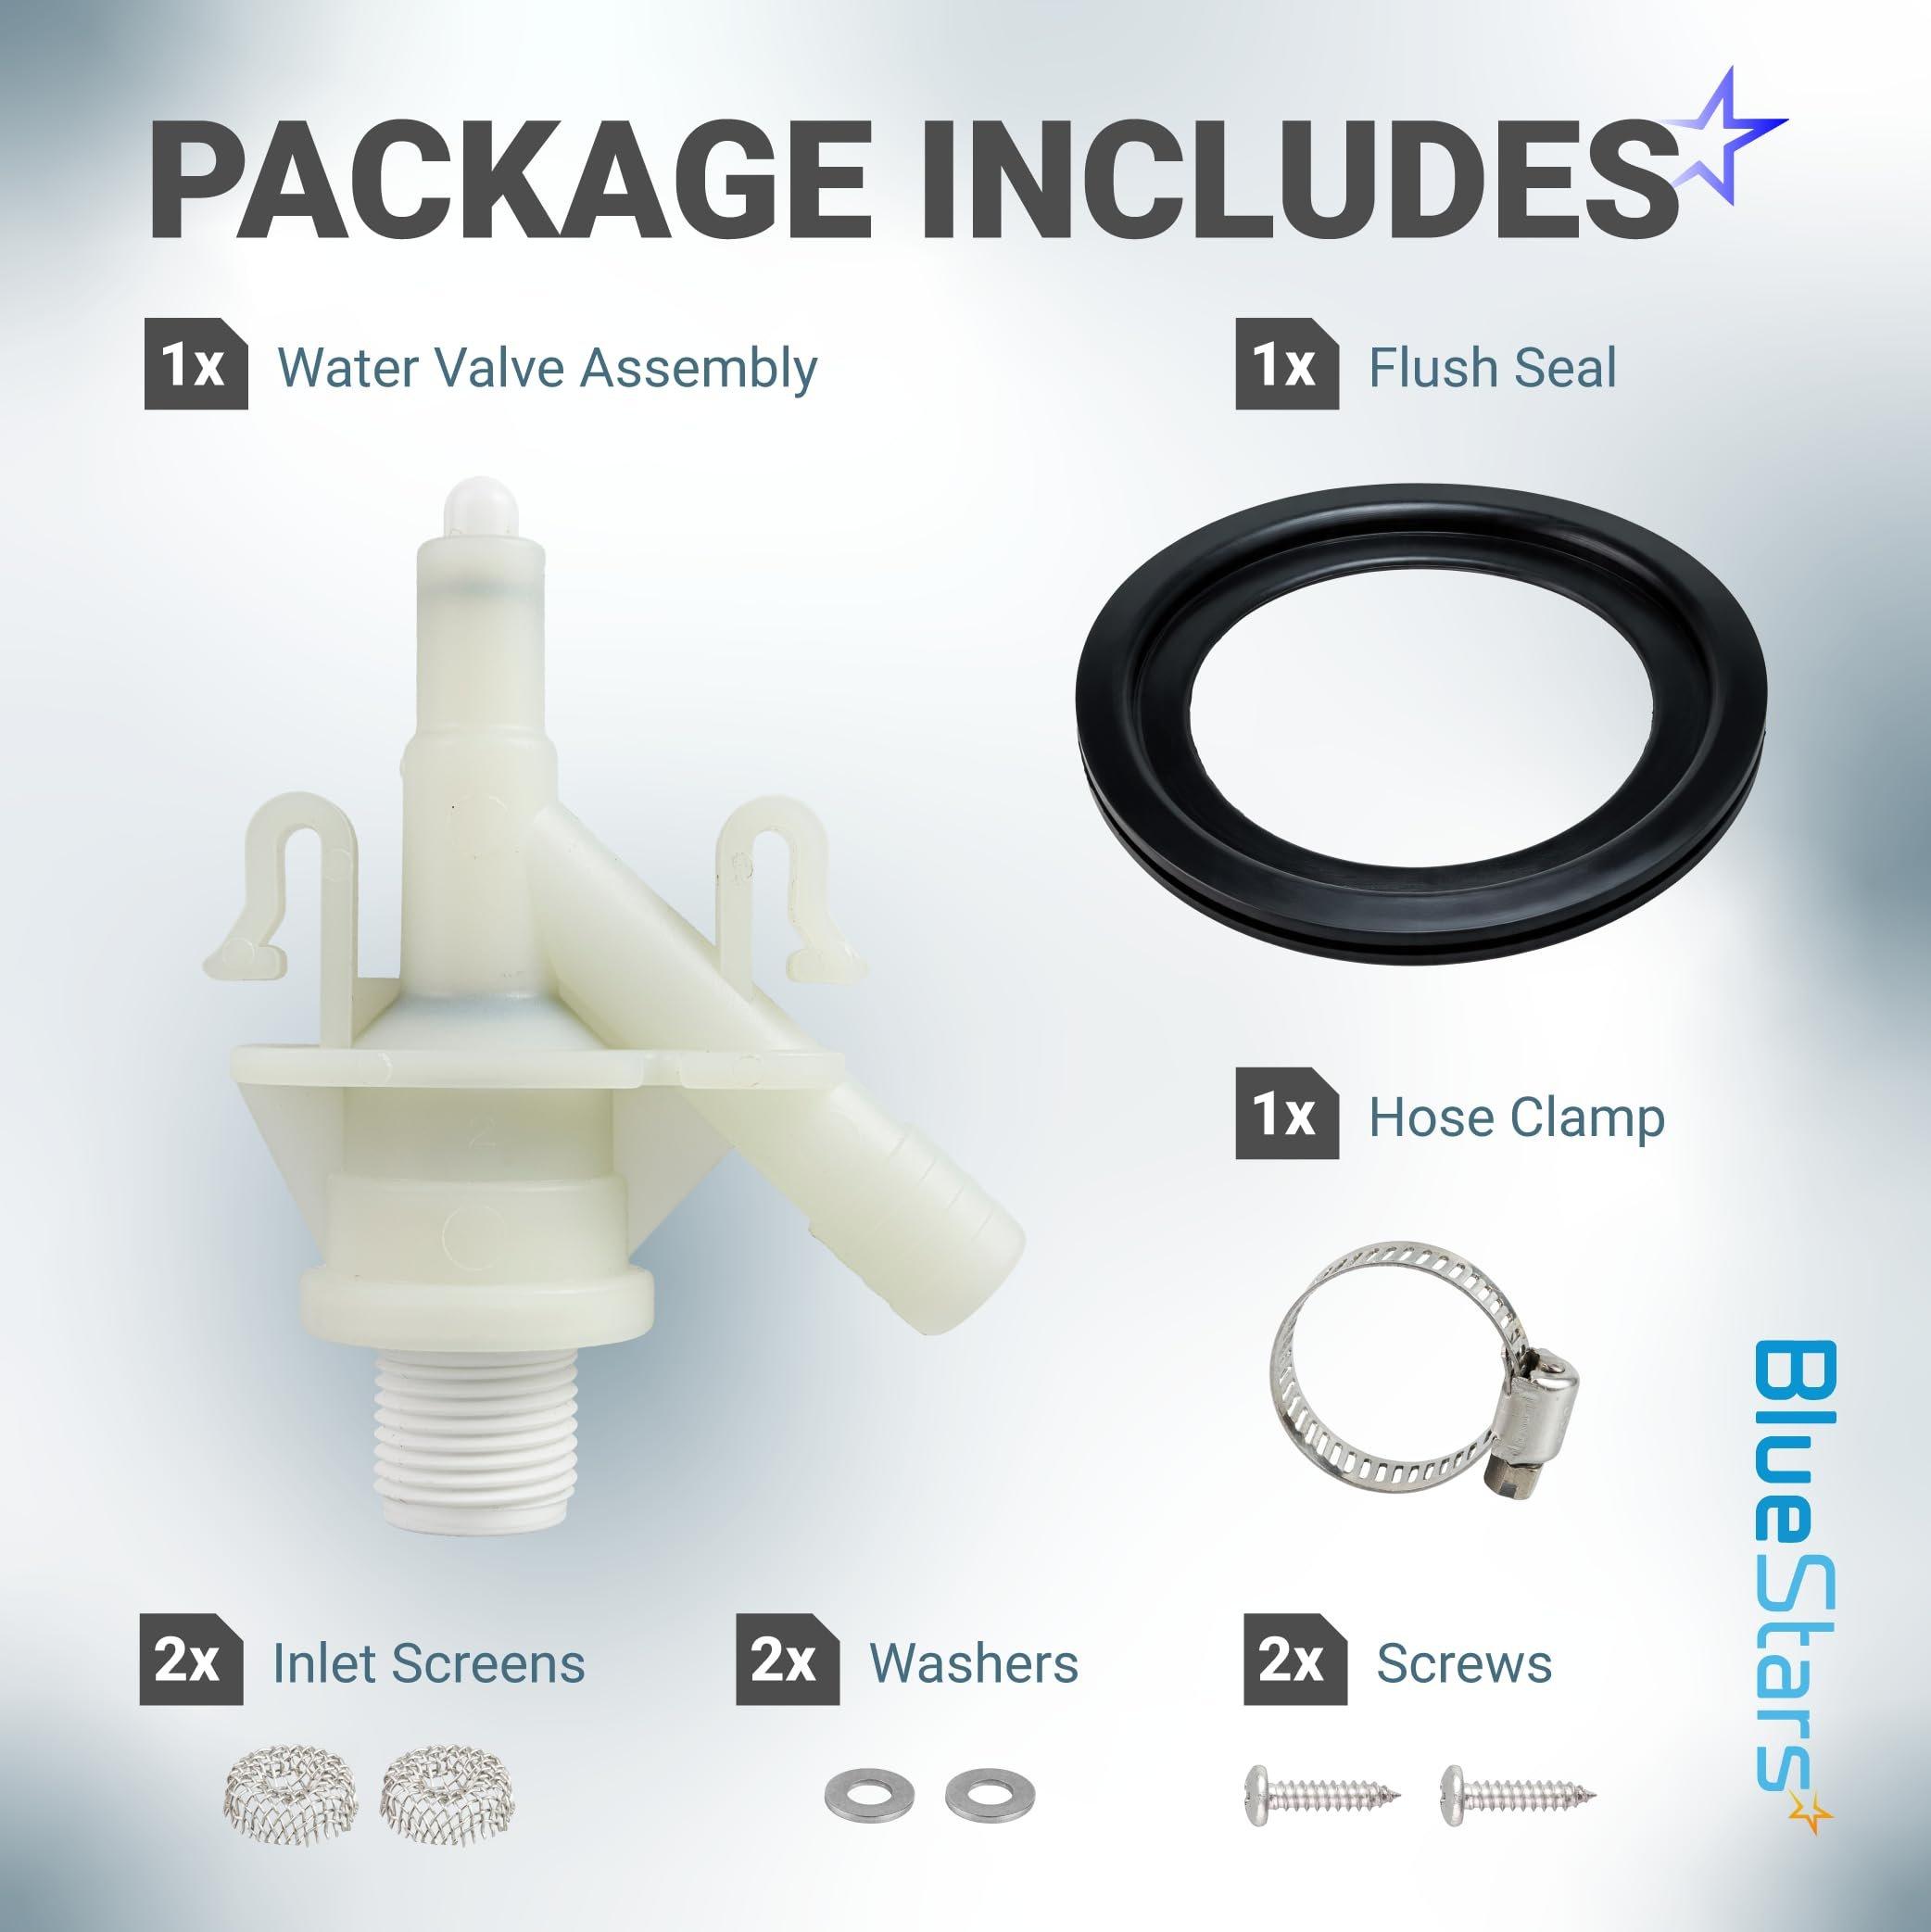
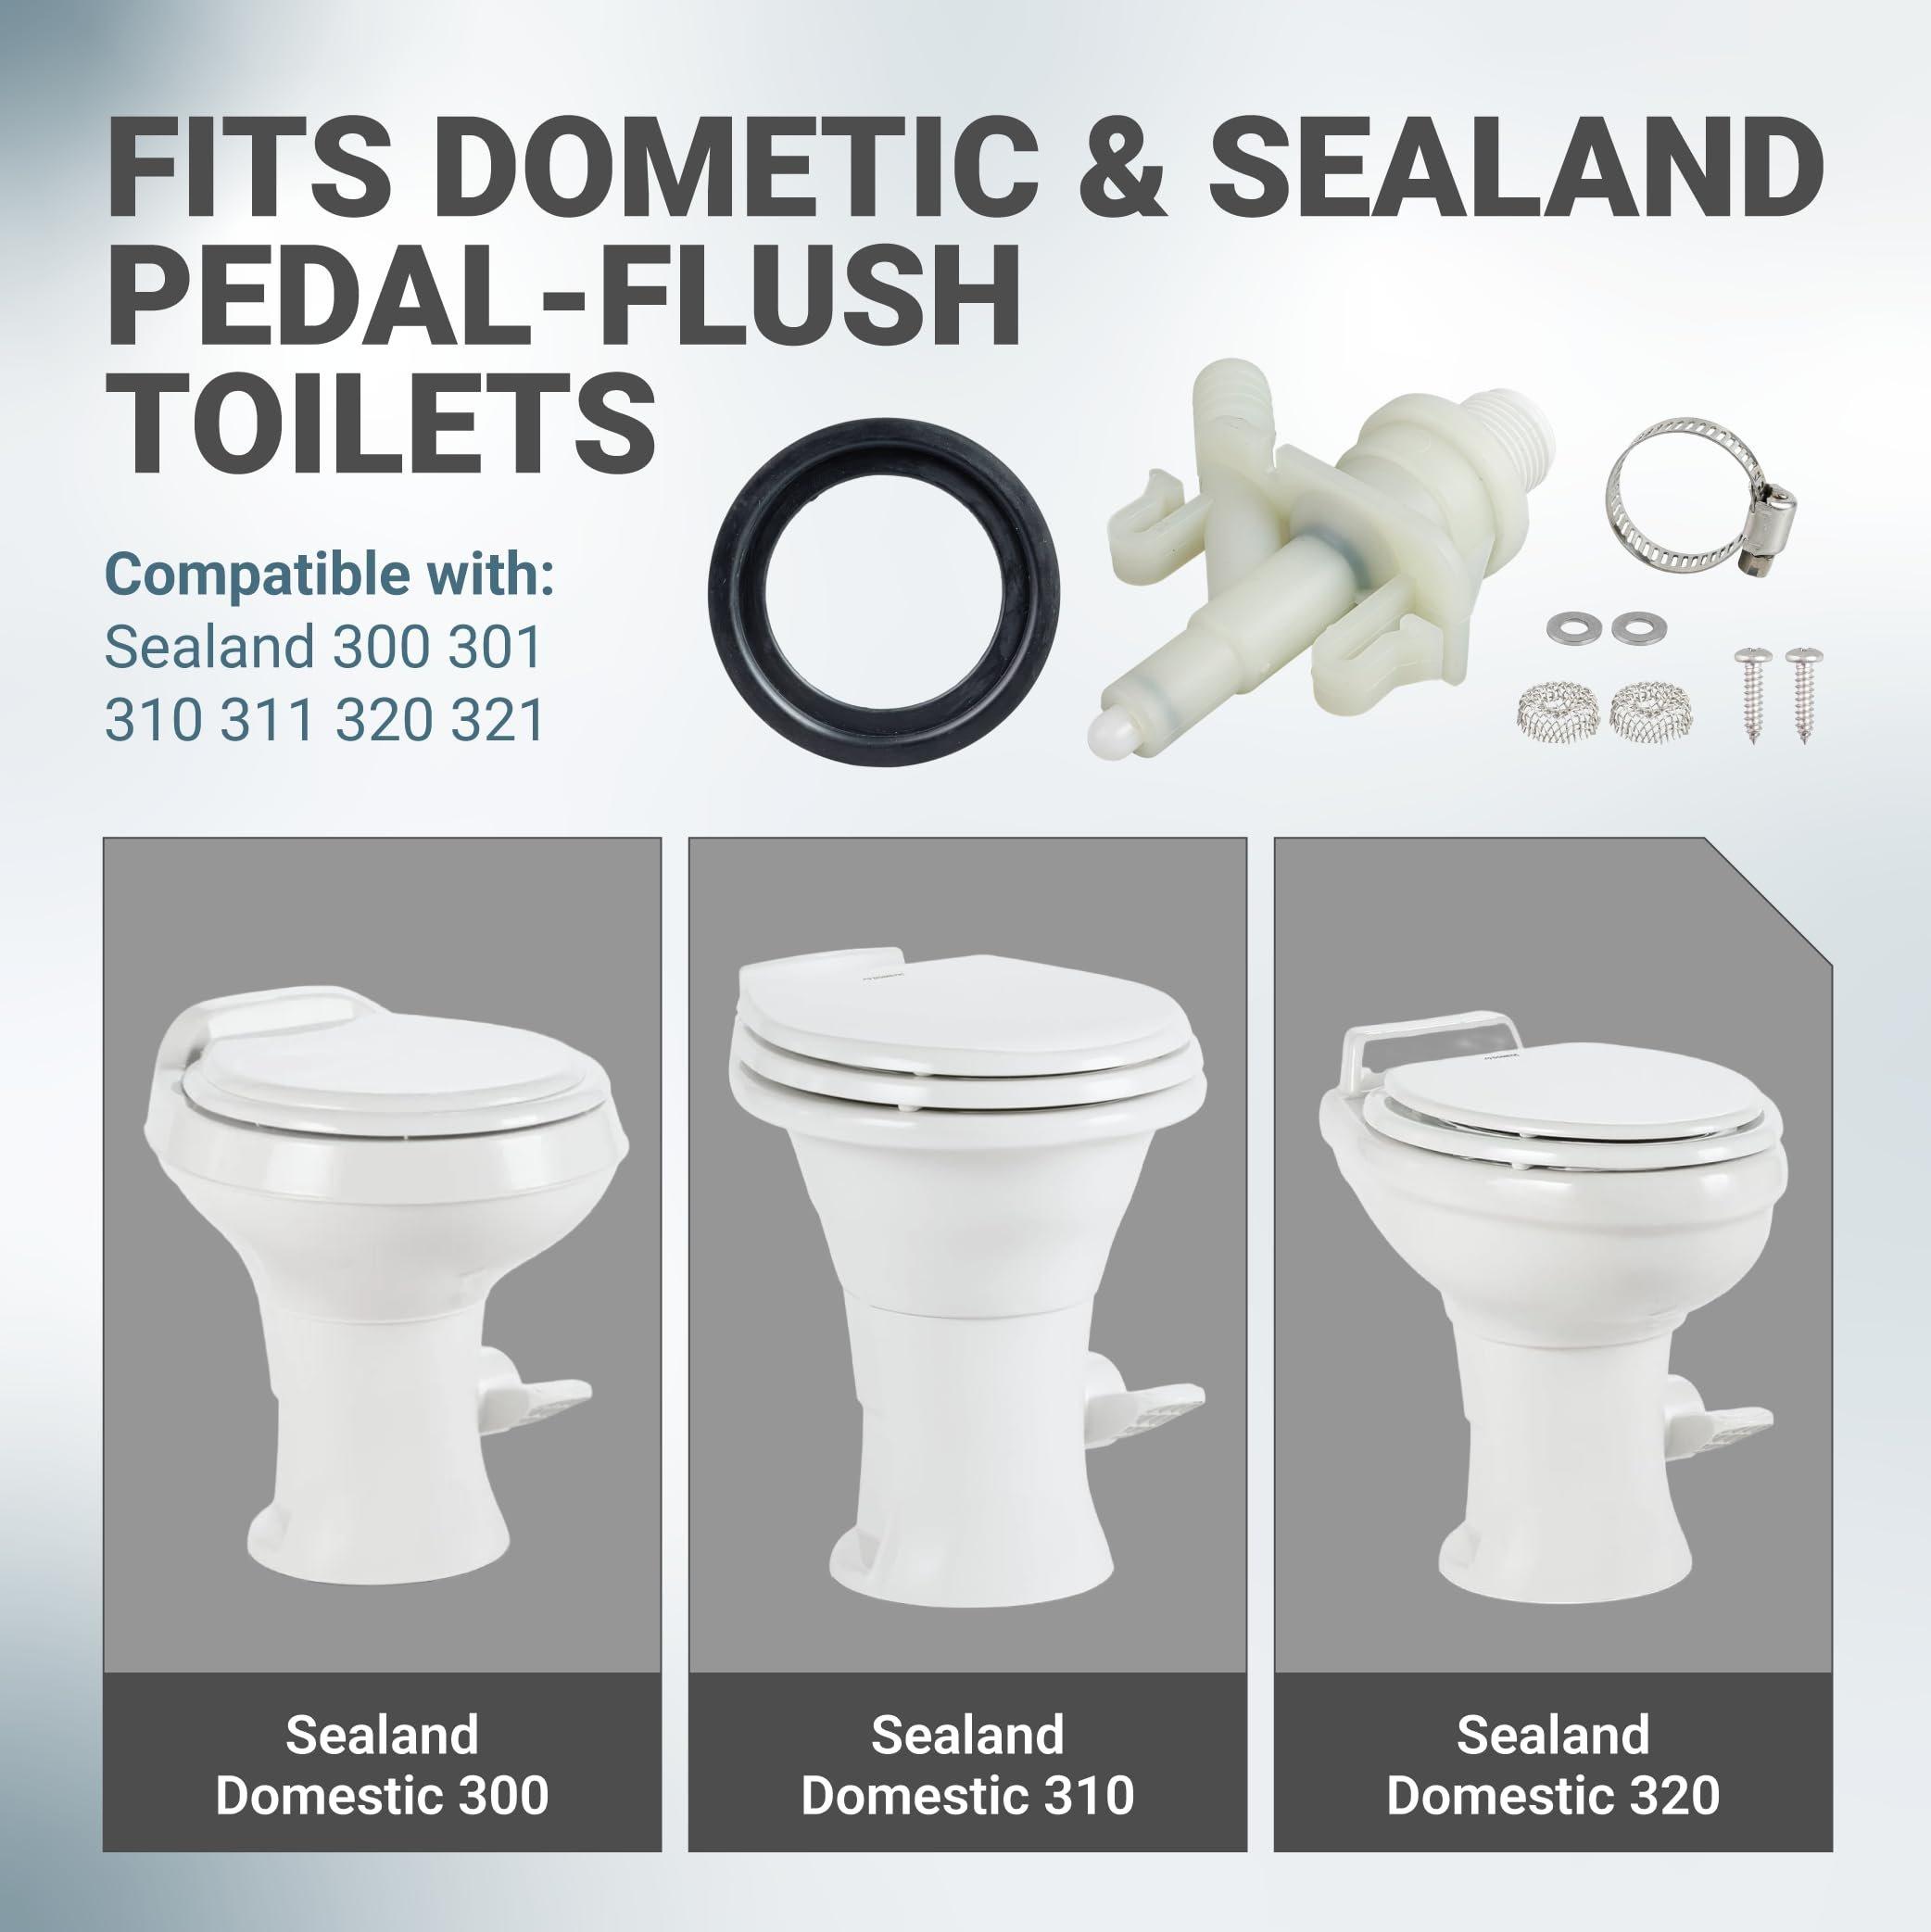
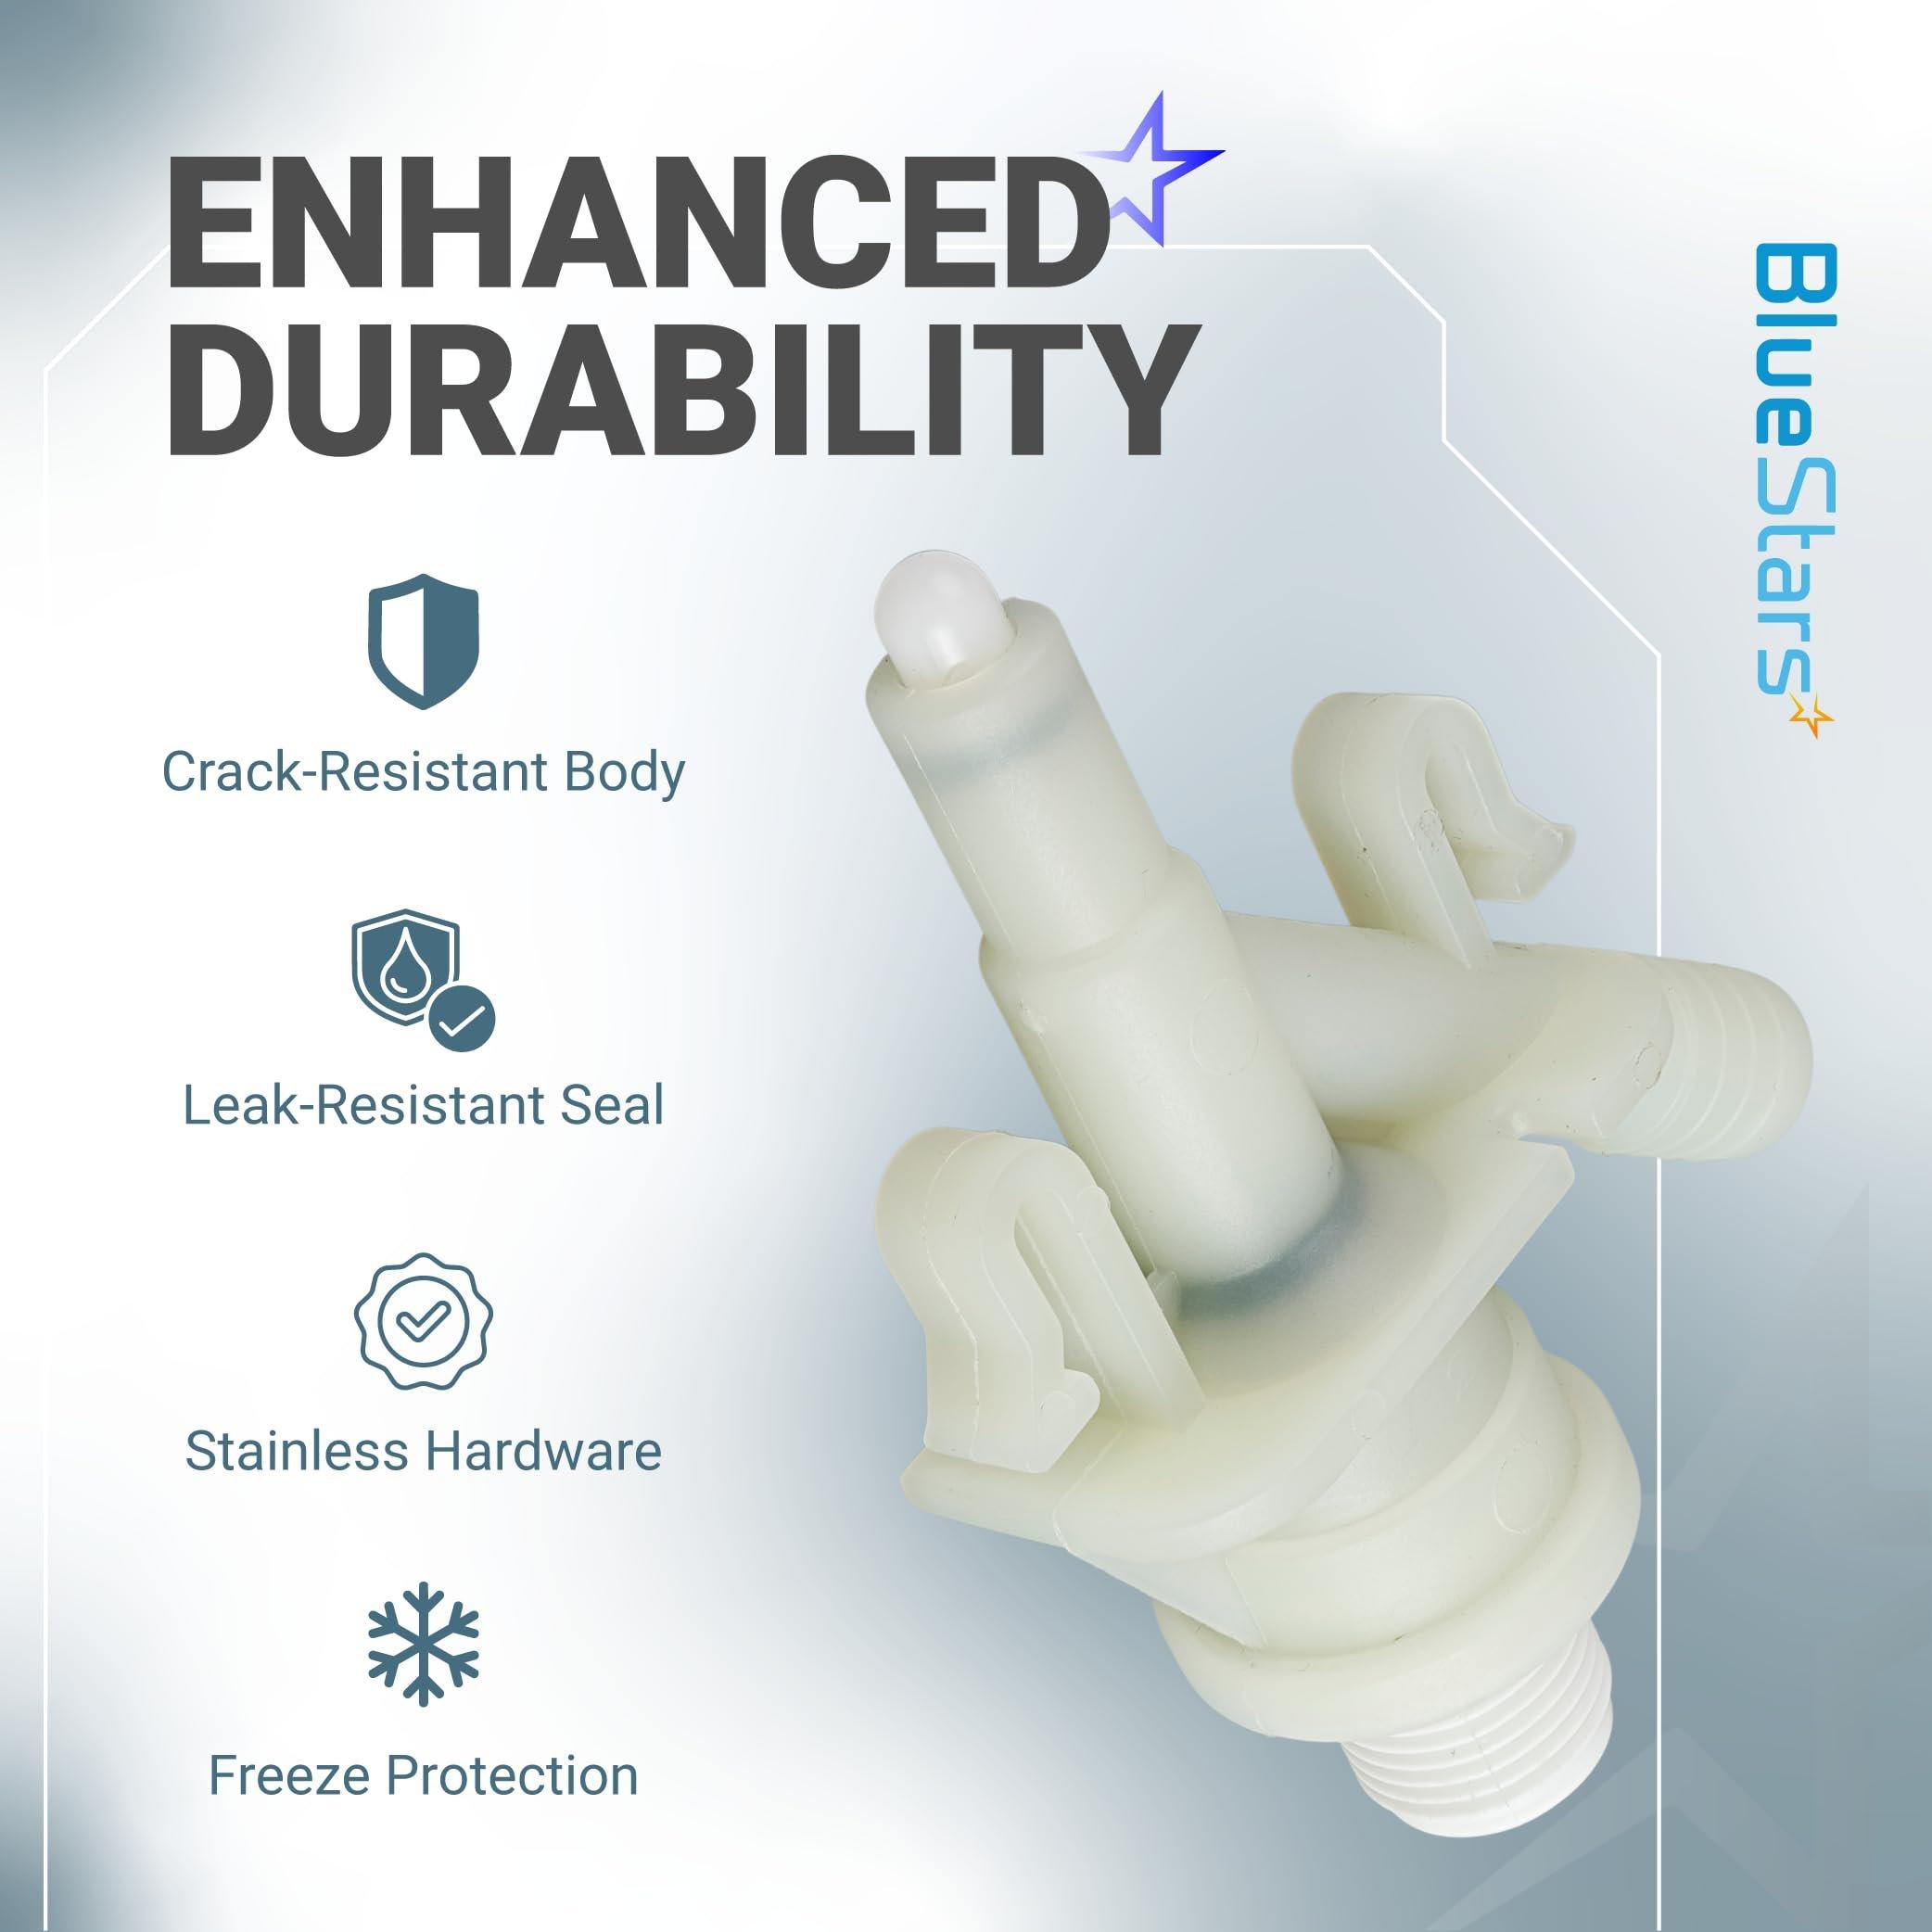
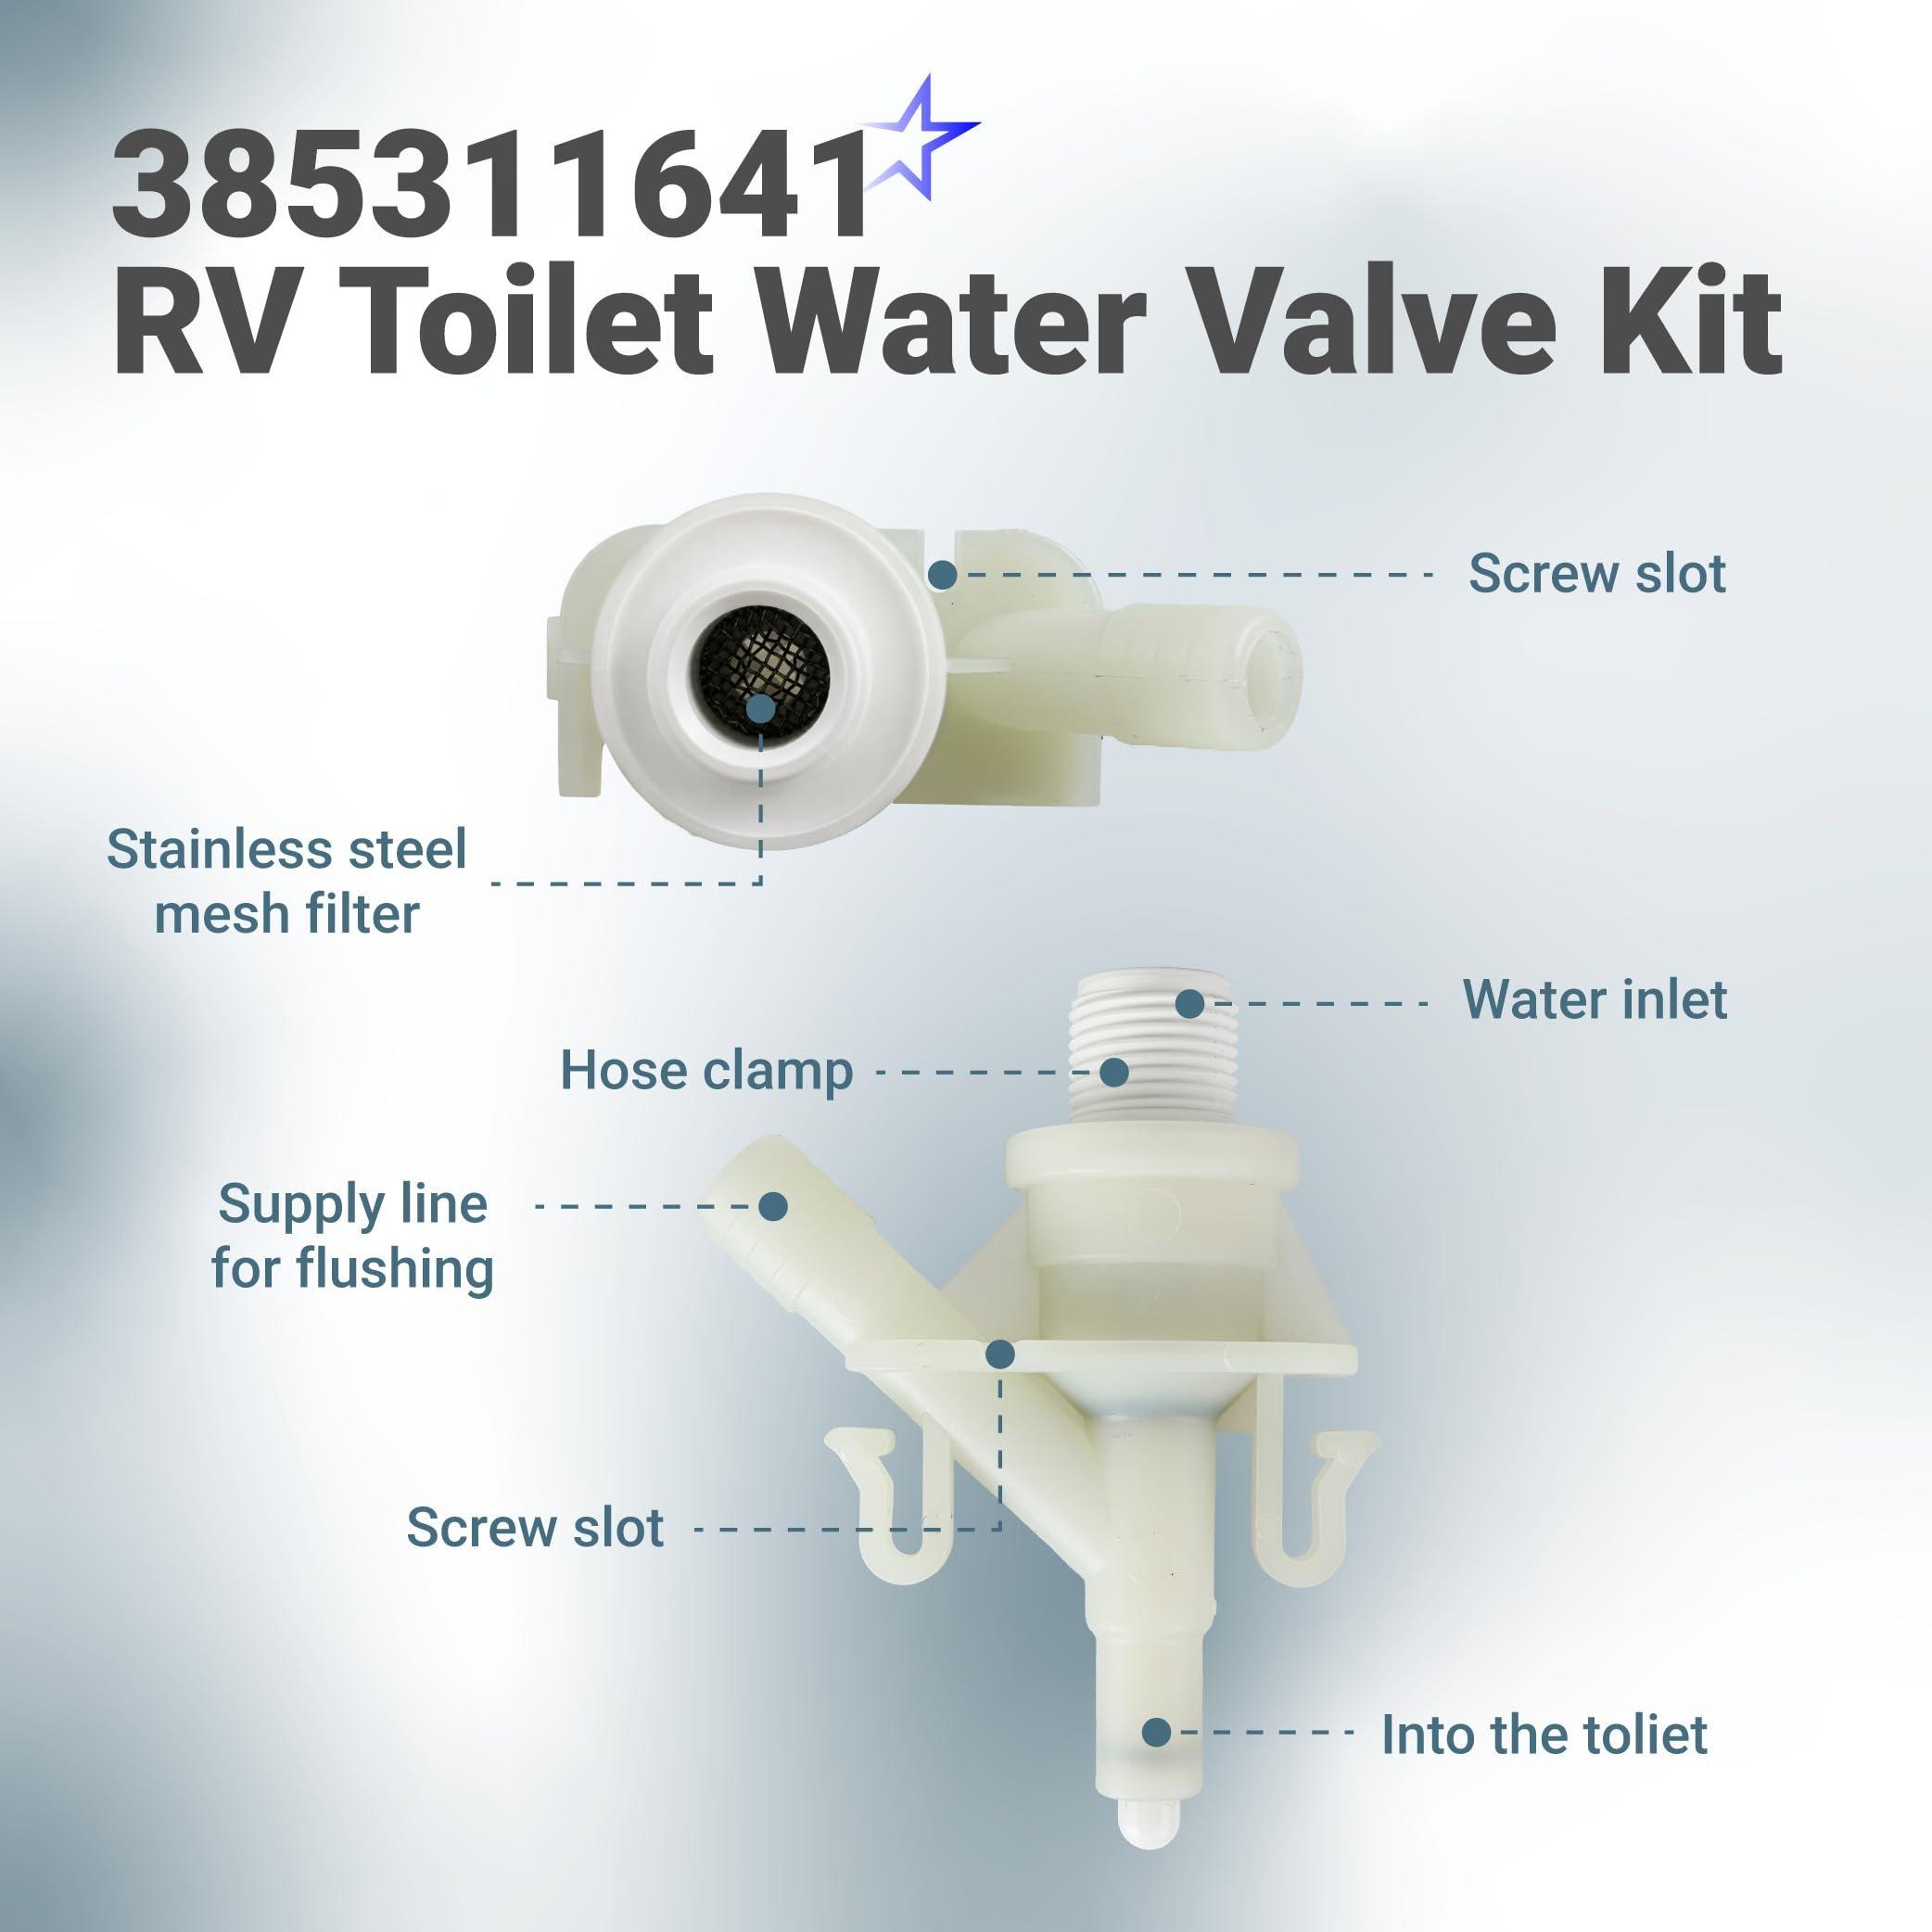
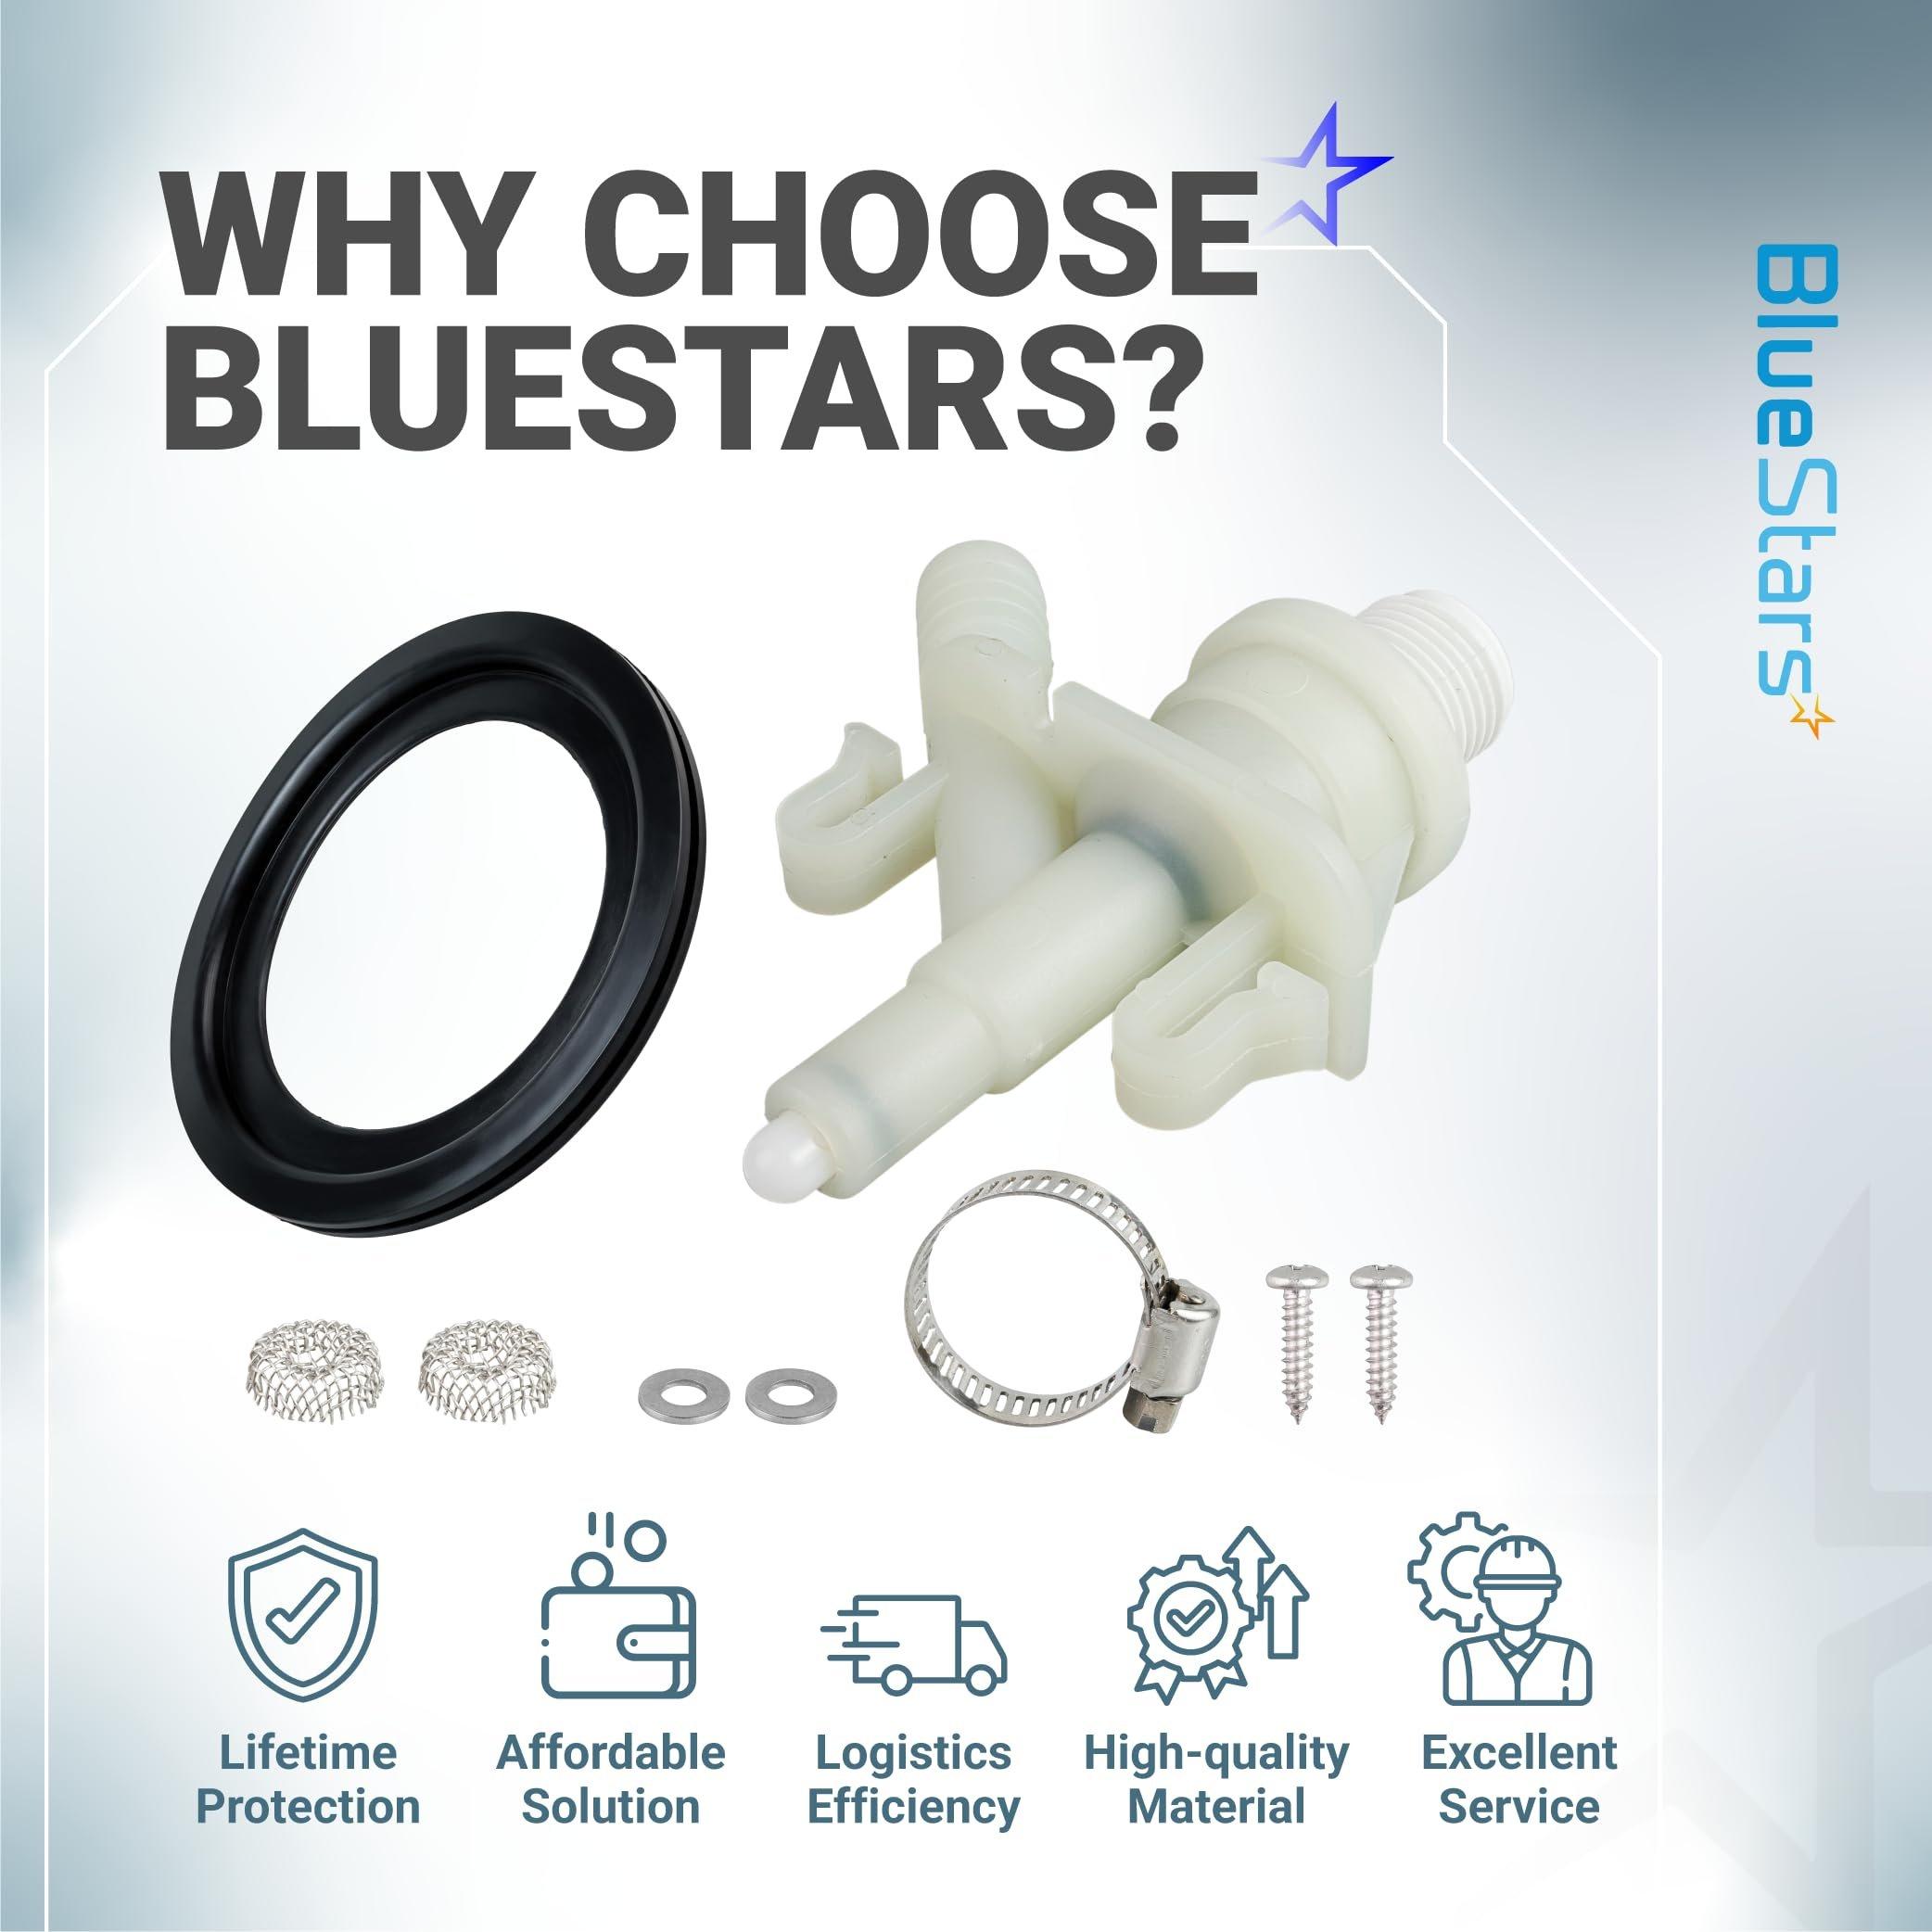
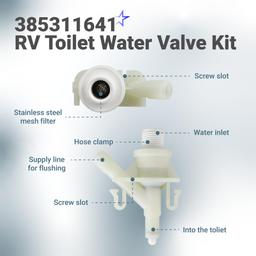
- RV toilet repair kit with water valve 385311641 and flush ball seal 385311658.
- The valve regulates water flow into the bowl during flushing.
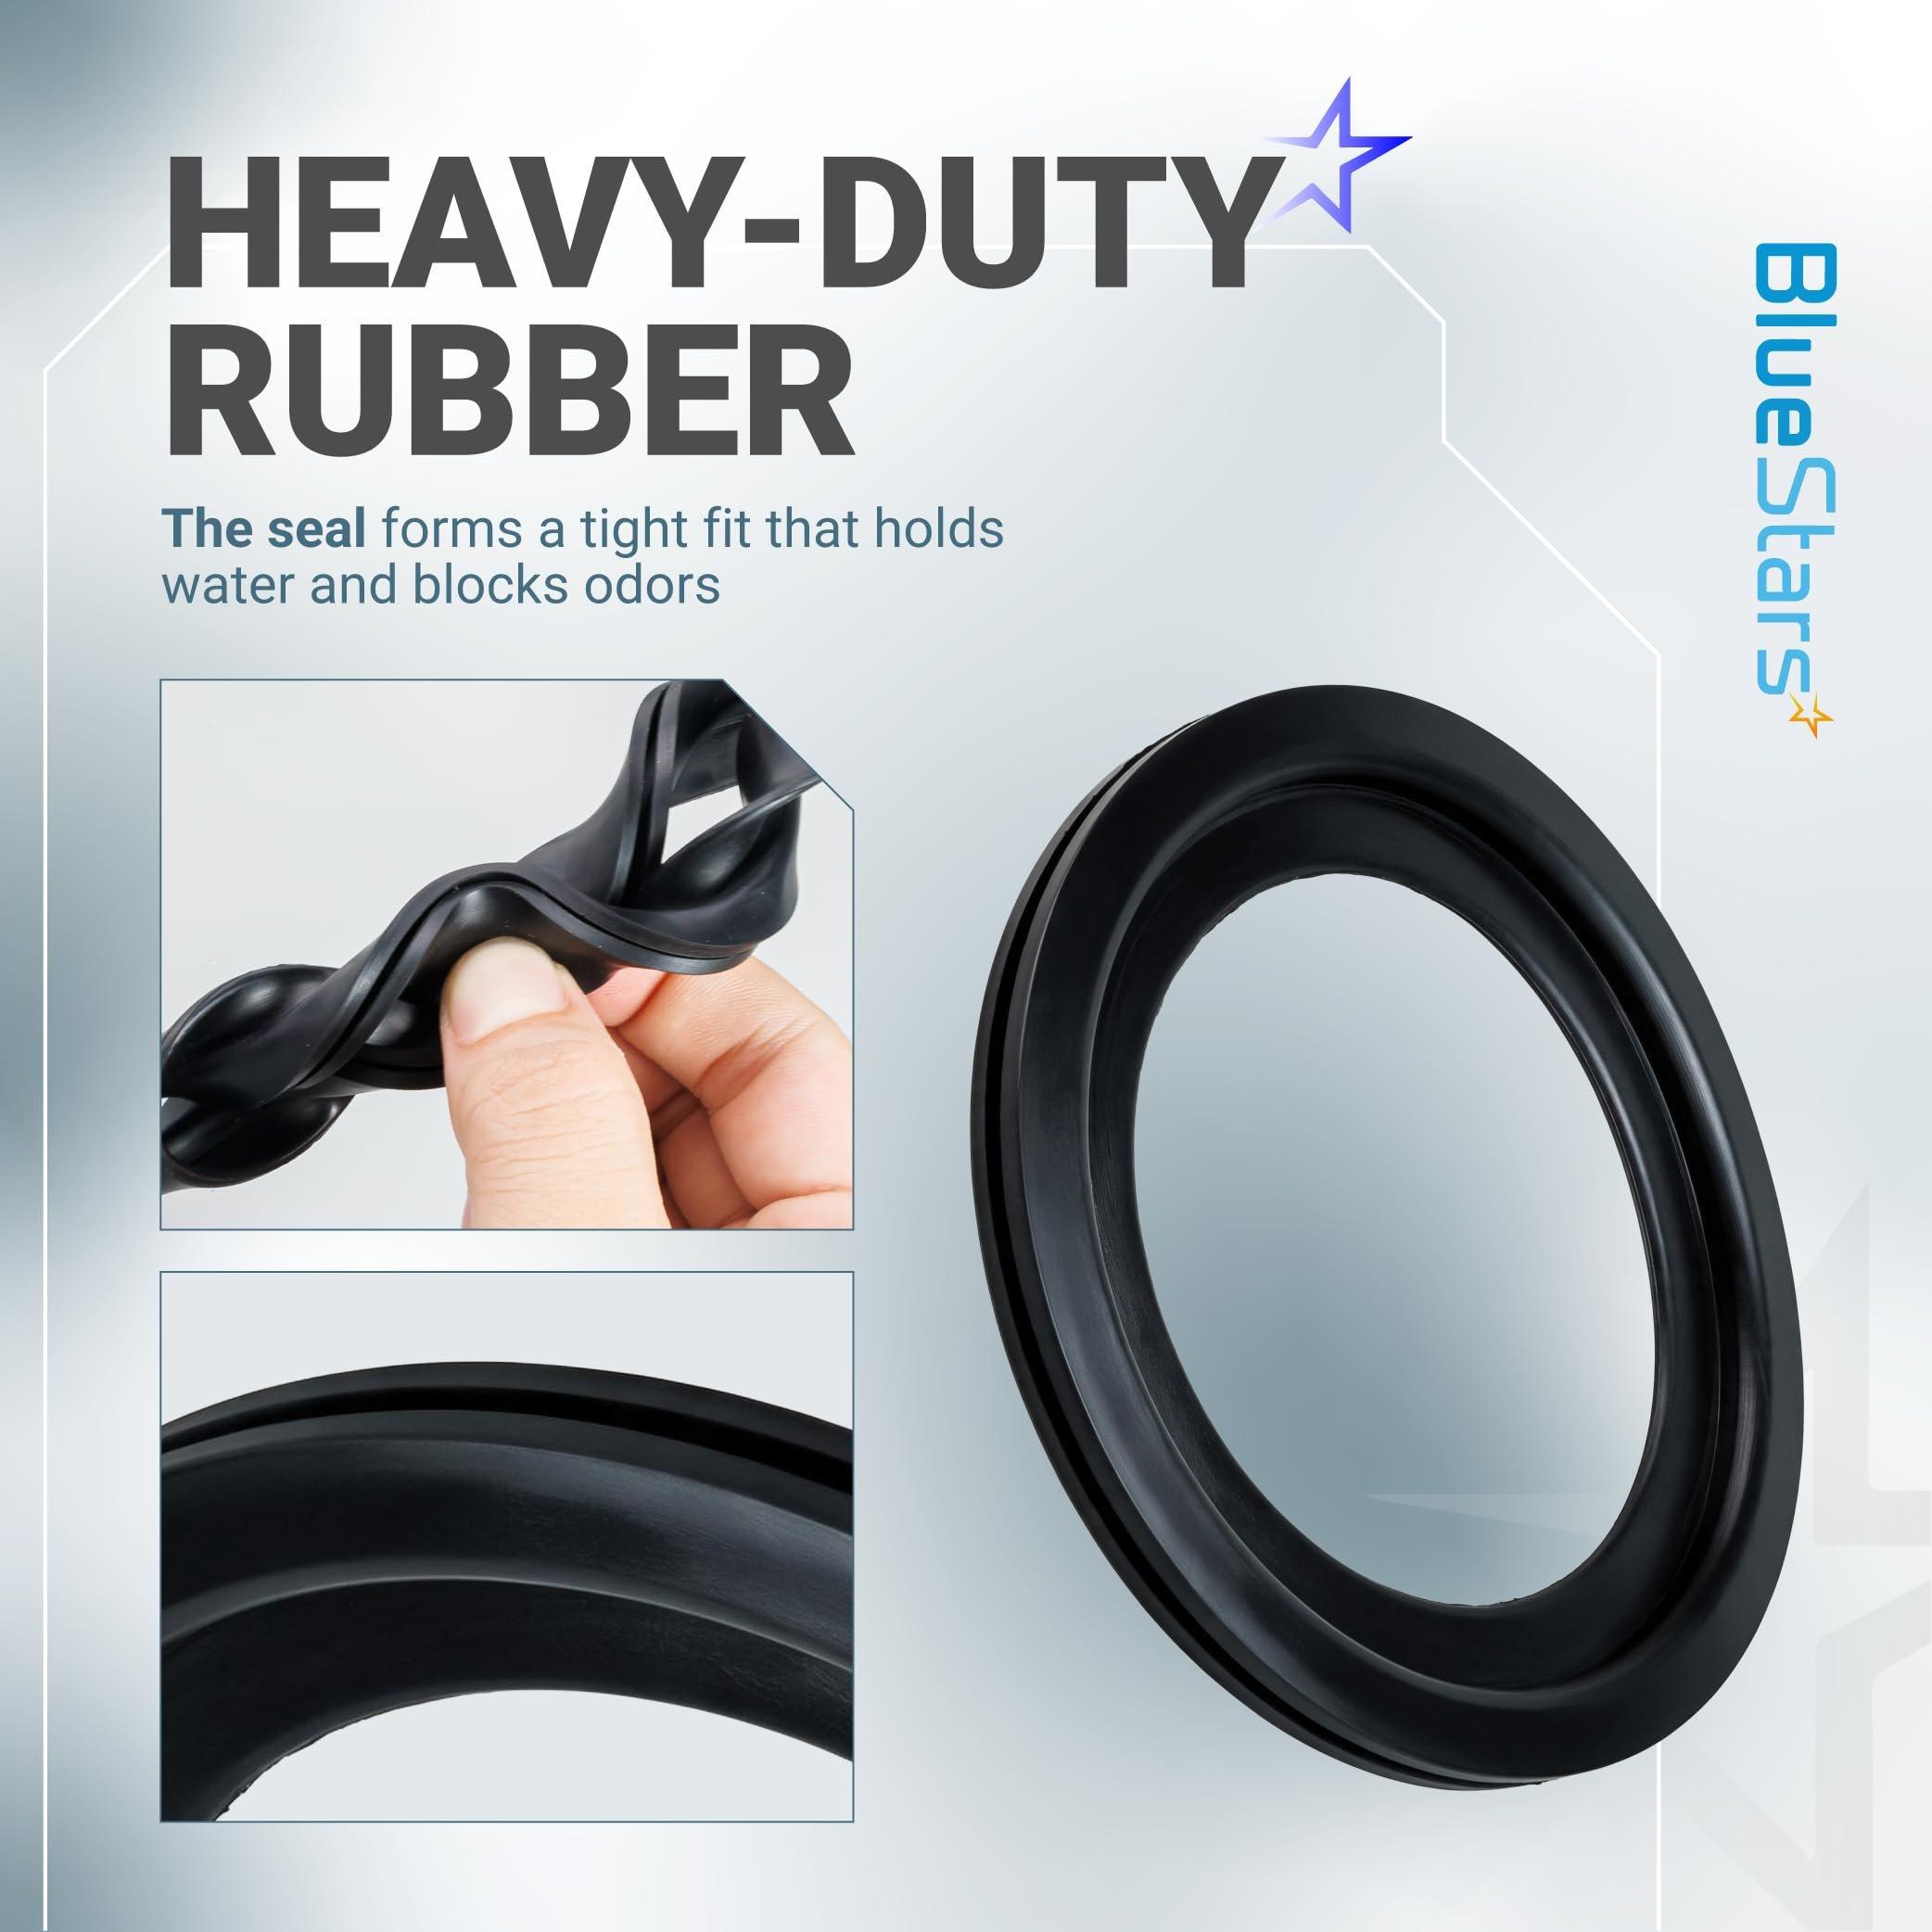
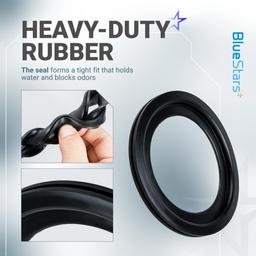
- The flush ball seal sits under the flush ball to help hold water in the bowl between uses.
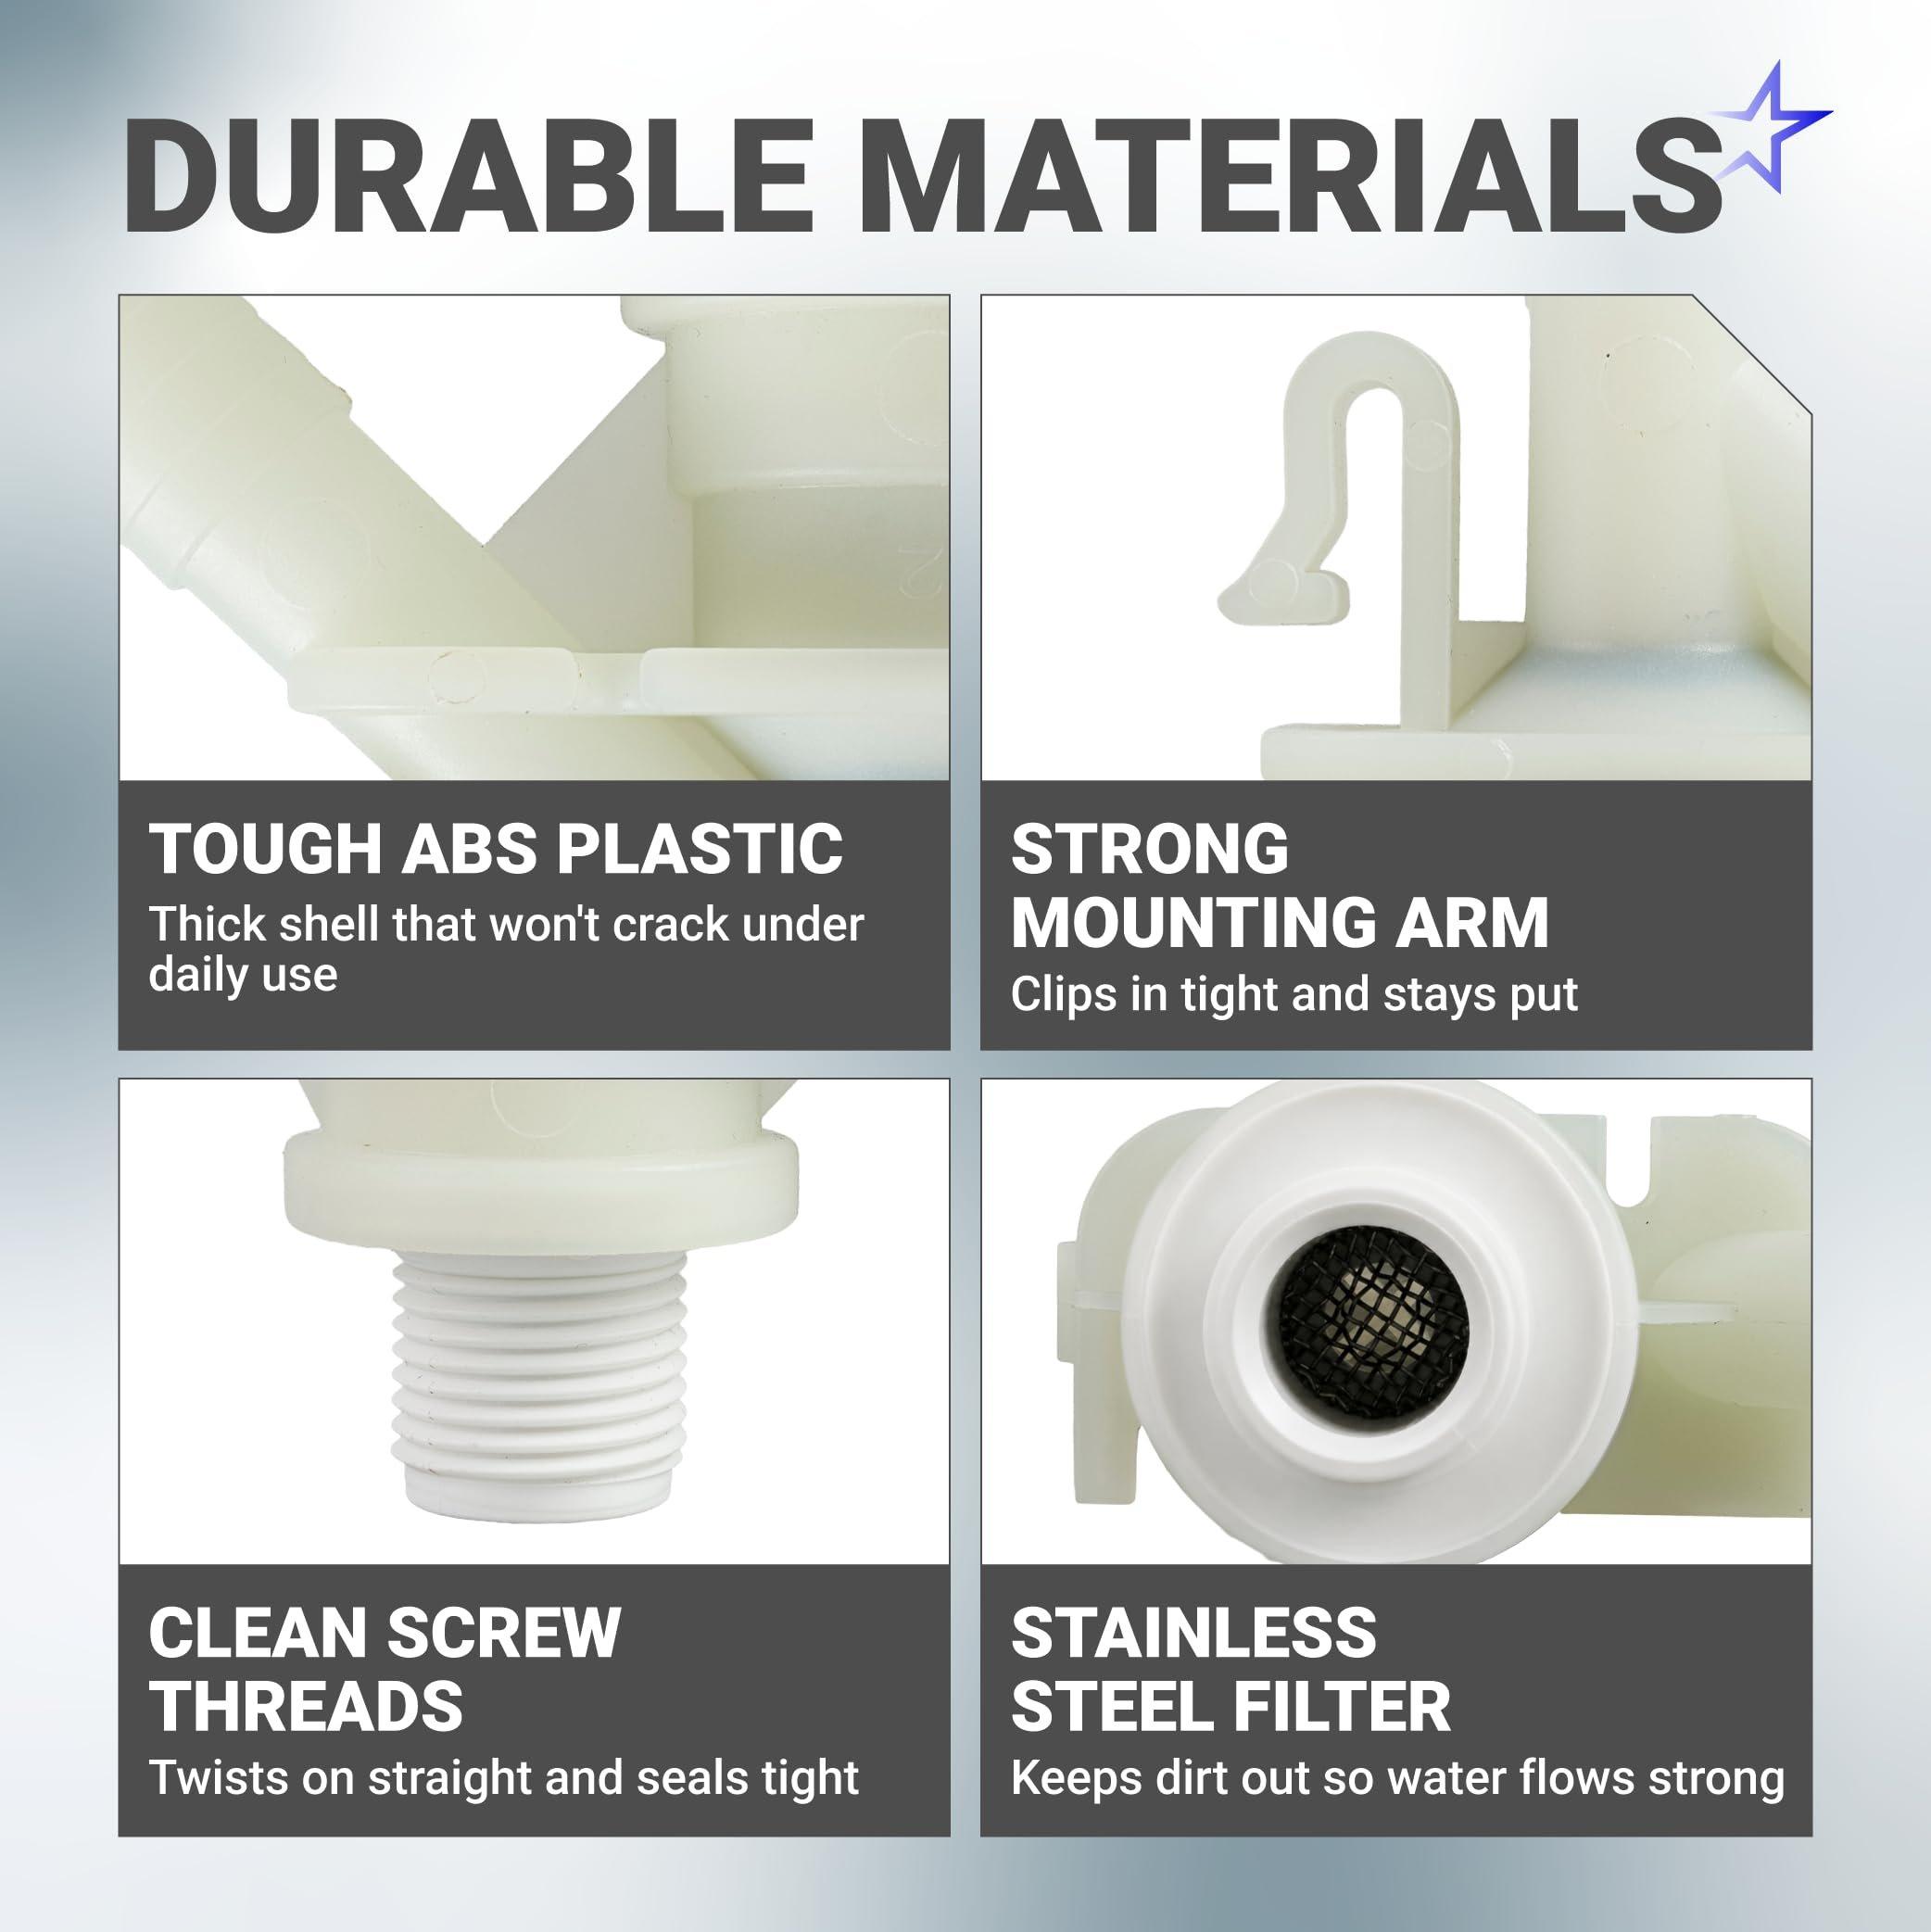
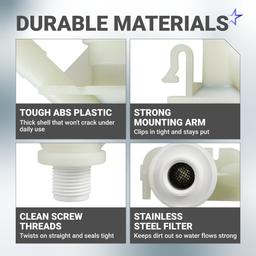
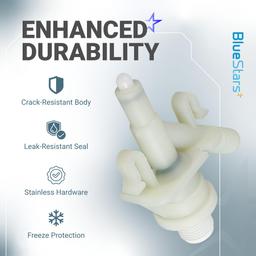
- Valve body is molded from thermoplastic ABS with a reinforced structure designed to resist cracking under daily pedal pressure and winter storage.
- Rubber flush ball seal maintains elasticity for a reliable bowl seal.
- Barb inlet and outlet connections.
- Designed for pedal-flush RV toilets used in campers, travel trailers, motorhomes, and marine applications.
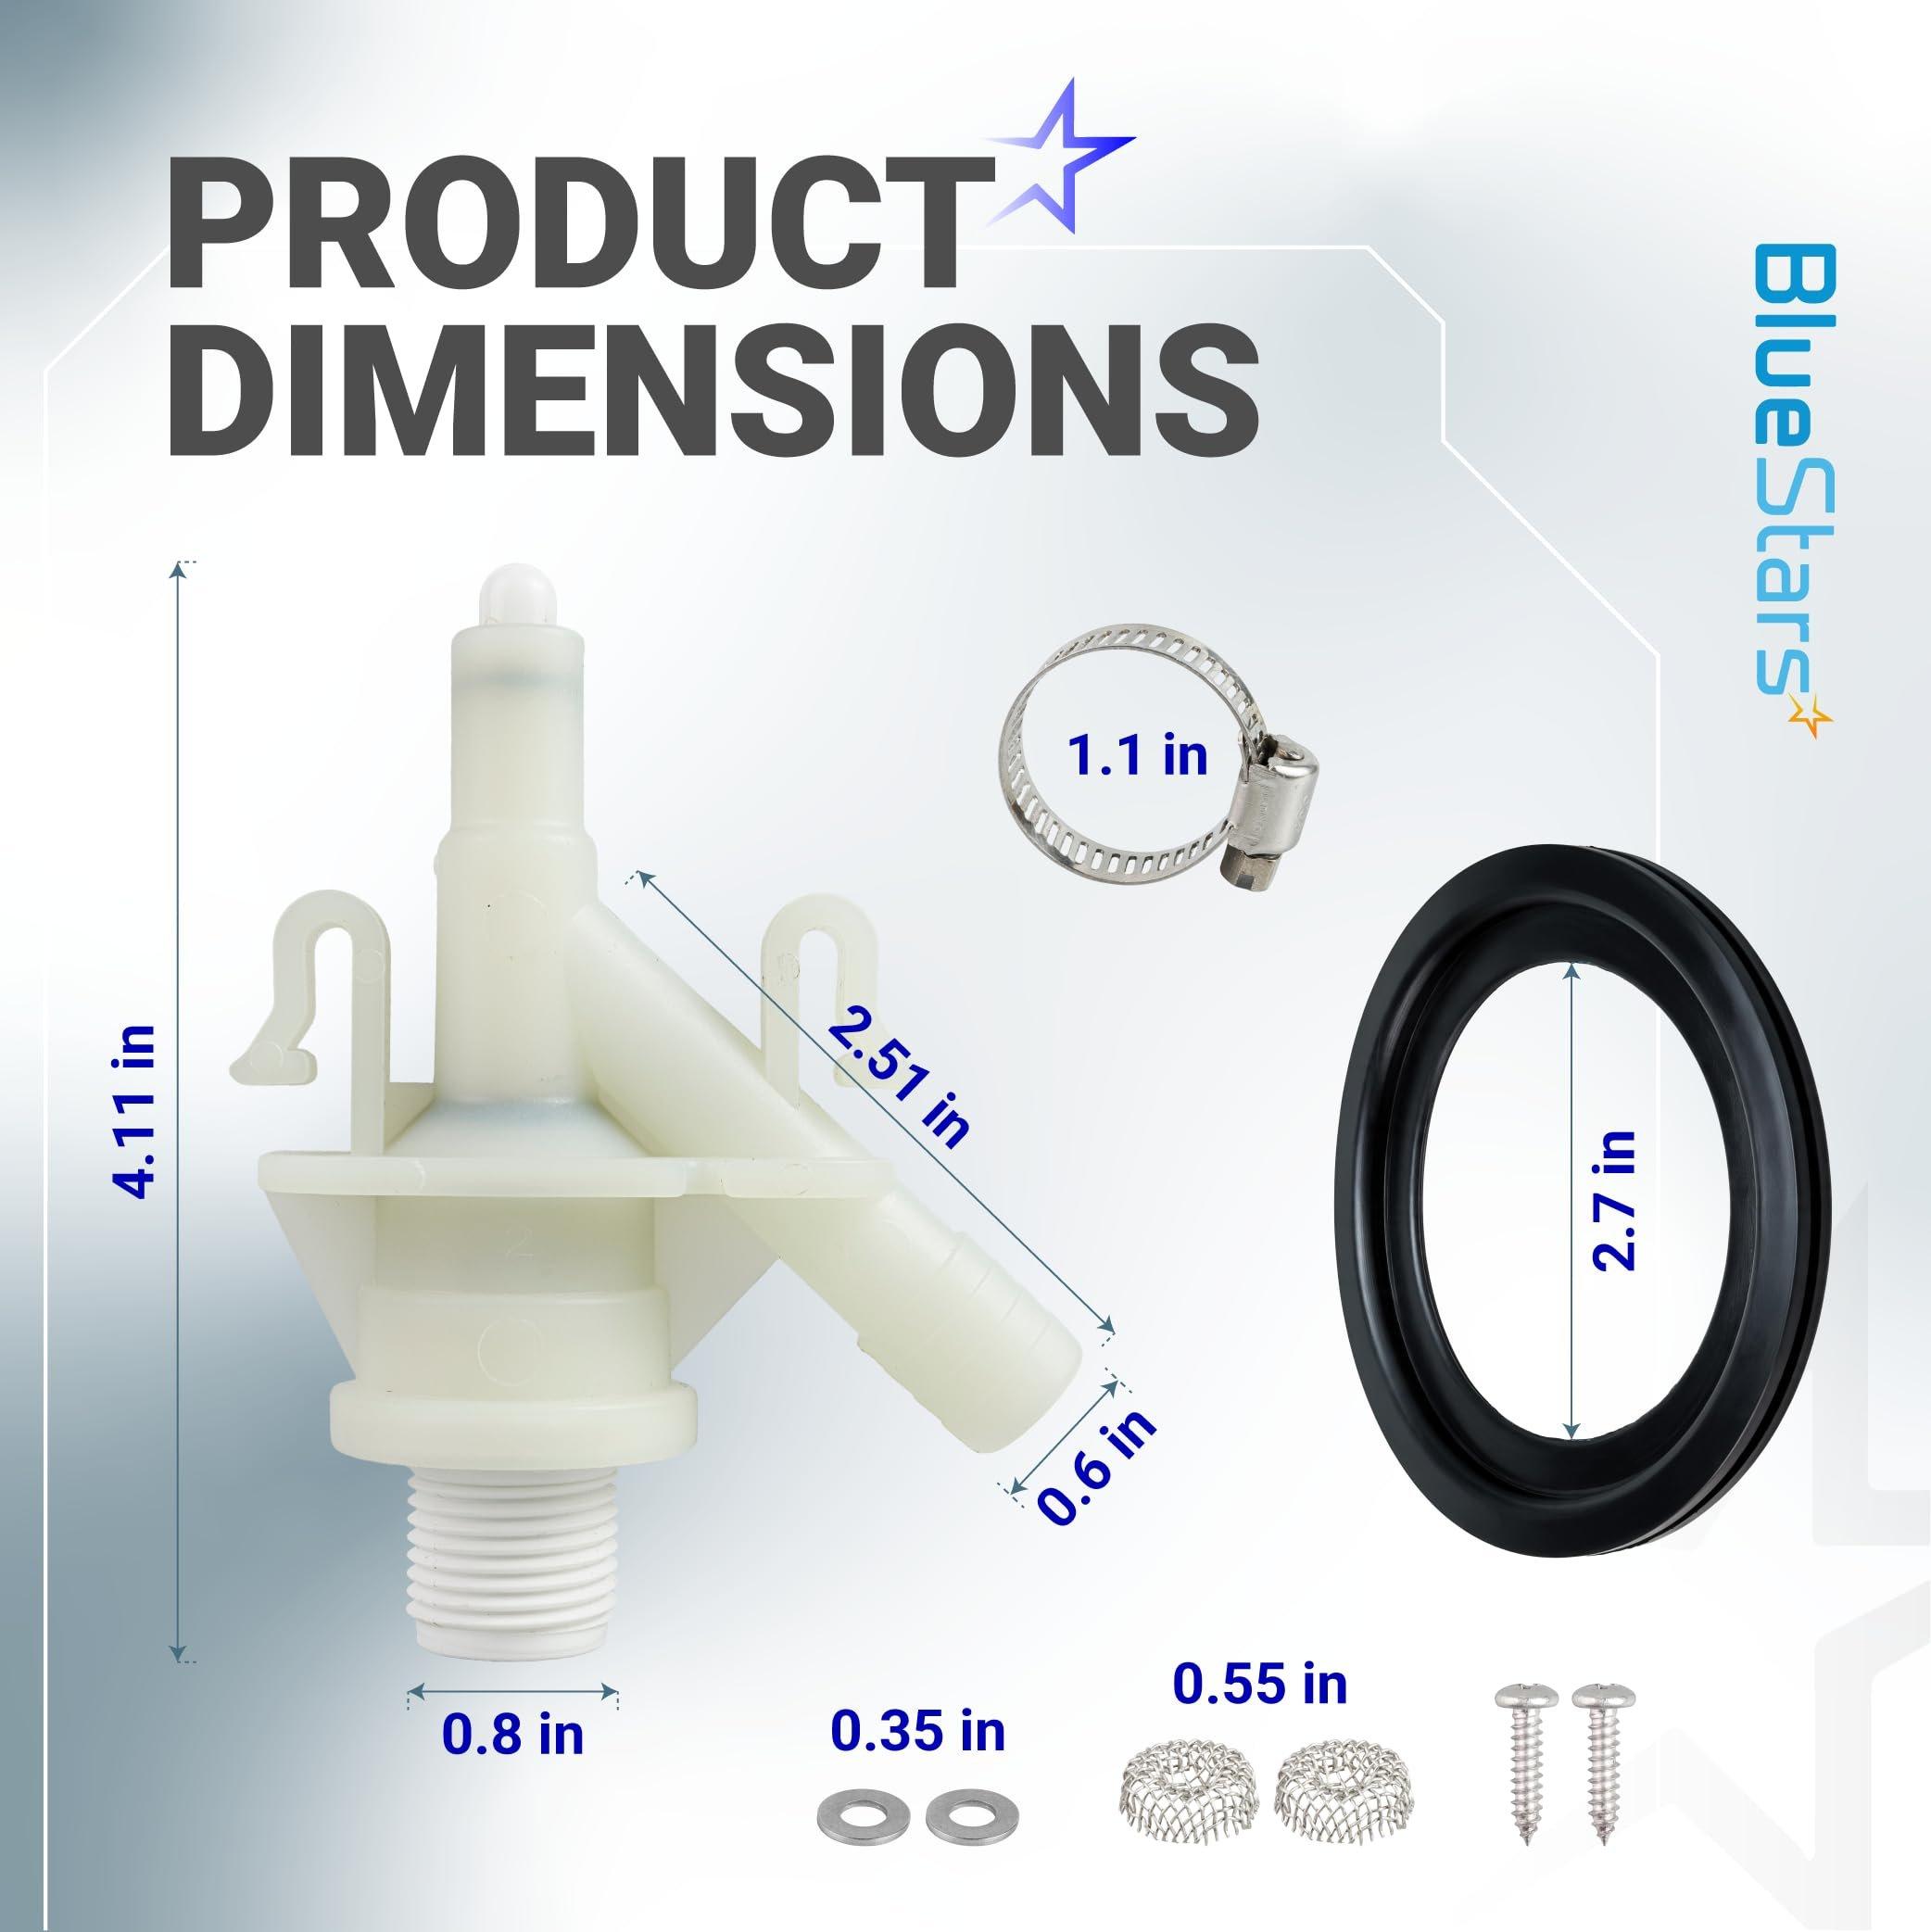
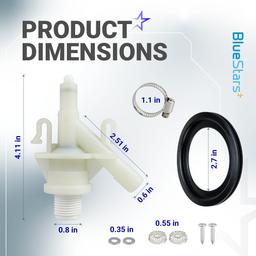
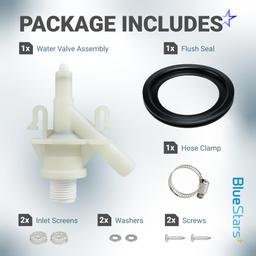
- Includes 1 water valve assembly, 1 flush ball seal, 1 hose clamp, 2 mounting screws, 2 nuts and washers, 2 caps, and 2 stainless steel inlet screens.
Replaces / Cross-Reference Part Numbers
- 385311641 — RV toilet water valve.
- 385311658 — flush ball seal.
Compatibility & Fitment
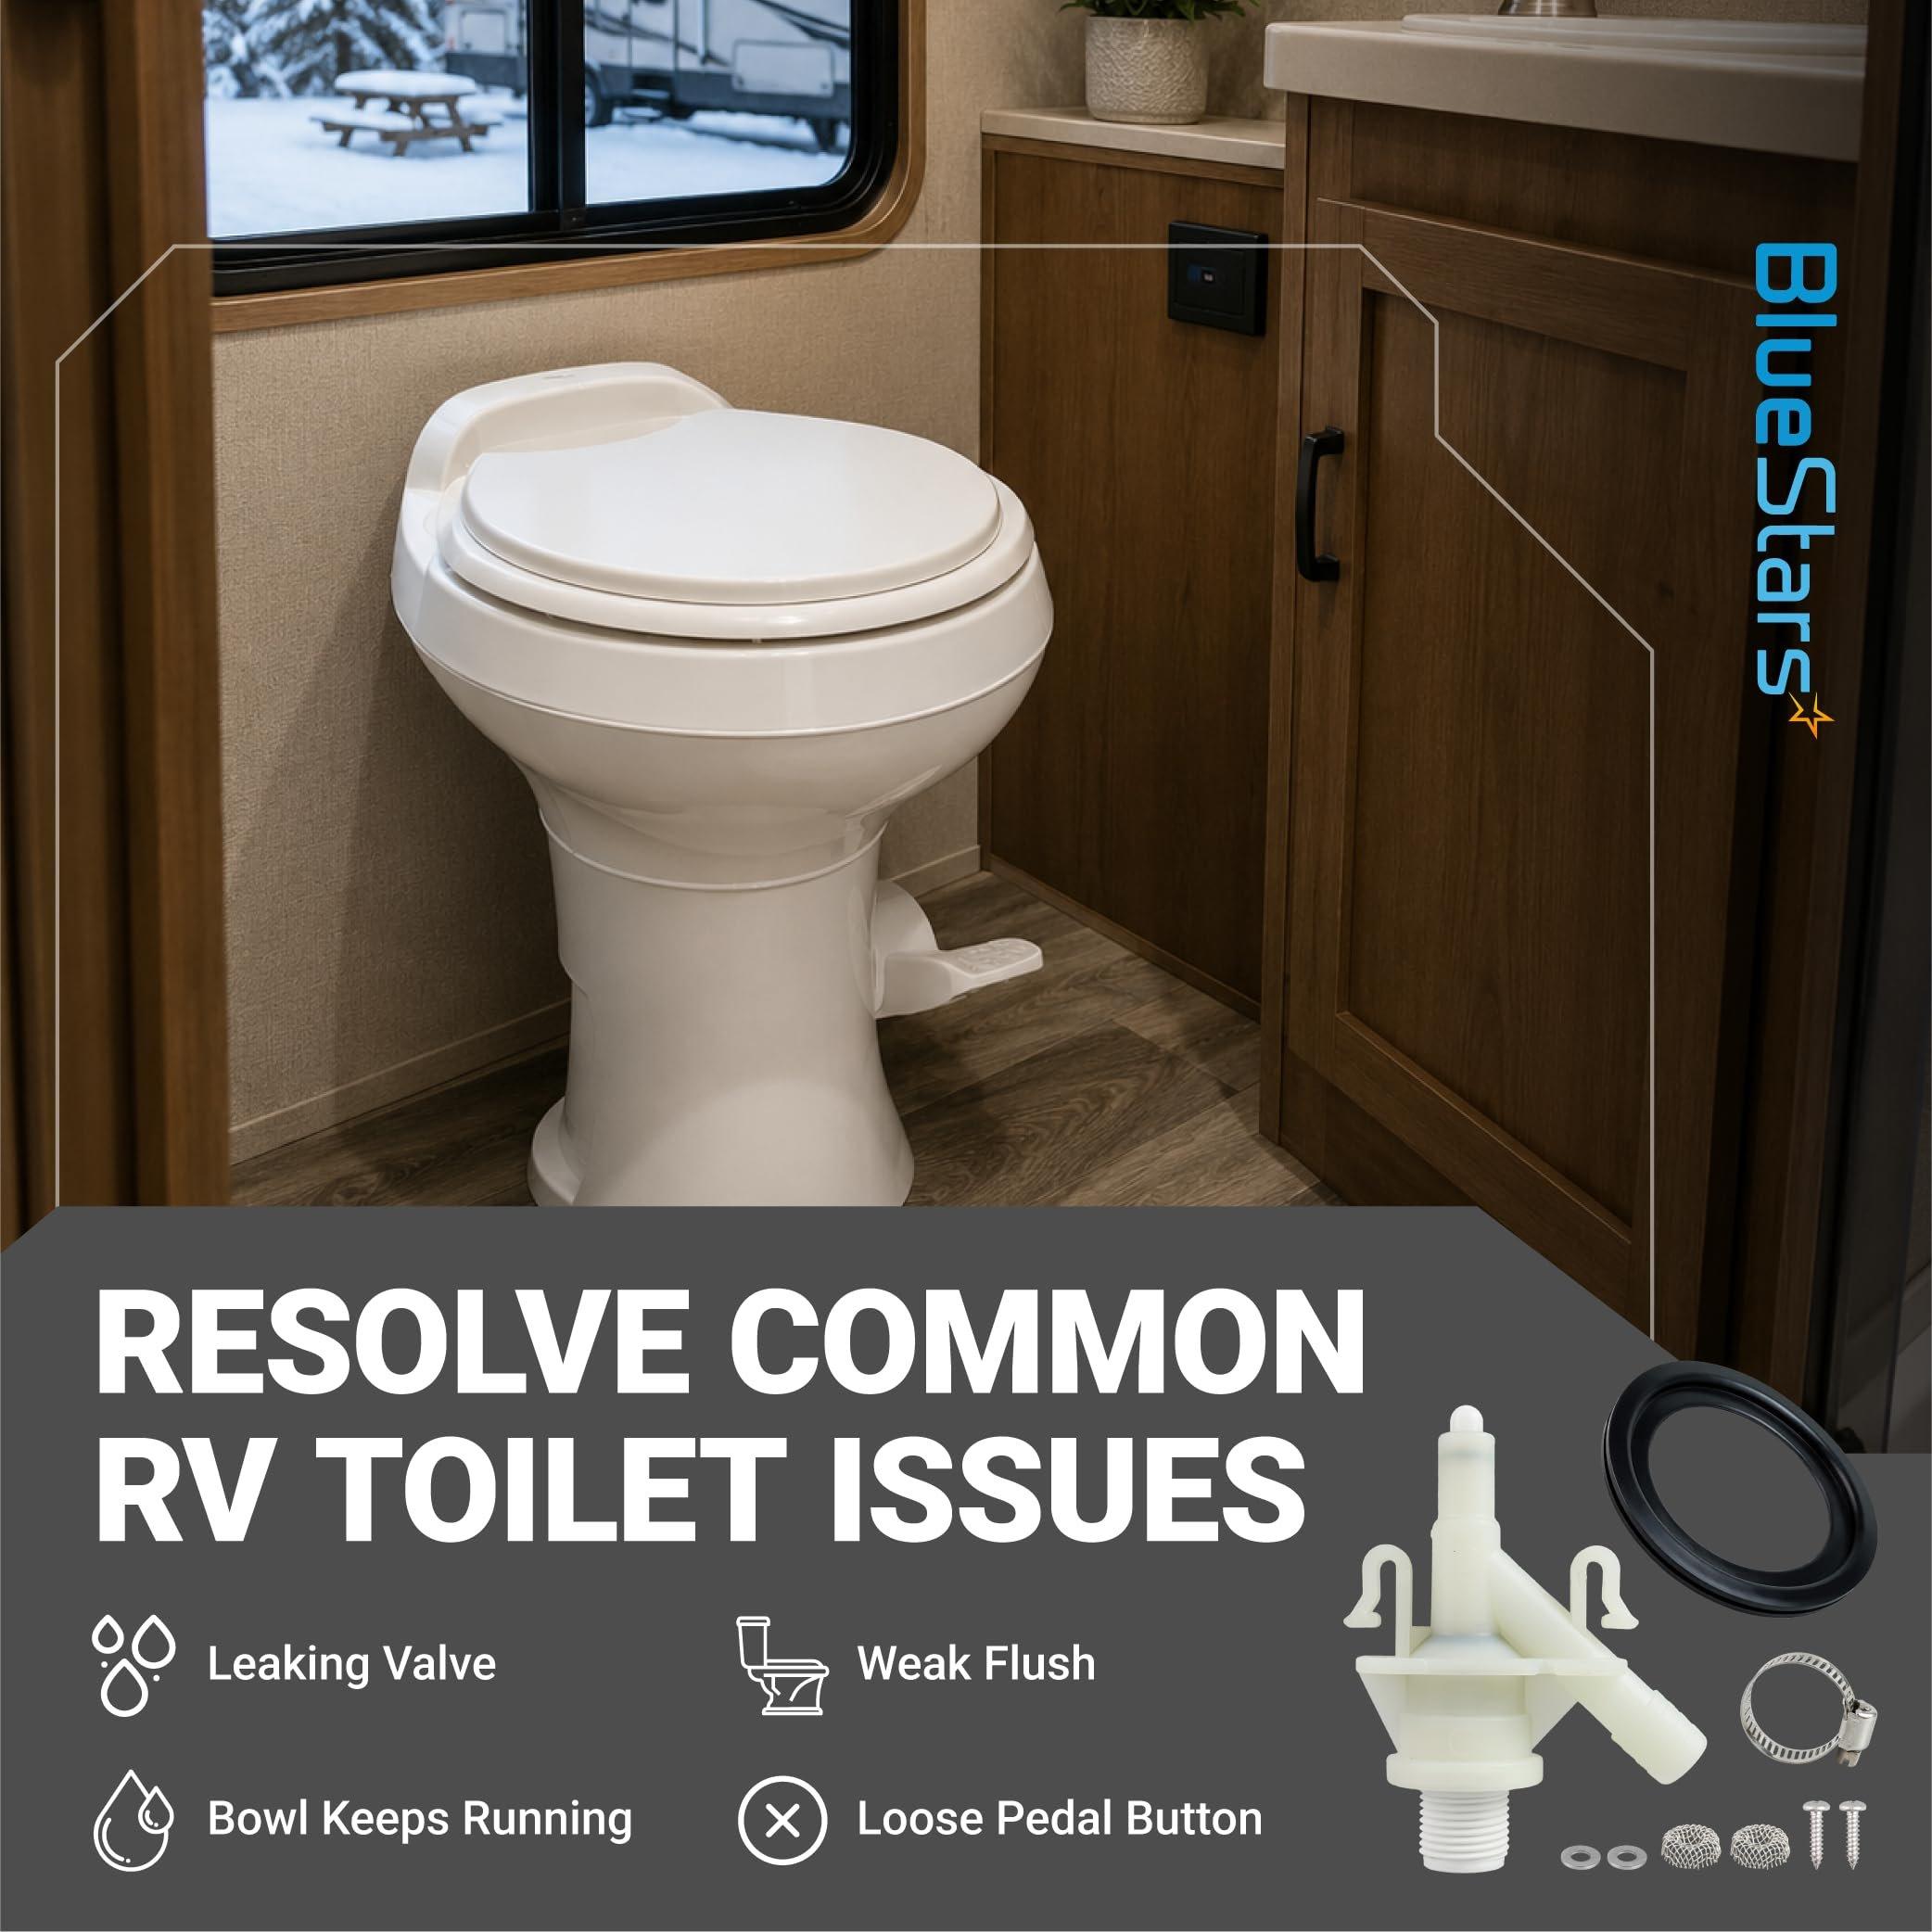
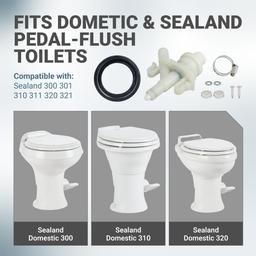
This repair kit fits Dometic and Sealand pedal-flush toilets in the 300, 301, 310, 311, 320, and 321 series. Check the existing valve, seal, and mounting arrangement against the toilet before ordering.
When to Replace
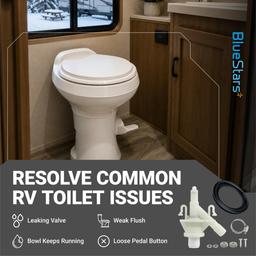
- Water seeps from the valve body or hose connection.
- The bowl continues running after the pedal is released.
- The flush is weak or slow.
- The pedal or button feels loose.
- Odors rise from the holding tank because the flush ball seal no longer holds water.
- The valve or seal shows cracking, flattening, hardening, or other wear.
Installation Tips
- Shut off the water supply and drain the line.
- Remove the old valve and lift out the worn flush ball seal.
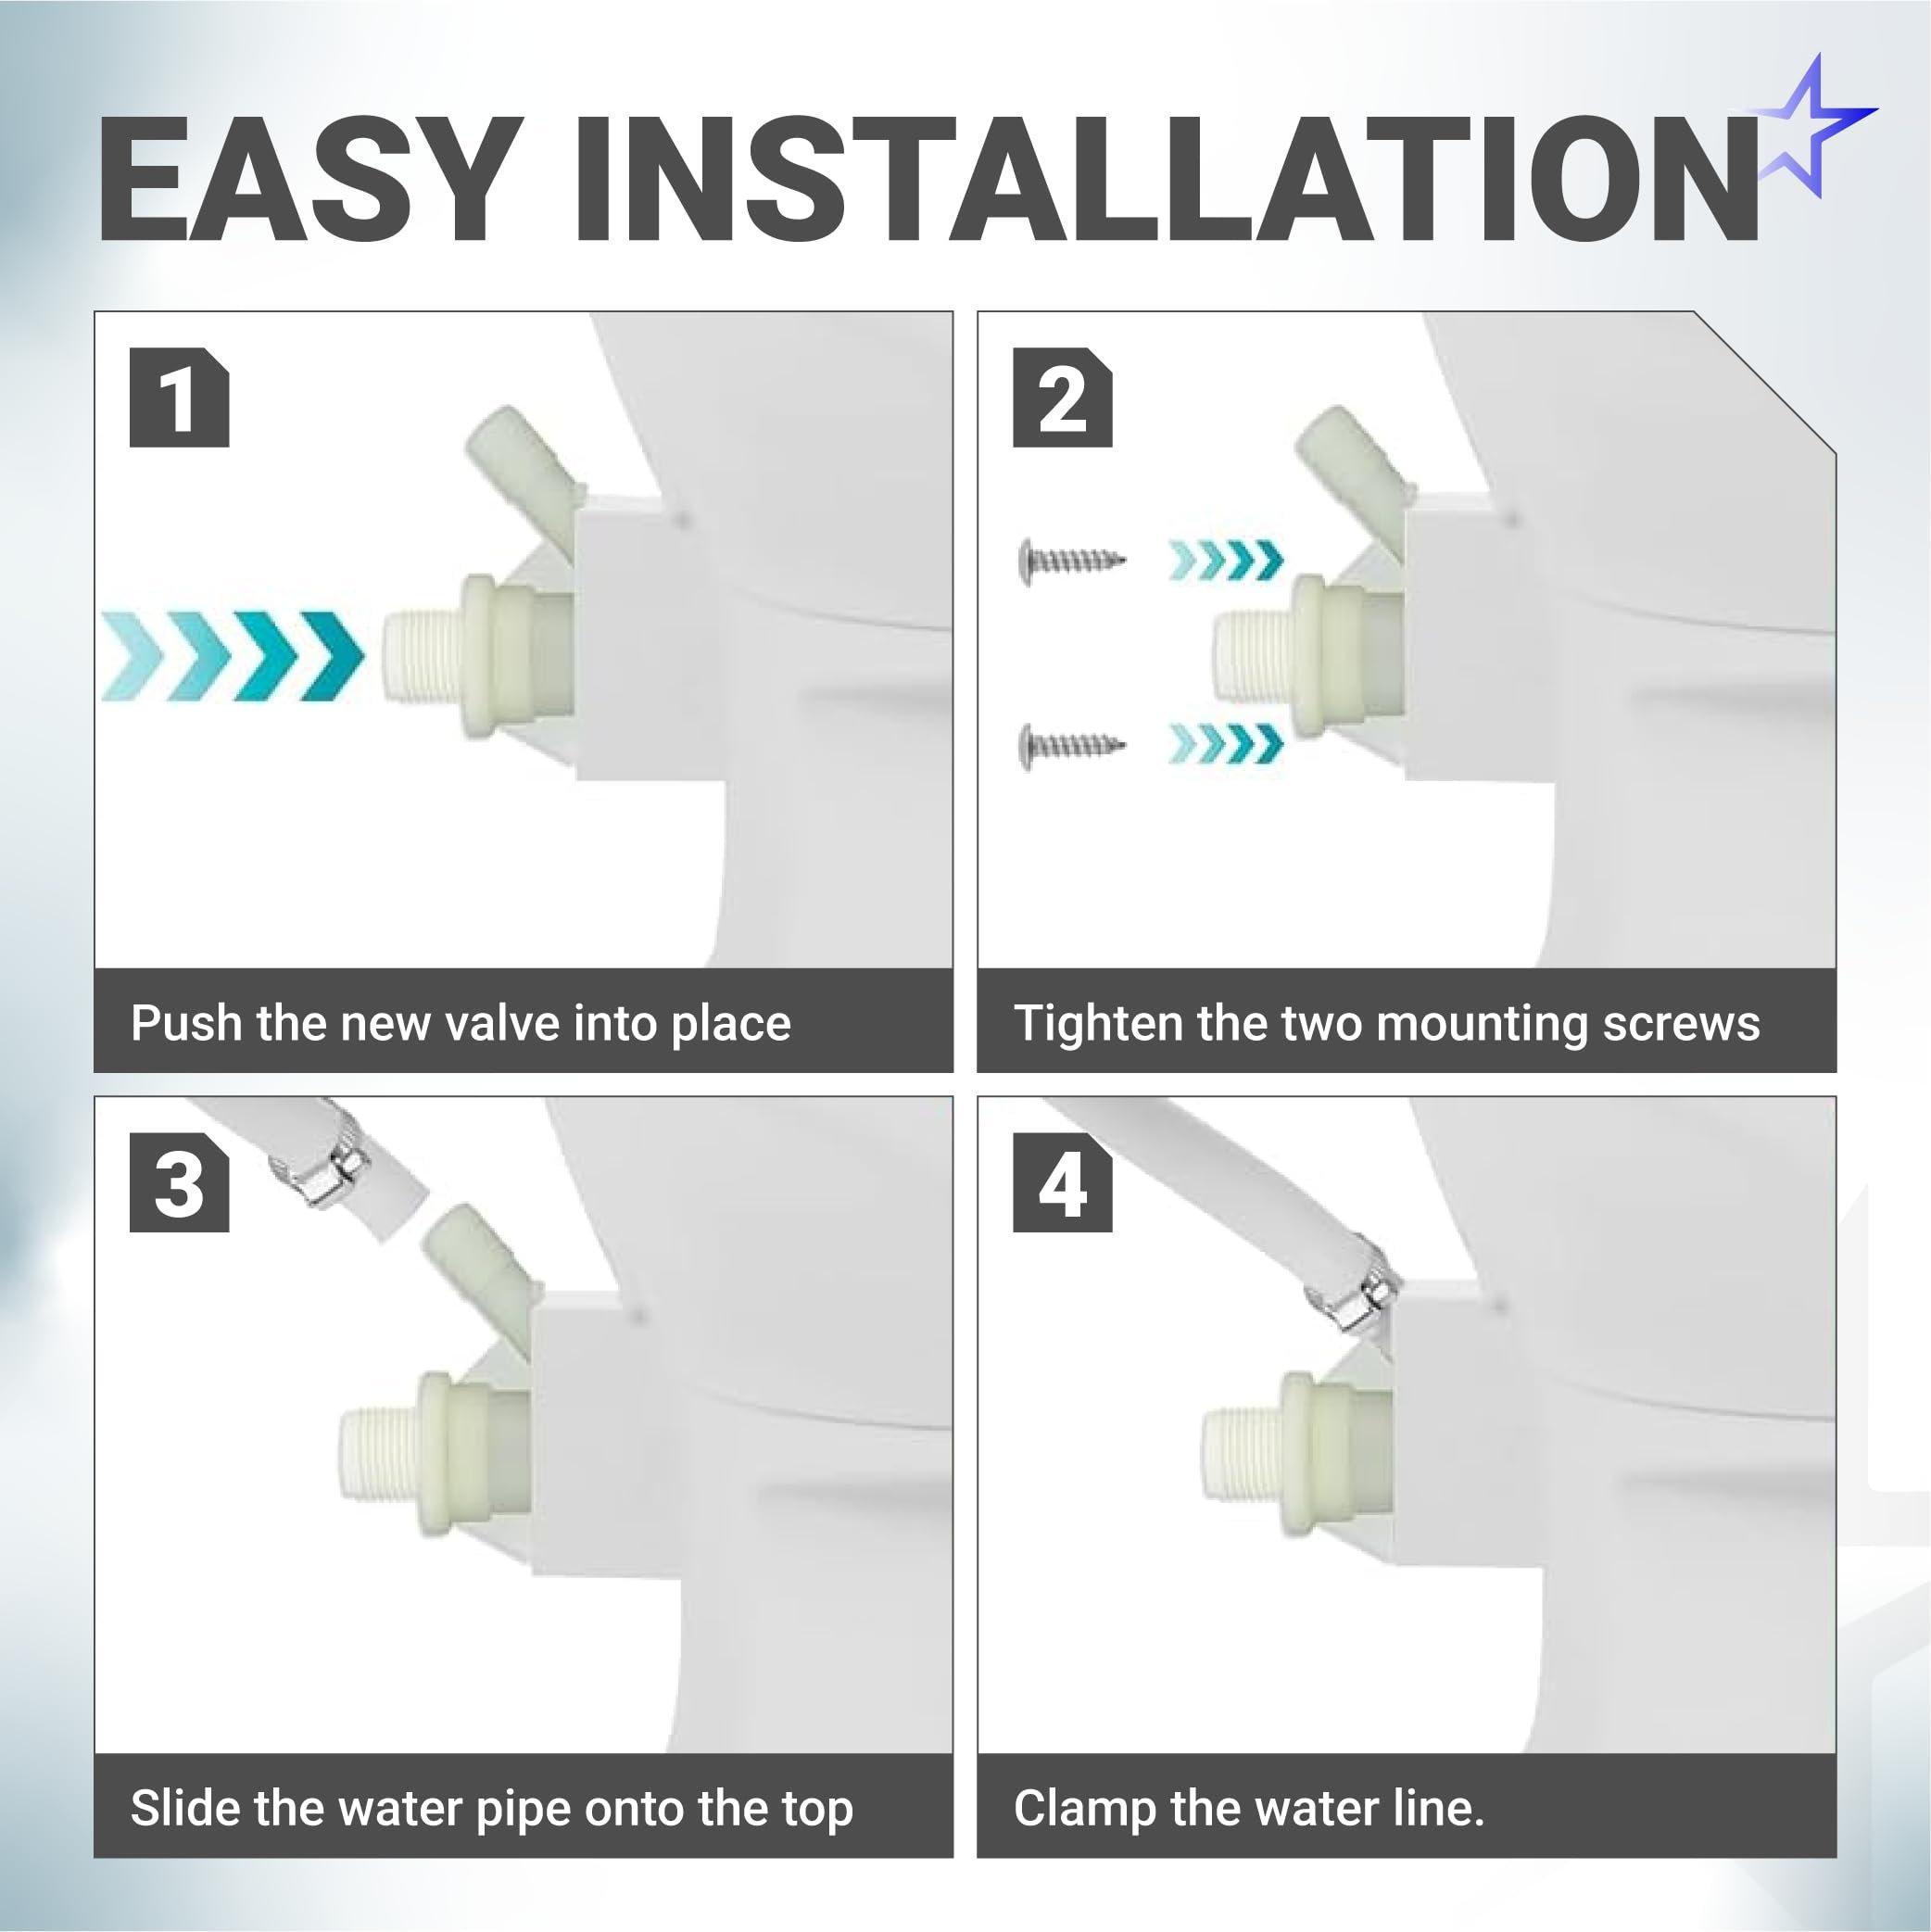
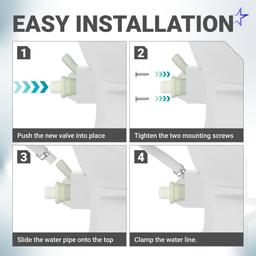
- Push the replacement valve into position and tighten the two mounting screws evenly.
- Slide the water pipe onto the top barb and secure the water line with the hose clamp.
- Run a test flush and inspect the valve, hose joint, and fittings for leaks.
Installation typically takes about 15 minutes with basic hand tools. The kit includes lifetime protection for defects or issues.


