
AZ00965594

Easy
More than 30 minutes
$23.40
$25.99

Not sure if this is the right part?
Check now







AZ00965594
RV Toilet Seal 3" Socket Floor Flange Kit for Dometic 300 310
Easy
More than 30 minutes
$23.40
$25.99
Save $2.59
In Stock
Fast delivery
Confirm the fit for your model
Find your model number and check it here to see if the part fits.
Description
Description
RV Toilet Seal 3" Socket Floor Flange Kit for Dometic 300 310
Key Features
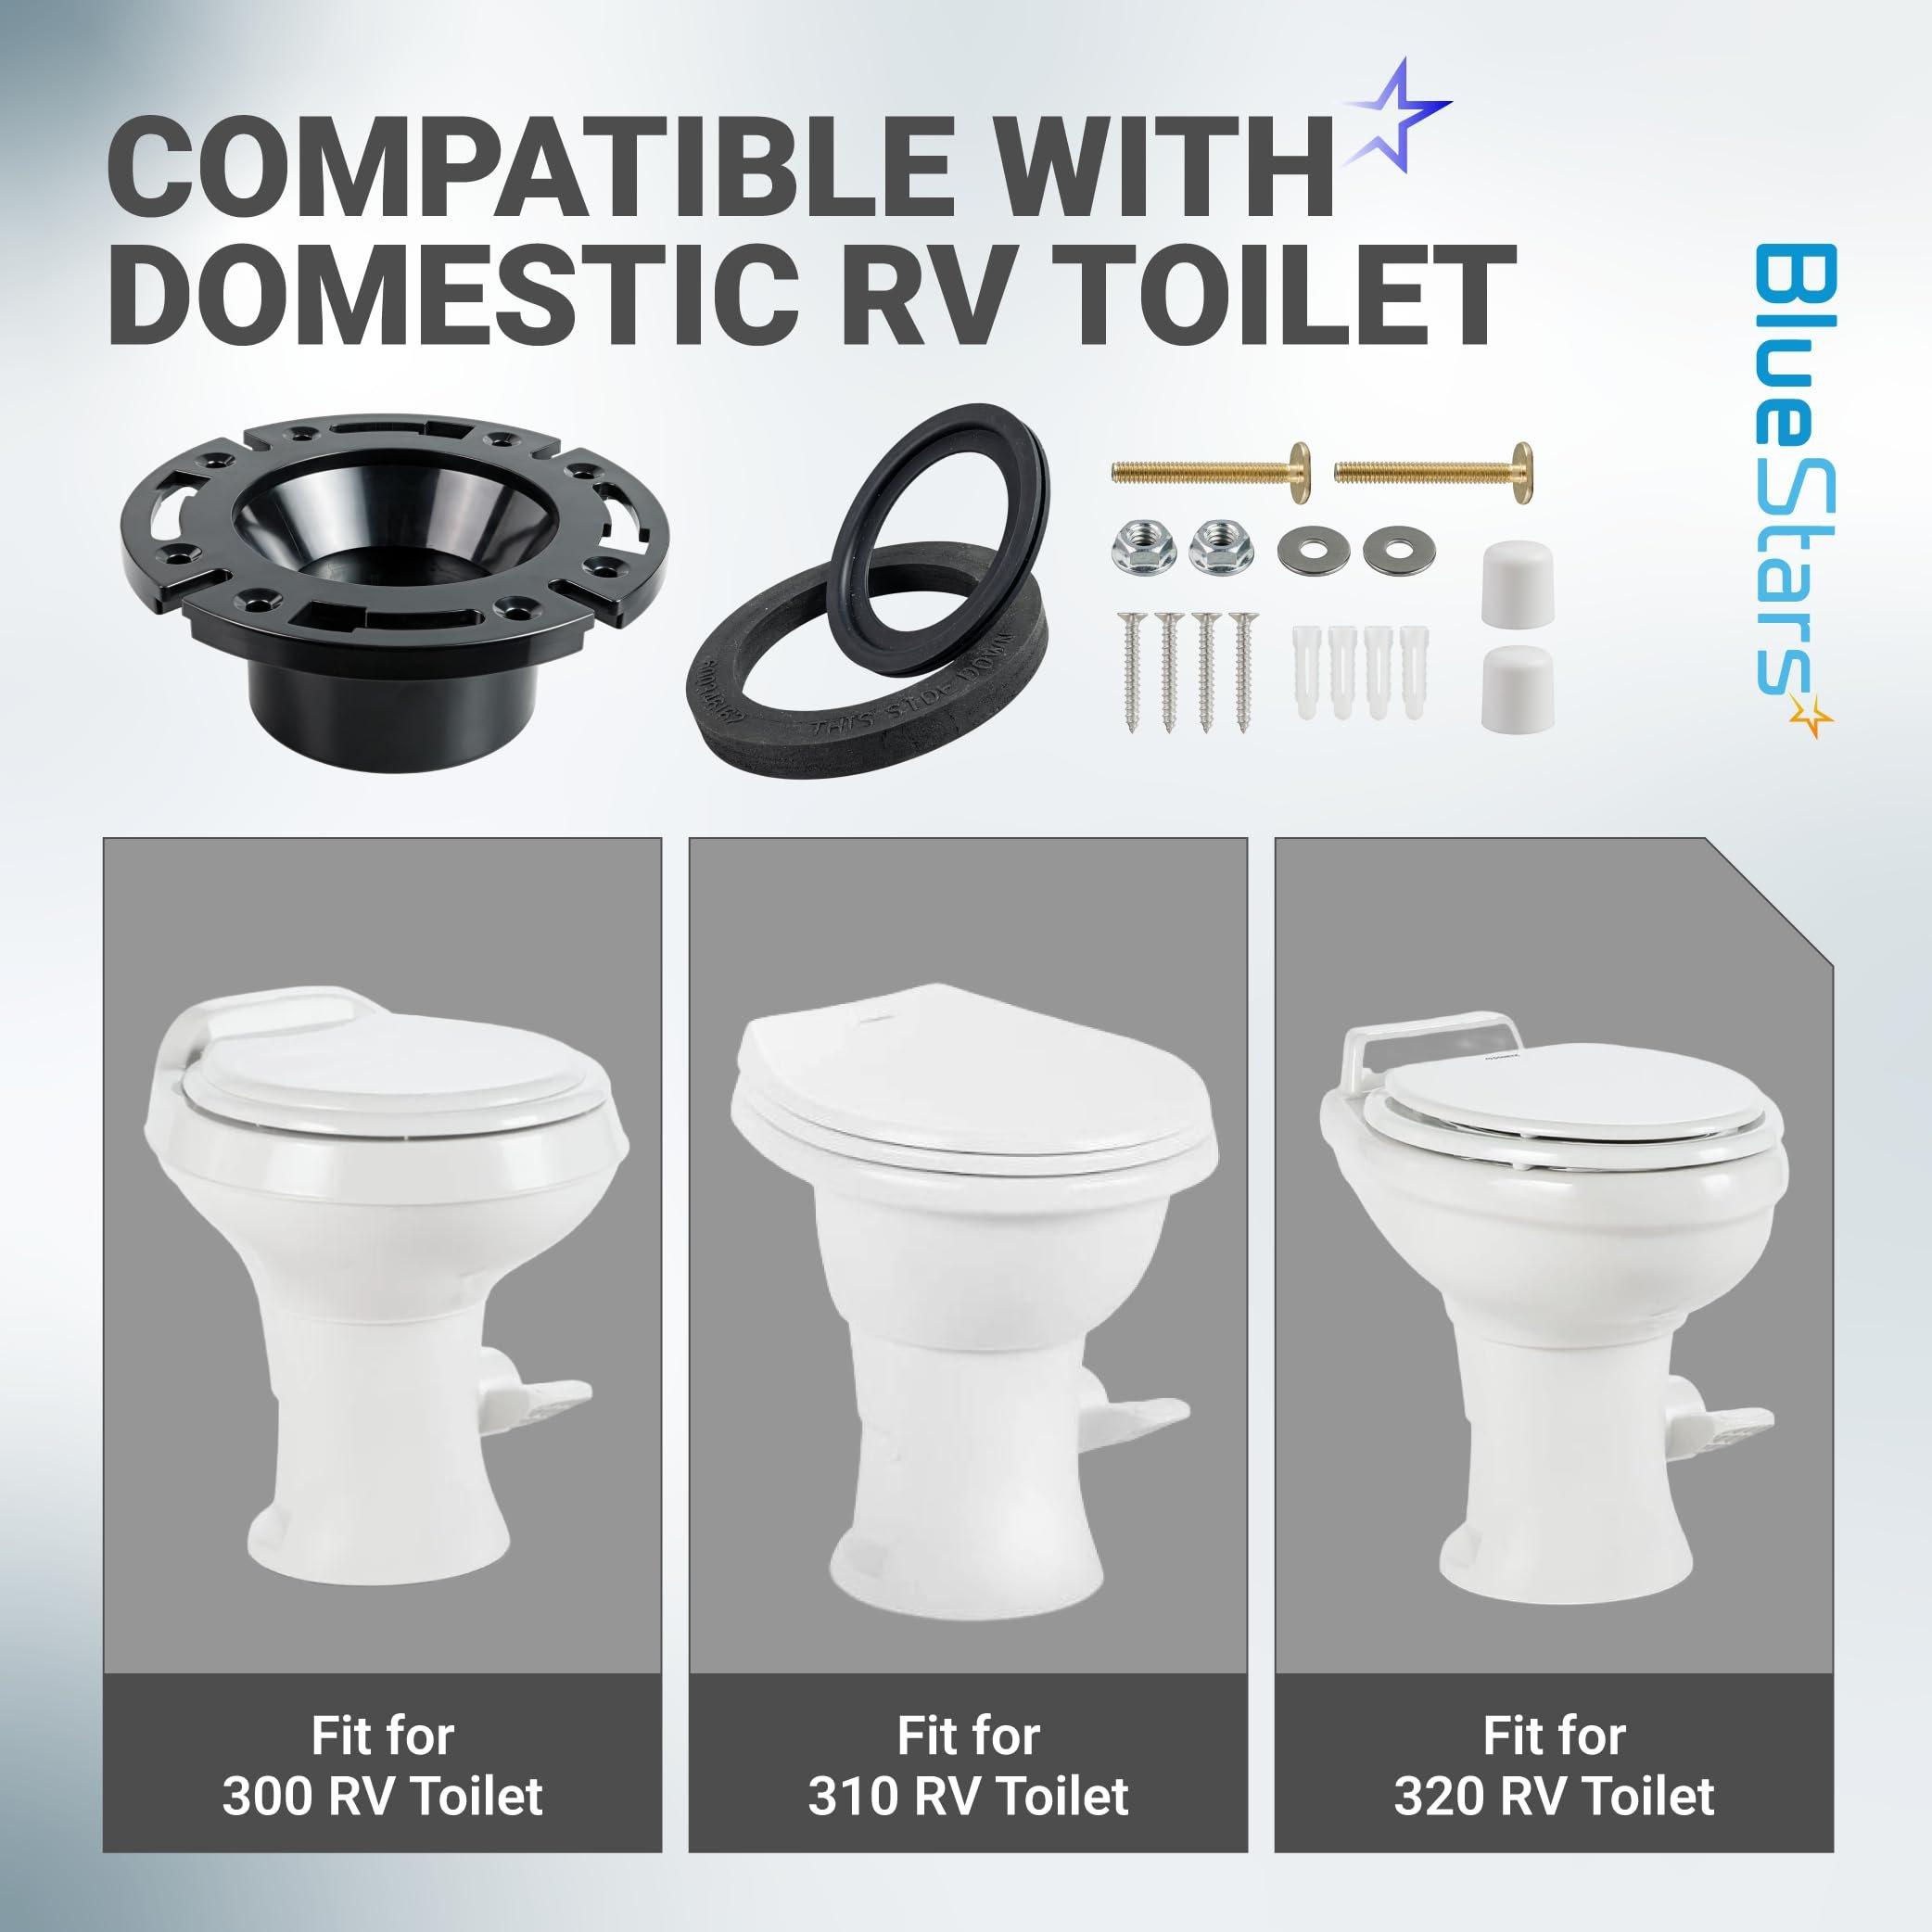
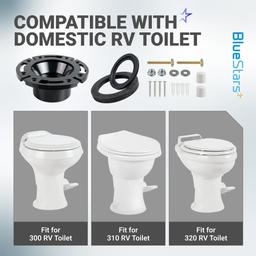
- Designed for Dometic 300, 310, and 320 RV toilets.
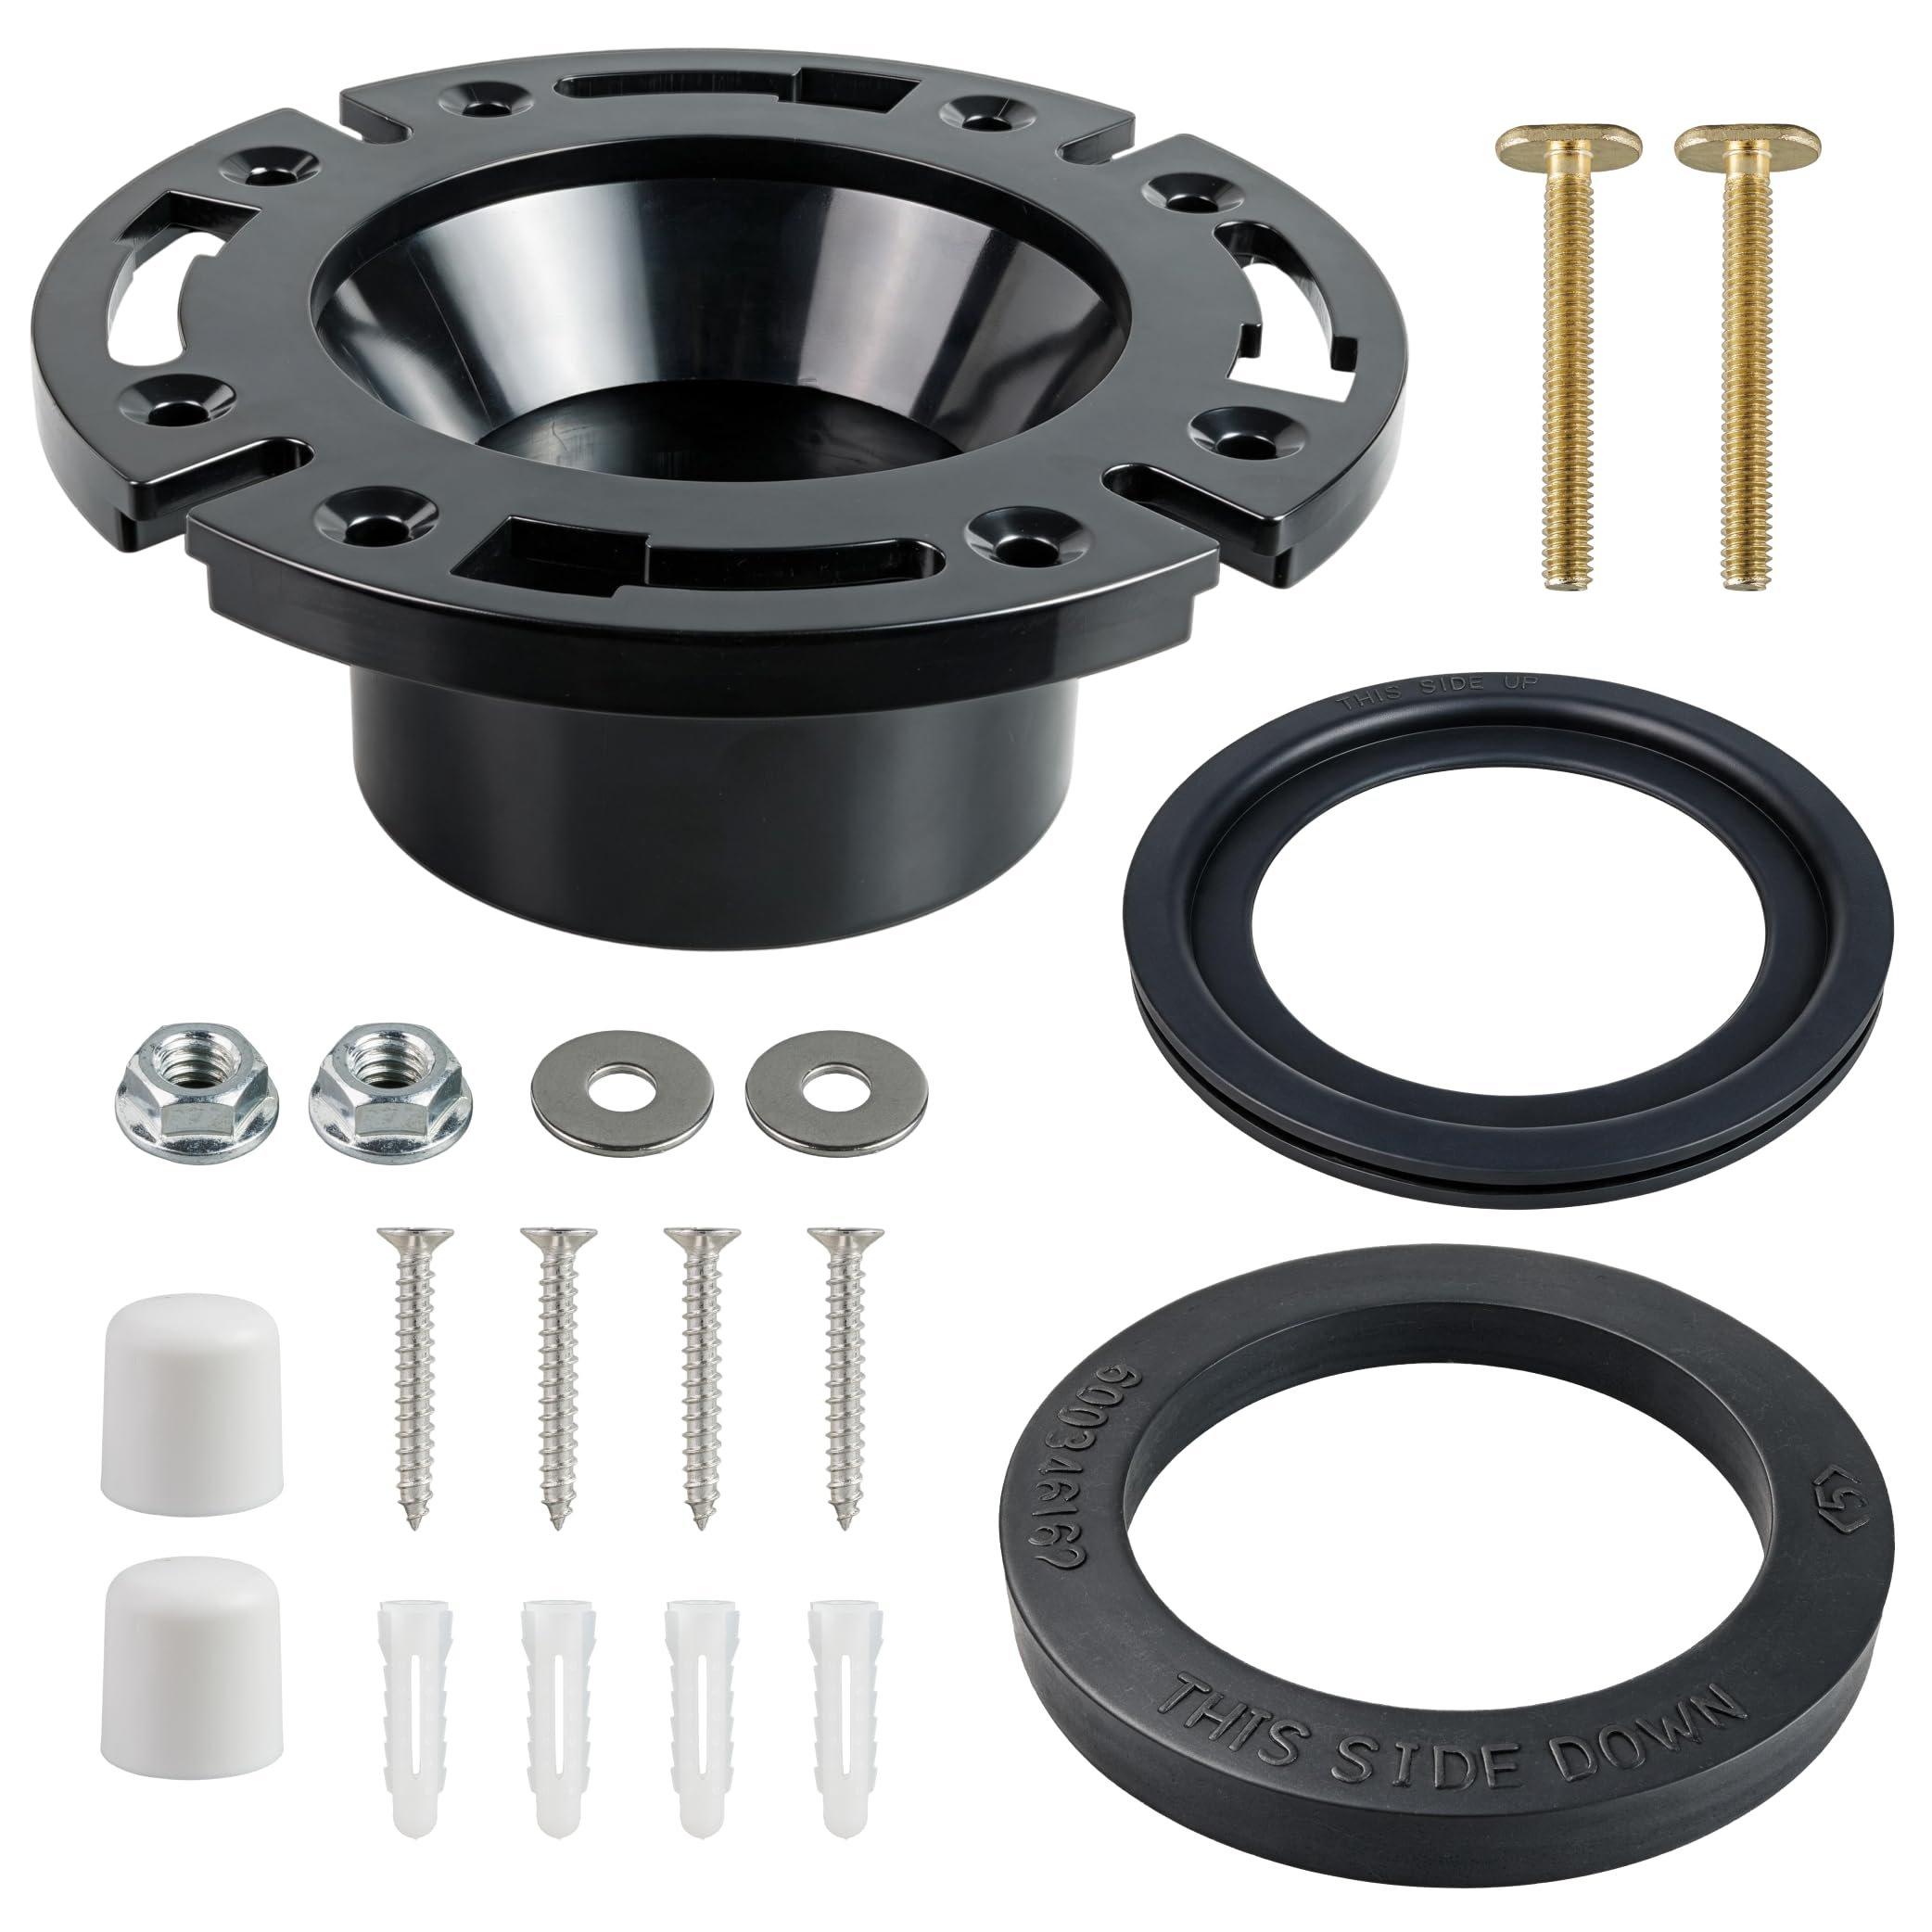
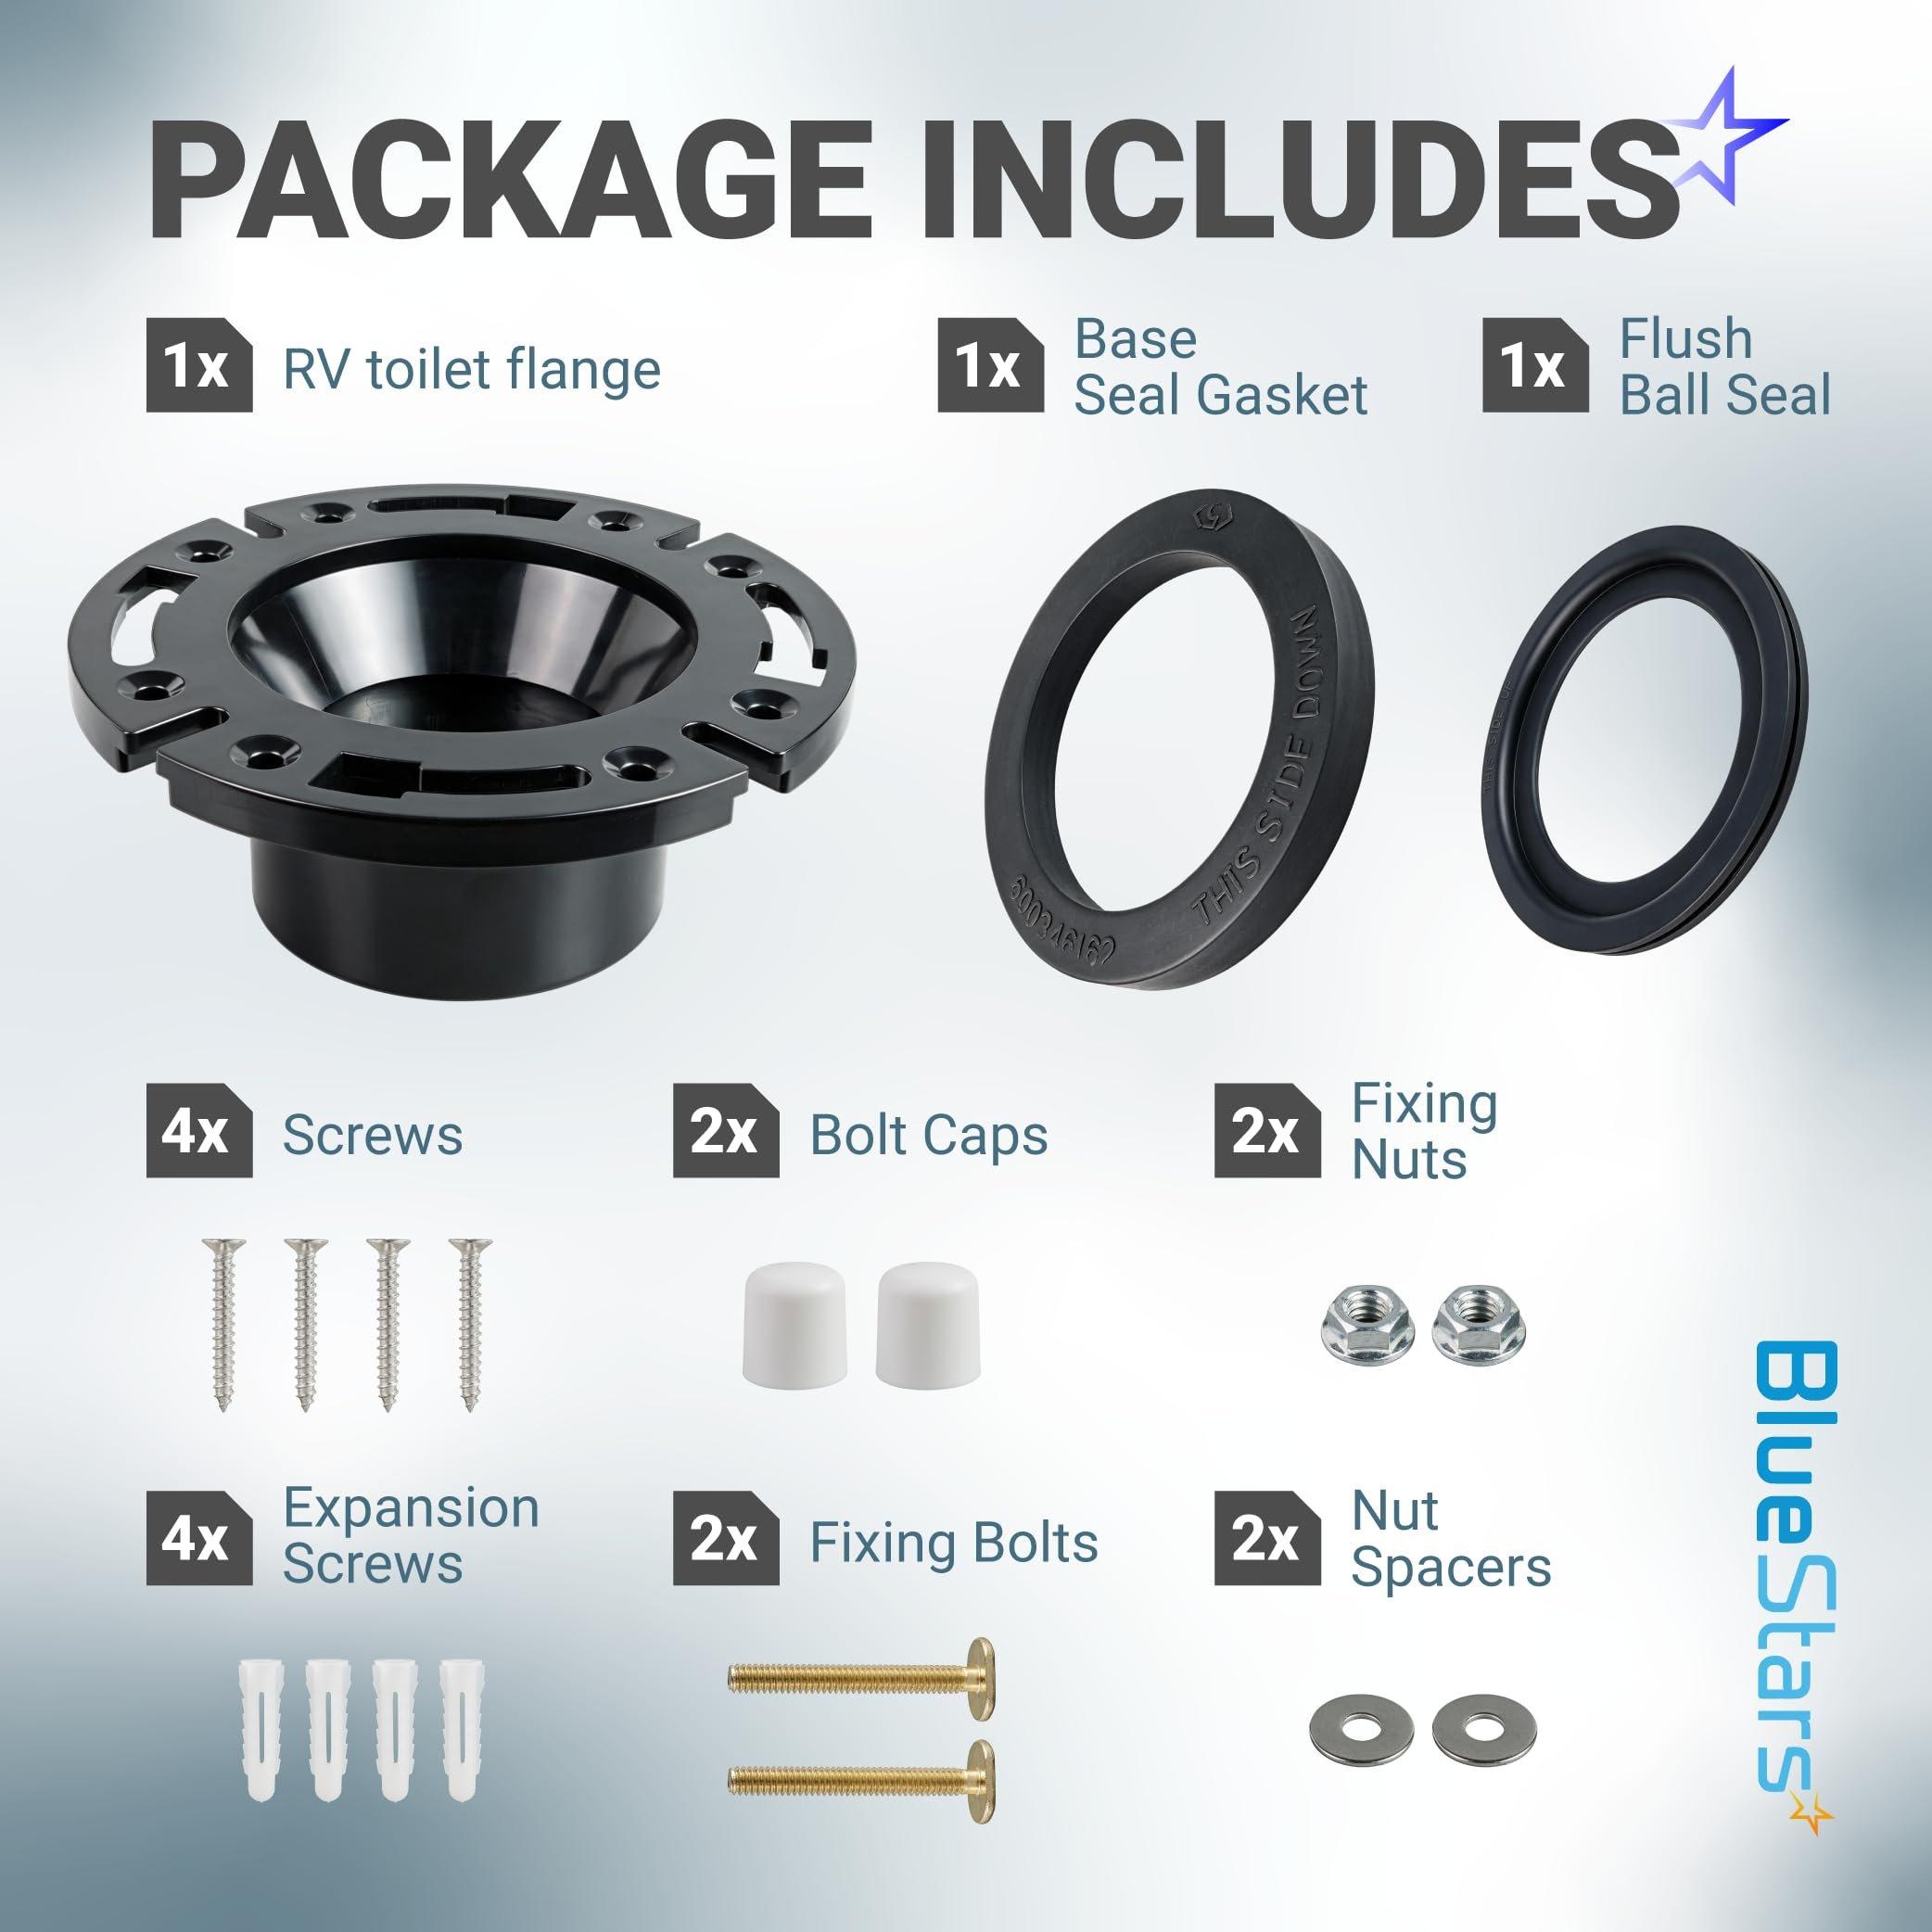
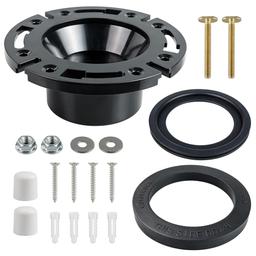
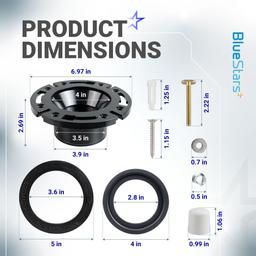
- Includes a 3-inch socket floor flange, base seal gasket, and flush ball seal.
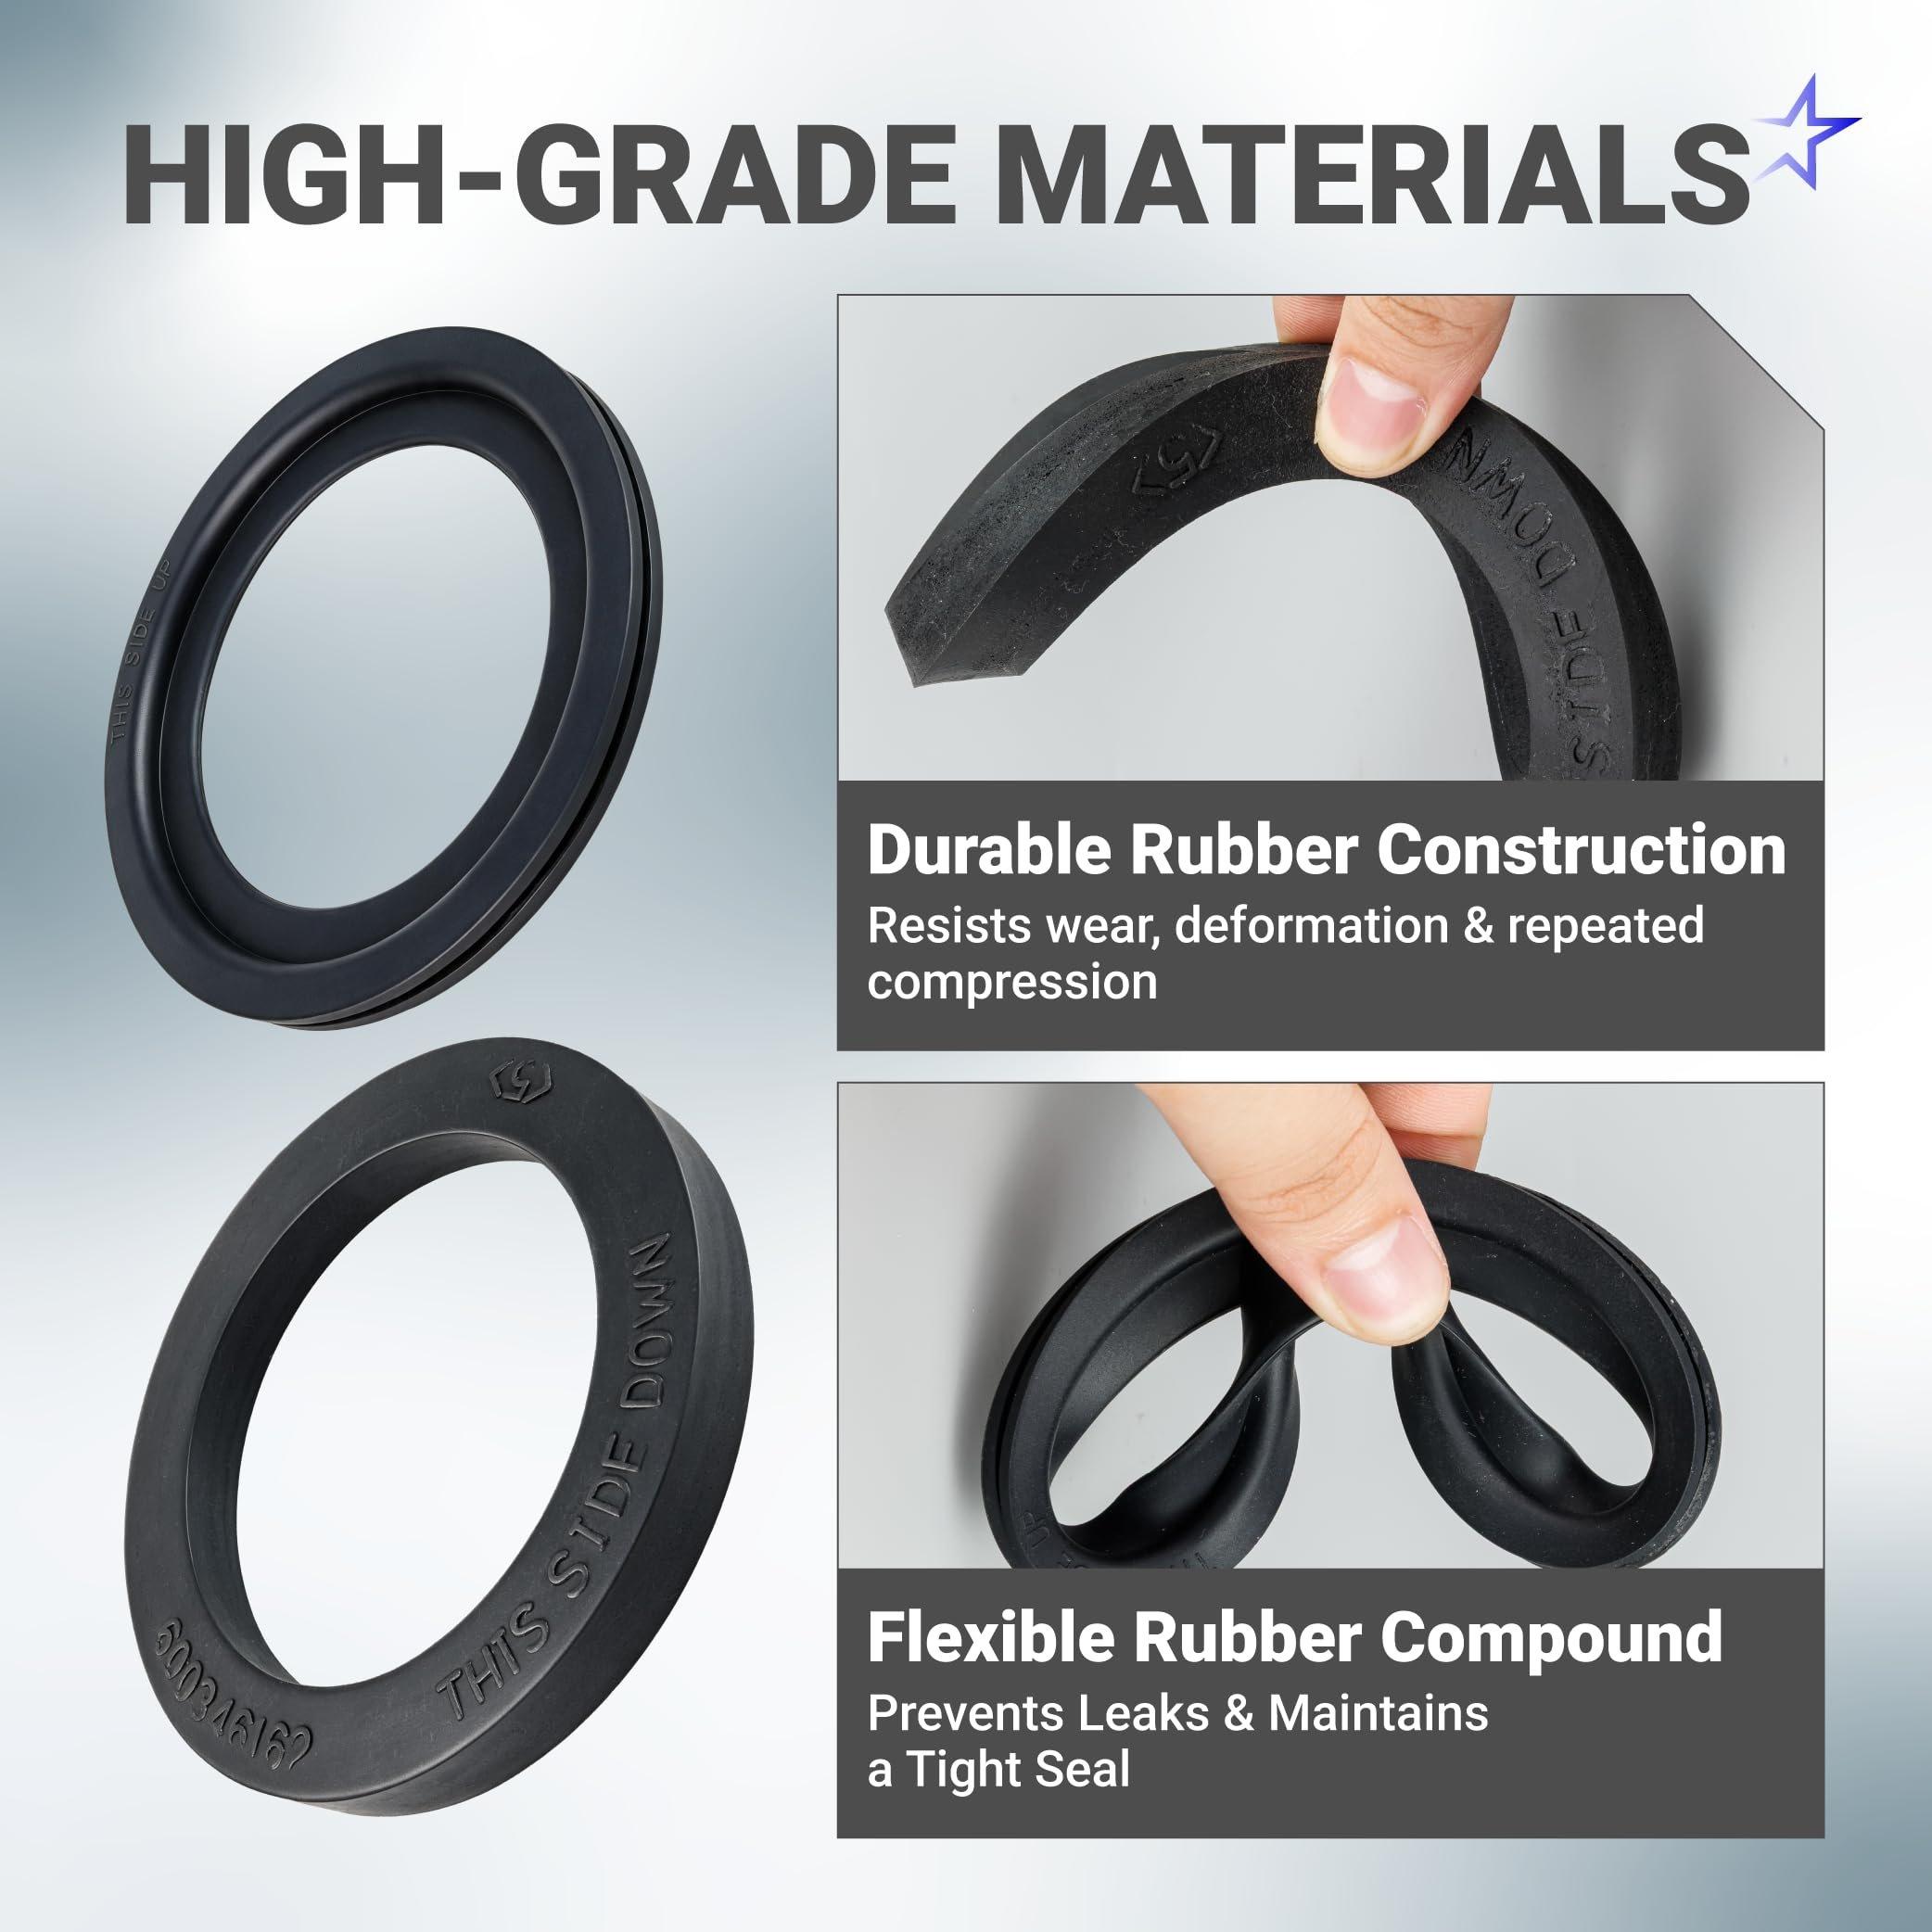
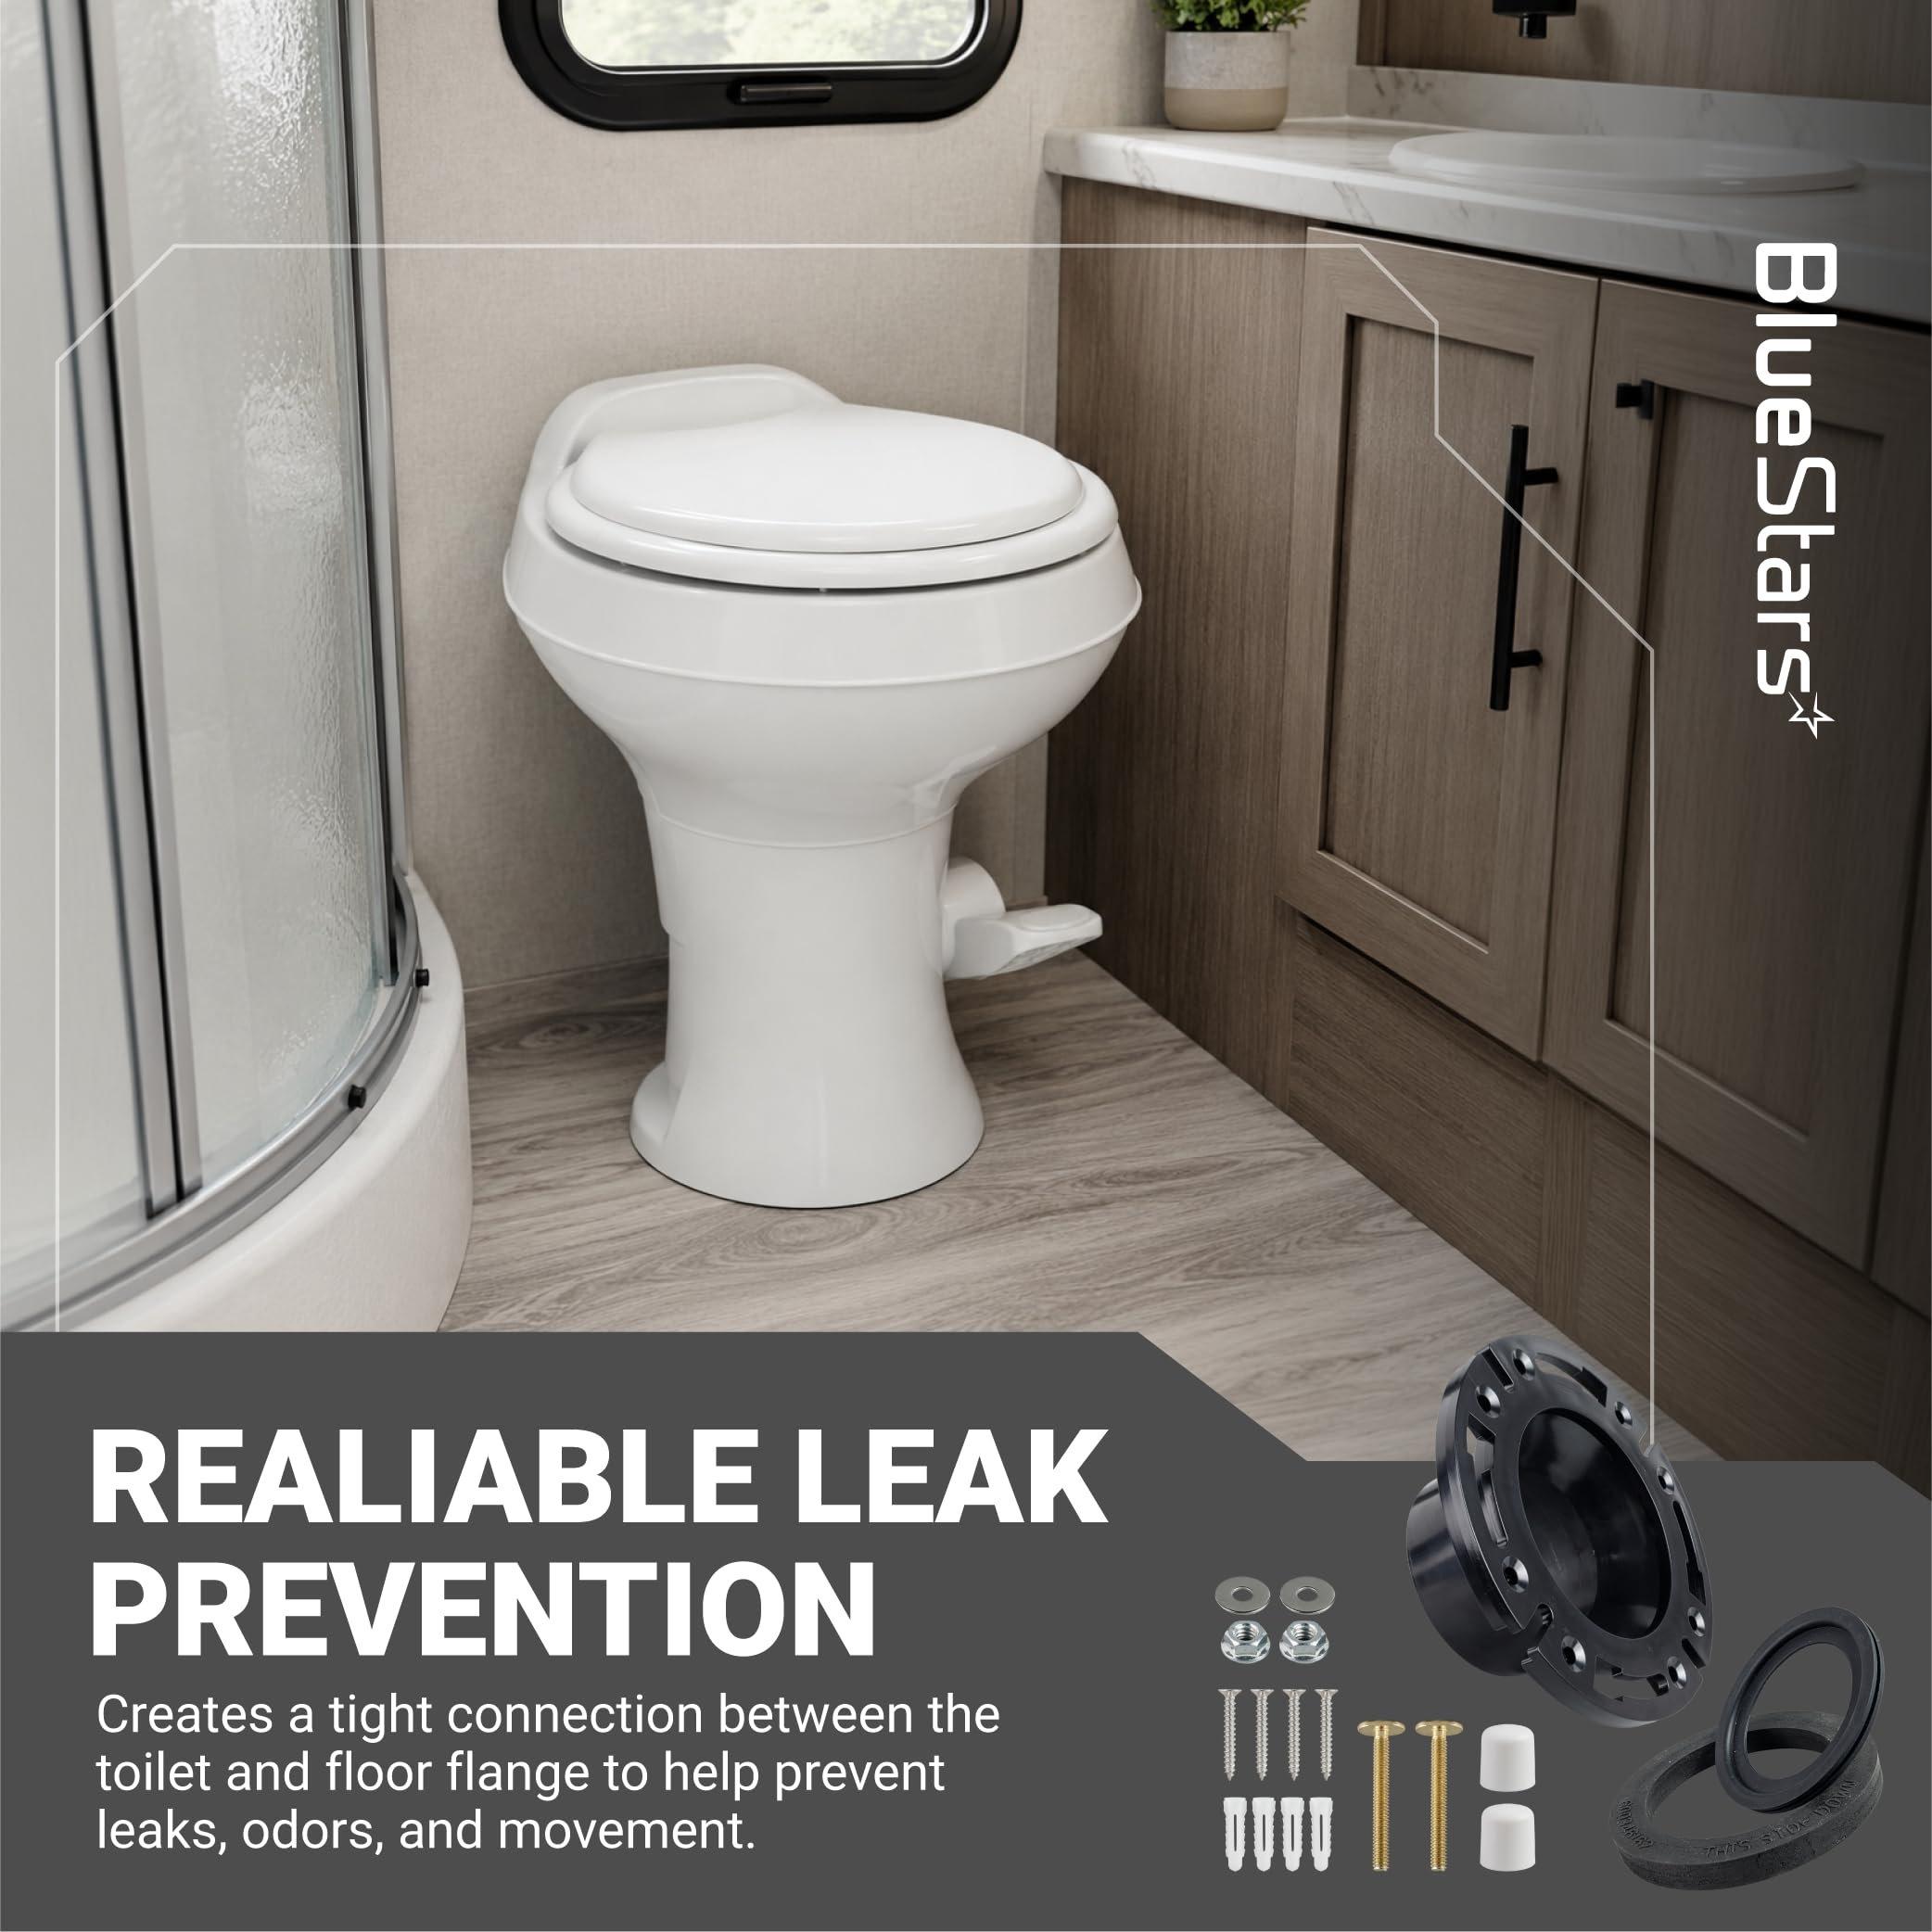
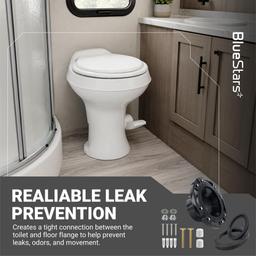
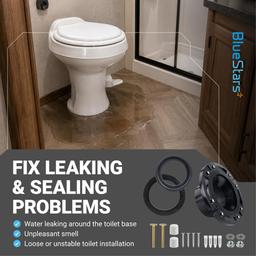
- Rubber seals help create a secure connection around the toilet base to reduce water leakage and block unpleasant odors.
- The flange is made from ABS plastic, while the toilet seals are made from rubber for wear and corrosion resistance.
- The flange has a “THIS SIDE DOWN” marking to help identify the correct installation orientation.
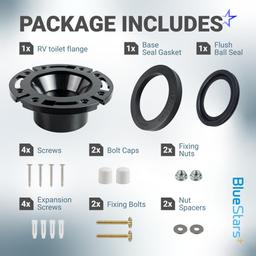
- Package contents: 1 RV toilet flange, 1 base seal gasket, 1 flush ball seal, 2 bolt caps, 2 fixing bolts, 2 fixing nuts, 2 nut spacers, 4 screws, and 4 expansion screws.
- Lifetime protection covers product defects or issues.
Replaces / Cross-Reference Part Numbers
- 385345892 — 3-inch socket floor flange
- 385311658 — flush ball seal
- 385311652 — base seal
Compatibility & Fitment
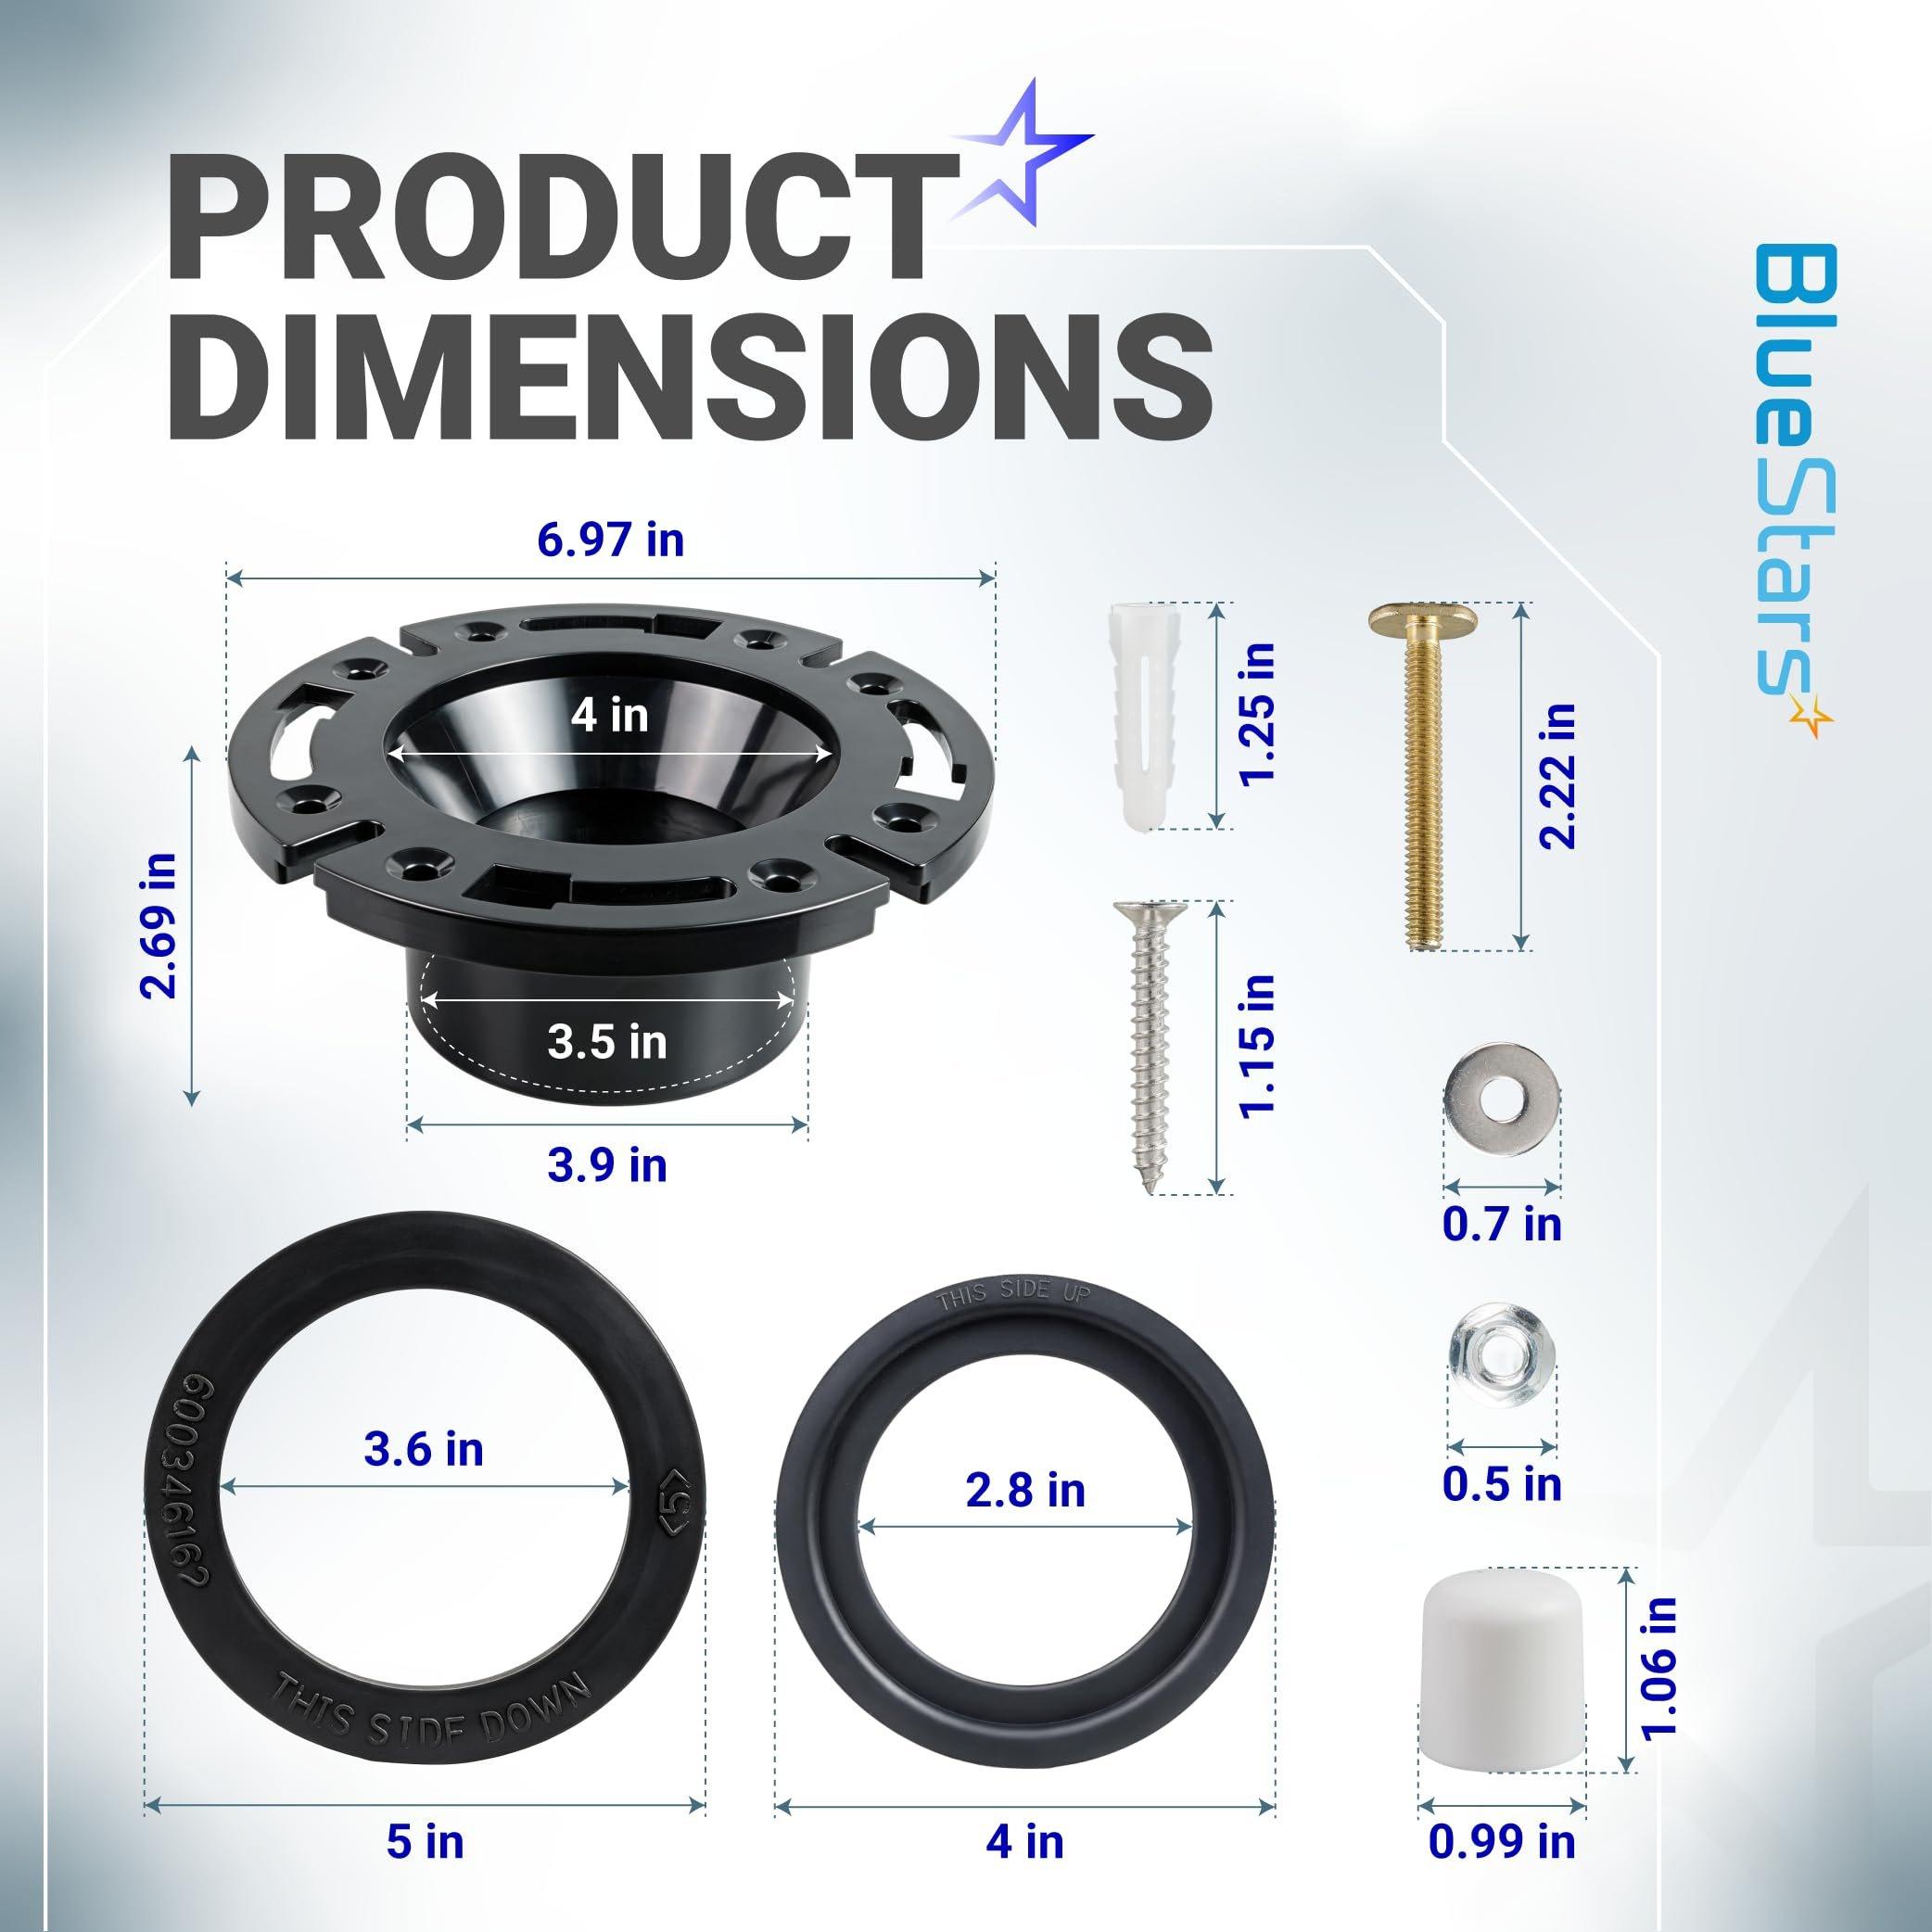
This kit fits Dometic 300, 310, and 320 RV toilets with a matching 3-inch socket floor flange connection. Compare the existing flange, seal shape, and drainpipe size with the product details before ordering to confirm the correct match.
When to Replace
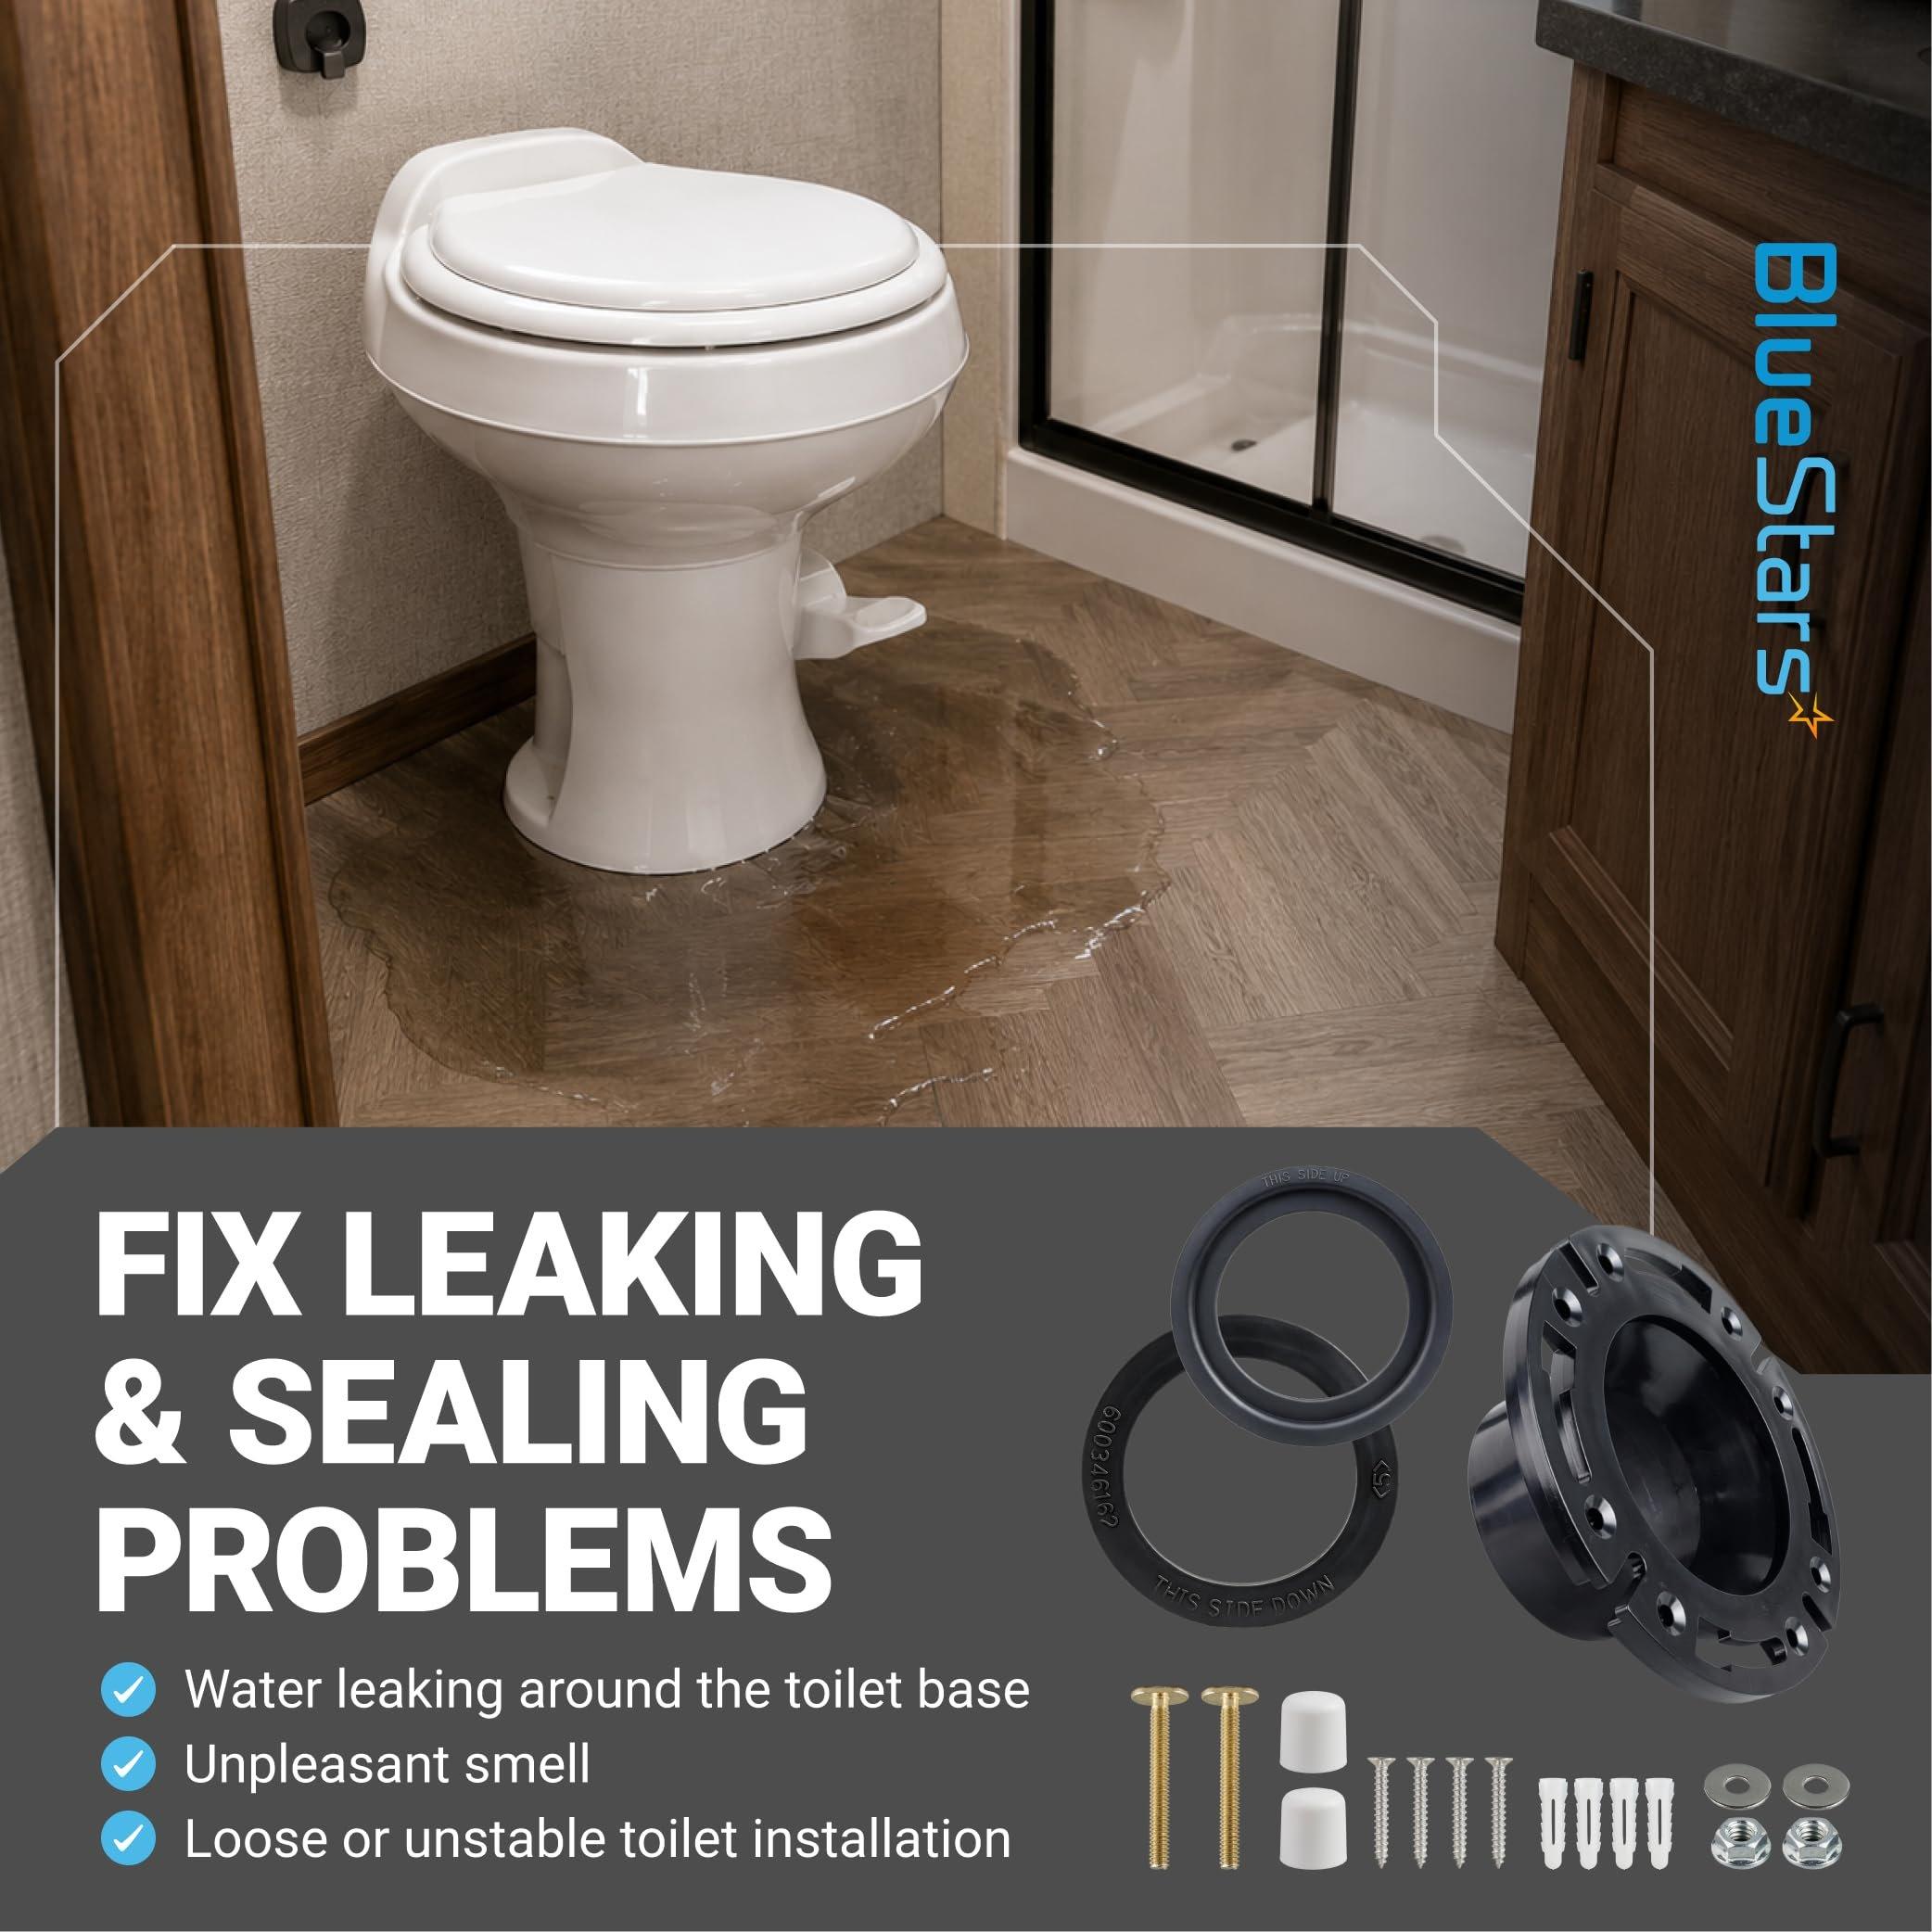
- Replace the flange or seals when water leaks around the toilet base.
- A worn flush ball seal can allow odors to enter the RV or prevent the toilet from sealing properly.
- Cracked, deformed, hardened, or corroded components should be replaced during a toilet base repair.
- Replacing the seals and flange together can restore the connection when the existing components no longer provide a secure seal.
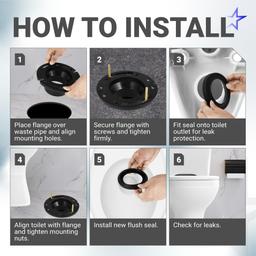
Installation Tips
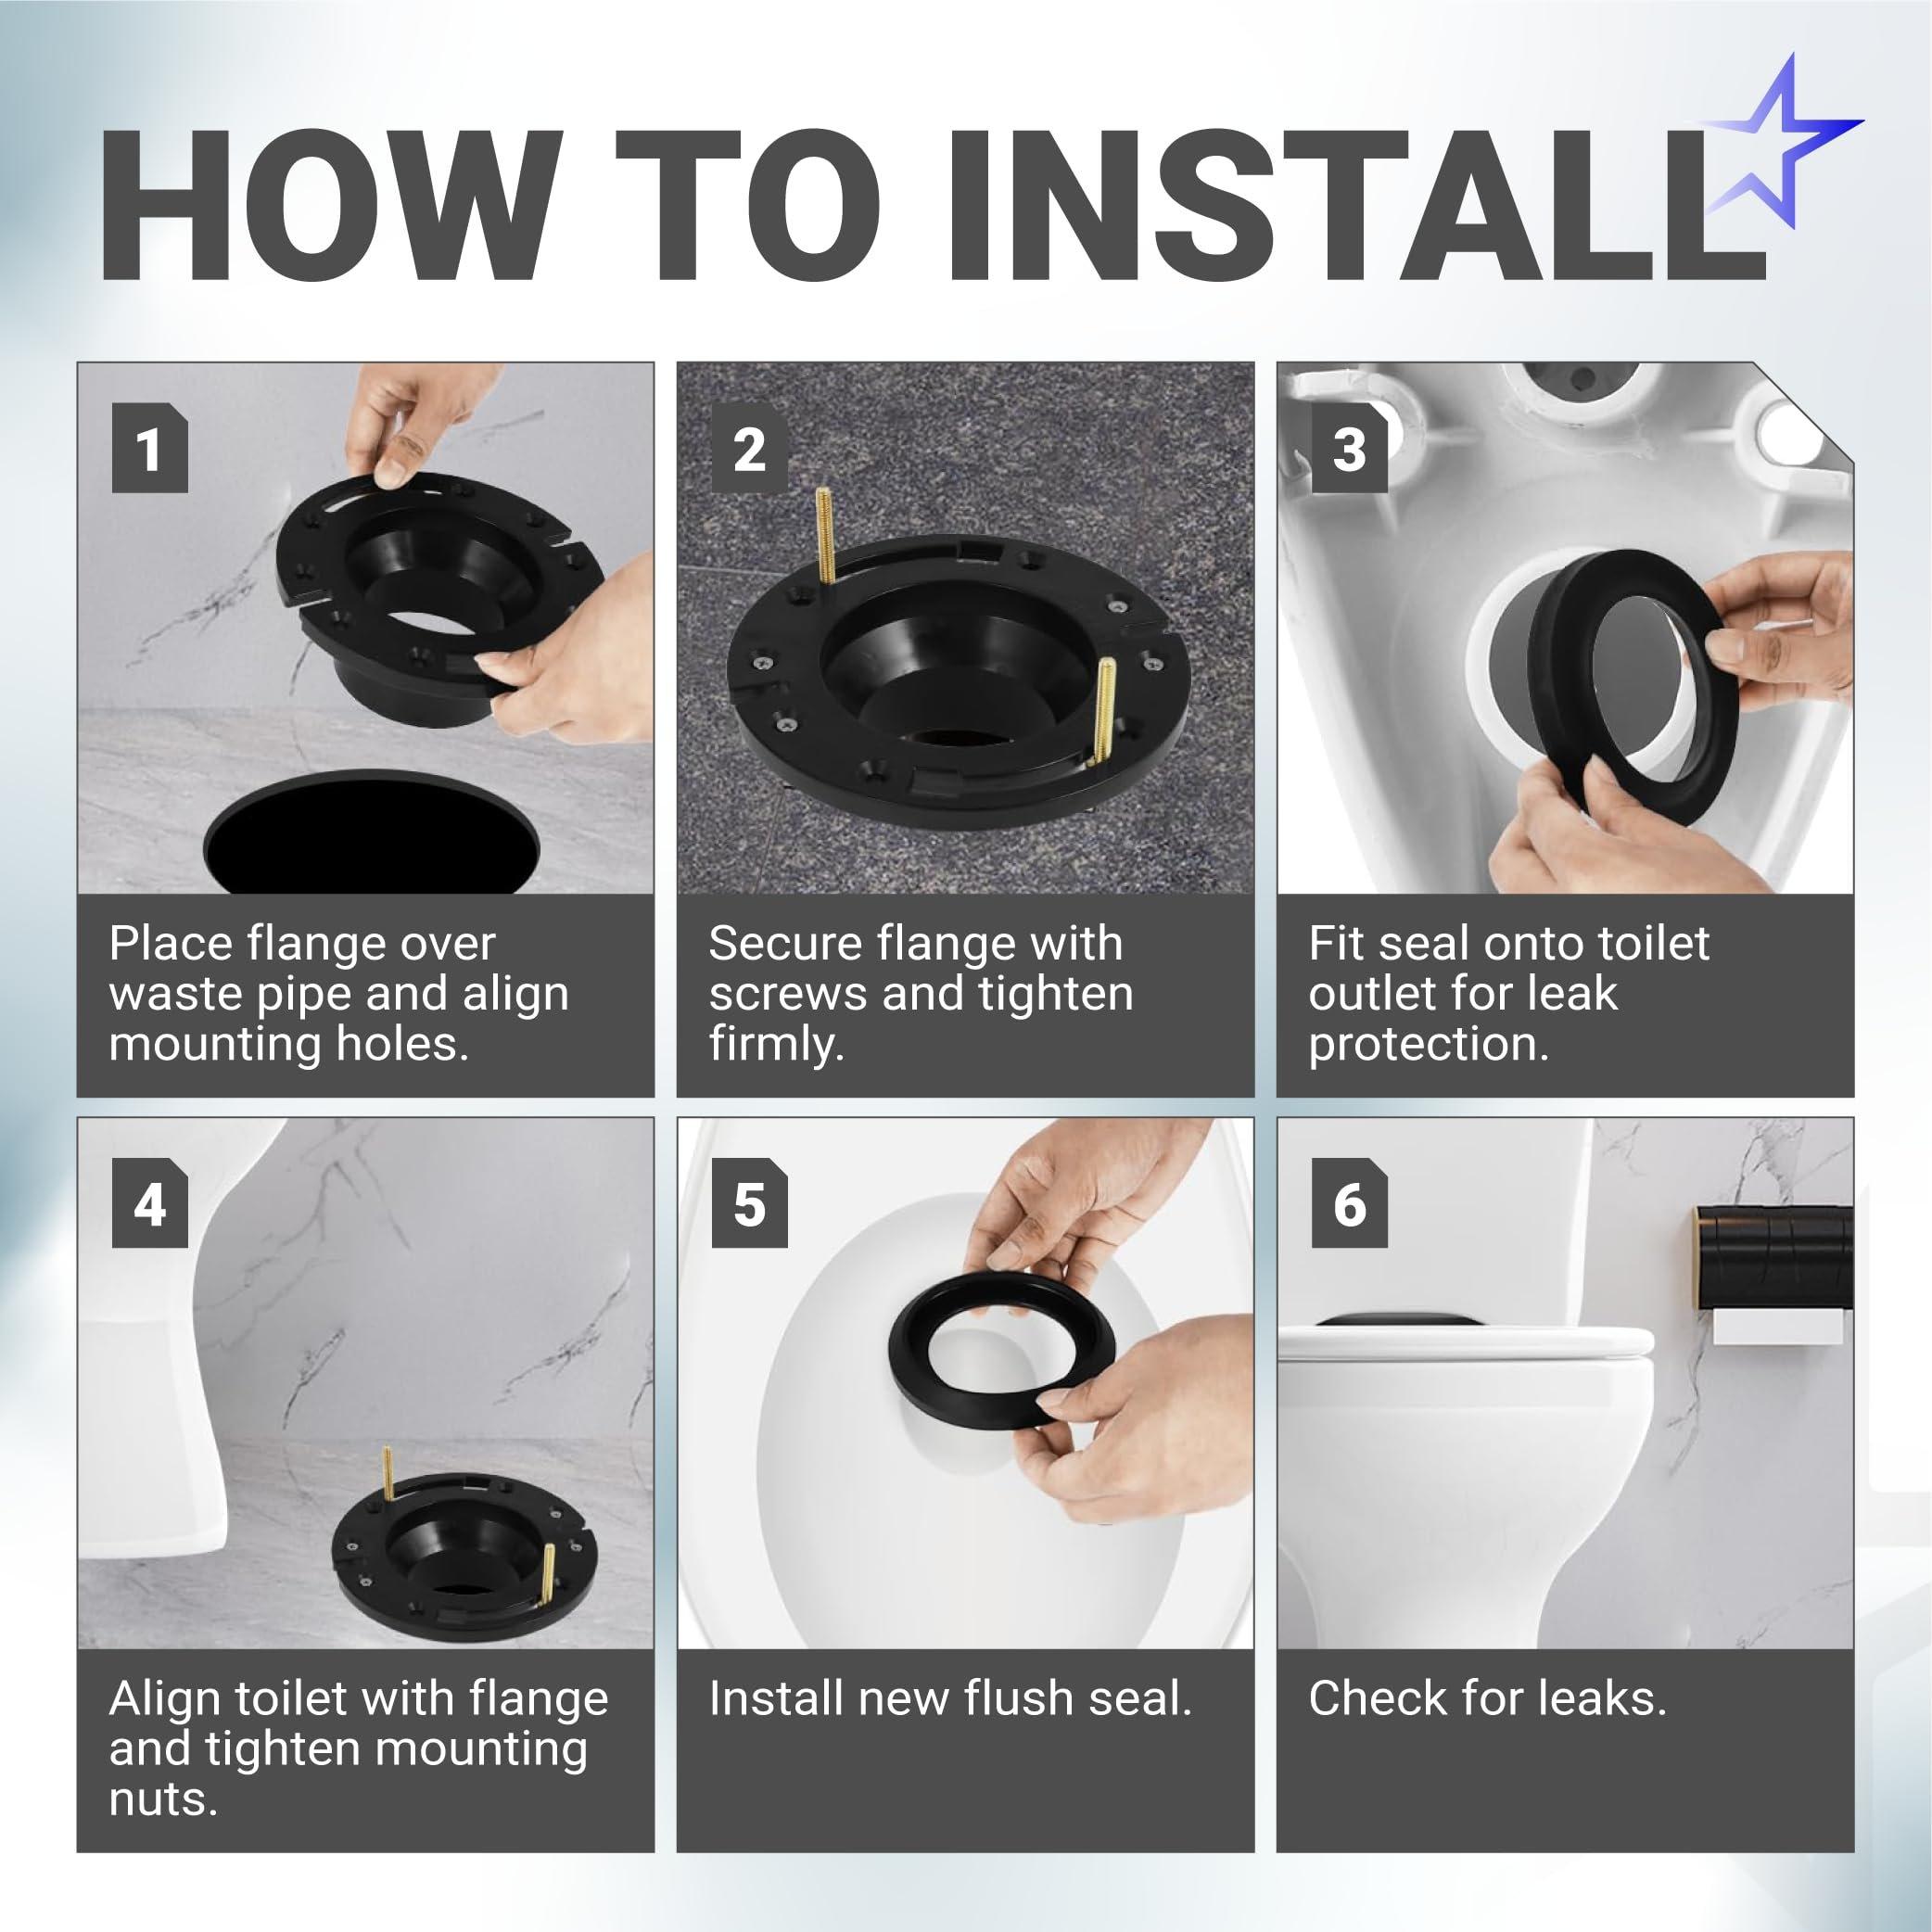
- Remove the old flange and seals, then clean the toilet base and surrounding mounting area before installation.
- Position the new flange with the “THIS SIDE DOWN” marking oriented correctly.
- Install the base seal and flush ball seal in their matching locations, then secure the toilet with the included bolts, nuts, spacers, screws, and expansion screws as applicable.
- Confirm that the flange, seals, and drainpipe align before tightening the hardware.
- Check the toilet base for leaks and verify the seal after installation.


