
AZ00971400

Normal
15 - 20 minutes
$10.53
$11.69

Not sure if this is the right part?
Check now










AZ00971400
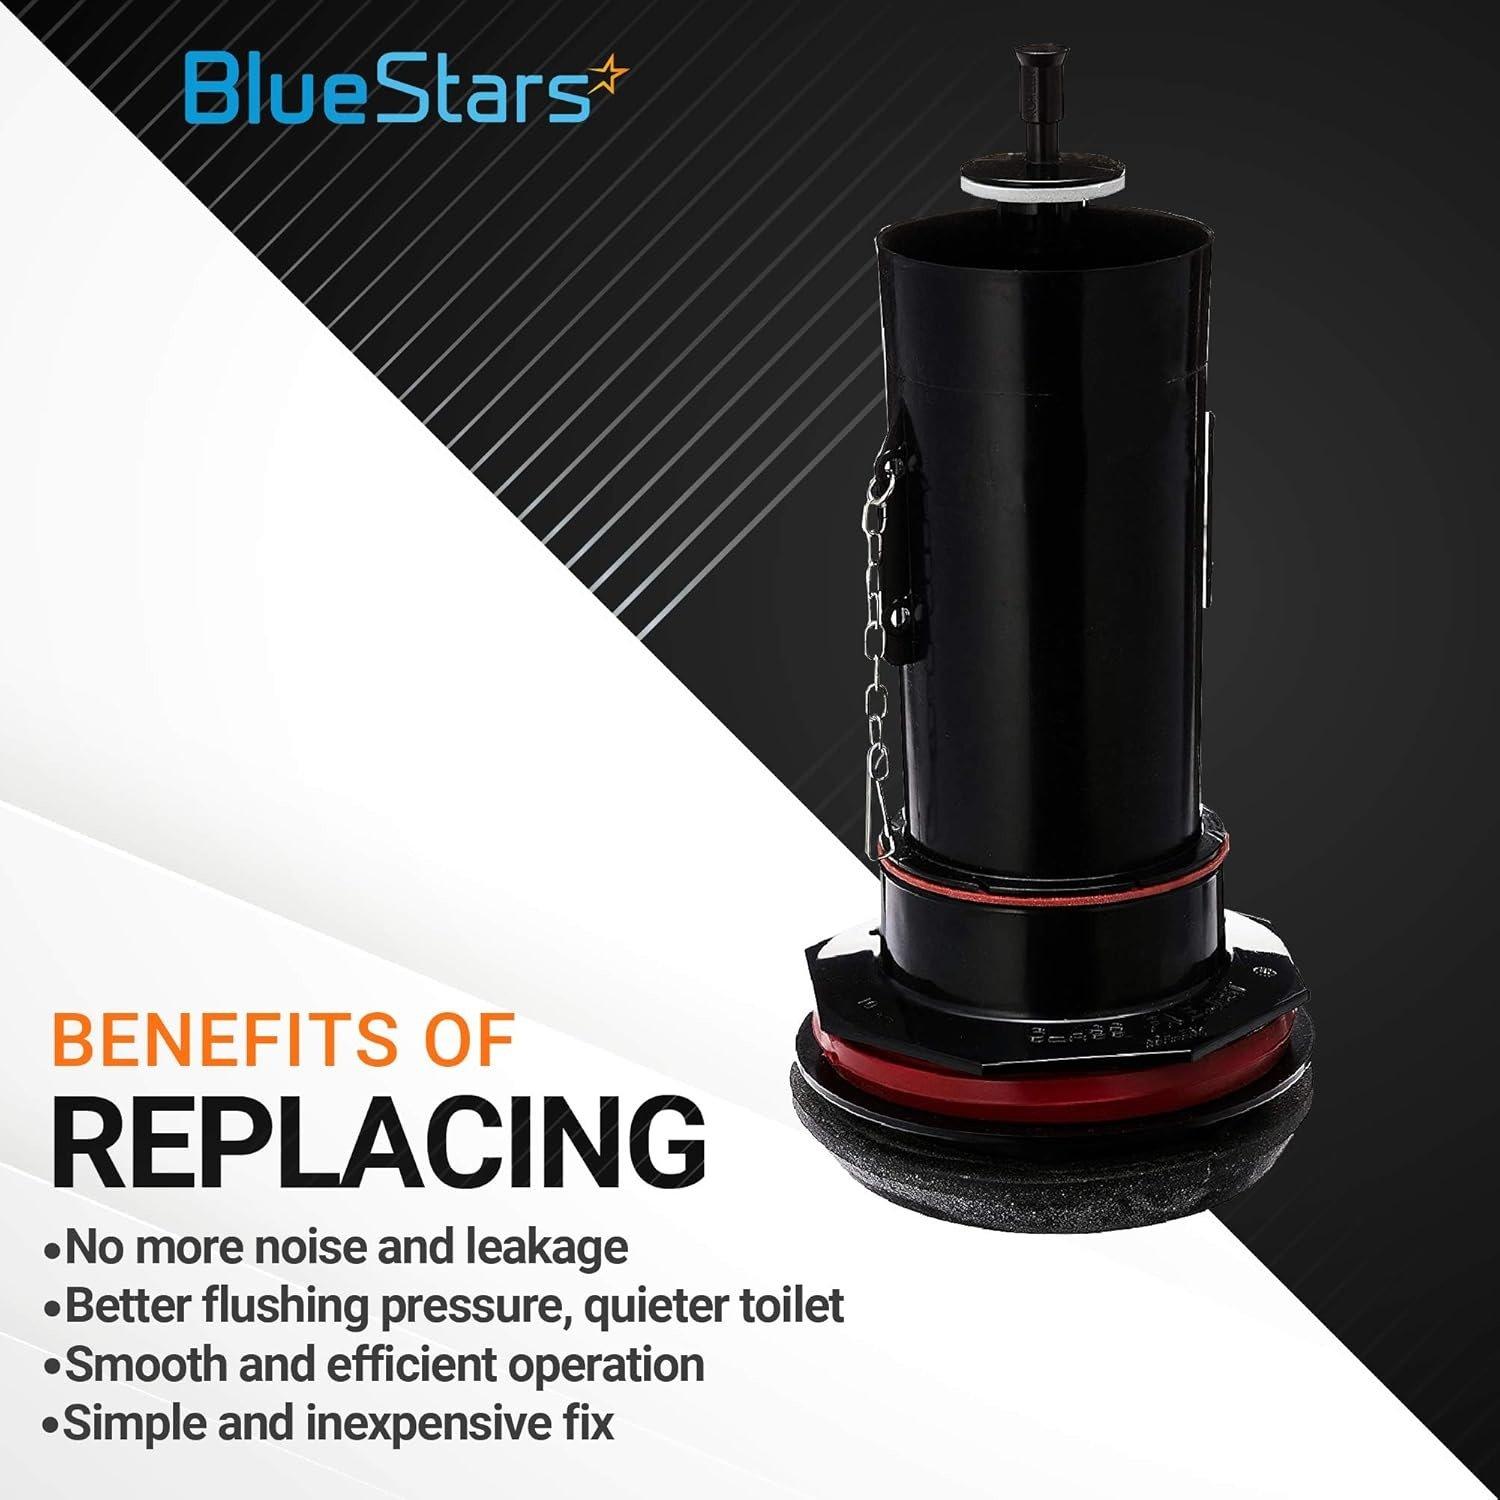
K-GP1059291 Canister Flush Valve Seal - Pack of 5
Normal
15 - 20 minutes
Out of Stock
Confirm the fit for your model
Find your model number and check it here to see if the part fits.
Description
Description
K-GP1059291 Canister Flush Valve Seal - Pack of 5
Key Features
- Package contains five (5) canister flush valve seals.
- Constructed from durable, chemical-resistant rubber material.
- Engineered to provide a direct replacement for the original equipment seal.
- Restores flushing performance and resolves leaks between the tank and bowl.
Replaces / Cross-Reference Part Numbers
- K-GP1059291
- GP1059291
- 2475620
- 1049291
Compatibility & Fitment
- Fits select Kohler single-flush toilets that use a canister-style flush valve.
- Compatible with Kohler Class Five and Class Six toilets.
When to Replace
- The toilet runs continuously or leaks water from the tank into the bowl.
- The existing seal is visibly cracked, warped, brittle, or deteriorated.
- As part of routine maintenance to prevent future valve failure.
Installation Tips
- Turn off the toilet's water supply and flush to empty the tank.
- Remove the tank lid and detach the flush valve canister, typically with a counter-clockwise twist.
- Remove the old seal from the base of the canister.
- Clean the canister's sealing groove and the valve seat in the tank.
- Install the new seal, ensuring it is seated flat and evenly.
- Re-install the canister, restore the water supply, and test for proper function and leaks.


