How-To Guides
How to Replace a Dishwasher Door Seal (In 5 Steps)
AZparts Team
Updated on July 11, 2025
5 min read
The dishwasher door gasket prevents water leaks during use but can wear out over time, causing reduced performance and potential leakage. Replacing the gasket is not too complicated and can be done at home with just a few simple steps. In this article, you’ll find a step-by-step guide on how to properly replace a dishwasher door gasket, along with a recommendation for quality replacement parts from AZParts to ensure a tight seal and long-lasting performance for your appliance.

1. What You Will Need
Before replacing the dishwasher door gasket, you should prepare the following tools and materials to ensure a smooth and safe process:
- New door gasket: Make sure it’s the correct type and size for your specific dishwasher model.
- Cleaning cloth or soft rag: Used to wipe away dust, grease, and debris from the gasket channel.
- Mild cleaner or cleaning solution: Helps thoroughly clean the gasket groove area before installation.
- Screwdriver or gasket removal tool: Assists in removing the old gasket more easily.
- Warm water or a hair dryer: Used to soften the new gasket, making it easier to install and eliminating any creases.
- Scissors or utility knife: In case you need to trim any excess length from the new gasket after installation.
Being well-prepared with these items will save you time and help ensure the gasket replacement is done correctly and efficiently.
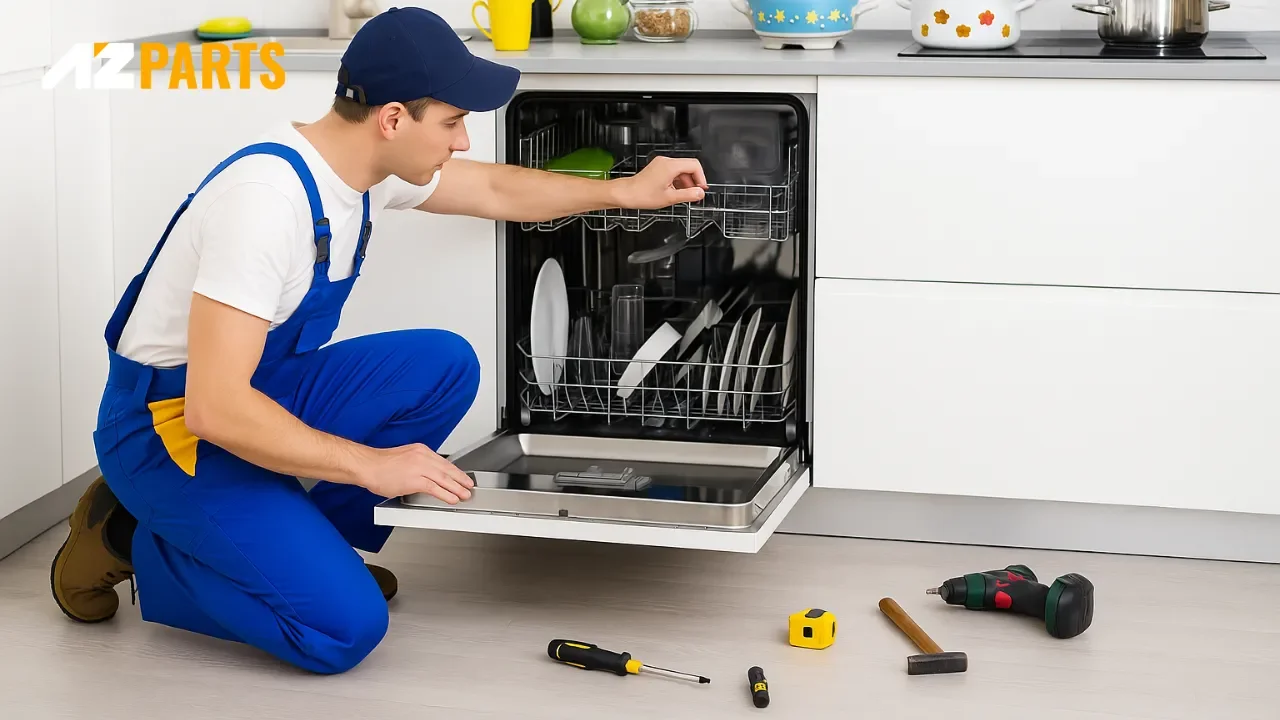
Prepare the tools and materials to ensure a smooth and safe process (Source: AZParts)
2. How to Replace a Dishwasher Door Seal
Step 1: Remove the Old Door Seal
Fully open the dishwasher door and gently pull the old gasket out from the groove that runs around the edge of the door. If the gasket is old, stuck, or brittle, you can use a flathead screwdriver to gently pry it out, but be careful not to damage the groove or door frame.
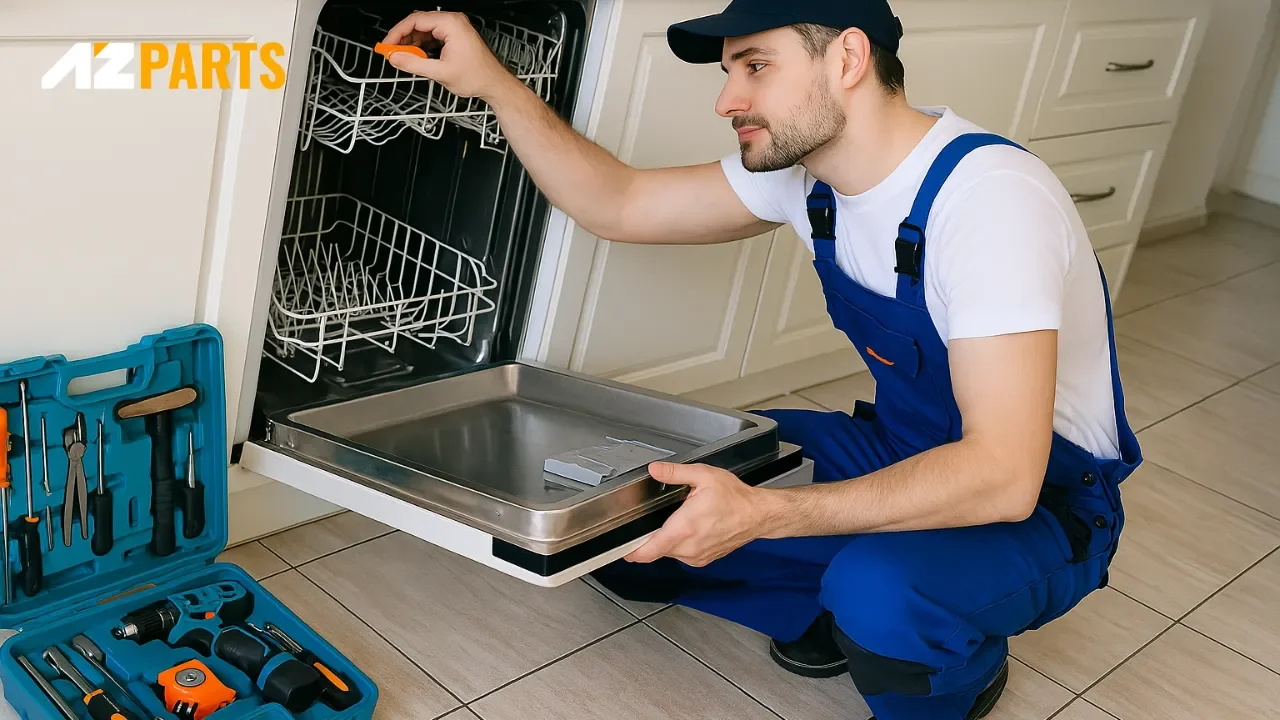
Open the dishwasher door and gently pull the old gasket out from the groove (Source: AZParts)
Step 2: Clean the Seal Channel
Use a clean cloth or soft brush with a mild cleaning solution (or diluted vinegar) to thoroughly clean the gasket channel. Remove any dirt, grease, or mold to ensure the new gasket adheres properly and prevents leaks.
Step 3: Warm the New Seal to Remove Kinks
New gaskets are often coiled when packaged, which can create creases. Soak the gasket in warm water for 5–10 minutes or use a hair dryer on low heat to soften it and restore its original shape. This makes installation easier and more accurate.
Step 4: Install the New Door Seal
Start from the center of the top edge of the door frame and gently press the new gasket into the groove. Continue evenly down both sides and across the bottom (if applicable). Make sure the gasket is snug, not twisted, bent, or loose, to prevent water leakage. Run your fingers along the entire gasket to check for secure placement and make any adjustments if needed.
If you're using a replacement dishwasher door seal gasket from AZParts, it is typically precision-fit and made from durable materials, which makes installation easier and ensures an optimal seal for your dishwasher. This gasket is compatible with a wide range of popular brands and models, including Crosley dishwasher door gasket , Electrolux dishwasher door gasket, and more, making it a reliable choice for many household dishwashers.
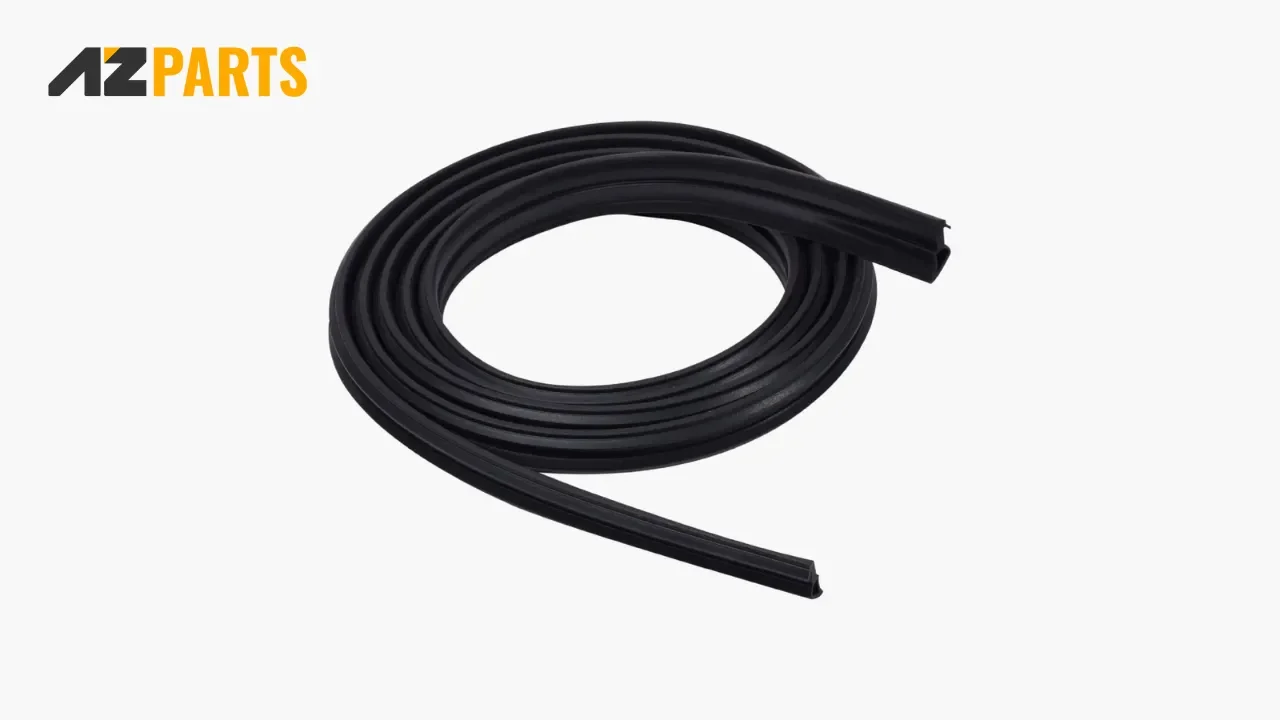
Door seal gasket from AZParts made from durable materials (Source: AZParts)
Step 5: Trim Excess (If Needed)
If any part of the gasket extends beyond the groove after installation, use sharp scissors or a utility knife to trim the excess. Cut it cleanly and straight to avoid gaps or misshapen ends.
Once done, close the dishwasher door and check for a tight seal. Run a short cycle without dishes to ensure the new gasket is installed correctly and doesn’t leak.
3. Test the New Seal
After installing the new door gasket, close the dishwasher door and carefully observe to make sure the gasket is evenly placed. It should not be twisted, misaligned, or have any excess length. Open and close the door several times to check if it seals tightly. If the door is difficult to close or does not seal properly, the gasket may need to be repositioned.
Next, run a short cycle without any dishes and closely observe the edges of the door. If there are no leaks and the machine operates normally, you can be confident that the gasket has been correctly installed and is providing a proper seal.
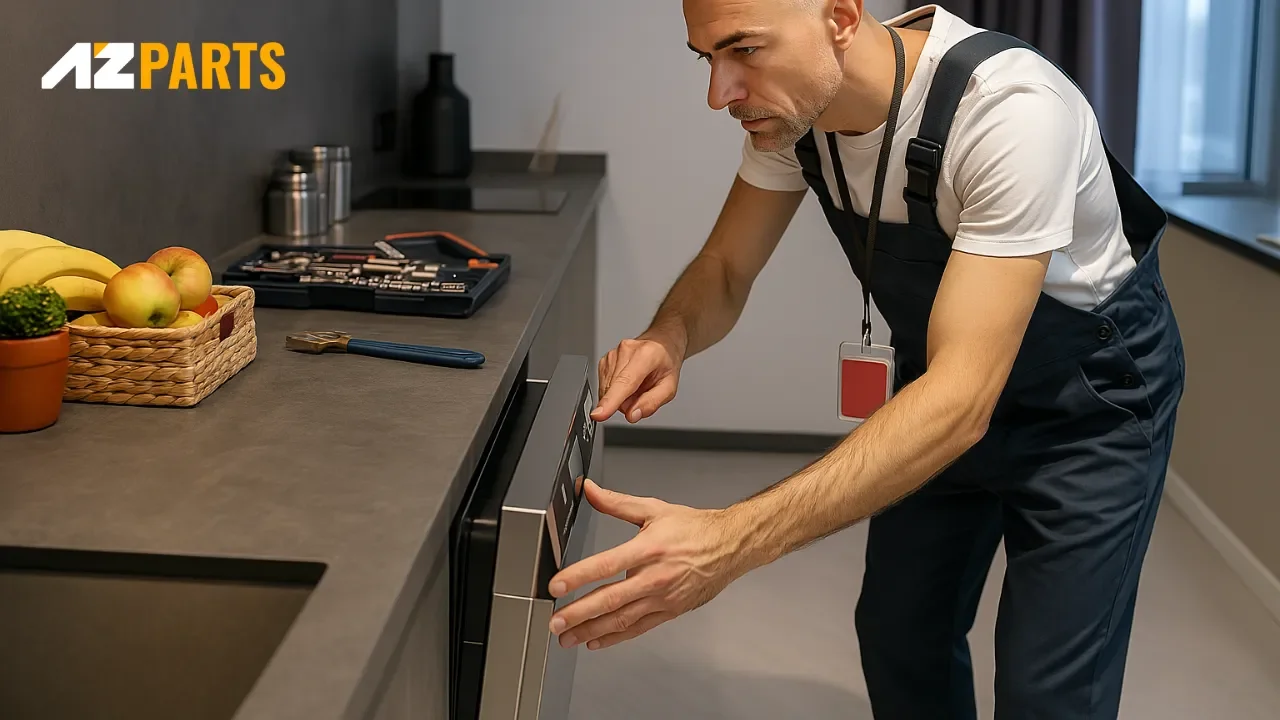
After installing the new gasket, close the door and check for even placement (Source: AZParts)
4. Frequently Asked Questions (FAQ)
Can I replace the door seal myself?
Yes, you can absolutely replace the dishwasher door gasket at home. The process is fairly simple if you follow a step-by-step guide, have the necessary tools, and make sure the gasket channel is thoroughly cleaned before installation. If you’re not confident, you can always ask a technician for help.
How much does a replacement seal cost?
The cost of a new door gasket typically ranges from $10 to $25 depending on the brand and dishwasher model. If you choose to hire a technician for installation, labor fees can range from $10 to $50 depending on your location.
Why is my new seal leaking?
Common reasons for leaks after installing a new gasket include incorrect installation, a dirty gasket channel, or the gasket being twisted, folded, or not properly pressed into the groove. Additionally, if the door frame is bent or the hinges are damaged, even a new gasket may not seal correctly and can cause leaks.
Replacing a dishwasher door gasket is not a complicated task and can easily be done at home with proper preparation and careful handling. A correctly installed gasket helps improve performance, prevents leaks, and extends the lifespan of your appliance.
If you are looking for a replacement gasket or other dishwasher parts, AZParts is a trusted source. At AZParts, you can easily find high-quality parts at reasonable prices, compatible with a wide range of dishwasher models.
Contact Information:
8 The Green, Ste A, Dover, Delaware 19901-3618, United States
Learn more about how to repair a dishwasher:
Dishwasher
Further Reading
Further Reading

How-To Guides
December 28, 2025
If your dishes come out dirty or your dishwasher seems less effective, clogged spray arms might be the reason. This guide from AZParts explains how to clean dishwasher spray arms step by step and answers common questions to keep your dishwasher running smoothly. You’ll also find trusted replacement spray arms and other quality parts to keep your machine performing like new.

Review
December 4, 2025
Have you ever wondered what’s inside a dishwasher and how its dishwasher inside parts work together to get your dishes spotless? Understanding the internal components of your dishwasher not only helps with troubleshooting but also prepares you for installing or replacing dishwasher parts confidently at home. In this comprehensive guide, AZParts breaks down each major dishwasher inside part, explaining how it functions and what to check when maintenance or replacement is needed.
_1748246700.jpg&w=3840&q=75 "How to Replace a Broken Dishwasher Door Spring Fast")
How-To Guides
November 28, 2025
A broken dishwasher door spring can make your appliance feel heavy, unstable, or difficult to open and close. If you're dealing with a loose or slamming door, it’s likely time for a replacement. In this article, AZParts will walk you through replacing a dishwasher door spring using three simple methods, whether you're fixing a detached spring or installing a full link kit.

How-To Guides
October 10, 2025
If your dishwasher isn’t draining properly or making strange noises, it may be time to replace the dishwasher pump. While calling a technician is an option, many homeowners can handle the replacement themselves with the right tools and clear instructions. In this guide, you'll learn how to safely and efficiently replace your drain pump at home—and where to find trusted replacement parts from AZParts.

How-To Guides
July 30, 2025
The Frigidaire dishwasher saves time and effort but may face issues like not starting, weak cleaning, leaks, or poor drying that affect its performance. In this guide, AZParts offers detailed instructions on how to troubleshoot common issues with Frigidaire dishwashers, along with helpful maintenance tips to ensure long-lasting and stable operation.