How-To Guides
How to Change Oil in a Lawn Mower (Detailed Guide)
AZparts Team
Updated on July 24, 2025
14 min read
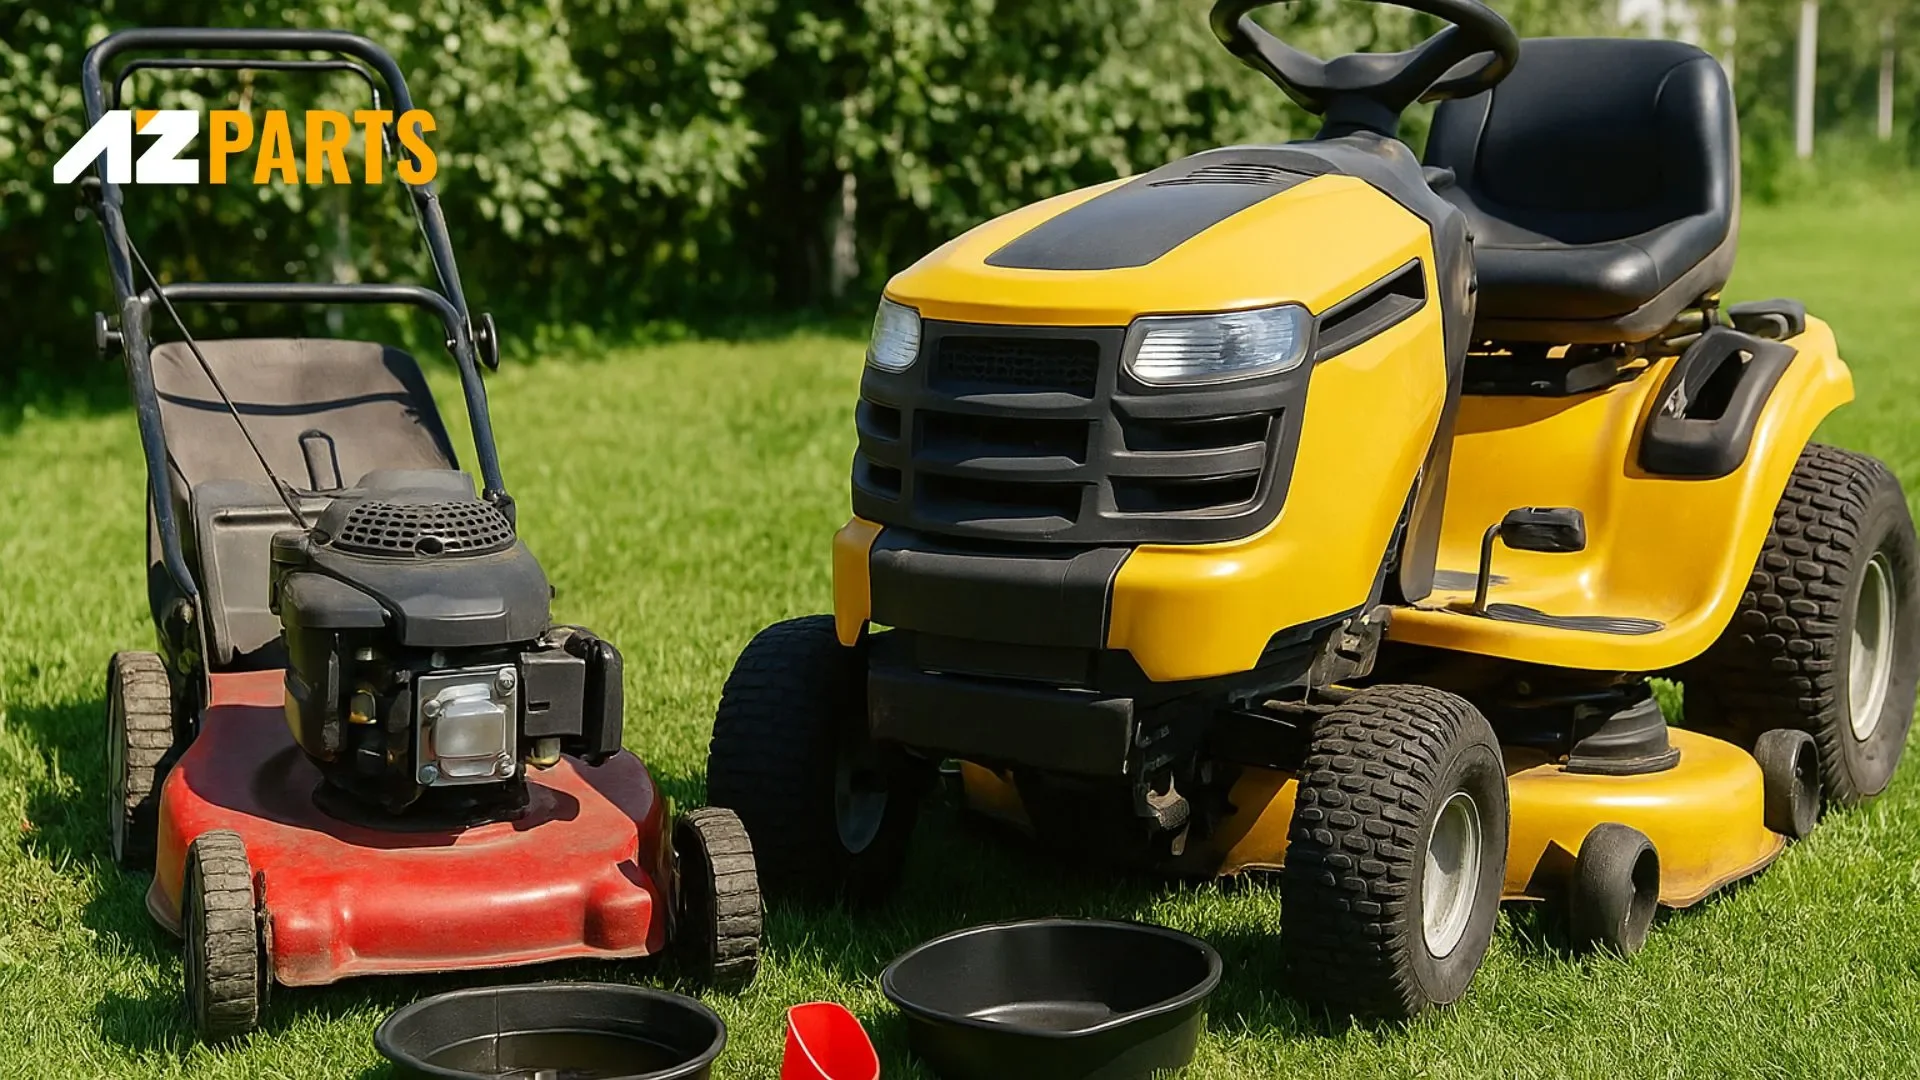
Changing the oil in your lawn mower is one of the simplest yet most essential tasks to keep your machine running smoothly and extend its lifespan. Whether you're prepping for a new mowing season or noticing signs of engine wear, knowing when and how to change the oil can make all the difference. AZParts will help you get the job done right by providing reliable, high-quality replacement parts and expert guidance for every step of the process.

1. When to Change Lawn Mower Oil
First Oil Change for New Mowers
For brand-new lawn mowers, the first oil change is crucial. Most manufacturers recommend changing the oil after the first 5 hours of use. This removes any tiny metal particles and debris that may have accumulated during the engine’s break-in period.
Seasonal Maintenance Guidelines
It’s best to change the oil at the beginning of each mowing season, even if your mower hasn’t reached the recommended operating hours. Fresh oil helps ensure smoother engine starts and better fuel efficiency after long storage periods.
Signs Your Lawn Mower Needs an Oil Change
- Dark or gritty oil: Fresh oil is golden and smooth. If it looks black or feels dirty on the dipstick, it’s time for a change.
- Loud engine noise or knocking: Old oil can’t lubricate properly, causing parts to grind and make unusual sounds.
- Weak cutting performance: If your mower feels sluggish or struggles with grass it normally handles, the oil might be too dirty.
- Smoke from the exhaust: Blue or white smoke coming from the exhaust may indicate that the engine is burning oil. This usually means the oil is either old and degraded or leaking into the combustion chamber.
These are clear signs your oil is no longer protecting the engine. Change it promptly to avoid damage and restore performance.
2. How Often to Change Lawn Mower Oil
Regular oil changes are essential to keep your lawn mower running efficiently and prevent long-term engine damage. While the exact frequency can vary based on usage and environment, a few general rules apply to most mowers.
2.1. Push Mowers vs. Riding Mowers
Push Mowers
For walk-behind or self-propelled mowers, oil should be changed every 25–50 hours of operation or at least once per mowing season. If your mowing sessions are short and infrequent, a seasonal oil change is typically enough.
Riding Mowers
These larger machines often run longer per session and generate more heat. Change the oil every 50–100 hours, or at minimum once per season, to maintain performance and prevent wear.
2.2. By Engine Type (2-Stroke vs. 4-Stroke)
2-Stroke Engines
No oil change required. Oil is mixed directly with fuel, but it’s important to always use fresh, properly mixed fuel to protect the engine.
4-Stroke Engines
Most modern lawn mowers use 4-stroke engines, which have a separate oil reservoir. These engines require regular oil changes as part of routine maintenance.
Tip: A good habit is to check your oil level every 5 hours of use, especially in hot, dusty, or heavy-duty mowing conditions. Low or dirty oil can lead to faster engine wear.
2.3. Manufacturer Recommendations
Always consult your mower’s user manual for the most accurate maintenance schedule. Manufacturers may adjust oil change intervals based on:
- Engine Brand or Size: High-performance or larger engines (such as those on riding mowers) tend to generate more heat and may require more frequent oil changes. Some brands also use proprietary engine technology that may come with unique maintenance needs.
- Environmental Conditions: Mowing in dusty, sandy, humid, or extremely hot climates puts extra stress on your engine. Dust and debris can contaminate oil more quickly, while high temperatures may cause oil to degrade faster.
- Mowing Intensity and Terrain: If you’re mowing large areas, uneven or hilly terrain, or thick, wet grass, your engine works harder and accumulates more wear. This usually means oil needs to be checked and changed more often than usual.
Type of Oil Used:
- Conventional oil tends to break down faster and may require more frequent changes.
- Synthetic oil is more stable under high temperatures and lasts longer, possibly allowing for extended intervals between changes.
If the manual isn’t available, a safe default is:
- Check oil every 5 hours of use
- Change oil every 25–50 hours or once per season
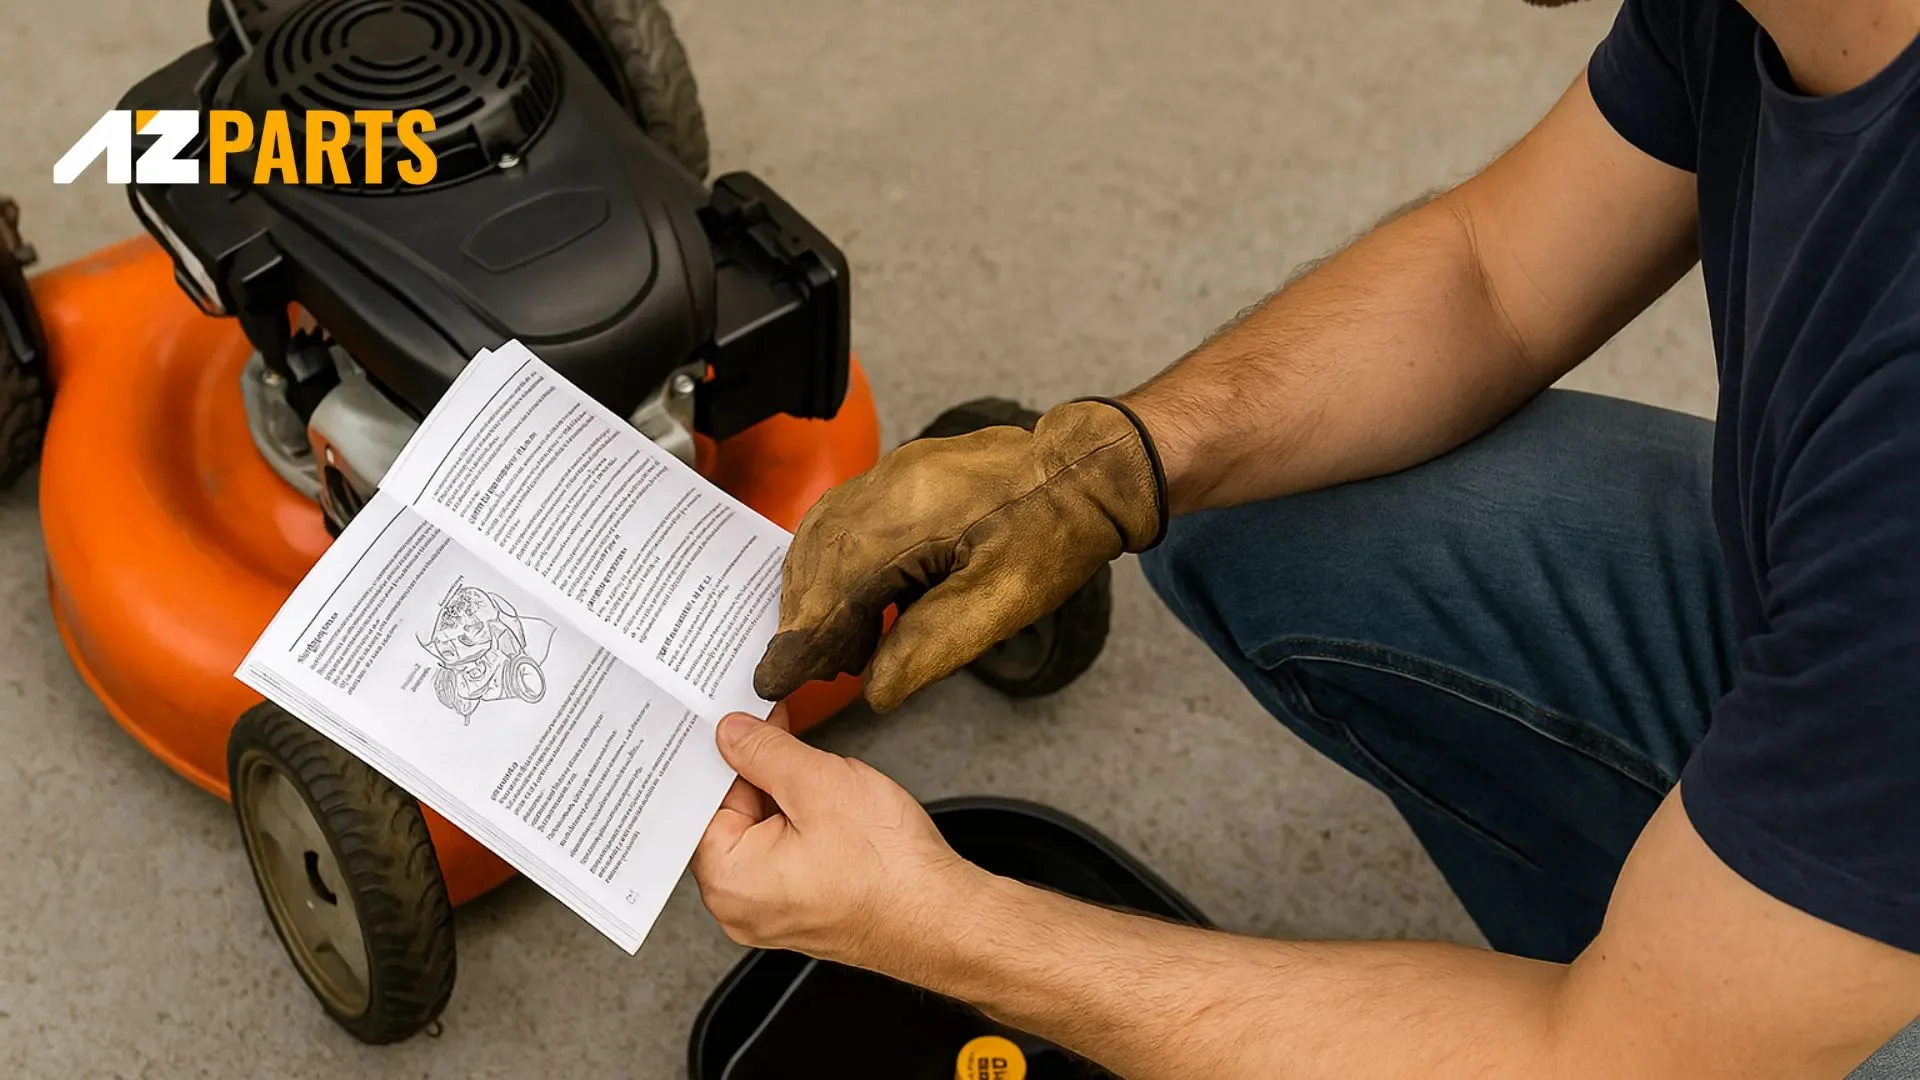
Consulting for Lawn Mower Oil Change Recommendations (Source: AZParts)
3. What Kind of Oil Should I Use for My Lawn Mower?
Choosing the right oil is crucial to keep your lawn mower’s engine running smoothly and to prevent damage. Here are some guidelines to help you pick the best oil:
- Check the Owner’s Manual: The manufacturer’s manual will specify the recommended oil type and viscosity for your mower’s engine. Always follow these instructions first.
- Common Oil Types for Lawn Mowers:
- SAE 30 is a traditional and most commonly used oil, ideal for small engines operating in warm climates (above 40°F / 4°C).
- 10W-30 is a multi-viscosity oil that performs well in areas with fluctuating temperatures. It allows for easier cold starts while maintaining stable performance in warmer conditions.
- Synthetic oil offers superior engine protection and longer-lasting performance compared to conventional oils. Although it is more expensive, it is well worth the cost for users who run their mowers frequently or in extreme conditions.
- Synthetic blend oil is a balanced option that combines the affordability of conventional oil with some of the enhanced performance benefits of full synthetic. It’s a great choice for everyday users who want better durability without paying a premium.
- Avoid Automotive Oils with Additives: Some motor oils designed for cars contain detergents and additives that might harm small engines. Choose oils labeled specifically for small engines or lawn mowers if possible.
- Consider Seasonal Changes: In colder climates, using a multi-grade oil like 5W-30 during winter can help the engine start more easily.
Summary: For most lawn mowers, SAE 30 or 10W-30 oil formulated for small engines is ideal. Always consult your mower’s manual and select a high-quality oil designed for small, air-cooled engines to maximize performance and engine life.
4. How to Check the Oil in Your Lawn Mower Before Changing It
Checking your lawn mower’s oil before deciding to change it is essential for keeping the engine healthy and running efficiently. Follow these straightforward steps to assess both the oil level and its condition:
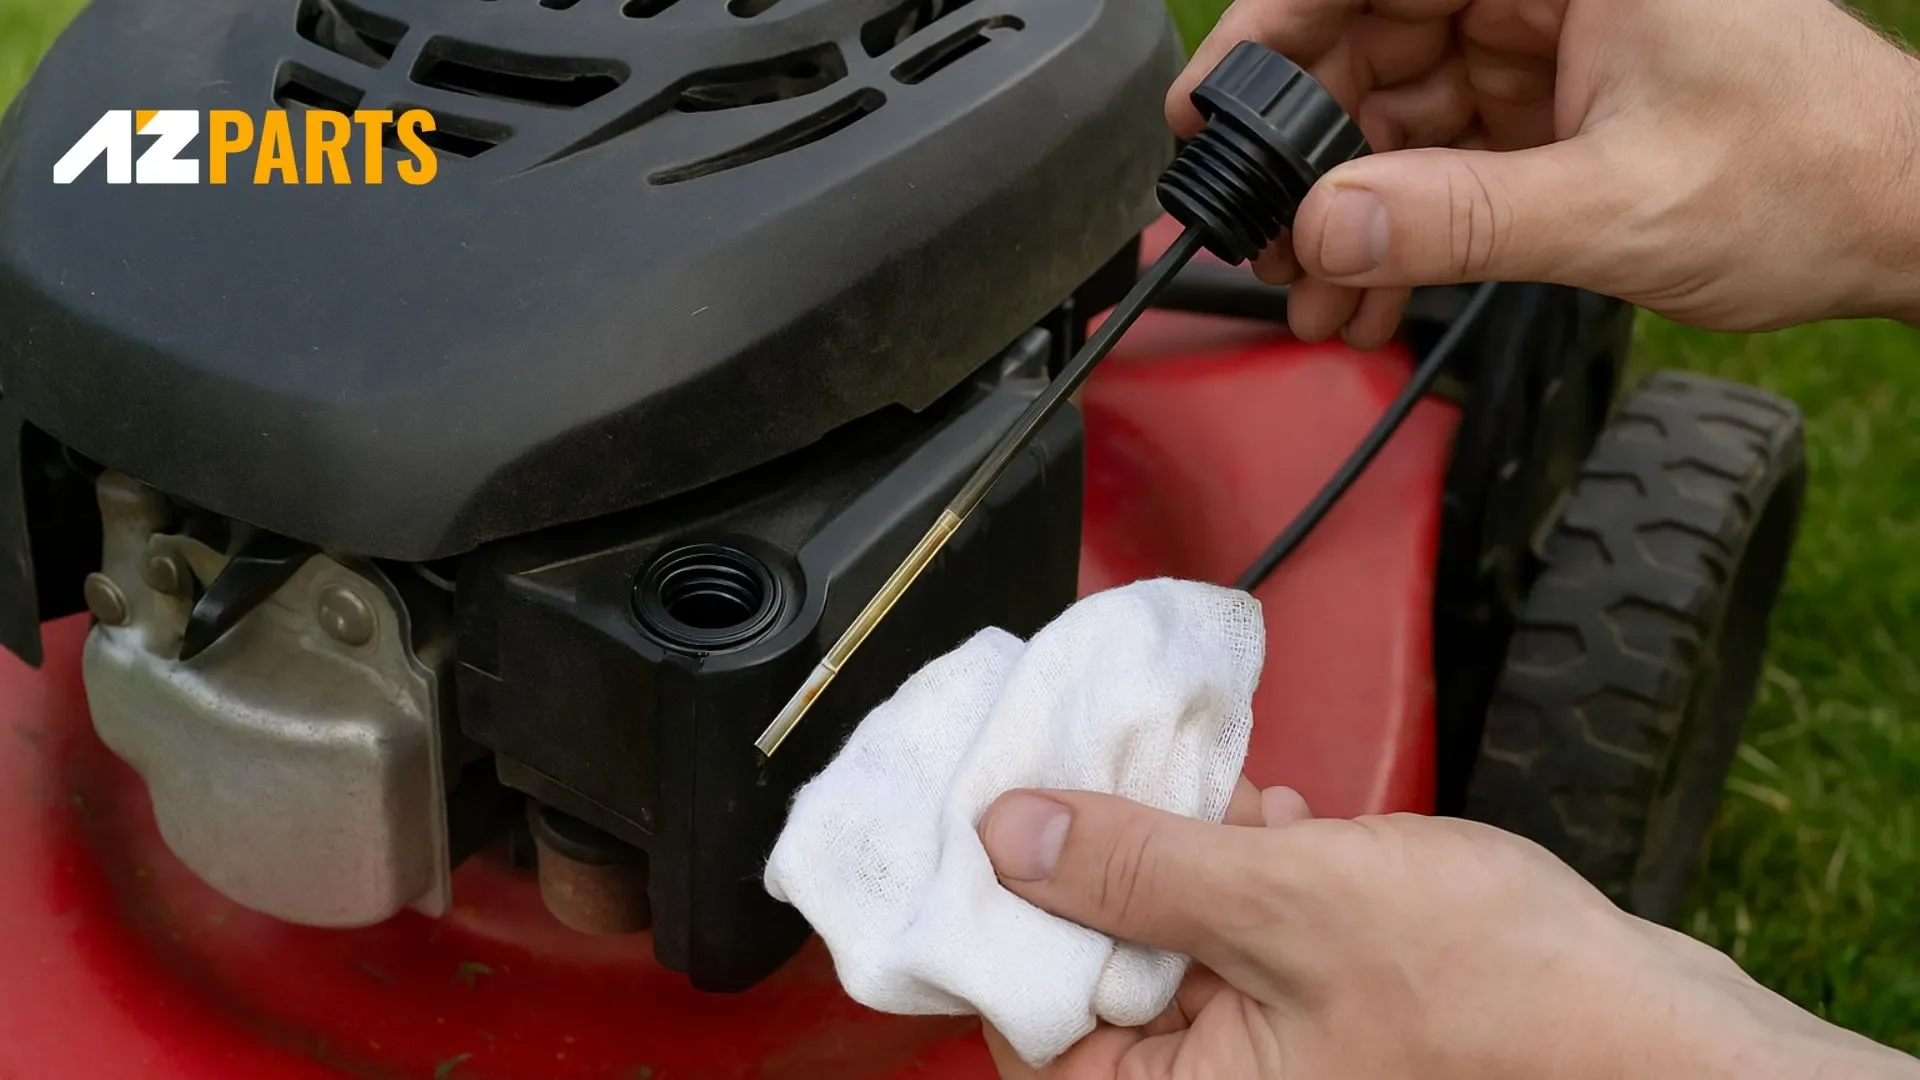
Remove and Clean the Dipstick in a Lawn Mower (Source: AZParts)
- Find the Oil Cap and Dipstick: Locate the oil fill cap on your mower’s engine. It is usually positioned on the side or top and often includes a dipstick for measuring oil.
- Remove and Clean the Dipstick: Unscrew the oil cap and pull out the dipstick. Use a clean rag or paper towel to wipe off any oil so you get an accurate reading.
- Measure the Oil Level: Insert the dipstick fully back into its tube, then remove it again to check the oil level. The stick will have markings indicating safe oil ranges. If the oil is below the minimum mark, add more oil before running the mower.
- Assess the Oil Quality: Even if the oil level is adequate, dirty or old oil can harm the engine. Look at the oil on the dipstick: fresh oil is usually clear with a golden or amber tint, while old oil turns dark and may have debris or a burnt smell. If the oil looks dirty, it’s time for a replacement.
Tips for Best Results:
- Always check oil on a flat surface with the engine off and cool.
- Inspect the oil regularly, ideally before each use or after about 5 hours of operation.
Maintaining clean and sufficient oil will extend your mower’s lifespan and ensure it performs smoothly.
5. How to Change Lawn Mower Oil: Step-by-Step Instructions
5.1 Step 1: Gather Tools and Materials
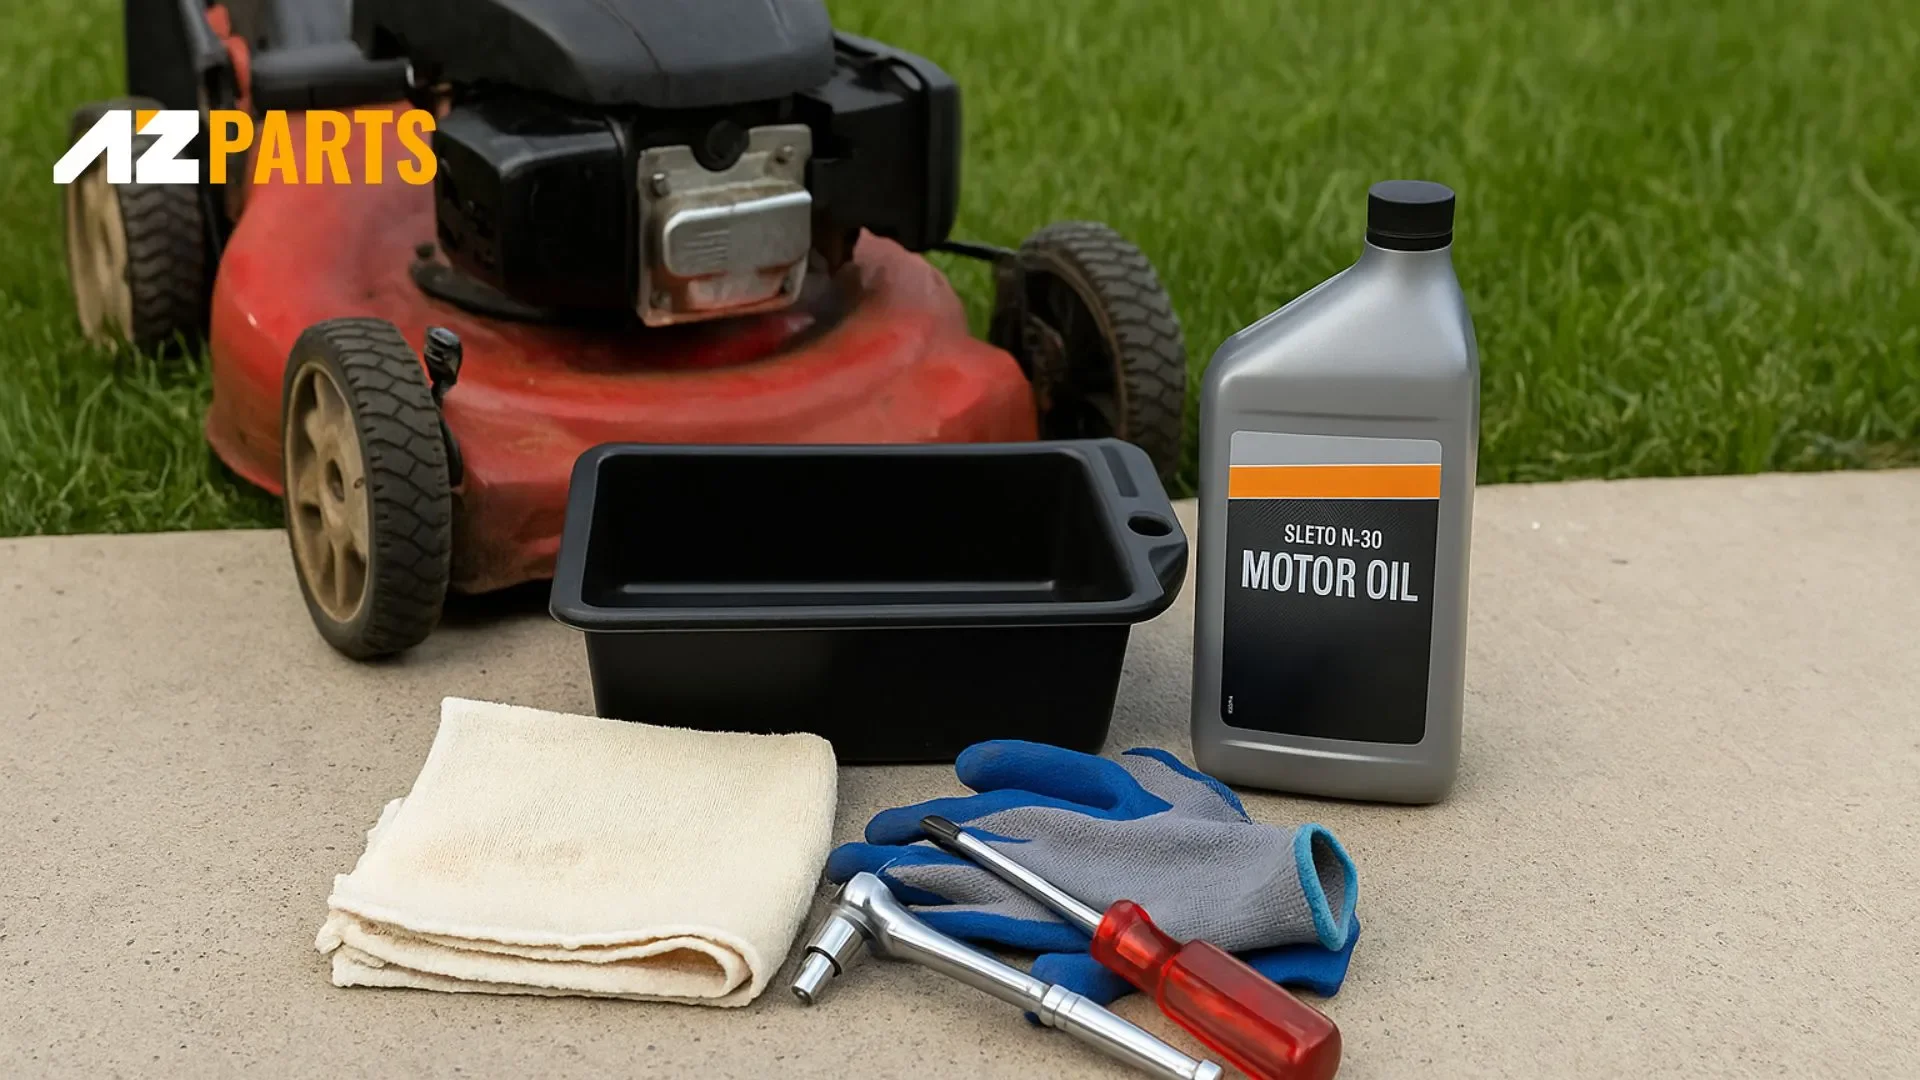
Before changing your lawn mower's oil, make sure you have all the essential tools and supplies ready to streamline the process:
- Your mower’s user manual to verify the oil type and capacity specific to your model.
- Recommended engine oil: typically SAE 30 for most walk-behind mowers or 10W-30 for variable climates.
- Drain pan or oil-safe container to catch the used oil during draining.
- Oil funnel: for clean and controlled pouring of new oil.
- Clean shop towels or rags to wipe up any spills and keep the area tidy.
- Protective gloves (optional) to keep your hands clean and safe from hot oil
Tip: Perform all maintenance in a well-ventilated area and keep away from any open flames or heat sources.
5.2. Step 2: Warm Up the Engine
Before draining the oil, start your lawn mower and let the engine run at idle for 5 to 10 minutes, depending on the model. Warming up the engine helps the oil become thinner in consistency, making it flow out more easily and carry away more dirt or debris during drainage.
Once the oil feels warm to the touch (you can briefly place your hand near the engine, not directly on it, to gauge the heat), turn off the engine completely. Let it sit for a minute or two to ensure all moving parts have come to a complete stop before you continue.
Caution: Never begin draining while the engine is still running or immediately after turning it off. Parts may be hot and could cause burns.
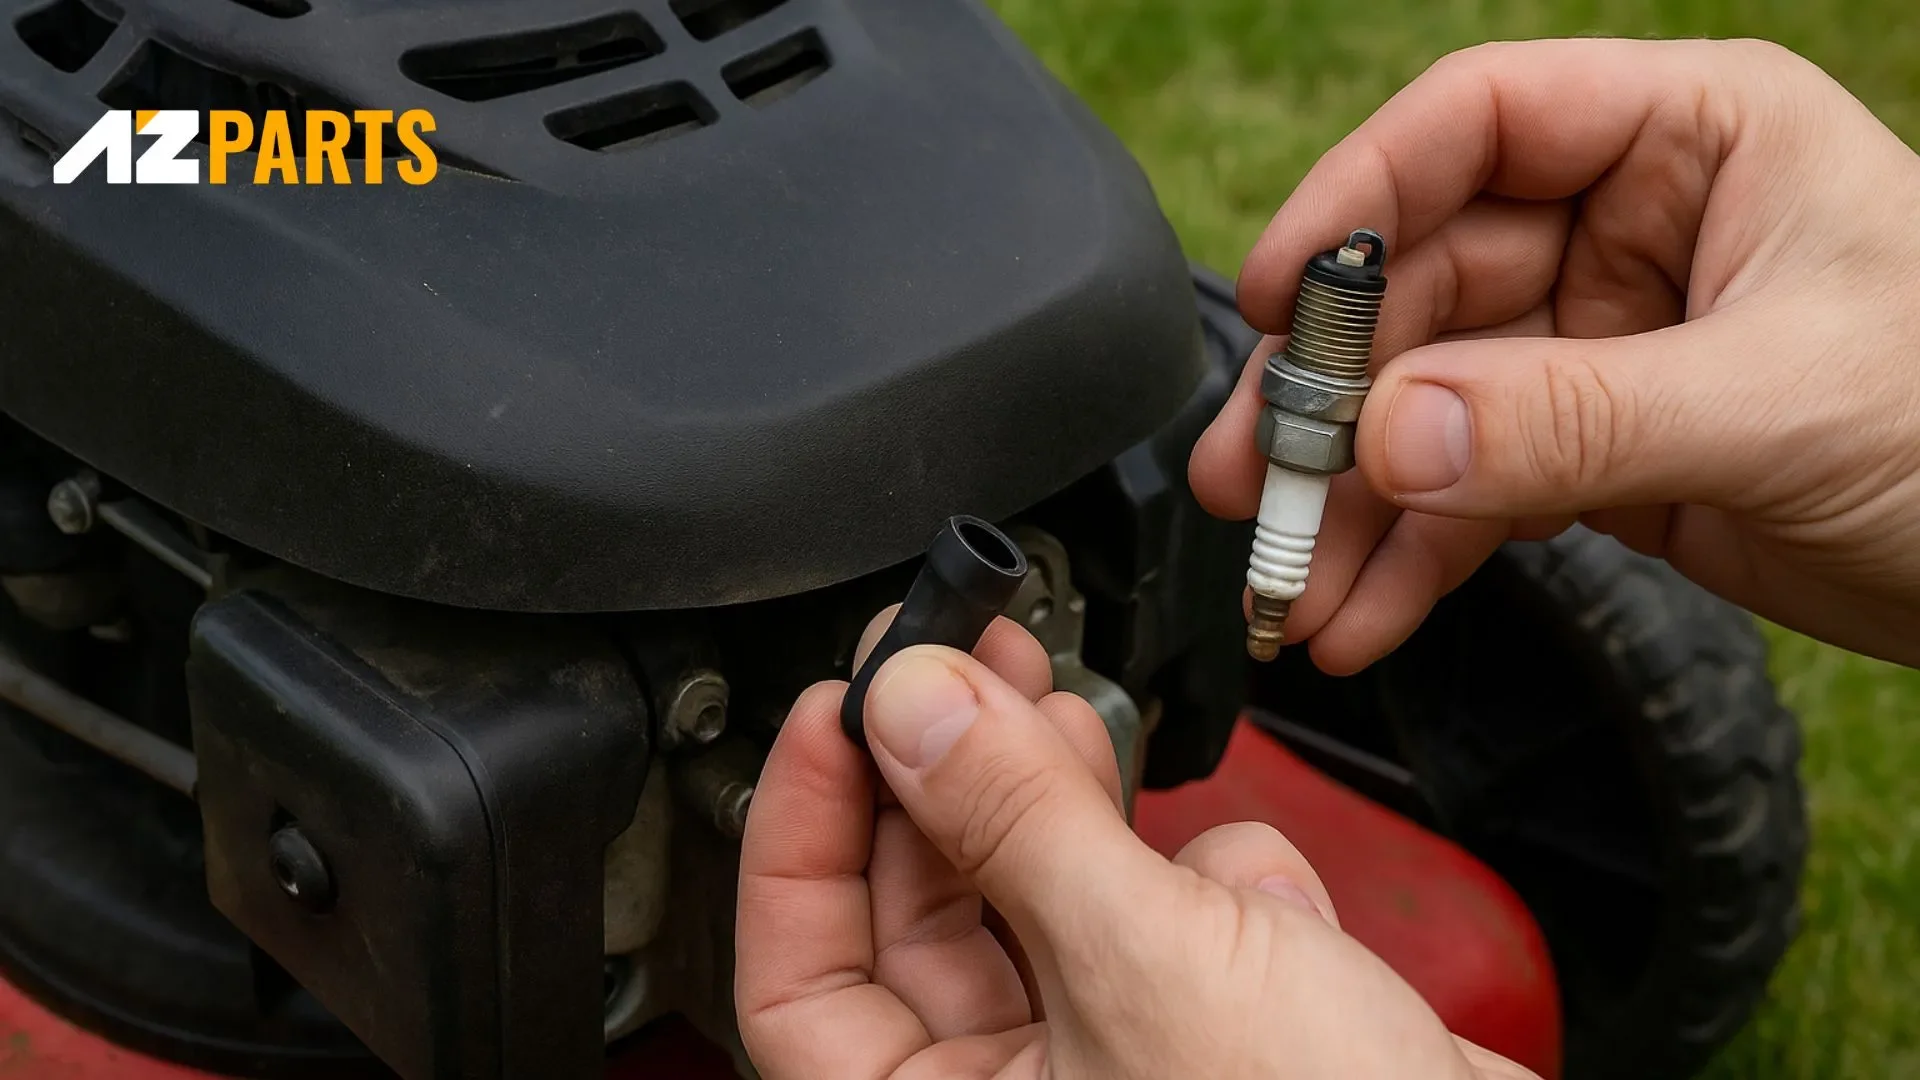
5.3. Step 3: Disconnect the Spark Plug
Before you begin draining the oil, disconnect the spark plug wire to prevent any chance of accidental engine startup. Simply locate the rubber boot attached to the spark plug and gently pull it off. This small step ensures your safety while working around the engine.
While you're at it, take a moment to inspect the spark plug for any signs of buildup, corrosion, or wear. If the tip looks dirty or damaged, consider cleaning it with a wire brush or replacing it with a new one, especially if your mower has been hard to start or running roughly.
Safety Tip: Tuck the spark plug wire away from the plug to prevent it from accidentally reconnecting during maintenance.
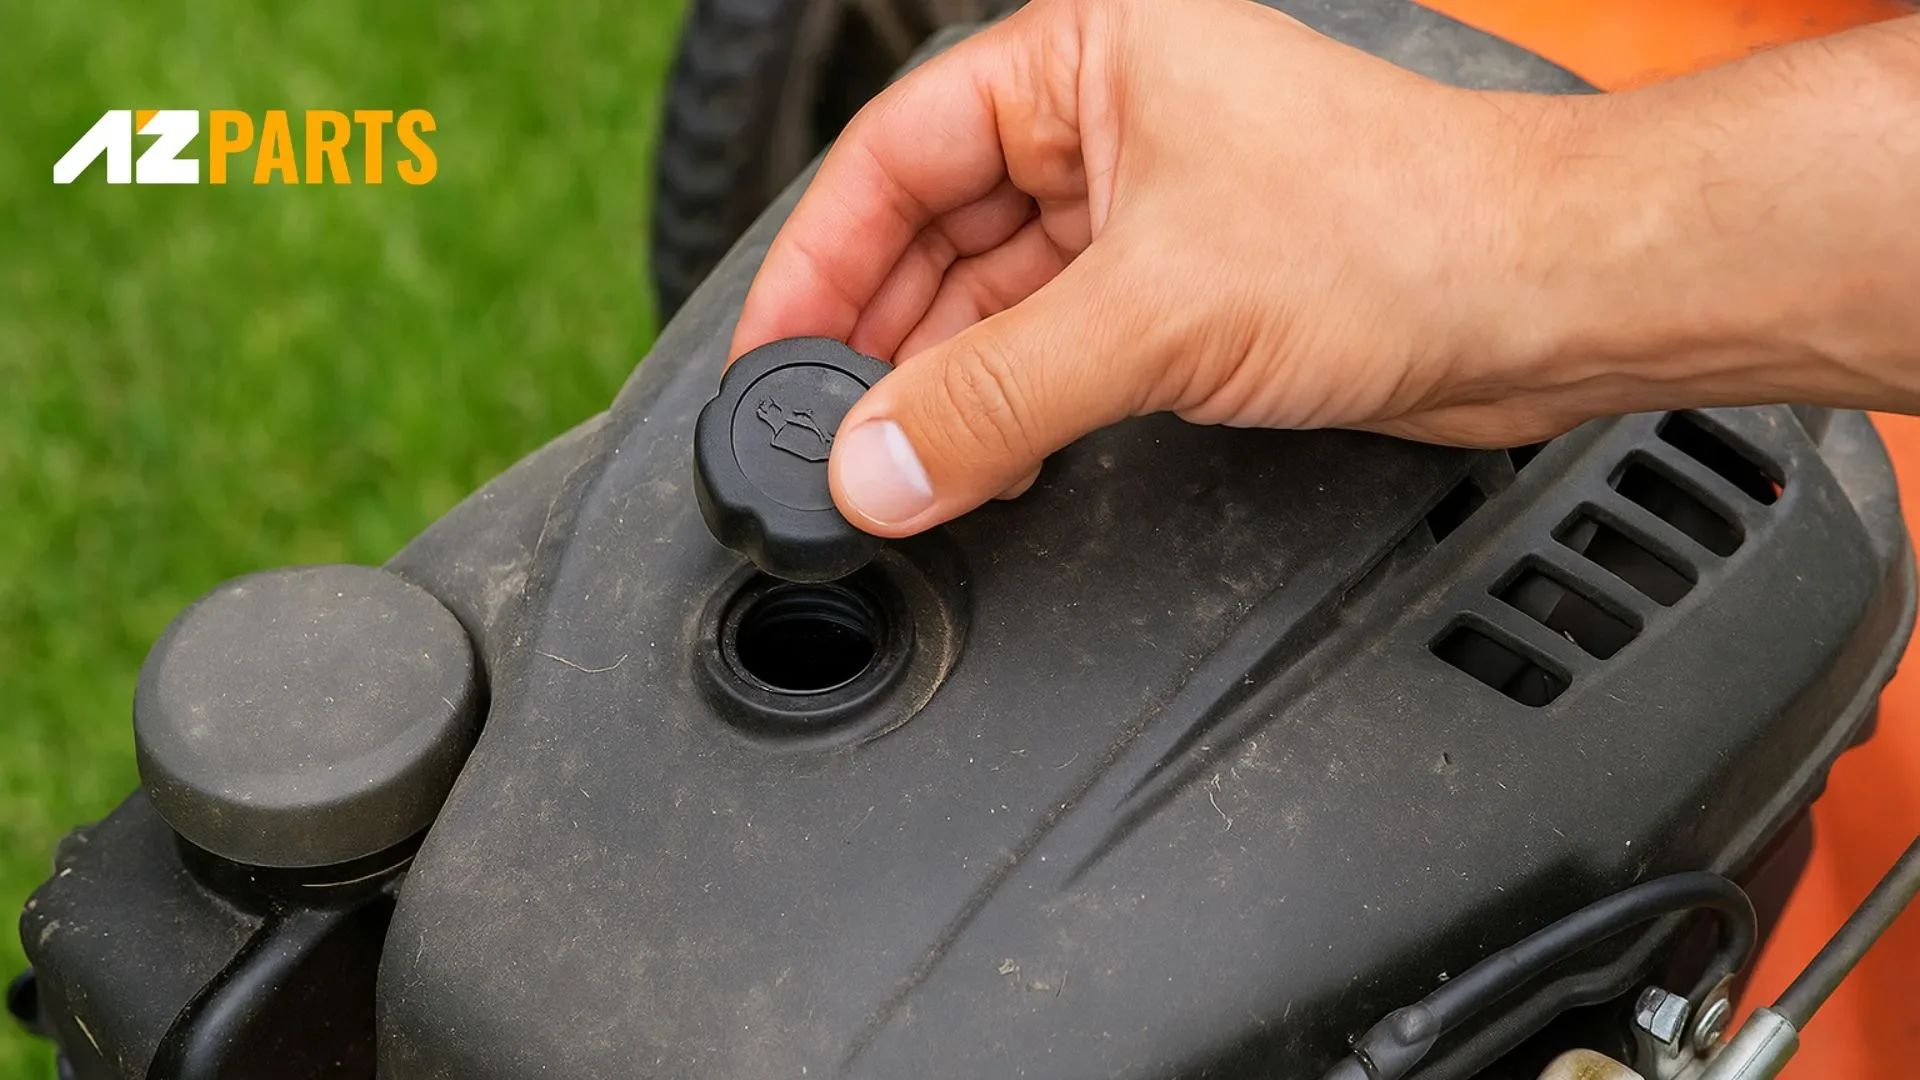
5.4. Step 4: Locate and Remove the Oil Fill Cap
Find the oil fill cap on your lawn mower’s engine; it’s usually located on the top or side of the engine block. The cap is often made of plastic or metal, and it may be labeled with the word “OIL” or marked with an oil can symbol. On many models, the fill cap also has an attached dipstick for checking the oil level.
If you're unsure where it’s located, consult your mower’s owner’s manual for guidance specific to your machine.
Once located, unscrew and remove the oil fill cap. This step is important because it allows air to enter the crankcase, helping the old oil drain more efficiently during the next step.
Tip: Place the cap on a clean surface to prevent dirt from entering the oil fill port.
5.5. Step 5: Drain the Old Oil
Now that the engine is warm and the oil fill cap has been removed, it’s time to drain the old oil from your mower. Depending on the design of your mower, there are two common methods to do this:
Method 1: Draining Through the Oil Fill Hole (No Drain Plug)
Begin by firmly gripping the oil fill cap and twisting it counterclockwise to loosen and remove it. If the cap has a dipstick attached, be careful not to bend or damage it during removal. Next, place an oil drain pan beside the mower.
Carefully tilt the mower so that the lawn mower air filter and lawn mower carburetor are facing up; this is usually the side opposite the oil fill port. Tilting the mower this way helps prevent fuel or debris from entering sensitive engine components. Allow the oil to drain completely into the pan; this may take a few minutes, so let gravity do the work.
Method 2: Draining Through a Drain Plug (if available)
Start by locating the oil drain plug, which is typically found at the base of the engine or beneath the mower deck. Place your oil pan directly underneath the plug to catch the old oil. Using a wrench, carefully loosen and remove the drain plug.
Allow the oil to flow freely into the pan, and wait until it slows to a drip to ensure that most of the old oil has been removed. Once the draining process is complete, wipe the drain plug clean and securely reinstall it.
Tip: After draining, store the used oil in a sealed, labeled container. Never pour it down a drain or onto the ground; take it to a recycling center or auto parts store that accepts used oil.
5.6 Step 6: Replace or Clean the Oil Filter (if applicable)
If your lawn mower has an oil filter, it’s best to replace it every time you change the oil. The filter traps dirt, dust, and debris to protect your engine from early wear.
Note: Riding mowers usually have an oil filter, but walk-behind mowers often don’t. Check your owner’s manual to be sure.
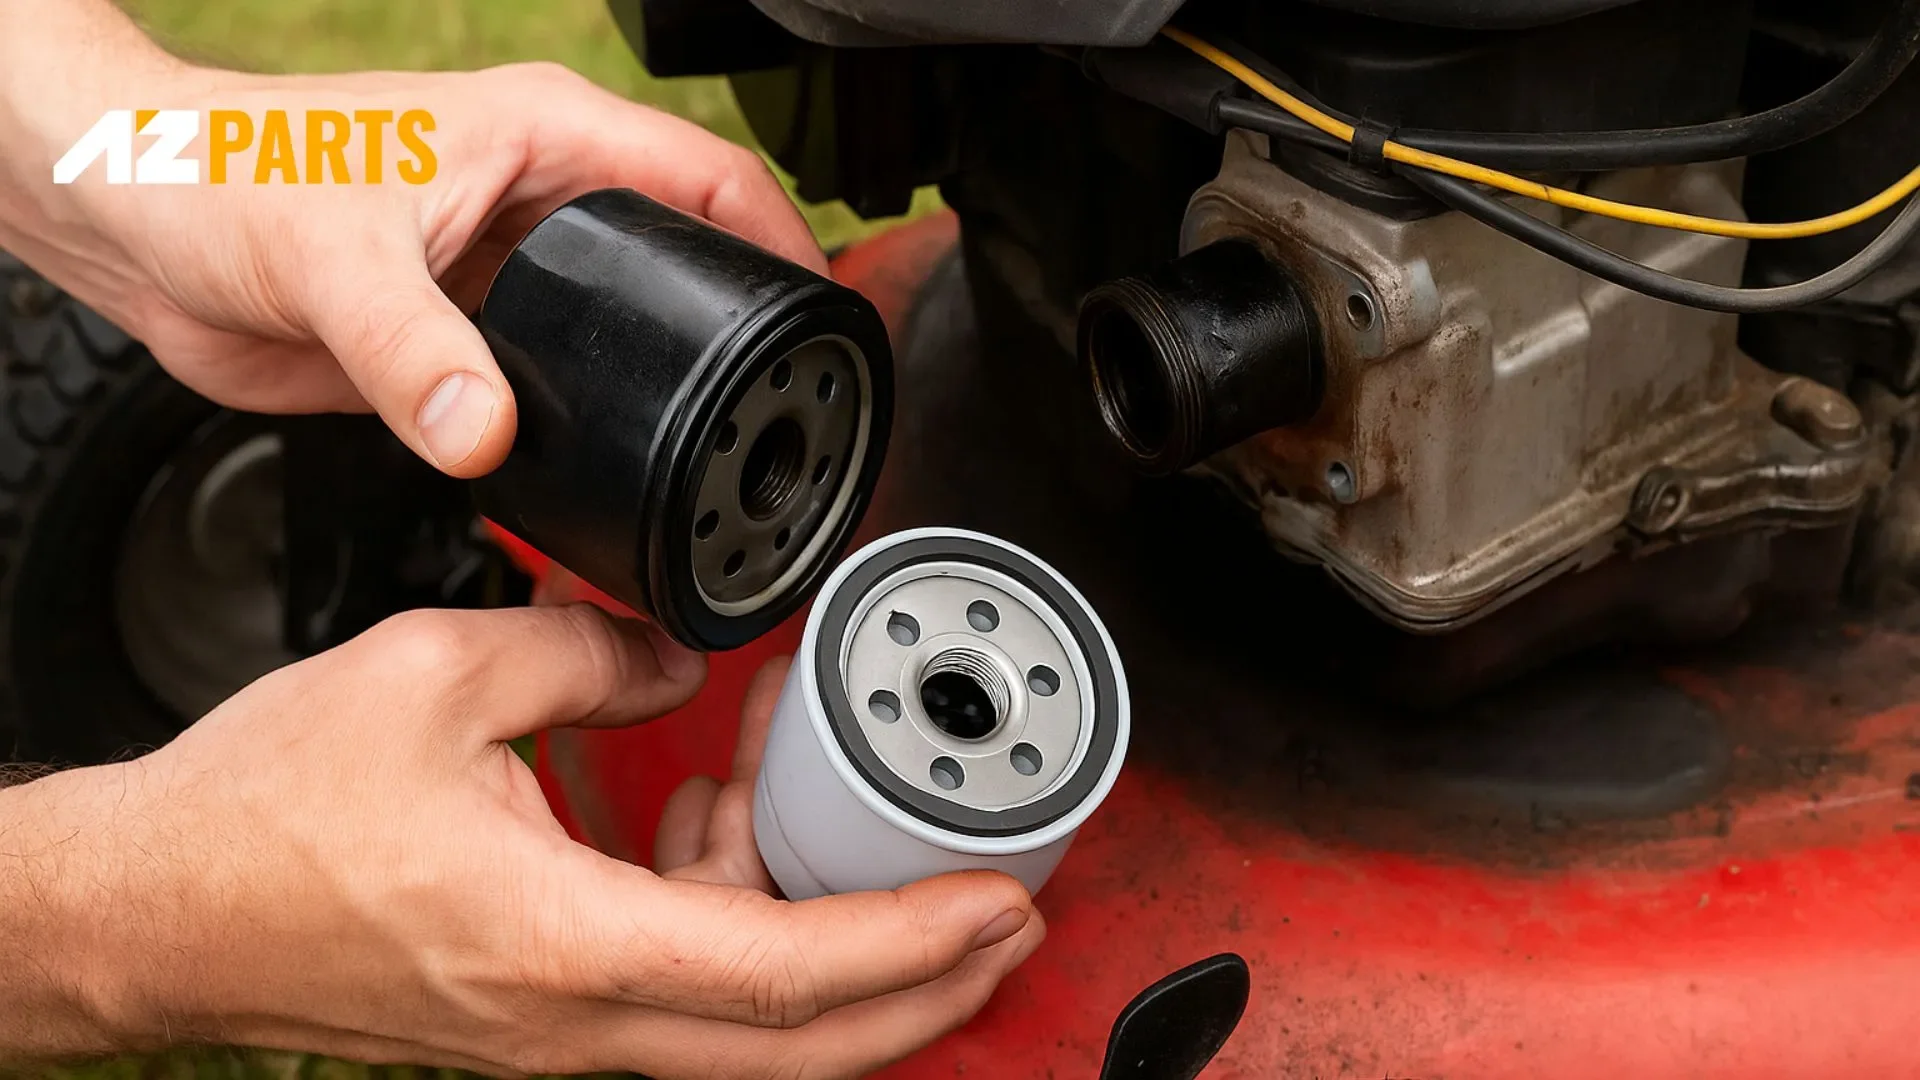
How to Replace the Oil Filter:
- Find the oil filter on the side of the engine.
- Use an oil filter wrench to turn the old filter counterclockwise until it comes off. Some oil may drip out.
- Before installing the new filter, apply a thin layer of clean oil to the rubber gasket on the top of the filter. This helps seal it tightly and makes future removal easier.
- Screw the new filter on by hand until the gasket touches the engine.
- Then tighten it an extra 3/4 turn. Don’t overtighten, or you may damage the lawn mower gasket or filter.
Warning: Never reuse an old oil filter. If your mower has a washable mesh filter instead, clean it thoroughly and let it dry before reinstalling.
5.7 Step 7: Add the Correct Amount of New Oil
After draining all the old oil, place the mower back upright. For most lawn mower engines, SAE 30 oil works best. If you need to start your mower in cold weather (below 40°F), use SAE 10W-30. Always check your owner’s manual for the recommended oil type and amount. Slowly pour the fresh oil into the oil-fill tube using a funnel to avoid spills.
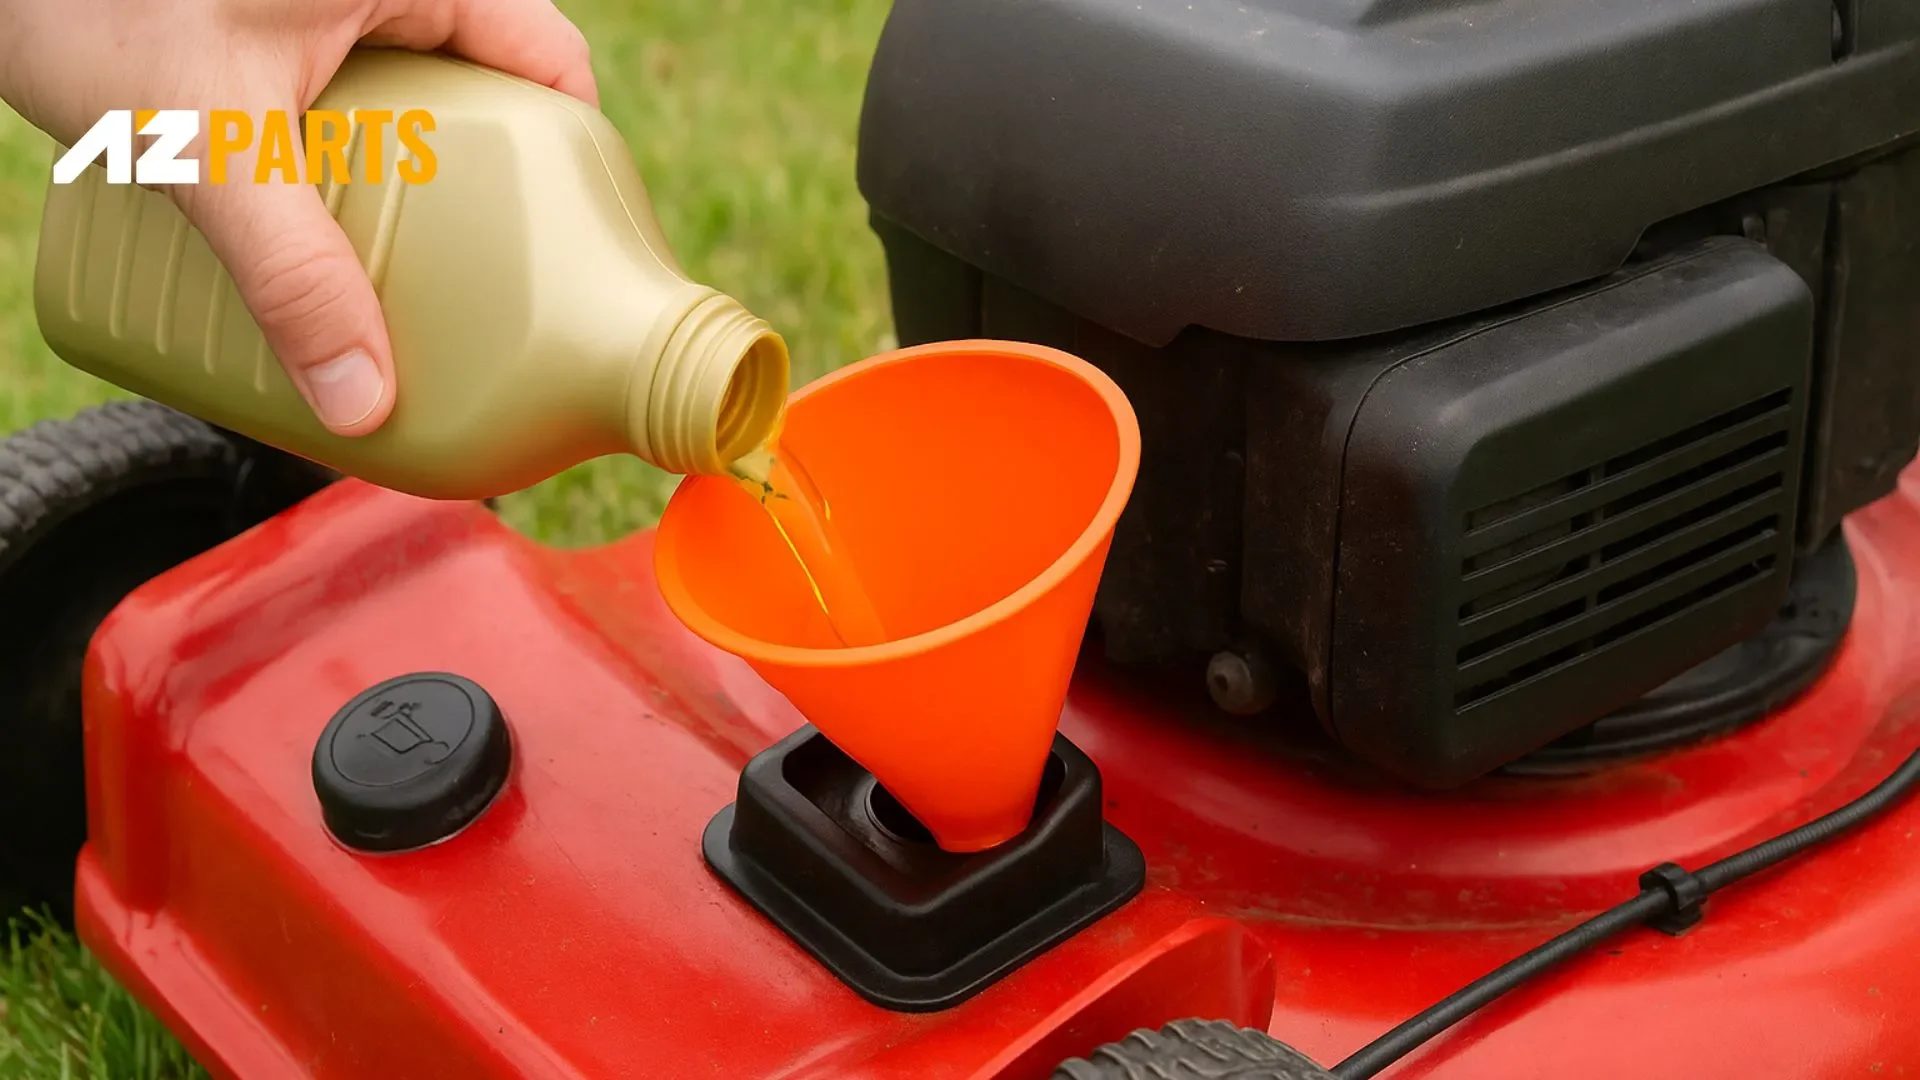
Adding New Oil to Lawn Mower (Source: AZParts)
Use the dipstick to check the oil level. Insert it fully, then remove it to see where the oil reaches. Make sure the oil level is within the recommended range. Wipe the dipstick clean before each check to get an accurate reading. Add more oil as needed, but don’t overfill to avoid engine damage. Finally, screw the oil fill cap back on tightly. Wipe away any spilled oil around the fill area.
5.8 Step 8: Replace the Cap and Reconnect the Spark Plug
After finishing the oil change, securely screw the oil fill cap back onto the mower. Then, reconnect the spark plug wire by firmly attaching the cap back onto the spark plug. Make sure it’s connected well to ensure your mower starts properly.
5.9 Step 9: Start the Mower and Recheck the Oil Level
After finishing the oil change and securing the oil fill cap, start your lawn mower and let it run for a few minutes. This allows the new oil to circulate throughout the engine. Turn off the mower and wait a few minutes to let the oil settle.
Next, check the oil level again using the dipstick. Insert the dipstick fully, then remove it to see the current oil level. If the level is low, add more oil slowly until it reaches the proper mark. Avoid overfilling, as this can harm the engine. Performing this final check ensures your mower has the correct oil level and is ready for use.
Regularly changing the oil in your lawn mower is one of the easiest yet most effective ways to protect your engine, improve performance, and extend the life of your equipment. By following this step-by-step guide, you'll ensure your mower runs smoothly every season. And when it’s time to change oil lawn mower components like filters or find the right engine oil, AZParts is your trusted source for high-quality lawn mower replacement parts and expert support.
Explore more ways to repair and maintain your lawn equipment at home:
Contact Info
Address: 8 The Green, Ste A, Dover, Delaware 19901-3618, United States
Email: support@azparts.com
Lawn Mower
- 1. When to Change Lawn Mower Oil
- 2. How Often to Change Lawn Mower Oil
- 3. What Kind of Oil Should I Use for My Lawn Mower?
- 4. How to Check the Oil in Your Lawn Mower Before Changing It
- 5. How to Change Lawn Mower Oil: Step-by-Step Instructions
- 5.1 Step 1: Gather Tools and Materials
- 5.2. Step 2: Warm Up the Engine
- 5.3. Step 3: Disconnect the Spark Plug
- 5.4. Step 4: Locate and Remove the Oil Fill Cap
- 5.5. Step 5: Drain the Old Oil
- 5.6 Step 6: Replace or Clean the Oil Filter (if applicable)
- 5.7 Step 7: Add the Correct Amount of New Oil
- 5.8 Step 8: Replace the Cap and Reconnect the Spark Plug
- 5.9 Step 9: Start the Mower and Recheck the Oil Level
Further Reading
Further Reading

How-To Guides
January 14, 2026
Proper care and cleaning of your clean lawn mower play a crucial role in maximizing its performance and durability. Keeping your mower in good condition helps promote a lush, healthy lawn while avoiding issues from accumulated debris. AZParts provides reliable, genuine parts and helpful guidance for easy mower upkeep. Find everything you need to keep your mower working perfectly.

How-To Guides
November 24, 2025
Is your lawn mower refusing to start, stalling mid-job, or cutting unevenly? Don’t let frustration take over your weekend plans. Whether it’s a faulty spark plug, clogged filter, or dull blades, understanding what’s wrong is the first step toward a smooth-running machine. AZParts will guide you through quick and effective lawn mower troubleshooting solutions so you can fix common problems with confidence and keep your yard looking its best.

Repair help
July 24, 2025
When your lawn mower runs rough, it can turn a simple job into a frustrating chore. From clogged filters to worn spark plugs, small issues can lead to big problems if left unchecked. In this guide, AZParts will help you diagnose the cause and get your mower running smoothly again with high-quality replacement parts and easy-to-follow repair guides.

Repair help
July 21, 2025
Seeing smoke rise from your lawn mower can be unsettling, but do not panic just yet. Whether it is a harmless case of spilled oil or a sign of a more serious issue, understanding the cause is the first step to a fix. From clogged air filters to engine overload, even electric mowers are not immune. AZParts will guide you through the diagnosis and provide the reliable parts you need to restore your mower’s power and performance. Get back to a clean, even cut with no smoke in sight.

Repair help
June 18, 2025
Maintaining a pristine lawn requires reliable equipment, and Troy-Bilt lawn mowers have earned their reputation as dependable workhorses in yards across America. However, even the most robust machines can encounter operational challenges that leave homeowners frustrated and lawns unfinished. In this essay, AZParts will help you identify common Troy-Bilt lawn mower problems and provide effective solutions to fix them quickly.