How-To Guides
How to Clean a Dryer Vent Properly in 7 Steps
AZparts Team
Updated on July 31, 2025
9 min read
A clogged dryer vent can reduce your appliance’s efficiency, increase energy bills, and even pose a serious fire hazard. Regular maintenance is key to preventing these issues. In this guide, AZParts’ll walk you through how to clean your dryer vent properly using easy to follow steps. Whether you're a DIY beginner or a seasoned homeowner, keeping your vent system clear is essential.

1. Why Cleaning Your Dryer Vent Is Important
One of the most important reasons to clean the dryer vent is to prevent fire hazards. When lint builds up in the vent hose, it creates a highly flammable environment. This accumulation can easily ignite from the heat of the dryer, increasing the risk of a dangerous house fire.
A clean dryer vent also improves the efficiency of your appliance. When the vent is clogged, hot air cannot escape properly, which leads to longer drying times and higher energy consumption. This inefficiency results in increased utility costs and unnecessary energy waste. By keeping the vent clear, your dryer can perform at its best, saving both time and money.
In addition, regular vent cleaning helps extend the lifespan of your dryer. A clogged vent forces the appliance to work harder, placing extra strain on its components. Over time, this added stress can lead to breakdowns and reduce the overall durability of the machine. Maintaining a clean vent hose allows your dryer to operate smoothly and can delay the need for costly repairs or replacements.
Regular vent cleaning helps extend the lifespan of your dryer (Source: AZParts)
2. Signs Your Dryer Vent Needs Cleaning
A clogged dryer vent does more than slow down your laundry routine—it can become a serious fire hazard. Knowing when to clean the vent is essential for safety and efficiency. Here are some common signs that your dryer vent needs cleaning:
- Your clothes take longer than usual to dry: If your clothes are still damp after one drying cycle, it could mean that the vent is blocked and hot air is not escaping properly. This buildup restricts airflow and reduces the dryer’s efficiency.
- The dryer or clothes feel unusually hot: When hot air gets trapped inside the dryer, both the appliance and your laundry can feel excessively warm. This is often a sign that airflow is restricted and the vent needs cleaning.
- You smell a burning odor during use: A burning smell while the dryer is running can indicate that lint is overheating inside the vent. This is a serious warning sign, and you should turn off the dryer immediately and inspect the vent.
- There is weak or no airflow at the exterior vent: Go outside and check the dryer’s exterior vent while the machine is running. If you feel little or no airflow, lint or debris may be blocking the duct.
- You see lint building up behind the dryer or around the vent opening: Visible lint around the back of the dryer or near the outdoor vent means lint is escaping and collecting where it should not. This buildup is both inefficient and dangerous.
- Your dryer displays error codes or shuts off unexpectedly: Some modern dryers have sensors that detect airflow issues. If your dryer gives error messages or shuts off before the cycle is complete, the vent may be clogged and needs attention.
If the clothes are still damp after drying, the vent may be blocked and the hot air is not escaping properly (Source: AZParts)
3. How Often Should You Clean Your Dryer Vent?
You should clean your dryer vent at least once a year to maintain safe and efficient operation. Annual cleaning helps remove lint, dust, and debris that can build up and restrict airflow, which reduces your dryer's performance and increases the risk of fire.
If you use your dryer frequently or live in a larger household, you may need to clean the vent more often. Households that run multiple loads per week should consider checking and cleaning the vent every six months.
By keeping your dryer vent clean, you can improve efficiency and extend the life of your dryer (Source: AZParts)
4. Cleaning a dryer vent: A guide
Tools & Materials Needed
To clean your dryer vent hose effectively, you will need a few essential tools and materials. These items will help ensure a thorough and safe cleaning process, which can improve your dryer’s performance and reduce fire hazards.
- Lint brush or vacuum attachment
- Screwdriver or nut driver
- Duct tape or zip ties
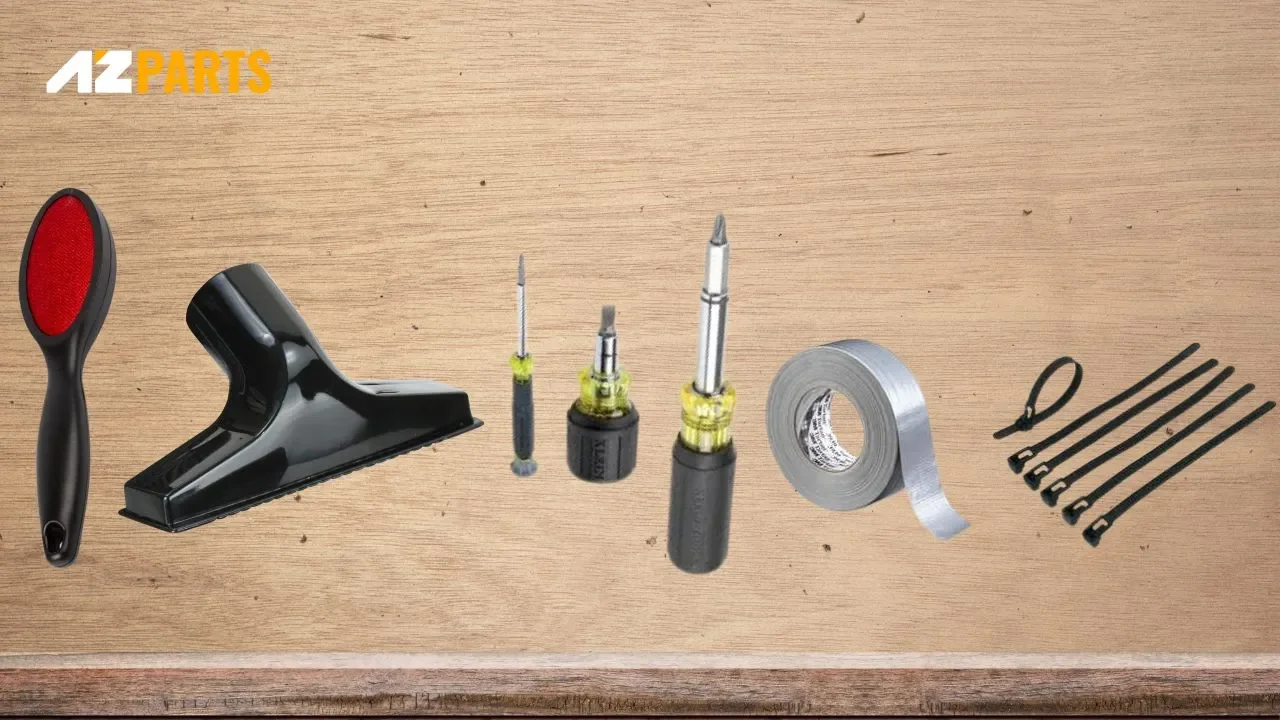
To clean your dryer vent hose, you will need a Lint brush, vacuum attachment, Screwdriver, nut driver, duct tape, zip ties,... (Source: AZParts)
How to Clean a Dryer Vent: Step-by-Step
Over time, lint, dust, and debris can accumulate inside your dryer's vent hose and duct system. If you do not clean it regularly, your dryer may overheat, operate less efficiently, or even pose a serious fire risk. To ensure your appliance runs safely and effectively, you should clean the vent system thoroughly. Below is a clear, step-by-step guide to help you do it properly.
Step 1 – Unplug the Dryer or Turn Off the Gas
You should always begin by disconnecting your dryer from its power source. If your dryer is electric, unplug it from the wall outlet. If it is gas-powered, you need to turn off the gas supply to prevent any leaks during the process.
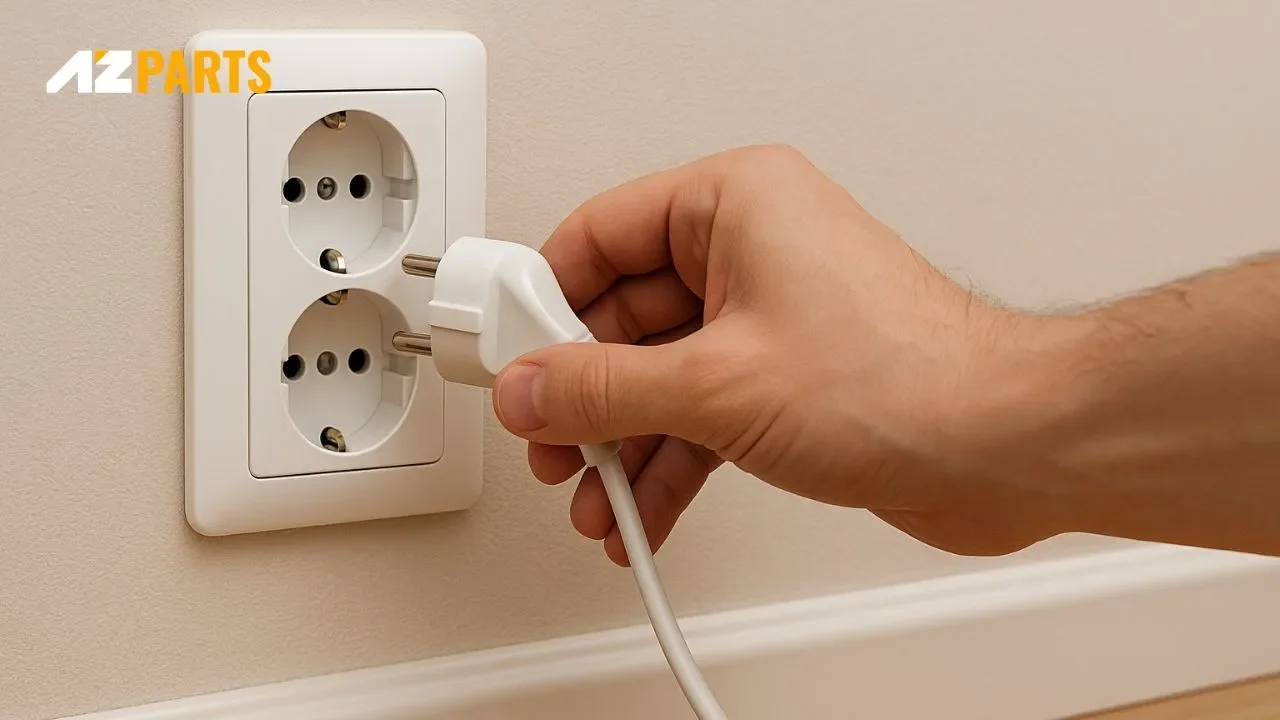
You should always begin by disconnecting your dryer from its power source (Source: AZParts)
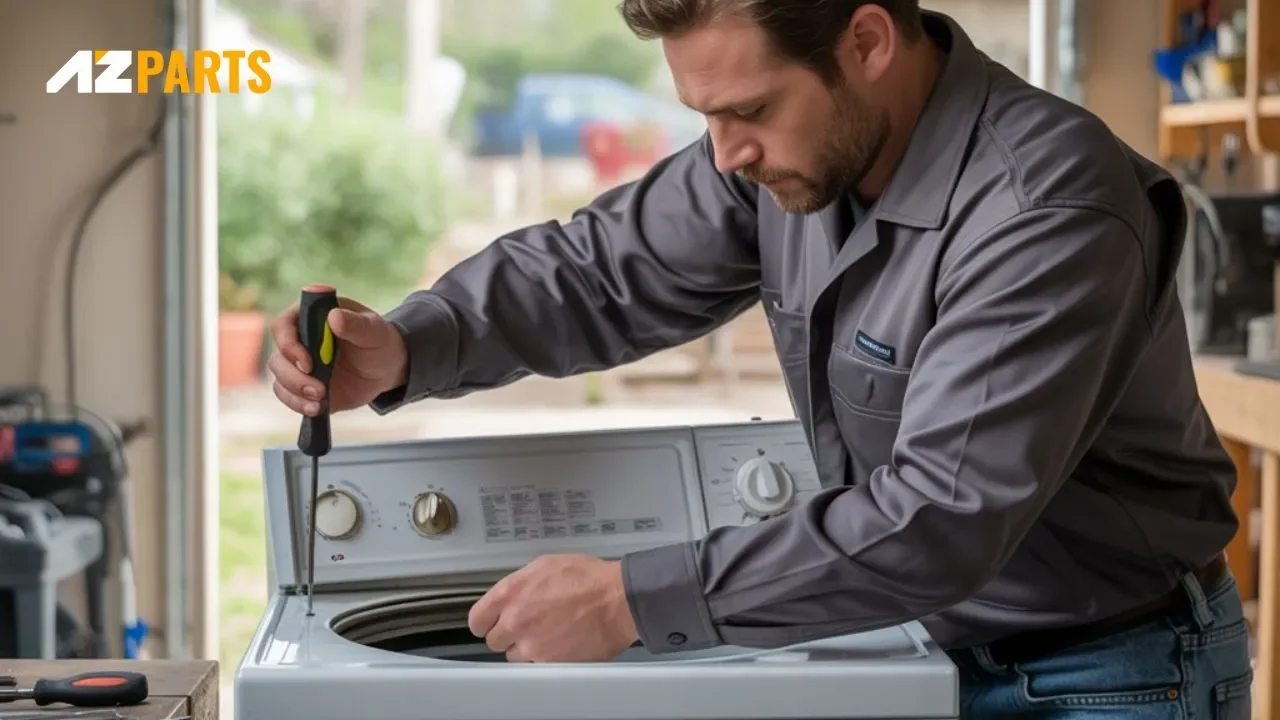
Step 2 – Pull the Dryer Away from the Wall
Next, you should carefully move your dryer away from the wall. This will give you access to the back of the machine, where the vent hose and exhaust connection are located. Be careful not to stretch or damage the power cord or vent.
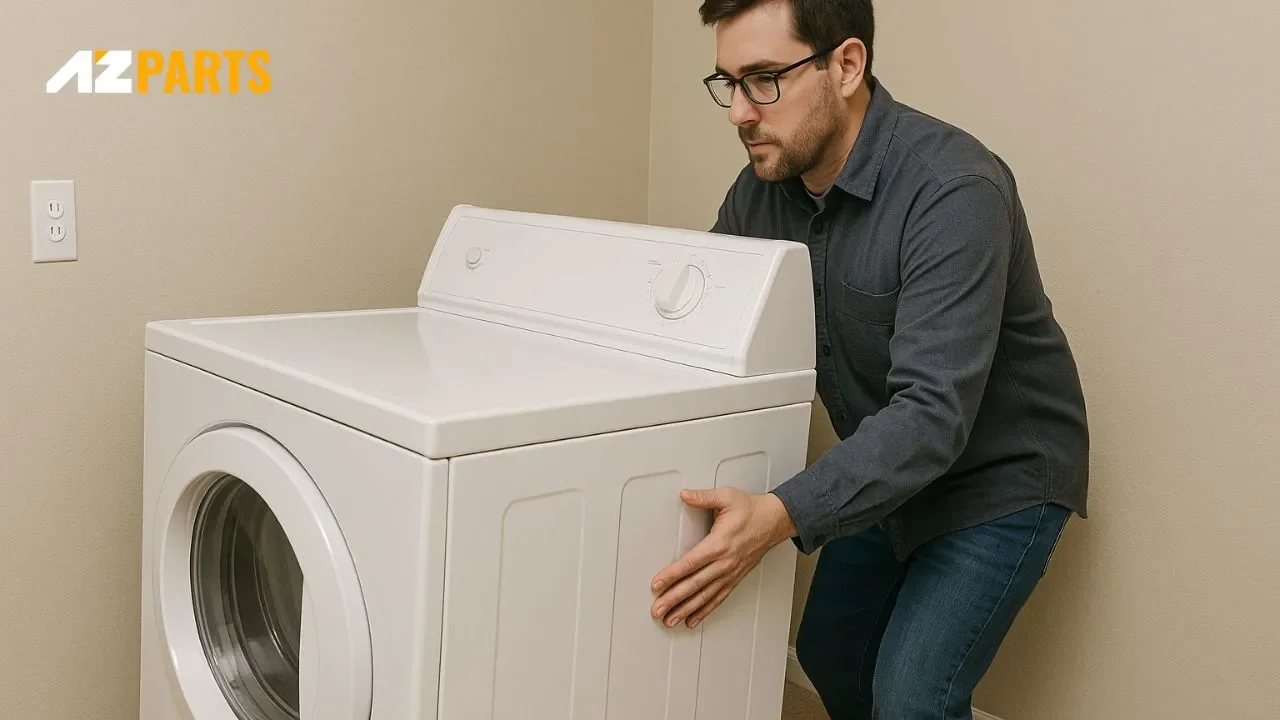
Next, you should carefully move your dryer away from the wall (Source: AZParts)
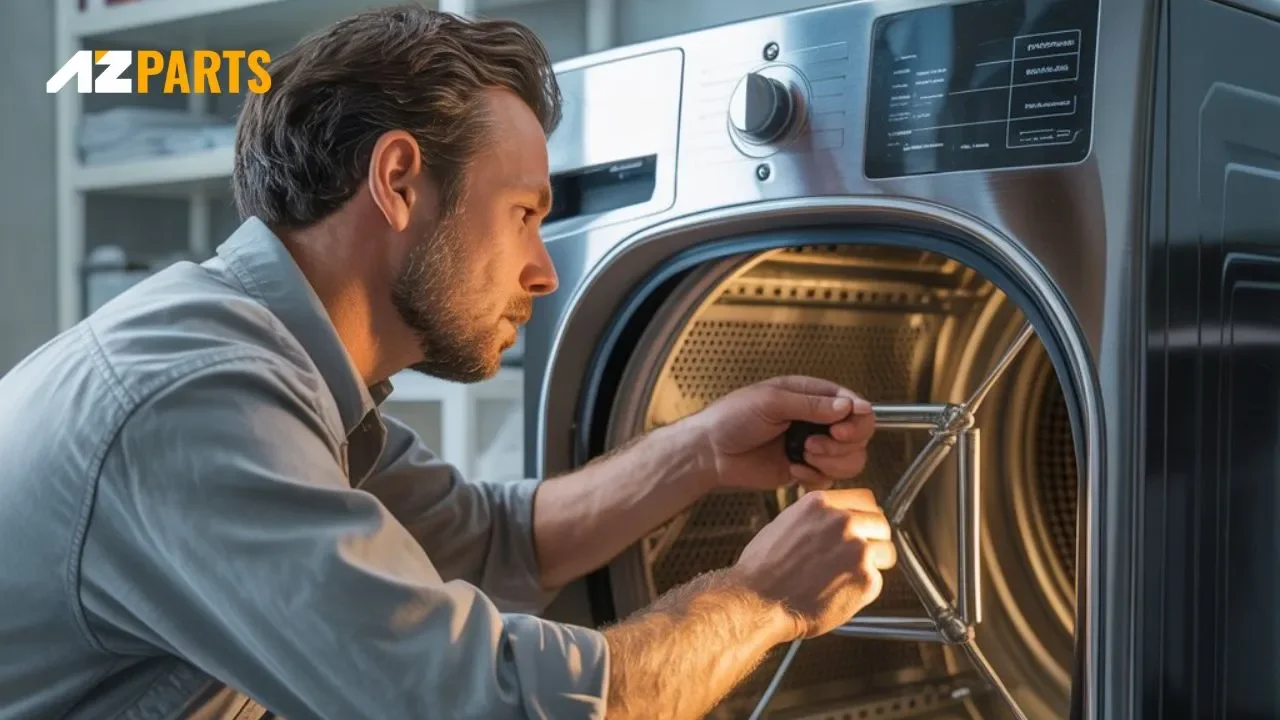
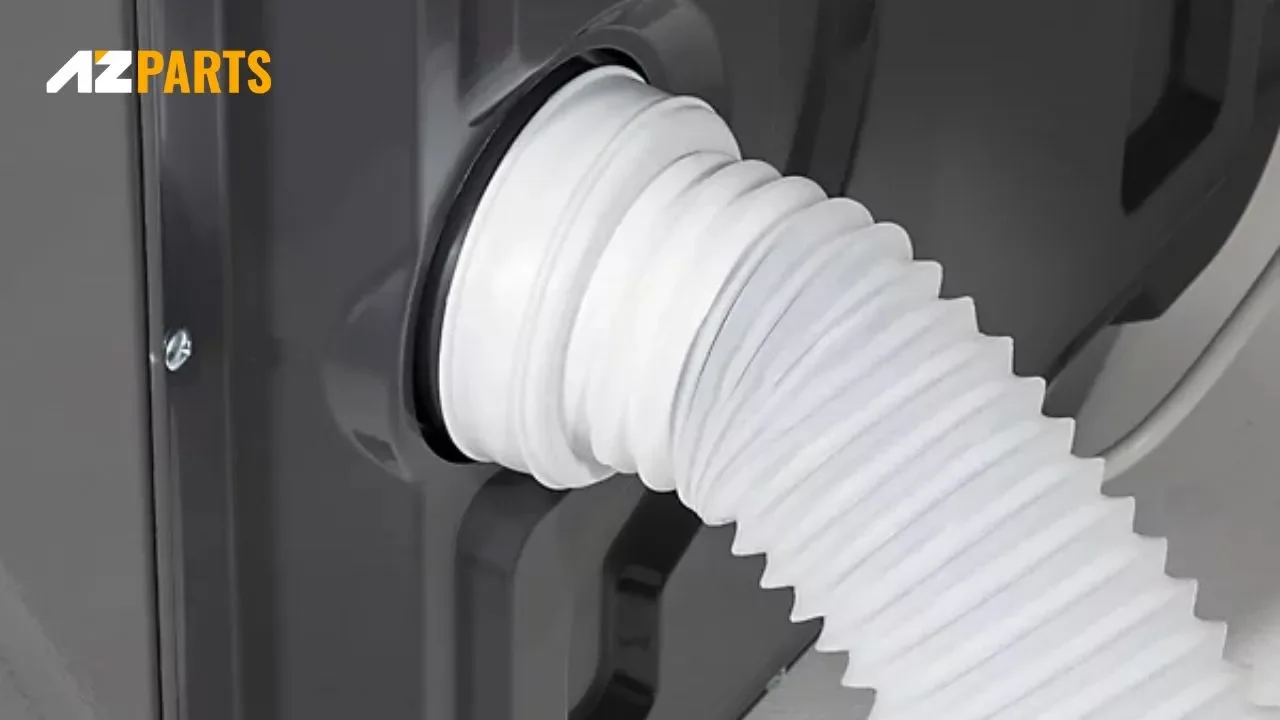
Step 3 – Disconnect the Dryer Vent Hose
Using a screwdriver or nut driver, you need to loosen the clamp that secures the vent hose to the dryer. Then, you should gently pull the vent hose off both the dryer and the wall connection. Set the dryer vent hose and clamps aside so you can reinstall them later.
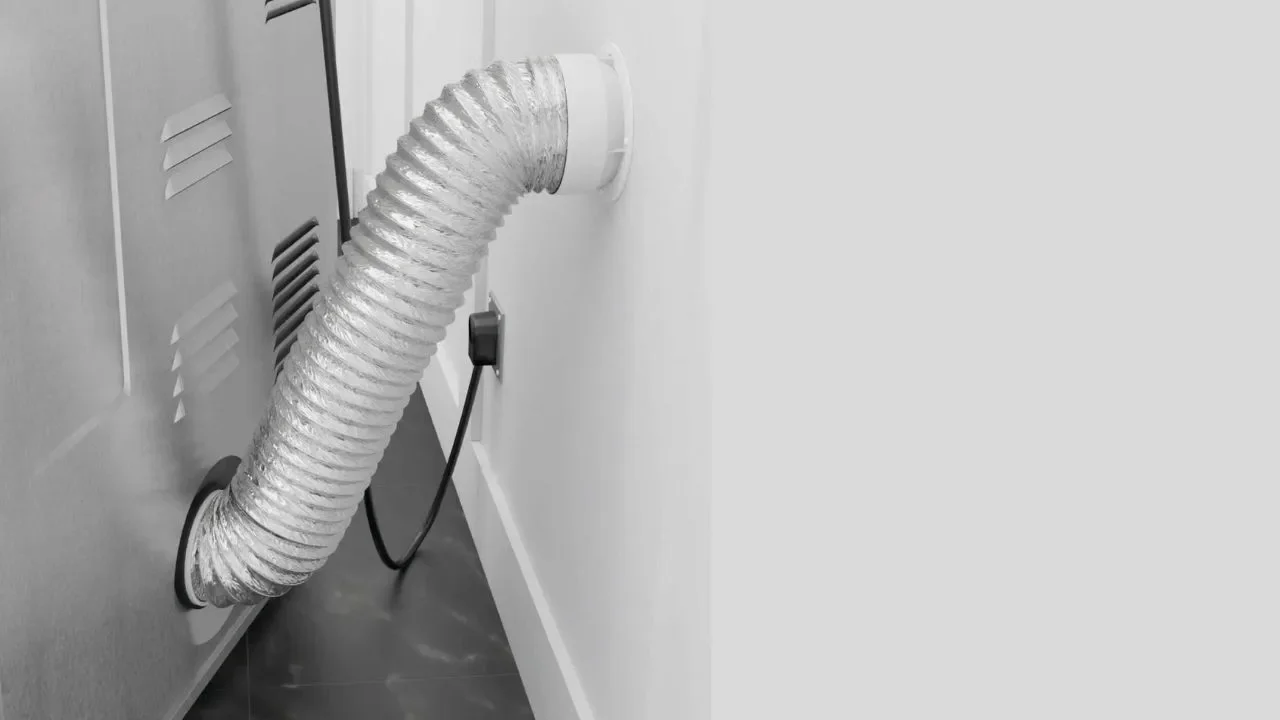
Then, you should gently pull the vent hose off both the dryer and the wall connection (Source: AZParts)
Step 4 – Remove Lint from the Vent Hose
You should use a vacuum cleaner or a lint brush to clean the inside of the vent hose. If needed, you can use a leaf blower to force out lint and debris from the entire length of the hose. Make sure to inspect the hose for any damage and replace it if necessary.
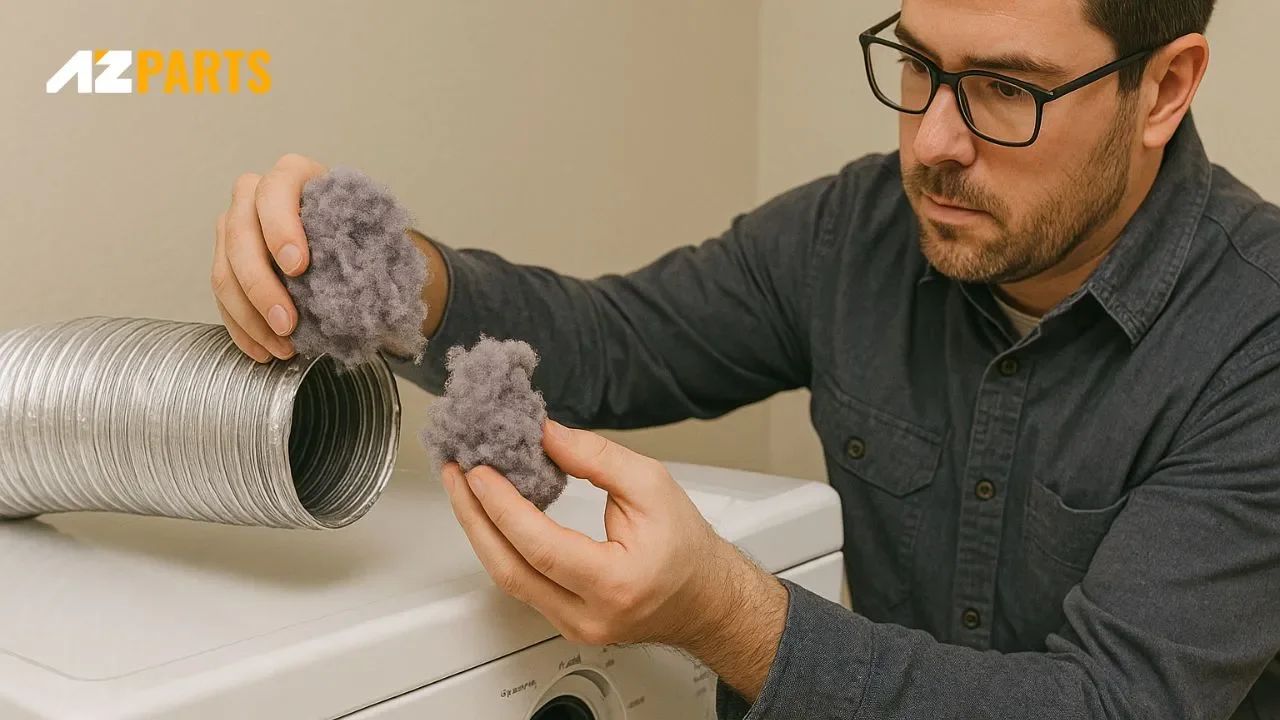
You should use a vacuum cleaner or a lint brush to clean the inside of the vent hose (Source: AZParts)
Step 5 – Clean the Wall Vent and Exterior Exhaust
You need to clean both the indoor and outdoor vent openings. Use a brush or vacuum to remove lint from the wall vent. Then go outside your home and check the exterior vent. Remove any debris, such as leaves or bird nests, and make sure the vent flap can open and close freely.
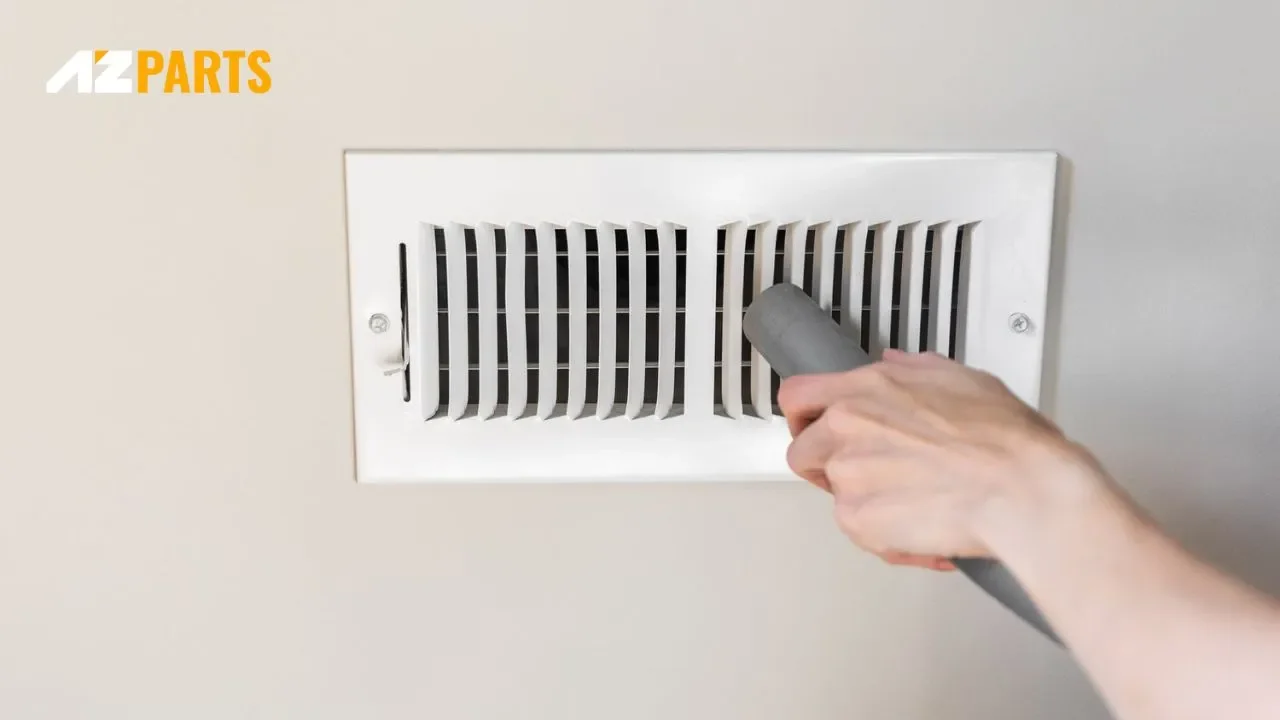
You need to clean both the indoor and outdoor vent openings (Source: AZParts)
Step 6 – Reattach the Vent Hose
Once everything is clean, you should reconnect the vent hose to both the dryer and the wall duct. Make sure the hose is aligned correctly, and use the clamps to tighten both ends. You can also apply duct tape to the connections to ensure there are no air leaks.
Make sure the hose is aligned correctly (Source: AZParts)
Step 7 – Plug In the Dryer and Test It
Finally, you need to restore power by plugging in the dryer or turning the gas valve back on. Turn on the dryer and check the airflow at the outside vent. If you feel strong airflow, your vent system is clean and functioning properly.
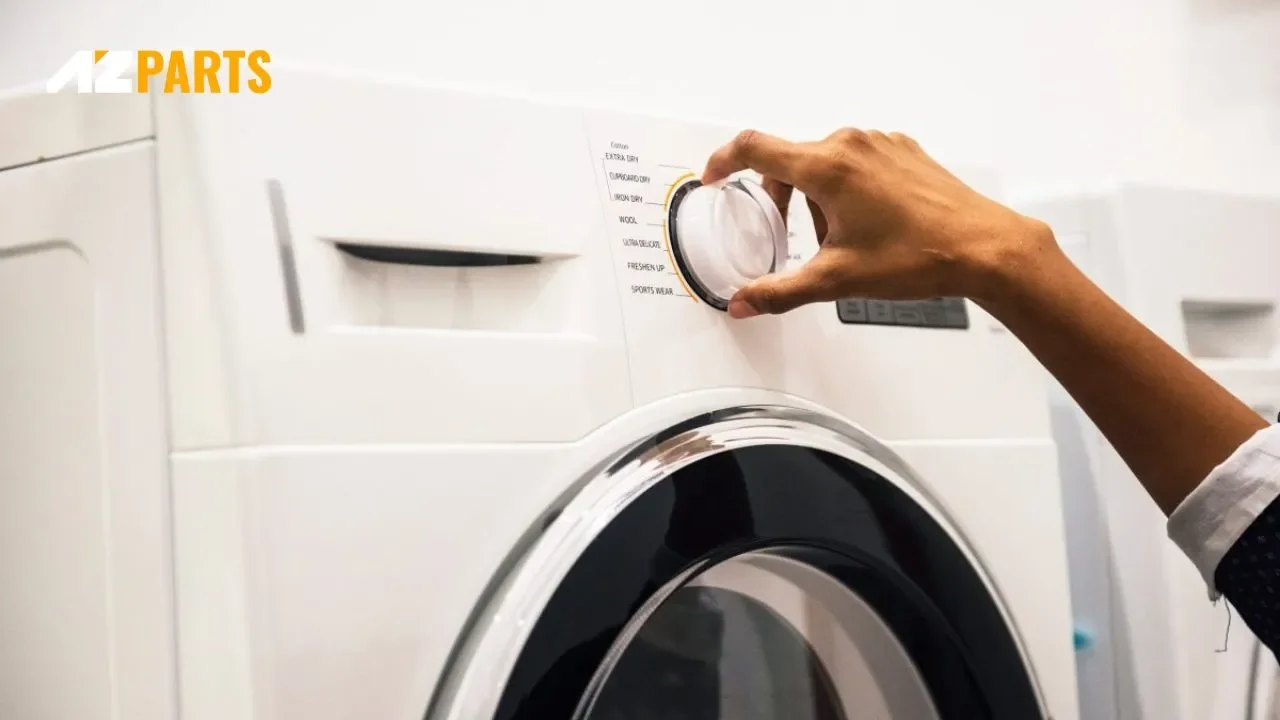
Finally, you need to restore power by plugging in the dryer or turning the gas back on (Source: AZParts)
5. FAQs
5.1. Can I clean the dryer vent myself?
Yes, you can clean the dryer vent yourself if you have the proper tools and feel comfortable doing so. A vacuum attachment or dryer vent cleaning brush can help remove lint and debris from the hose and wall vent.
5.2. How long does it take to clean a dryer vent?
Cleaning a dryer vent typically takes between 30 minutes to an hour, depending on the length of the vent hose and how much lint has built up. If you clean the vent regularly, the process will be quicker. For more thorough cleanings or longer vent systems, it may take a bit longer.
5.3. What happens if you don’t clean your dryer vent?
If you do not clean your dryer vent, lint and debris can build up and restrict airflow. This can lead to longer drying times, higher energy bills, and overheating. In serious cases, a clogged vent can cause a fire. Regular cleaning is essential to maintain safety and dryer efficiency.
Knowing how to clean your dryer vent not only keeps your laundry running smoothly but also protects your home from potential fire risks. With the right tools and a little time, you can make a big difference in your dryer's safety and performance. For dryer replacement parts, trust AZParts to support your maintenance needs every step of the way.
Contact Info
Address: 8 The Green, Ste A, Dover, Delaware 19901-3618, United States
Email: support@azparts.com
Learn more about dryer maintenance and safety tips:
Dryer
Further Reading
Further Reading

Repair help
April 1, 2026
If your dryer has suddenly stopped working, won’t start, or fails to complete a cycle, the problem might be easier to fix than you think. In many cases, replacing a faulty component can get your dryer running again without the need for expensive repairs. In this guide, we’ll walk you through the 7 most common reasons your dryer isn’t working and what you can do to fix them. We’ll also point you to the specific dryer parts available at AZParts that can help you resolve each issue.

Repair help
December 28, 2025
When your dryer won’t spin, even the smallest load becomes a hassle. In this guide, AZParts walks you through the most common causes, from power and startup issues to mechanical breakdowns and motor failures. You’ll also find practical advice on handling safety and sensor dryer problems, along with a step-by-step diagnostic guide to help you identify the problem and get your dryer working again.

Repair help
November 28, 2025
Does your dryer smell like mildew every time you open the door? That musty odor is a common sign of moisture buildup and poor ventilation, often caused by clogged lint traps, dirty vents, or worn-out parts. While regular cleaning is essential, truly eliminating the dryer issue may require replacing faulty components such as lint screens, door seals, or vent hoses. In this article, AZParts explore the common causes behind why your dryer smells like mildew and provide practical tips to eliminate those unpleasant odors.

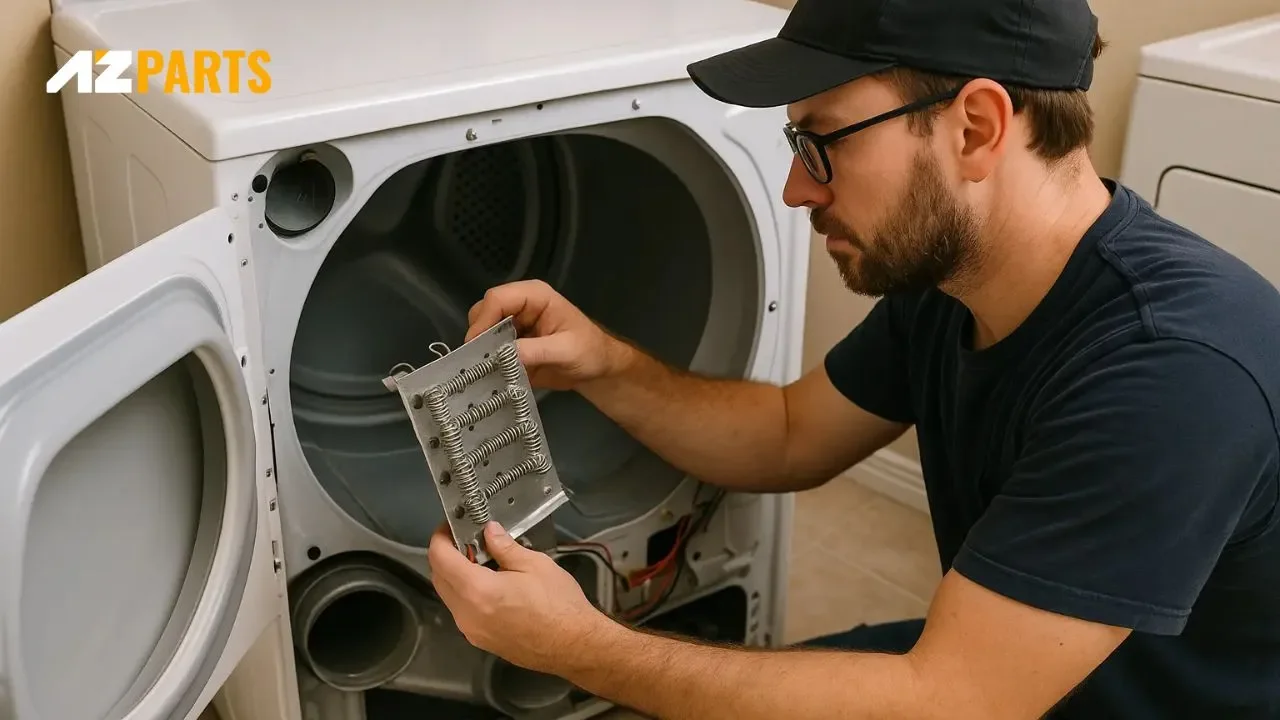
How-To Guides
November 20, 2025
Dryer running cold? The heating element is probably broken. Learn how to fix the heating element in the dryer yourself, it's easier than you think and saves repair costs. This comprehensive guide will walk you through identifying, removing, and installing a new heating element in your dryer, with expert tips from AZParts to ensure your clothes are drying efficiently again in no time.

Review
November 19, 2025
Choosing the right dryer vent hose is more important than you think. Each dryer vent hose type affects your dryer's efficiency and safety differently. In this article, AZParts will introduce the most common types of dryer vent hose, compare their pros and cons, and help you pick the best fit.