How-To Guides
How to Fix the Dryer Heating Element in 4 Steps
AZparts Team
Updated on November 20, 2025
6 min read
Dryer running cold? The heating element is probably broken. Learn how to fix the heating element in the dryer yourself, it's easier than you think and saves repair costs. This comprehensive guide will walk you through identifying, removing, and installing a new heating element in your dryer, with expert tips from AZParts to ensure your clothes are drying efficiently again in no time.

1. Tips to Know Before Repairing a Dryer Heating Element
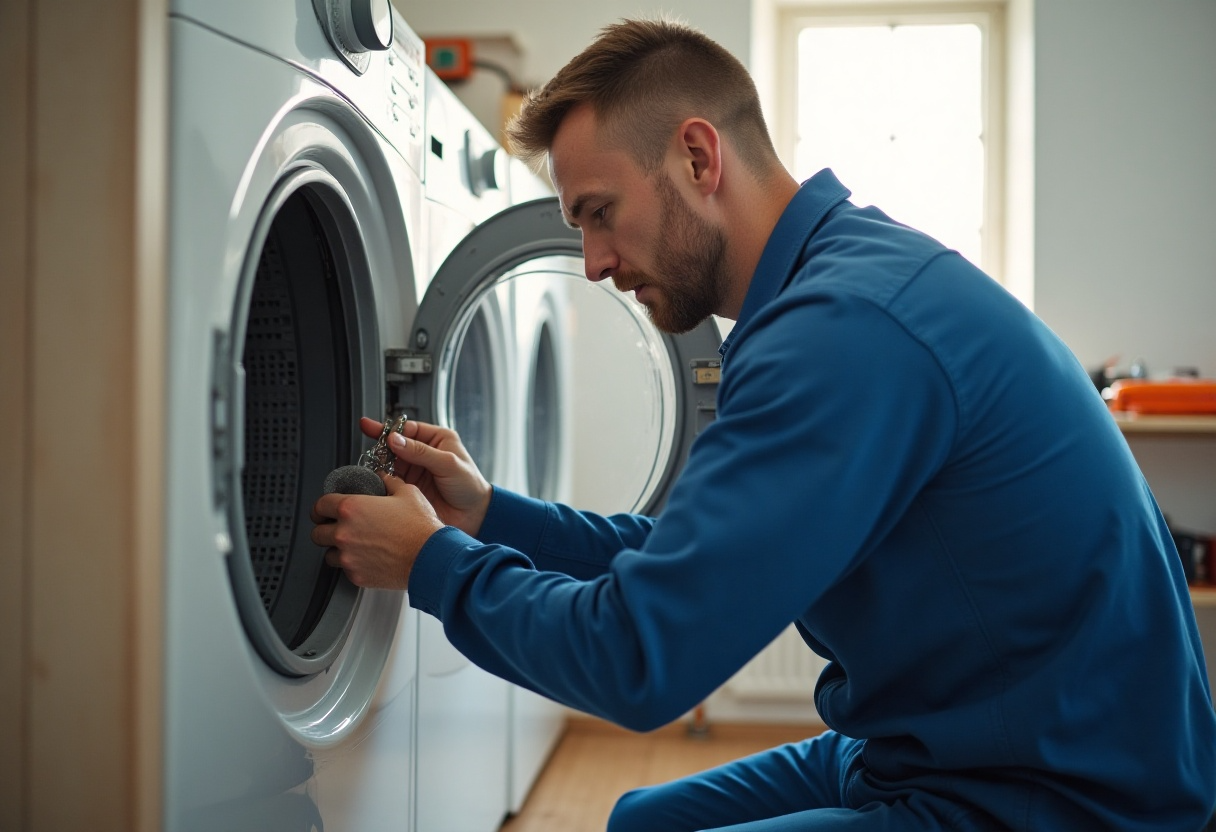
Before attempting any repair on your dryer, it’s crucial to take proper precautions. Here are a few professional tips to help you start off safely and successfully:
- Identify the issue properly: Make sure the heating element is indeed the problem. Common symptoms include the dryer not heating up, clothes remaining damp after a full cycle, or the thermal fuse blowing repeatedly.
- Know your model: Always verify the model number of your dryer. Different brands and models use different types of heating elements.
- Get the right tools: You'll typically need a screwdriver (Phillips or flathead), needle-nose pliers, a multimeter (optional for testing), and a vacuum or cloth for cleaning lint buildup.
- Work in a well-lit, ventilated area: Ensuring good lighting and airflow can improve both your safety and efficiency during the repair.
For best results, choose a trusted replacement part. We recommend the AZParts Dryer Heating Element, designed for durability and easy installation in most major dryer models. AZParts provides heating elements compatible with top brands such as Whirlpool, Samsung, GE, and LG.
These high-quality replacement parts are manufactured to meet or exceed original equipment specifications, ensuring proper fit and function for your specific dryer model.
Check out more: Is It Worth Replacing a Heating Element in a Dryer?
Tips to know before fixing a dryer heating element (Source: AZParts)
2. How to Replace The Heating Element In A Tumble Dryer?
Follow these four steps carefully to replace your dryer's heating element safely and effectively.
2.1. Step 1: Unplug the Dryer
Safety must be your top priority when working with any electrical appliance.
To begin servicing your dryer, carefully pull the unit away from the wall for complete access, then disconnect power (or shut off gas supply if applicable). Allow 30 minutes of cooling time to ensure safety before placing a protective towel to catch any components during disassembly.
Important: Never attempt to work on a dryer that is still connected to power. Even when turned off, a plugged-in appliance presents a serious electrocution risk.
For hardwired dryers, locate your home’s electrical panel and turn off the circuit breaker supplying power to the appliance before proceeding.
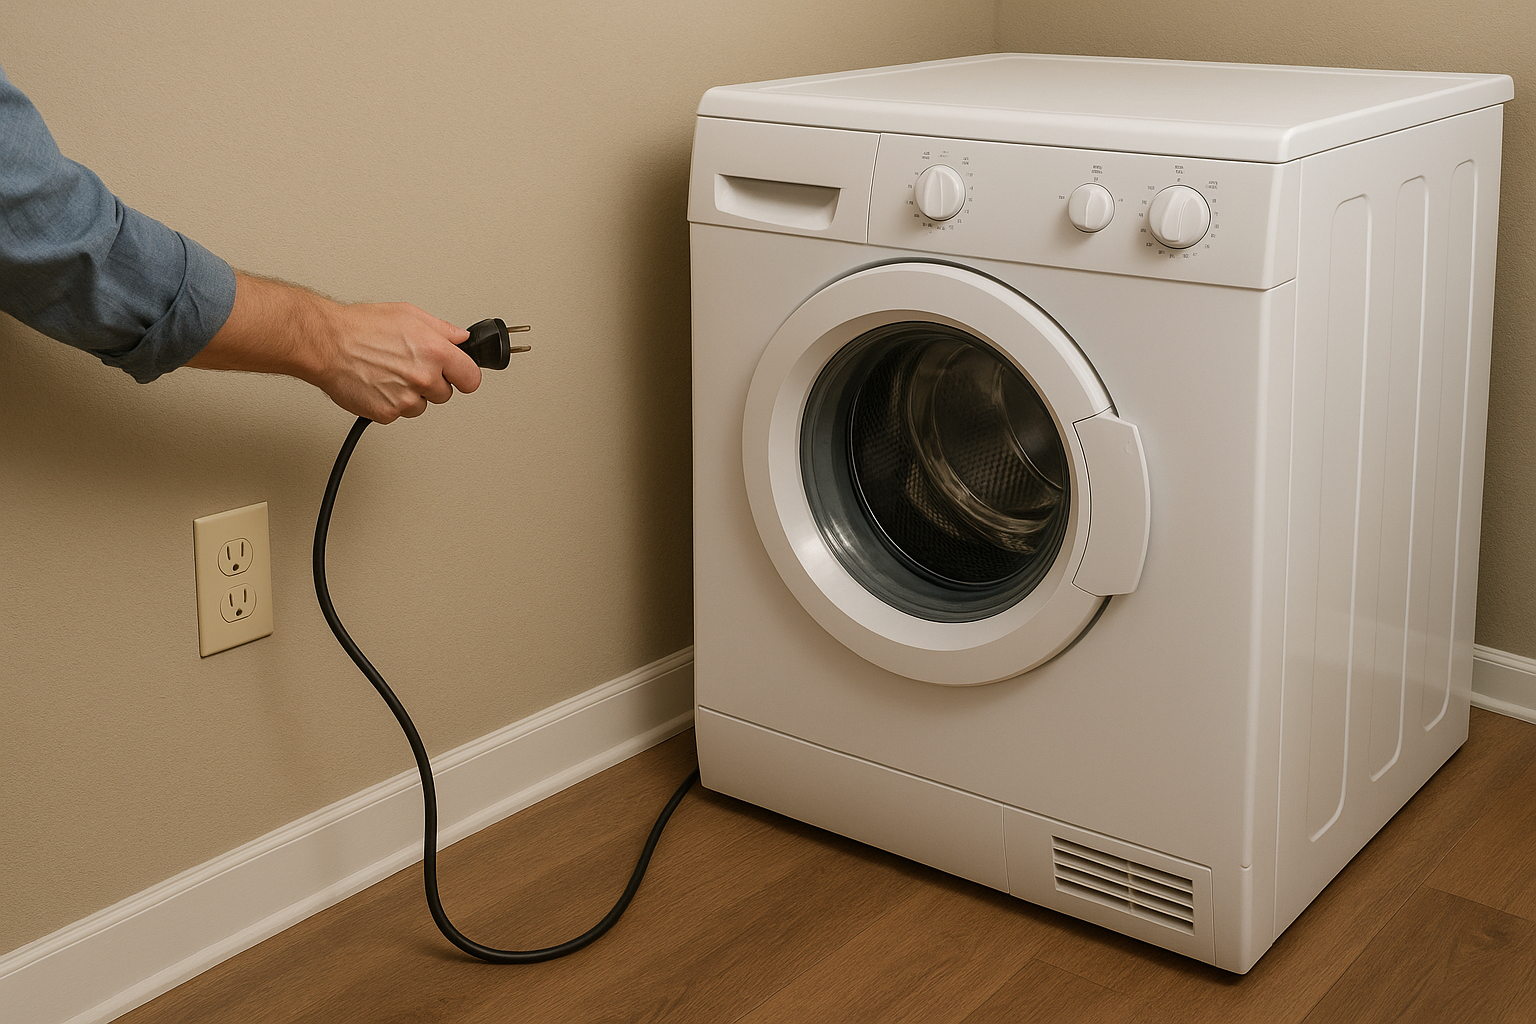
Unplug the dryer for your safety (Source: AZParts)
2.2. Step 2: Remove the Back Panel
- Check your manual first. Most dryers open from the back, confirm with your model’s service guide.
- Create a workspace. Pull the dryer forward so the rear panel is fully exposed.
- Remove the rear panel. With the correct screwdriver, take out every mounting screw and drop them into a magnetic tray or cup.
- Set the panel aside. On some models you must also detach the lint-screen housing, rear duct, or supporting brackets to uncover the heating-element cage.
- Document before disconnecting. Snap clear photos of wire and part locations; they’ll be your roadmap when you put everything back together.
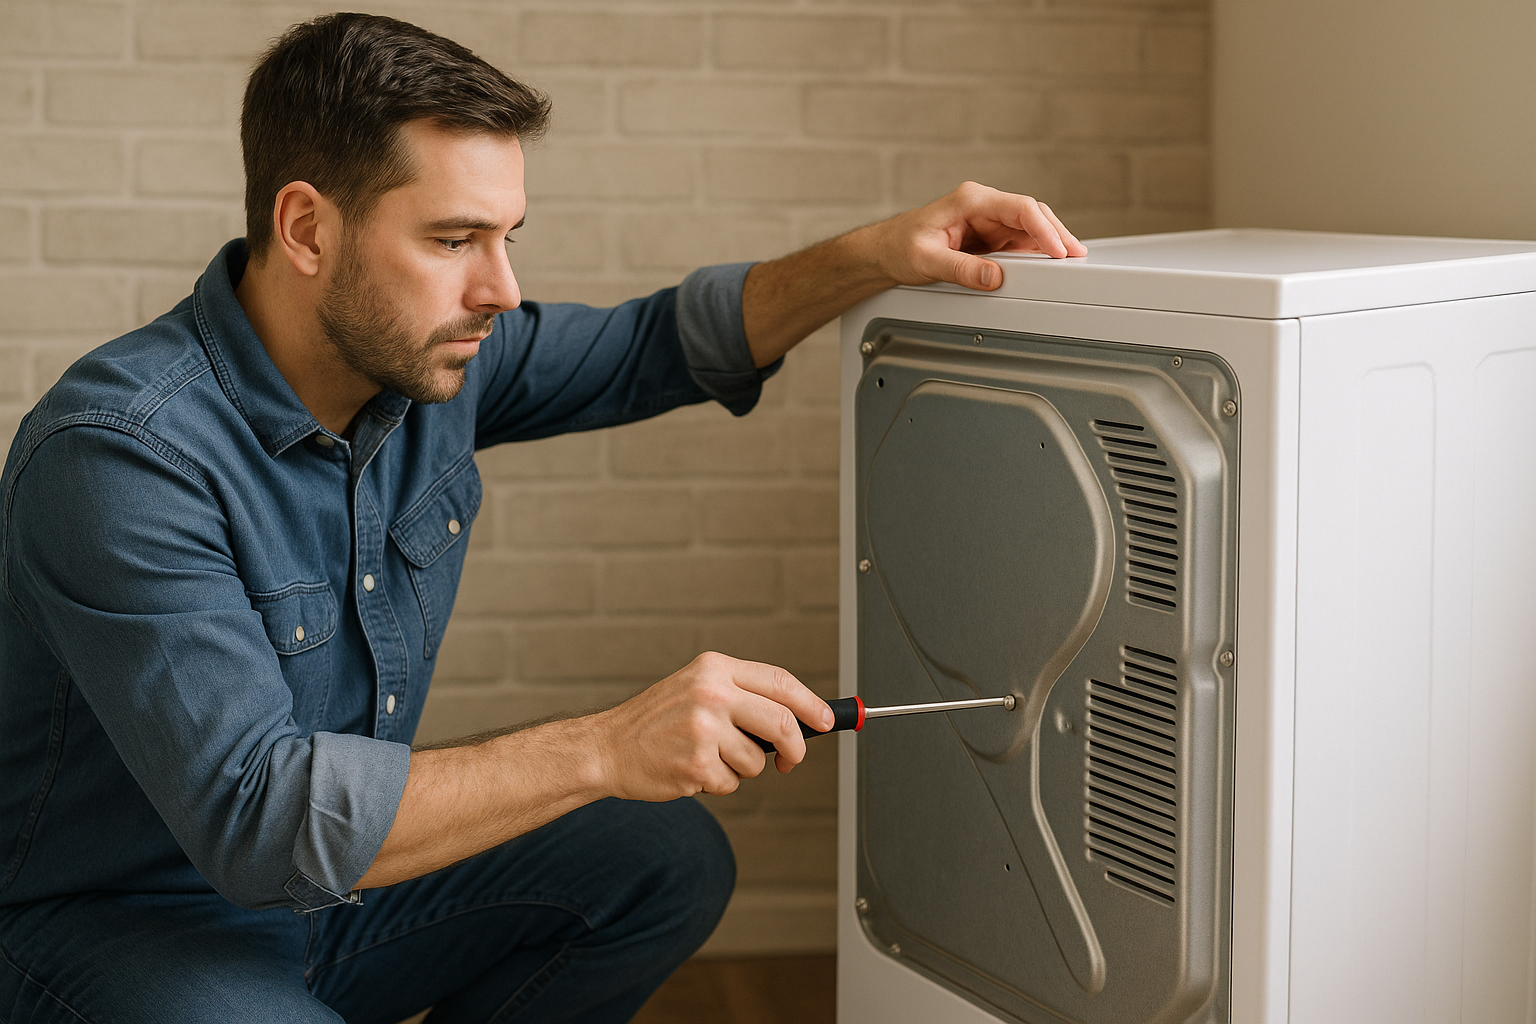
Remove the Back Panel (Source: AZParts)
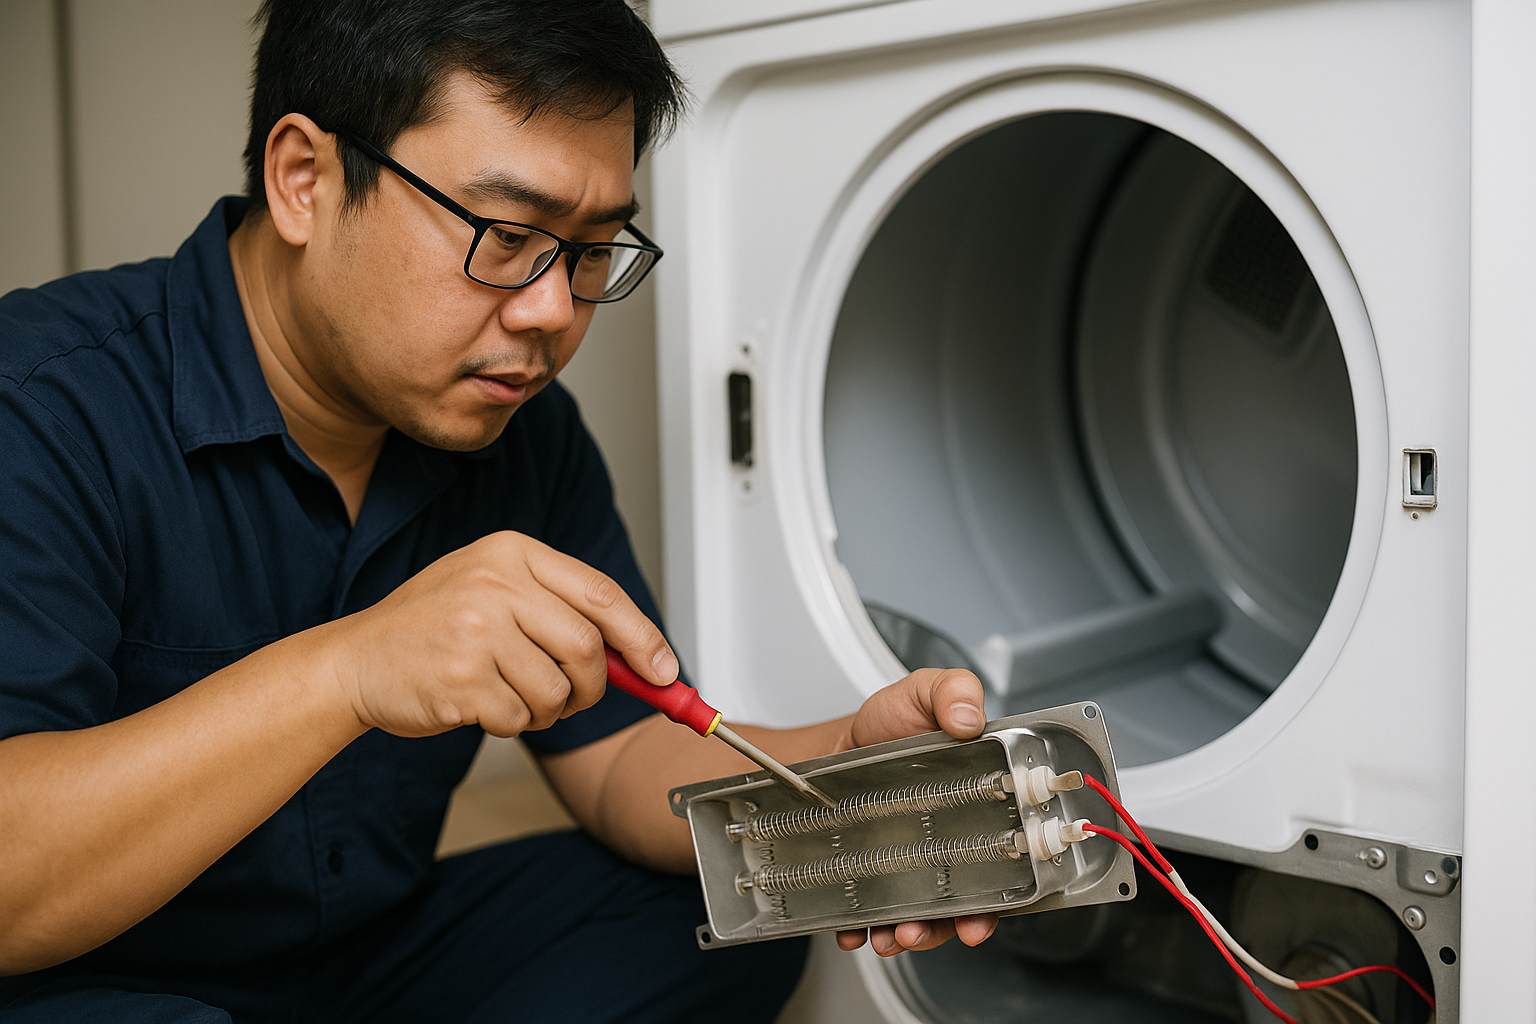
2.3. Step 3: Remove the Heating Element Assembly
- Locate the heating element: The heating element is typically enclosed in a rectangular or cylindrical metal housing near the air duct or blower housing.
- Document electrical connections: Use your phone to take clear reference photos of all wires connected to the heating element terminals before disconnection.
- Disconnect the wiring: Carefully detach all electrical connections; you may need pliers or a nut driver depending on the connector type.
- Remove mounting hardware: Take out all screws, clamps, or brackets that secure the element housing in place.
- Extract the assembly: Gently remove the entire heating element assembly from the appliance, avoiding damage to surrounding components.
Warning: Do not use excessive force, especially on plastic clips or fragile connectors. Take your time to avoid damaging wire insulation or surrounding components.
Before fully removing the heating assembly, check for any additional attachments such as high-limit thermostats, thermal fuses, or ground wires. These may be mounted directly to the heating element housing and will need to be detached and transferred to the new part if still functional.
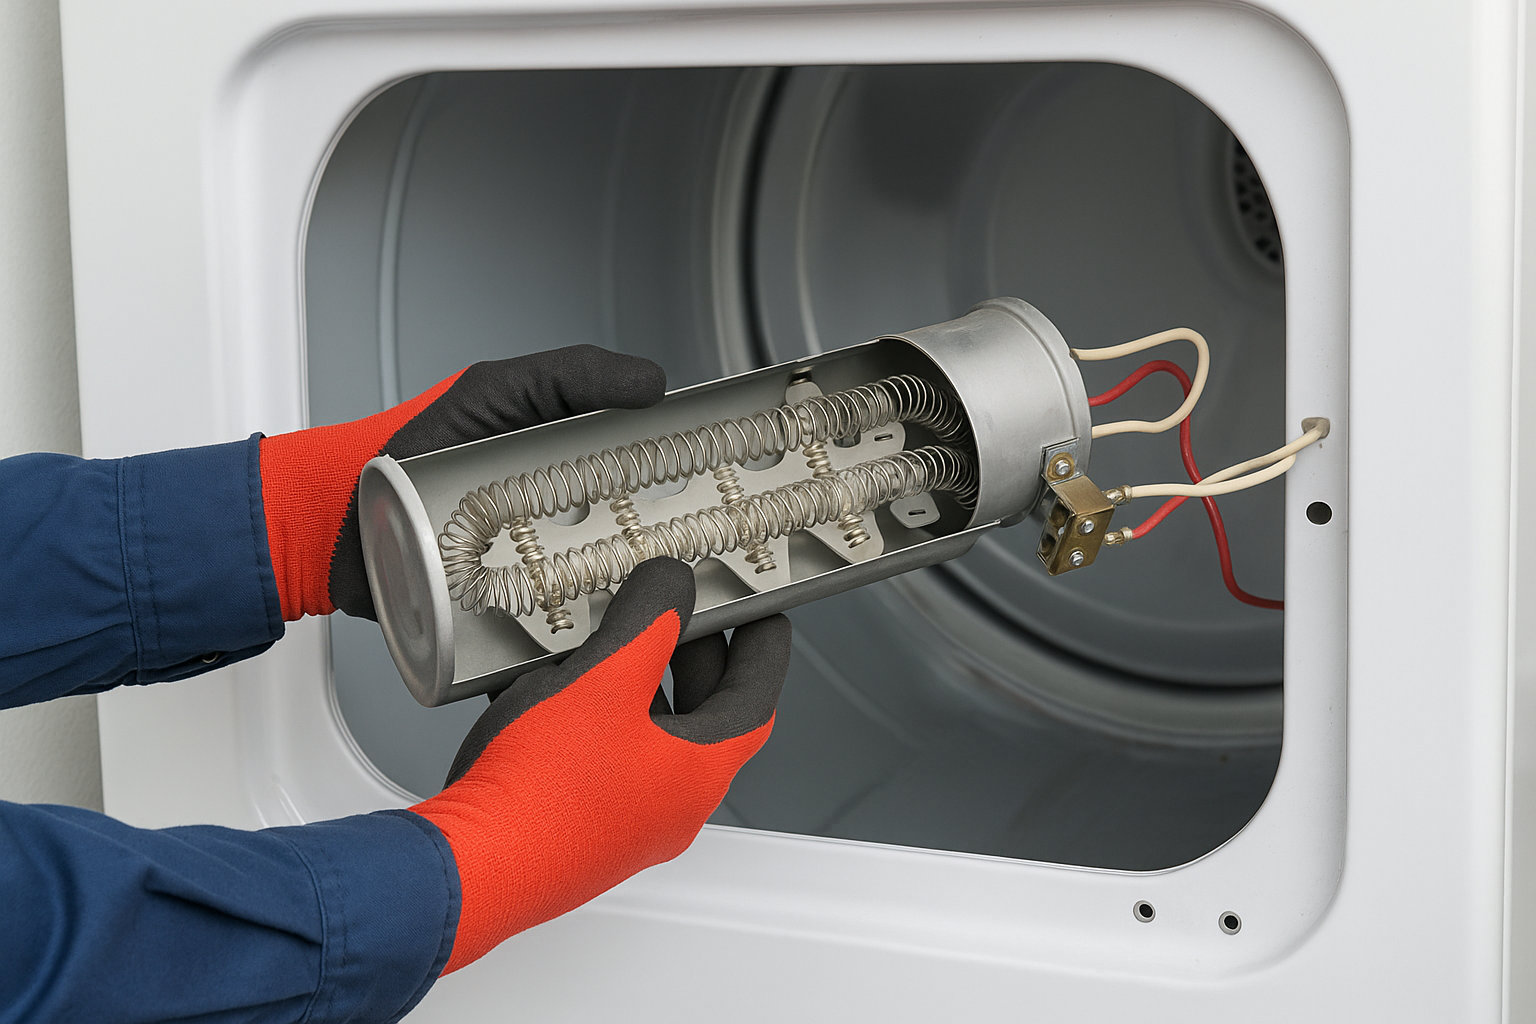
Remove the heating element assembly (Source: AZParts)
2.4. Step 4: Install the New Heating Element Assembly
With the old element removed, install the new replacement dryer heating element from AZParts.
- Transfer salvageable components: If thermal fuses or thermostats from the previous element are still functional, move them to the new assembly.
- Position the new element: Align the new heating element assembly with the original mounting points in the dryer.
- Secure the assembly: Use the original screws, brackets, and fasteners to firmly attach the new element in place.
- Reconnect electrical components: Referring to your reference photos, connect all wires to their correct terminals, ensuring each connection is tight and properly positioned.
- Verify wire placement: Check that no wires are pinched, bent, or exposed to prevent potential safety hazards.
- Clean the surrounding area: Before final reassembly, vacuum or wipe away any lint buildup or dust from the interior to improve airflow and reduce fire risk.
Install and test the new heating element assembly (Source: AZParts)
3. FAQs about how to fix heating element in dryer
3.1. Why won’t my dryer turn on after replacing the heating element?
If your dryer does not power on after the replacement, it could be due to a loose or incorrectly connected wire. Double-check all terminal connections. Also, ensure the dryer is plugged in and the circuit breaker is turned back on.
3.2. I replaced the heating element, but now the fuse keeps blowing — What should I do?
This typically indicates poor airflow or overheating. Check for lint buildup in the exhaust vent or air ducts. Also inspect other components such as: Thermal fuse, Thermistor, Cycling thermostat. Replacing a heating element without addressing these issues can lead to repeat failures.
3.3 Can I do this if it is a gas dryer?
Yes, but proceed with caution. Turn off the gas supply completely before starting the repair. Gas dryers often have more complex safety systems, so make sure to follow the manufacturer's guidelines or consider hiring a professional.
Remember that regular maintenance is key to preventing future heating element failures. Clean your lint trap before each use, inspect and clean your dryer vent annually, and avoid overloading your dryer. These simple practices can significantly extend the dryer lifespan of your new heating element and improve your dryer's overall efficiency.
For all your dryer repair needs, AZParts offers a complete selection of high-quality dryer replacement parts for all major brands and models. Our heating elements and components are manufactured to meet or exceed OEM specifications, ensuring proper fit and reliable performance. Visit us online to find the exact parts you need for your specific dryer model. Saving the dryer repair cost when replacing ourselves at home.
Contact Information:
8 The Green, Ste A, Dover, Delaware 19901-3618, United States
Dryer
Further Reading
Further Reading

Repair help
April 1, 2026
If your dryer has suddenly stopped working, won’t start, or fails to complete a cycle, the problem might be easier to fix than you think. In many cases, replacing a faulty component can get your dryer running again without the need for expensive repairs. In this guide, we’ll walk you through the 7 most common reasons your dryer isn’t working and what you can do to fix them. We’ll also point you to the specific dryer parts available at AZParts that can help you resolve each issue.

Repair help
December 28, 2025
When your dryer won’t spin, even the smallest load becomes a hassle. In this guide, AZParts walks you through the most common causes, from power and startup issues to mechanical breakdowns and motor failures. You’ll also find practical advice on handling safety and sensor dryer problems, along with a step-by-step diagnostic guide to help you identify the problem and get your dryer working again.

Repair help
November 28, 2025
Does your dryer smell like mildew every time you open the door? That musty odor is a common sign of moisture buildup and poor ventilation, often caused by clogged lint traps, dirty vents, or worn-out parts. While regular cleaning is essential, truly eliminating the dryer issue may require replacing faulty components such as lint screens, door seals, or vent hoses. In this article, AZParts explore the common causes behind why your dryer smells like mildew and provide practical tips to eliminate those unpleasant odors.

Review
November 19, 2025
Choosing the right dryer vent hose is more important than you think. Each dryer vent hose type affects your dryer's efficiency and safety differently. In this article, AZParts will introduce the most common types of dryer vent hose, compare their pros and cons, and help you pick the best fit.

Review
August 25, 2025
A slow-drying Kenmore dryer is more than a minor inconvenience—it can significantly increase your energy bill, cause unnecessary wear and tear on your clothes, and shorten the lifespan of the appliance. In fact, the U.S. Department of Energy reports that clothes dryers make up about 5% of a home’s total energy usage, and a malfunctioning unit can use up to 75% more energy than it should.
If you’re asking yourself, “Why is my Kenmore dryer not drying?”—you’re not alone. In this guide, we’ll break down the most common reasons your Kenmore dryer may be underperforming, how to troubleshoot and fix these issues, and when it might be time to consider replacing essential parts.
Whether it's a clogged vent, a faulty heating element, or something more complex, understanding the root cause is the first step toward efficient drying—and lower utility bills.