Review
Why is my kenmore dryer not drying?
AZparts Team
Updated on August 25, 2025
6 min read
A slow-drying Kenmore dryer is more than a minor inconvenience—it can significantly increase your energy bill, cause unnecessary wear and tear on your clothes, and shorten the lifespan of the appliance. In fact, the U.S. Department of Energy reports that clothes dryers make up about 5% of a home’s total energy usage, and a malfunctioning unit can use up to 75% more energy than it should.
If you’re asking yourself, “Why is my Kenmore dryer not drying?”—you’re not alone. In this guide, we’ll break down the most common reasons your Kenmore dryer may be underperforming, how to troubleshoot and fix these issues, and when it might be time to consider replacing essential parts.
Whether it's a clogged vent, a faulty heating element, or something more complex, understanding the root cause is the first step toward efficient drying—and lower utility bills.

Common Causes of a Kenmore Dryer Taking Too Long to Dry
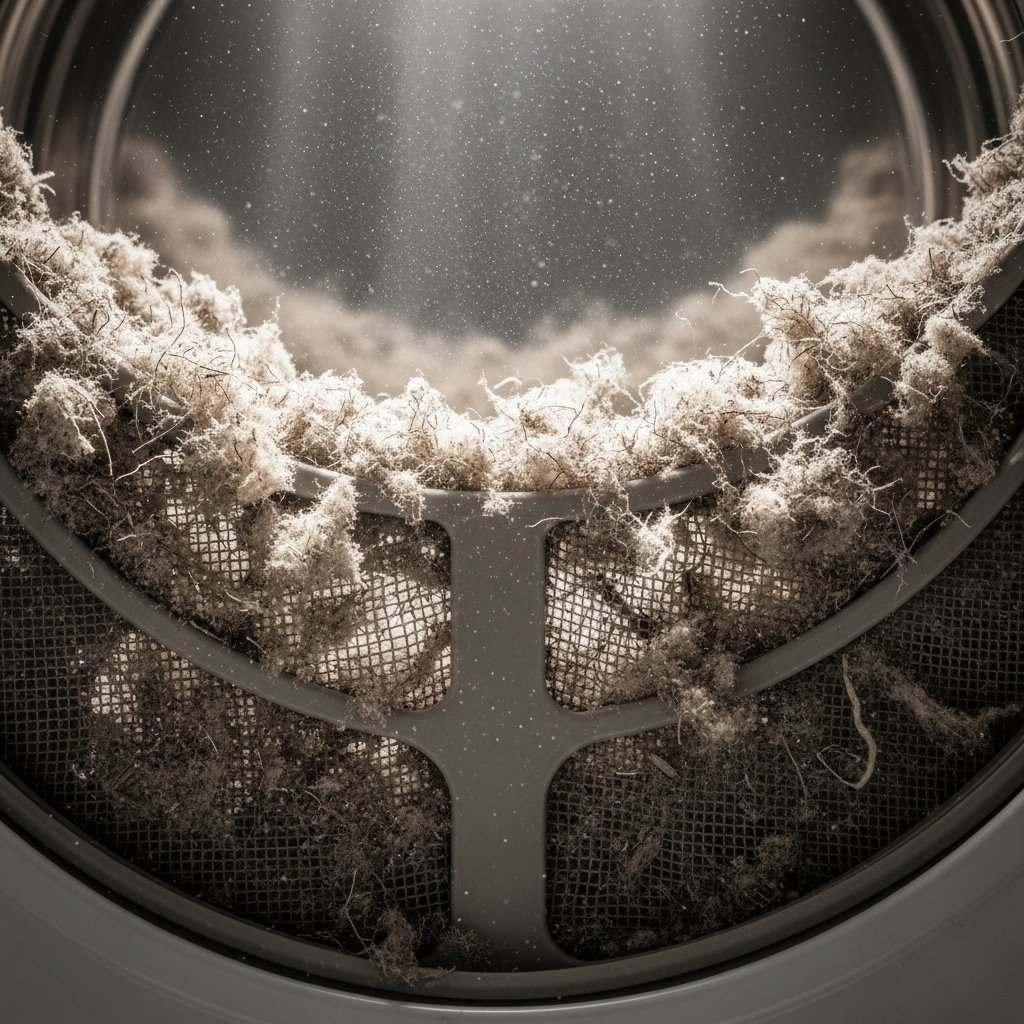
1. Clogged Vent Tube – The #1 Reason Your Kenmore Dryer Isn't Drying Properly
If you're wondering "why is my Kenmore dryer not drying clothes?", the most likely culprit—accounting for 51% of cases—is a clogged or obstructed vent tube.
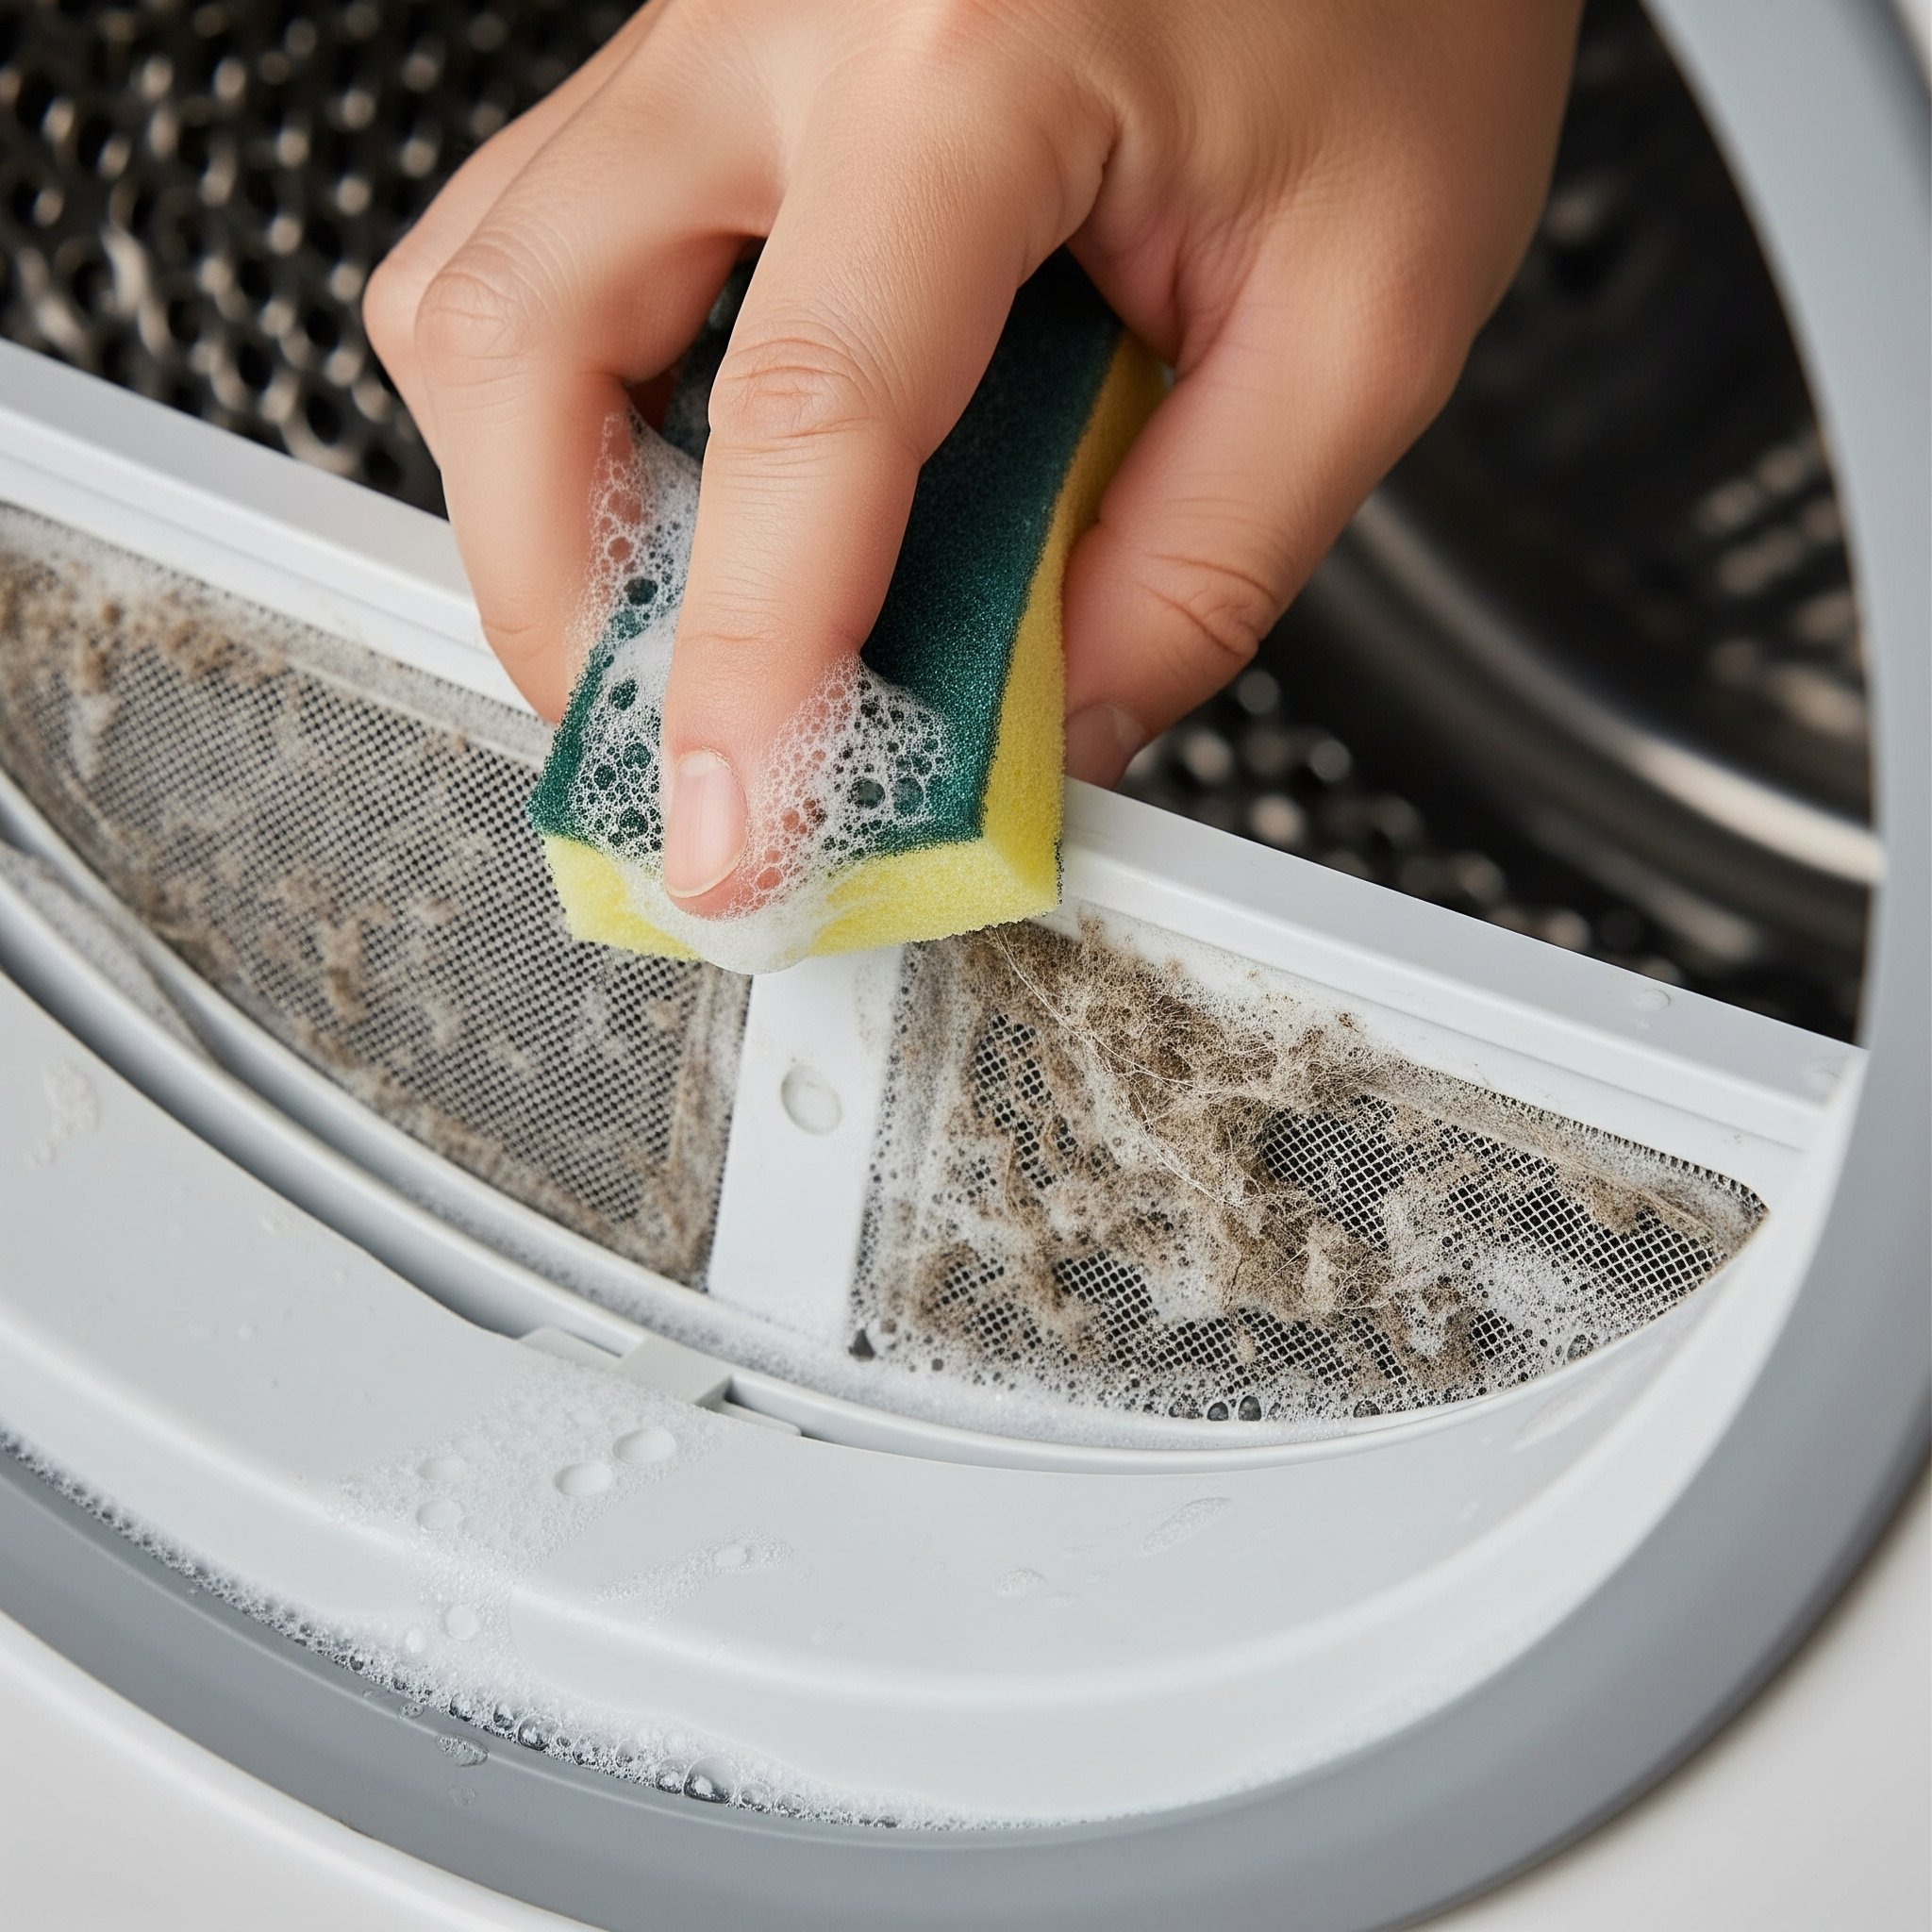
When lint accumulates inside the lint filter or the vent hose, it blocks airflow and traps humid air inside the drum. This not only extends drying times significantly but can also cause overheating and long-term damage to the appliance.
Fact: A clogged lint screen alone can reduce airflow by up to 50%, drastically increasing drying time and energy consumption.
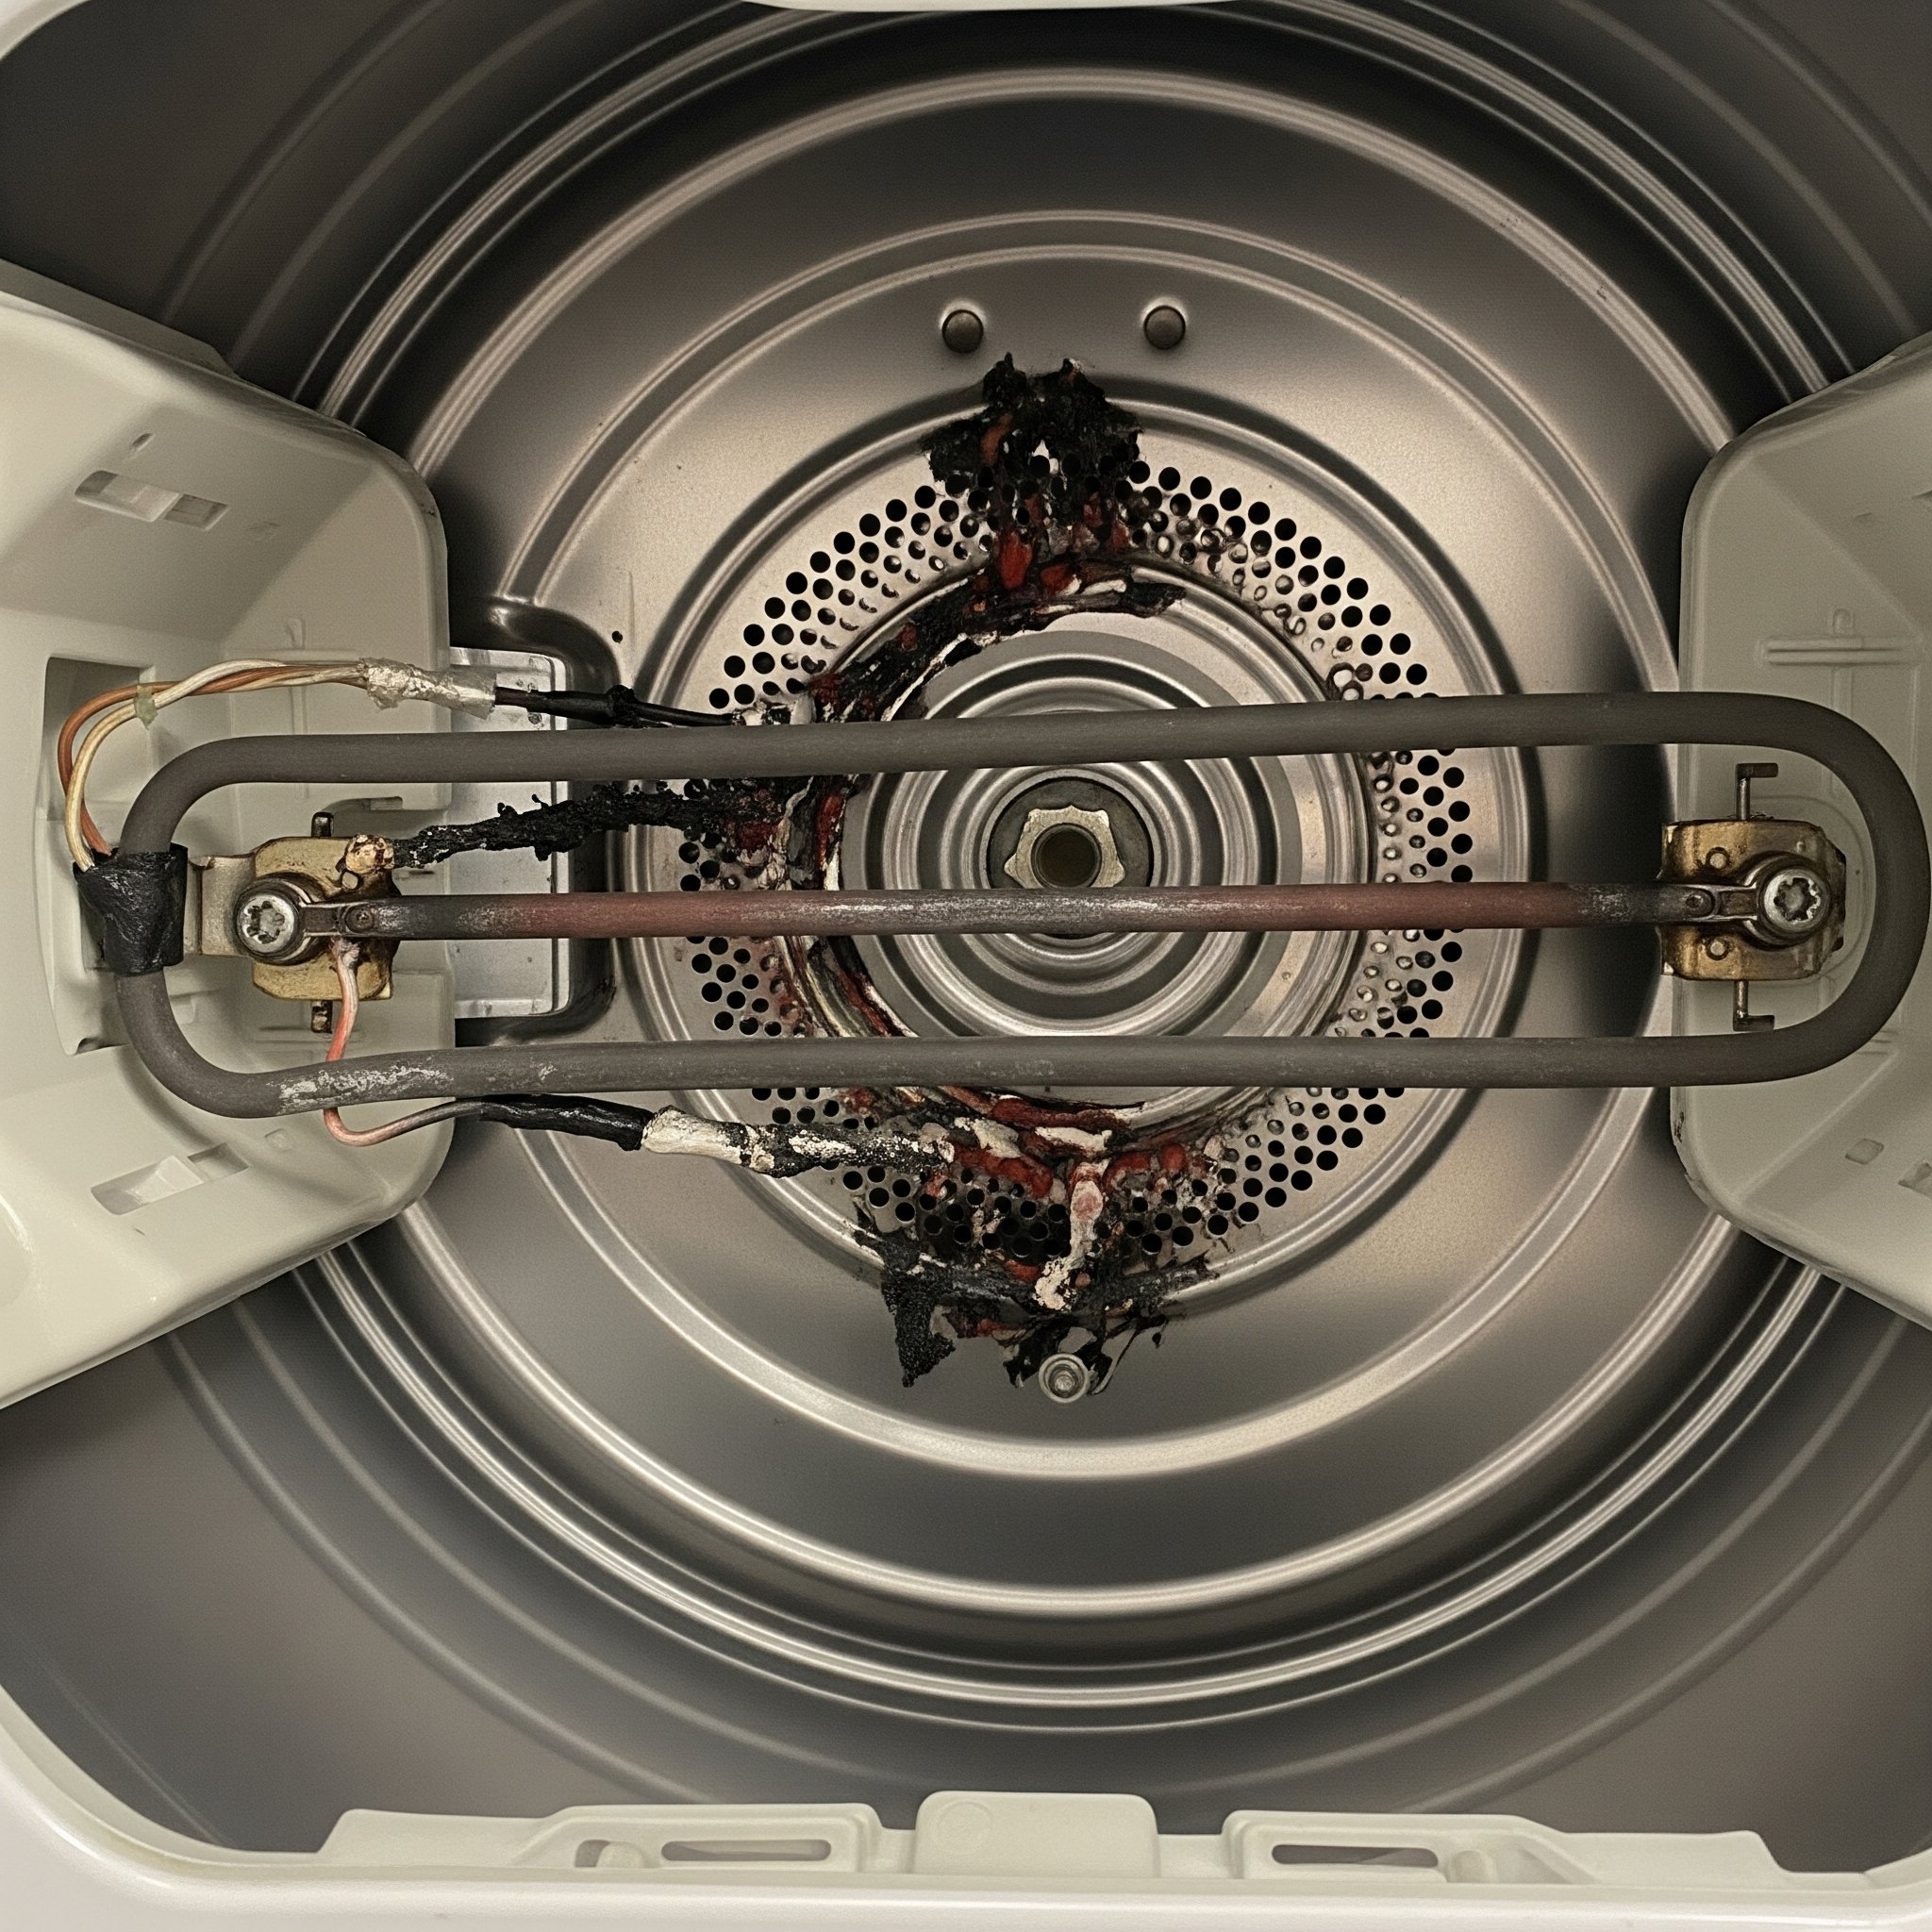
2. Faulty Heating Element
A Kenmore electric dryer relies on a functioning dryer heating element to produce hot air. If the element is damaged or partially burned out, the dryer will take longer to dry clothes—or not dry at all.
3. Faulty Wire Connector – A Hidden but Critical Issue
In about 13% of cases, the reason behind a Kenmore dryer not drying properly comes down to a faulty wire connector.
The wire connectors inside your dryer link essential components—like the heating element, thermostat, and motor—to the power supply. If one of these connectors becomes loose, burned, or corroded, the heating cycle may be disrupted even though the drum continues spinning.
Symptom: Your dryer runs, but the air inside feels cool, and clothes come out damp even after a full cycle.
How to Fix a Kenmore Dryer That’s Taking Too Long to Dry
1. Vent Tube Replacement
A clogged vent tube is one of the most common reasons why your Kenmore dryer isn't drying clothes effectively. When airflow is restricted due to lint buildup or a crushed vent hose, moist warm air becomes trapped inside the drum, leaving clothes damp after each cycle.
Tip: Regularly clean your vent tube and replace any damaged or non-metal ducts to prevent future issues.
2. Heating Element Replacement
If your dryer runs but doesn’t produce heat, the issue may lie with a broken (or "open") heating element. An “open” heating element means there’s a break in the electrical continuity—even if there’s no visible damage, it may still fail to generate heat.
When your Kenmore dryer isn’t heating at all, a professional technician can test the element for continuity and replace it if necessary. This is a critical fix to restore proper drying function.
Note: DIY replacement can be tricky—consider professional help to avoid wiring mistakes or safety hazards.
3. Wire Connector Replacement
Faulty or loose wire connectors in the heating or control circuits can also prevent your dryer from working properly. For example:
- A disconnected wire on the heating element will stop it from producing heat.
- A loose connection on the moisture sensor can trick the control panel into ending the cycle early.
- A bad connector on the control board can disrupt the entire drying process.
Reminder: Never attempt to handle internal wiring without turning off power to the dryer.
Why Is My Gas Dryer Not Heating?
If your gas dryer isn’t heating, several components could be the cause. Common issues include:
- Gas supply problems
- Faulty flame sensor
- Worn-out gas valve coils
- Failed high-limit thermostat
- Malfunctioning operating thermostat or timer
- Blown thermal fuse or thermal cut-off fuse
- Broken igniter
Yes, it may seem like a long list—but identifying the faulty part is the first step to getting your dryer working again.
Once you’ve pinpointed the issue, AZParts offers a wide range of genuine replacement parts to help you complete the repair yourself. Whether it’s a new igniter, thermostat, or valve coil, we’ve got the components you need to restore heat to your gas dryer.
Pro Tip: Always disconnect power and shut off the gas supply before inspecting or replacing parts.
Why Won’t My Electric Dryer Heat?
If your electric dryer runs but doesn’t heat, the problem likely lies in one of these key components:
- Burned-out heating element
- Faulty high-limit thermostat
- Malfunctioning operating thermostat
- Blown thermal cut-off fuse or thermal fuse
- Defective timer
You can run basic tests—like checking continuity with a multimeter—to determine which part needs replacing.
Once you’ve diagnosed the issue, AZParts makes it easy to order the right part for your model. We carry a full range of OEM-compatible dryer parts so you can complete your repair quickly and confidently.
Safety Reminder: Always unplug the dryer before beginning any inspection or replacement.
Frequently Asked Questions
1. Why isn’t my Kenmore dryer drying clothes?
Start by checking the lint filter and vent hose for any buildup or blockages that may be restricting airflow. Also, make sure the heating element is working correctly, as a faulty one can prevent proper drying.
2. Could a clogged vent cause my Kenmore dryer not to dry clothes?
Absolutely. A clogged or crushed vent is one of the most common reasons for a Kenmore dryer not drying. Poor airflow traps moisture inside the drum, resulting in longer drying times.
3. How do I fix a Kenmore dryer that won’t dry?
Inspect and clean the vent system, check the heating element for continuity, and replace any damaged thermostats, fuses, or wiring connectors. If you're repairing it yourself, AZParts offers all the parts you need for the job.
4. What could cause a Kenmore dryer to stop drying clothes properly?
Several issues could be at play: a blocked vent, a burned-out heating element, a faulty thermostat, or even a loose wire connector. Diagnosing the right cause is key to solving the problem efficiently.
Final Thoughts
If your Kenmore dryer is taking too long to dry, don’t wait—it’s costing you time, money, and energy. Regular maintenance and timely replacement of key components like the heating element, thermostat, or blower wheel can restore your dryer’s efficiency and help extend its lifespan.
Need replacement parts? AZParts offers a wide selection of high-quality, compatible Kenmore dryer parts—from heating elements to lint filters—so you can get your appliance back in top shape fast. As part of our extensive inventory of Kenmore parts, we make it easy for both DIYers and professional technicians to find exactly what they need. With AZParts, you can shop confidently, knowing you're getting the right part for your specific Kenmore model.
Check if there are any other problems with your Kenmore dryers:
1. Kenmore Washers Troubleshooting: 5 Common Problems & How to Fix
2. Kenmore Elite Washer No Power – Common Causes & Fixes
Dryer
Further Reading
Further Reading

Repair help
April 1, 2026
If your dryer has suddenly stopped working, won’t start, or fails to complete a cycle, the problem might be easier to fix than you think. In many cases, replacing a faulty component can get your dryer running again without the need for expensive repairs. In this guide, we’ll walk you through the 7 most common reasons your dryer isn’t working and what you can do to fix them. We’ll also point you to the specific dryer parts available at AZParts that can help you resolve each issue.

Repair help
December 28, 2025
When your dryer won’t spin, even the smallest load becomes a hassle. In this guide, AZParts walks you through the most common causes, from power and startup issues to mechanical breakdowns and motor failures. You’ll also find practical advice on handling safety and sensor dryer problems, along with a step-by-step diagnostic guide to help you identify the problem and get your dryer working again.

Repair help
November 28, 2025
Does your dryer smell like mildew every time you open the door? That musty odor is a common sign of moisture buildup and poor ventilation, often caused by clogged lint traps, dirty vents, or worn-out parts. While regular cleaning is essential, truly eliminating the dryer issue may require replacing faulty components such as lint screens, door seals, or vent hoses. In this article, AZParts explore the common causes behind why your dryer smells like mildew and provide practical tips to eliminate those unpleasant odors.

How-To Guides
November 20, 2025
Dryer running cold? The heating element is probably broken. Learn how to fix the heating element in the dryer yourself, it's easier than you think and saves repair costs. This comprehensive guide will walk you through identifying, removing, and installing a new heating element in your dryer, with expert tips from AZParts to ensure your clothes are drying efficiently again in no time.

Review
November 19, 2025
Choosing the right dryer vent hose is more important than you think. Each dryer vent hose type affects your dryer's efficiency and safety differently. In this article, AZParts will introduce the most common types of dryer vent hose, compare their pros and cons, and help you pick the best fit.