How-To Guides
How to Clean Your Chainsaw Air Filter Properly
AZparts Team
Updated on August 1, 2025
9 min read
A clean chainsaw air filter is essential for optimal engine performance and longevity. Whether you're a professional arborist or weekend warrior, understanding how to clean chainsaw air filters properly can save you money on repairs and ensure your saw runs smoothly for years. AZParts will help you learn how to replace chainsaw air filters when cleaning is no longer effective and ensures uninterrupted operation during critical tasks.

1. When (and How Often) Should You Clean the Air Filter?
The frequency of air filter cleaning depends heavily on your operating conditions and usage patterns. For professional users working in dusty environments, daily inspection and cleaning may be necessary. Weekend users typically need to clean their filters every 5-10 hours of operation or at the start of each cutting season.
Heavy-duty applications like cutting hardwood, working in sandy conditions, or operating during windy weather accelerate filter contamination. In these scenarios, you might need to clean your filter after just 2-3 hours of use. Conversely, light pruning work in clean conditions may allow intervals of 15-20 operating hours between cleanings.
Environmental factors significantly impact cleaning frequency. Autumn leaf cutting, demolition work, or cutting near construction sites introduces additional particulates that quickly clog filters. Professional landscapers often carry spare filters to swap out during extended work sessions, allowing contaminated filters to be cleaned thoroughly at day's end.
Most manufacturers recommend checking the air filter before each use as part of routine pre-operation inspection. This habit helps identify potential problems before they affect engine performance and prevents costly repairs down the road.
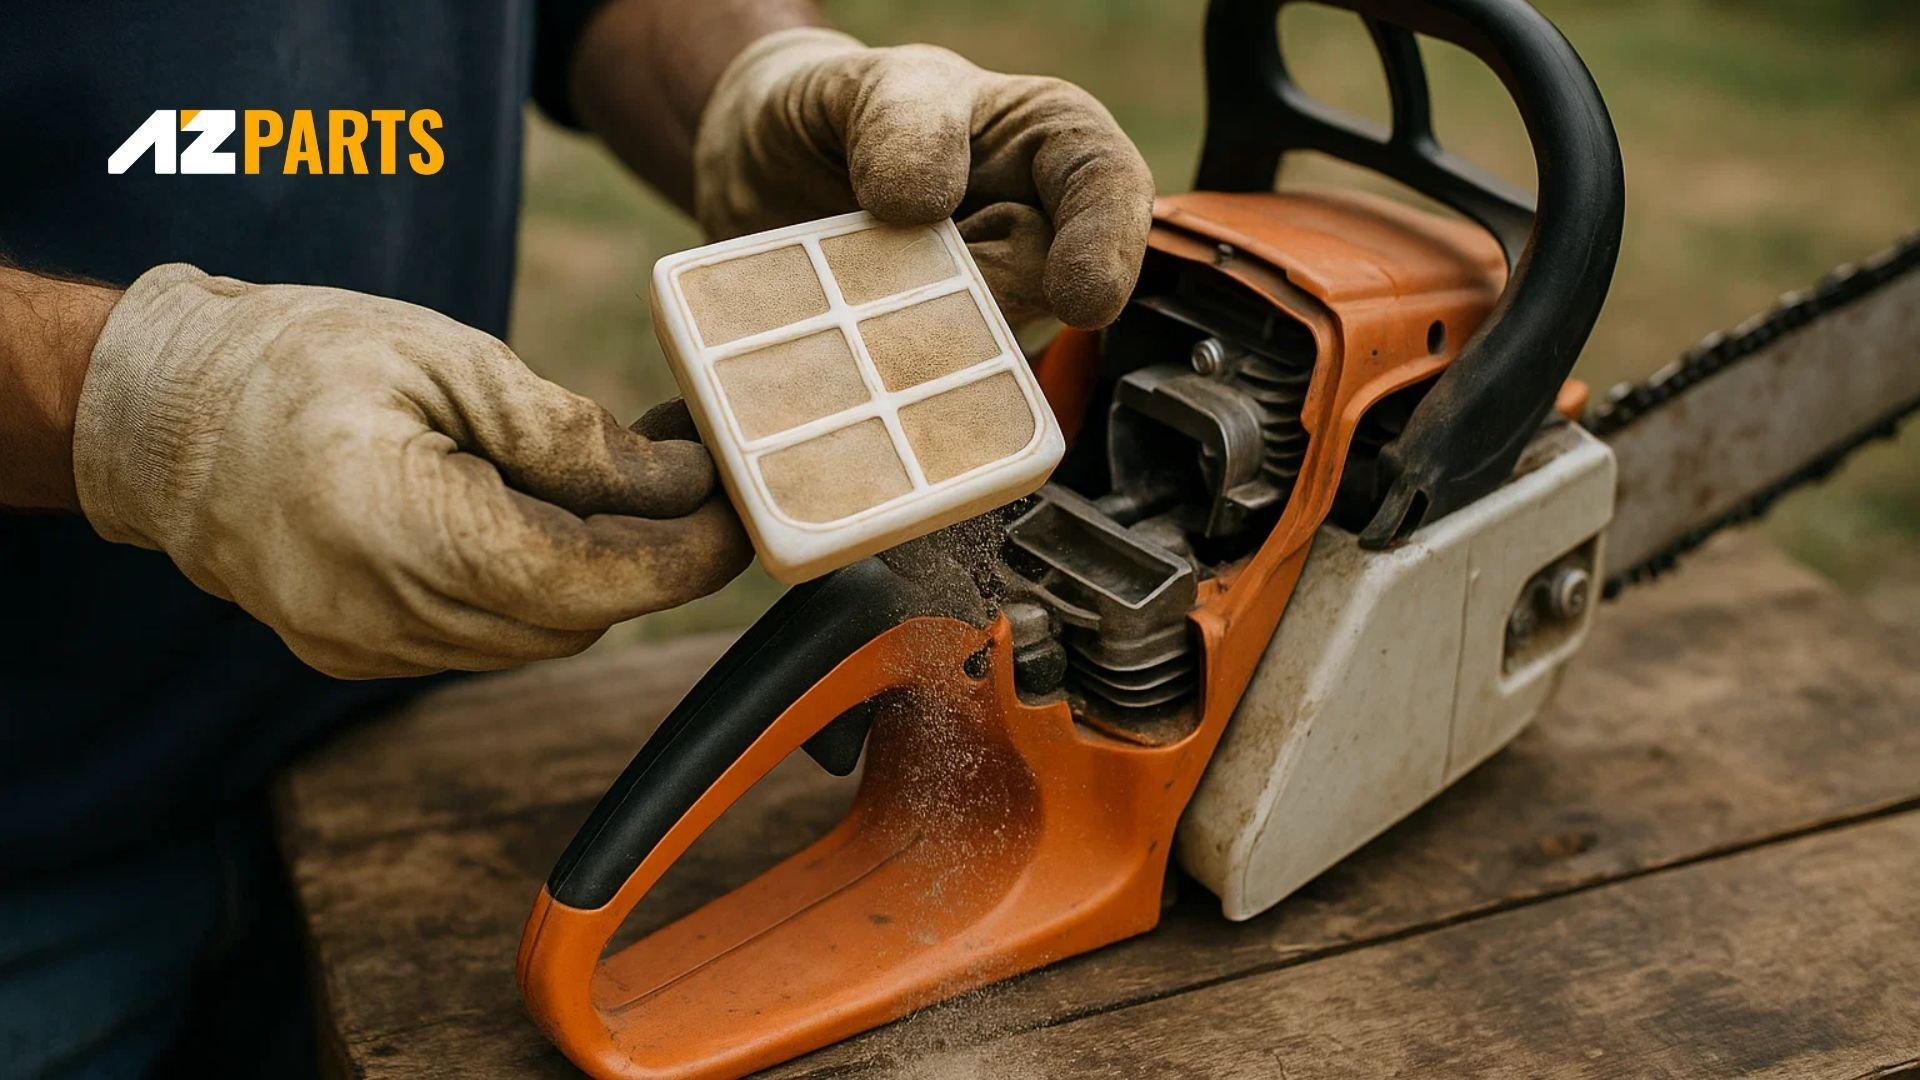
When Should You Clean the Air Filter? (Source: AZParts)
2. Symptoms of a Dirty Air Filter
Recognizing the warning signs of a contaminated air filter enables proactive maintenance before serious engine damage occurs. These symptoms often develop gradually, making them easy to overlook until performance becomes noticeably compromised.
2.1. Hard Starting or Stalling
A clogged air filter restricts airflow to the carburetor, creating an overly rich fuel mixture that makes starting difficult. You may notice the engine requires more pull-cord attempts than usual or fails to start altogether. Once running, the engine may stall at idle or during acceleration due to inconsistent air-fuel ratios.
This symptom often worsens in cold weather when engines already require optimal conditions for reliable starting. If your chainsaw starts but immediately dies or requires constant throttle input to keep running, inspect the air filter immediately.
The Engine Hard Starting or Stalling (Source: AZParts)
2.2. Decreased Cutting Power
Insufficient airflow reduces engine power output, making the chainsaw struggle through cuts that were previously effortless. You may notice slower cutting speeds, bogging down in thick wood, or the need to apply excessive pressure to maintain cutting progress.
This power loss not only reduces productivity but also increases operator fatigue and can lead to dangerous kickback situations. When your chainsaw requires more aggressive cutting techniques to accomplish the same tasks, it's time to examine the air filtration system.
2.3. Excess Smoke
A dirty air filter creates an imbalanced fuel mixture that burns inefficiently, producing excessive exhaust smoke. Blue or black smoke indicates rich fuel conditions caused by restricted air intake. This incomplete combustion wastes fuel and can damage internal engine components over time.
White smoke might indicate other issues, but when accompanied by other dirty filter symptoms, it suggests the engine is working harder to compensate for poor airflow. Persistent smoke production warrants immediate filter inspection and cleaning.
This can damage internal engine components over time (Source: AZParts)
2.4. Engine Overheating
Restricted airflow forces the engine to work harder, generating excess heat that can damage pistons, cylinders, and other critical components. You might notice the engine running hotter than normal or shutting down due to thermal protection systems.
Overheating can cause permanent engine damage and expensive repairs. If your chainsaw feels unusually hot during operation or exhibits heat-related performance issues, check the air filter before continuing use.
3. Step-by-Step: How to Clean Your Chainsaw Air Filter
Proper cleaning technique ensures thorough debris removal while preserving filter integrity. Following these systematic steps helps maintain optimal filtration performance and extends filter lifespan.
3.1. Turn Off and Cool the Chainsaw
Safety must be your primary concern when performing any chainsaw maintenance. Ensure the engine is completely shut off and allow adequate cooling time before beginning work. Hot engine components can cause burns and make handling difficult.
Remove the spark plug wire to prevent accidental starting during maintenance. This simple step eliminates the risk of injury and allows you to work confidently around the engine compartment. Let the engine cool for at least 15-20 minutes after operation before proceeding.
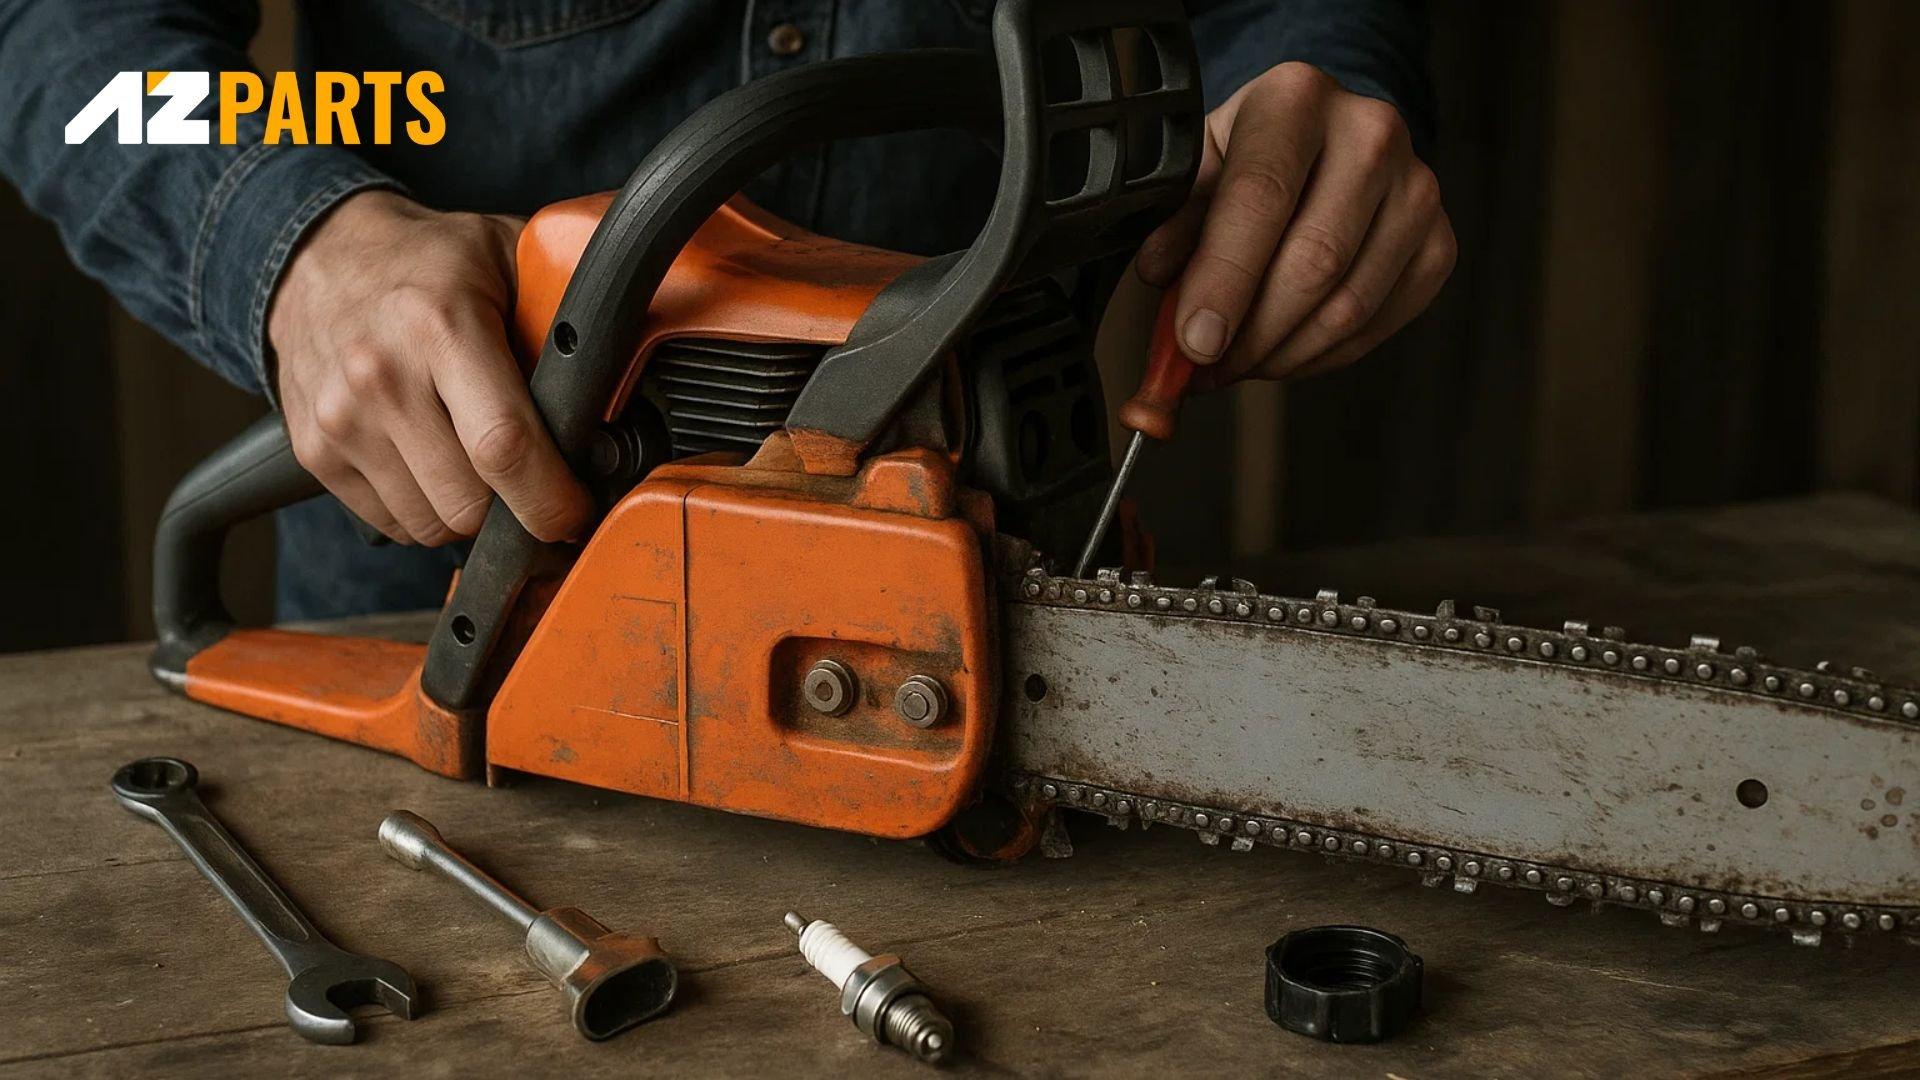
Turn Off and Cool the Chainsaw (Source: AZParts)
3.2. Remove the Cover and Locate the Air Filter
Most chainsaws feature a plastic cover secured by clips, screws, or quarter-turn fasteners protecting the air filter assembly. Consult your owner's manual for specific removal procedures, as designs vary between manufacturers and models.
Carefully remove the cover without damaging mounting tabs or sealing surfaces. Note the orientation and position of any gaskets or seals for proper reassembly. The air filter is typically located between the carburetor and the cover, held in place by clips or friction fit.
3.3. Gently Tap or Brush Away Loose Debris
Begin cleaning by removing surface contamination through gentle tapping or brushing. Hold the filter away from the engine compartment to prevent debris from falling into the carburetor throat. A soft-bristled brush works well for this initial cleaning step.
Tap the filter against a hard surface or use compressed air blown from the inside out to dislodge embedded particles. Avoid aggressive brushing that might damage filter material or push debris deeper into the filtration media.
3.4. Wash with Soapy Water (If Reusable Foam/Felt)
Foam and felt filters can be washed with warm, soapy water for thorough cleaning. Use mild dish soap and gently work the solution through the filter material to dissolve oil, dirt, and grime. Avoid harsh detergents or solvents that might damage the filter substrate.
Paper filters should never be washed with water as this destroys their structure and filtration properties. These filters require replacement when cleaning with compressed air no longer restores performance.
Rinse thoroughly with clean water until all soap residue is removed. Squeeze gently to remove excess water without twisting or deforming the filter material.
Wash with Soapy Water (Source: AZParts)
3.5. Let It Fully Dry Before Reinstalling
Complete drying is crucial before reinstallation to prevent water from entering the engine. Wet filters can cause hydro-lock and severe engine damage. Allow foam and felt filters to air dry completely, which may take several hours depending on ambient conditions.
Speed drying with compressed air if needed, but avoid excessive heat that might damage filter materials. Some technicians keep spare filters on hand to minimize downtime during the drying process.
3.6. Use Compressed Air Carefully (If Allowed)
Compressed air effectively removes embedded debris from paper and synthetic filters when used properly. Direct airflow from the clean side of the filter outward to avoid pushing contaminants deeper into the material.
Use moderate pressure (30-40 PSI) to prevent filter damage while effectively removing particles. Hold the air nozzle at an angle rather than perpendicular to the filter surface for better debris removal.
3.7. Inspect for Wear, Cracks, or Deformation
Examine the cleaned filter carefully for signs of wear, damage, or deterioration. Look for tears, holes, collapsed pleats, or hardened materials that compromise filtration effectiveness. Even small defects can allow harmful particles to bypass the filter and damage engine components.
Check filter mounting surfaces and sealing areas for damage that might allow unfiltered air to enter the system. Any compromise in filter integrity requires immediate replacement to protect your investment.
Inspect for Wear, Cracks, or Deformation (Source: AZParts)
3.8. Reinstall and Reassemble the Cover
Position the clean, dry filter properly in its housing, ensuring all sealing surfaces mate correctly. Improper installation can create air leaks that allow contaminants to bypass the filtration system entirely.
Replace the cover securely, verifying that all clips, screws, or fasteners are properly tightened. Double-check that no tools or debris remain in the engine compartment before closing everything up.
4. When to Replace Instead of Clean
Knowing when cleaning is no longer sufficient helps prevent engine damage and maintains optimal performance. Several factors indicate that replacement is the better choice than attempting further cleaning.
4.1. Filter Is Brittle, Torn, or Deformed
Physical damage compromises filtration effectiveness regardless of cleanliness. Brittle materials may crumble during use, allowing large particles to enter the engine. Tears or holes create direct pathways for contaminants to bypass the filter entirely.
Deformed filters may not seal properly in their housing, creating air leaks that reduce filtration efficiency. When filter integrity is compromised, replacement is the only acceptable solution to protect your chainsaw's engine.
Filter Is Brittle, Torn, or Deformed (Source: AZParts)
4.2. Still Dirty After Washing
If thorough cleaning fails to restore the filter's original color and appearance, replacement is necessary. Permanently embedded contaminants indicate that the filter has reached the end of its useful life and can no longer provide adequate protection.
Clogged filters that remain discolored or restrictive after proper cleaning will continue to limit engine performance and may deteriorate rapidly during subsequent use. Investing in a new filter prevents potential engine damage and ensures optimal operation.
4.3. Over 1-2 Seasons of Use
Even with proper maintenance, filters have finite lifespans. Most manufacturers recommend replacement annually for professional users or every 1-2 seasons for occasional users. This preventive approach ensures consistent protection before age-related deterioration becomes problematic.
High-quality replacement filters are relatively inexpensive compared to engine repair costs. Establishing a regular replacement schedule provides peace of mind and maintains peak chainsaw performance throughout its service life.
When you need reliable chainsaw replacement parts, AZParts offers genuine OEM and high-quality aftermarket options for all major brands. Our extensive inventory ensures you'll find the exact filter your chainsaw requires for optimal performance.
High quality chainsaw replacement parts from AZParts (Source: AZParts)
Proper air filter maintenance is essential for chainsaw longevity and optimal performance. Regular cleaning using the techniques outlined above will keep your saw running smoothly while preventing costly engine damage. Remember that knowing how to clean chainsaw air filters effectively and recognizing when replacement is necessary protects your investment and ensures reliable operation.
For professional-grade replacement air filters and expert guidance on chainsaw maintenance, trust AZParts to provide the quality chainsaw replacement parts for your equipment. Visit our website today to explore our comprehensive selection of chainsaw parts and accessories.
Contact Info
Address: 8 The Green, Ste A, Dover, Delaware 19901-3618, United States
Email: support@azparts.com
Repair
chainsaw
- 1. When (and How Often) Should You Clean the Air Filter?
- 2. Symptoms of a Dirty Air Filter
- 3. Step-by-Step: How to Clean Your Chainsaw Air Filter
- 3.1. Turn Off and Cool the Chainsaw
- 3.2. Remove the Cover and Locate the Air Filter
- 3.3. Gently Tap or Brush Away Loose Debris
- 3.4. Wash with Soapy Water (If Reusable Foam/Felt)
- 3.5. Let It Fully Dry Before Reinstalling
- 3.6. Use Compressed Air Carefully (If Allowed)
- 3.7. Inspect for Wear, Cracks, or Deformation
- 3.8. Reinstall and Reassemble the Cover
- 4. When to Replace Instead of Clean
Further Reading
Further Reading


