How-To Guides
Step by Step Guide: How to Clean Snowblower Carburetor
AZparts Team
Updated on November 29, 2025
9 min read
Keeping your snowblower in top condition is essential for reliable performance especially during the harsh winter months. One of the most important maintenance tasks is knowing how to clean a snow blower carburetor, as this helps prevent common engine problems like stalling, rough starts, or poor fuel efficiency. In this step-by-step guide, AZParts will show you how to clean a snow blower carburetor properly, along with expert tips to ensure it stays in optimal condition. Plus, we offer high-quality replacement parts to keep your equipment running smoothly all season long.
")
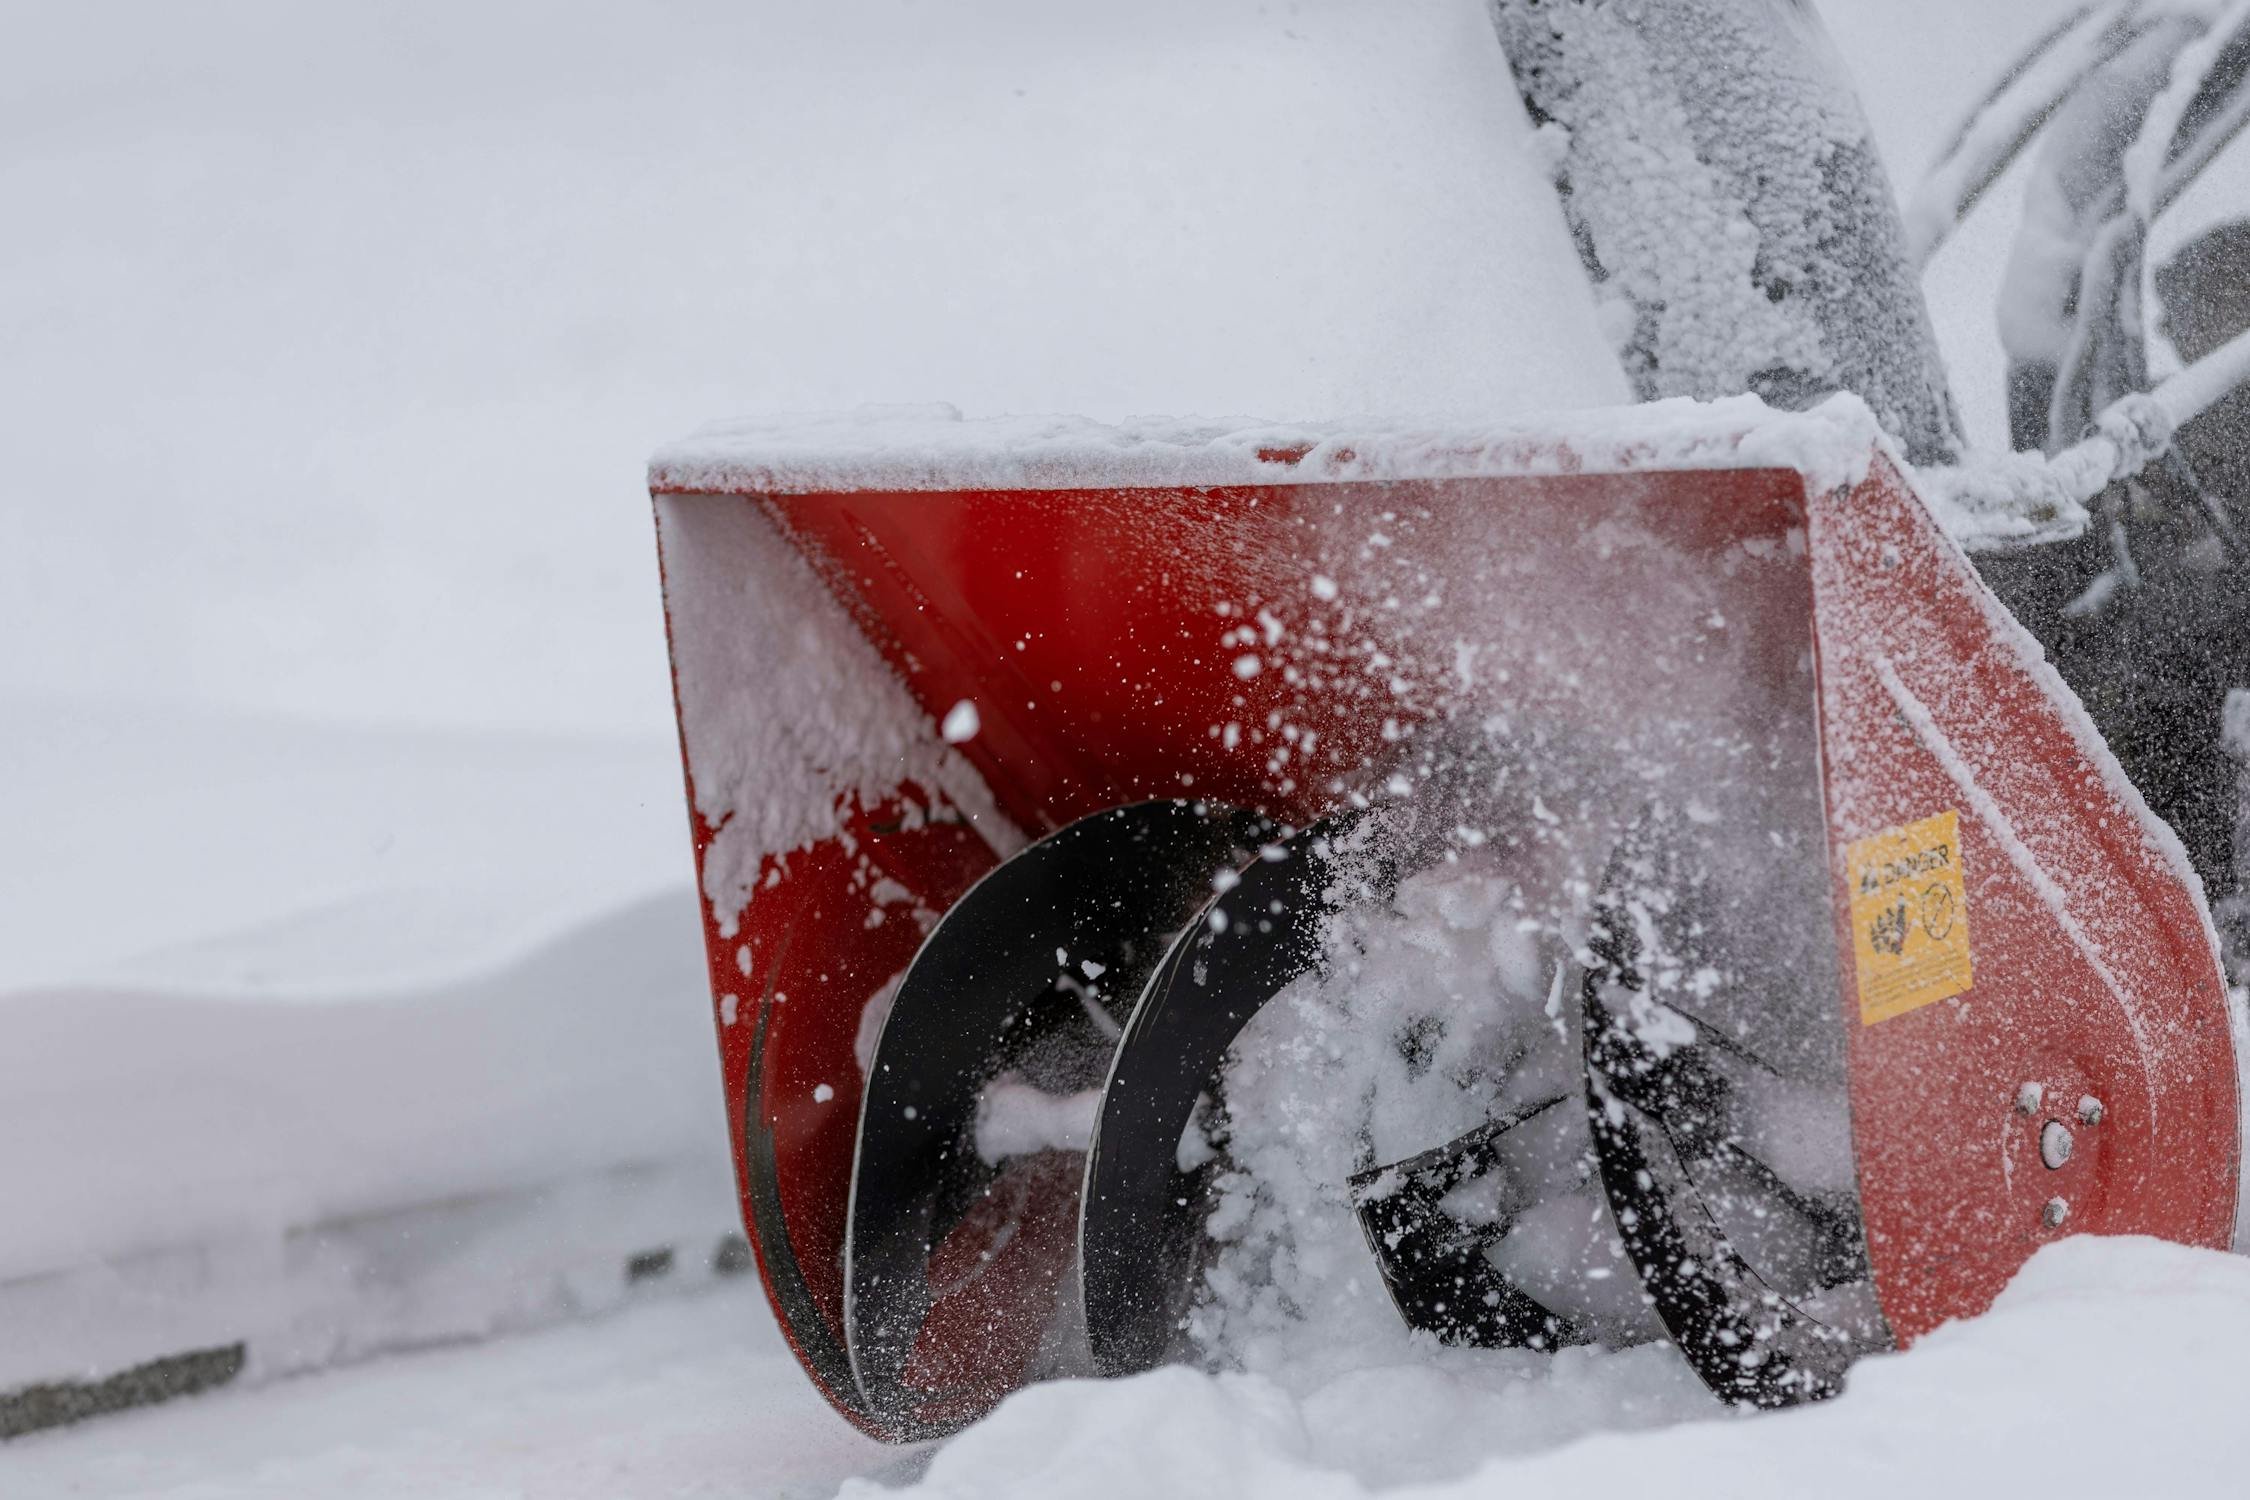
1. Signs Your Carburetor Needs Cleaning
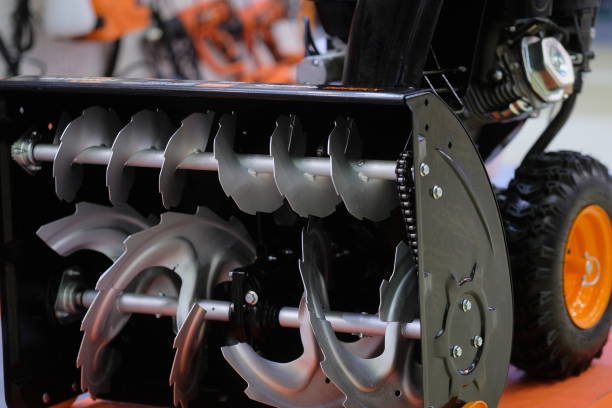
A dirty or clogged carburetor can cause a range of performance issues in your engine. Recognizing the early warning signs can help you address the problem before it leads to more serious damage. Here are some common indicators that your carburetor likely needs cleaning:
- Engine starts but quickly stalls: The carburetor may be unable to maintain a proper fuel-air mix, causing the engine to die shortly after ignition.
- Rough idling or inconsistent RPMs: A dirty carburetor can disrupt idle stability, leading to shaking or fluctuating engine speeds.
- Difficulty starting the engine: If your engine cranks but struggles to start, fuel delivery could be restricted due to carburetor buildup.
- Black smoke from the exhaust: Excess fuel caused by poor air-fuel ratio can result in incomplete combustion and dark exhaust fumes.
- Reduced engine power or poor performance: A clogged carburetor limits airflow and fuel delivery, which weakens the engine's output.
- Engine backfiring or misfiring: Dirty jets or blocked passages can disrupt combustion, leading to popping or misfire sounds.
Regular maintenance and timely cleaning of the carburetor can help avoid these issues and keep your engine running efficiently.
_1750229233.JPG)
If you notice any of the above, it may be time to clean your snowblower carburetor (Source: AZParts)
2. How to Clean the Carburetor on a Snowblower (Step-by-Step)
Proper snow blower carburetor cleaning is crucial for maintaining engine performance and ensuring reliable operation. By following these step-by-step instructions, you can safely clean your carburetor and keep your snowblower running smoothly throughout the winter season.
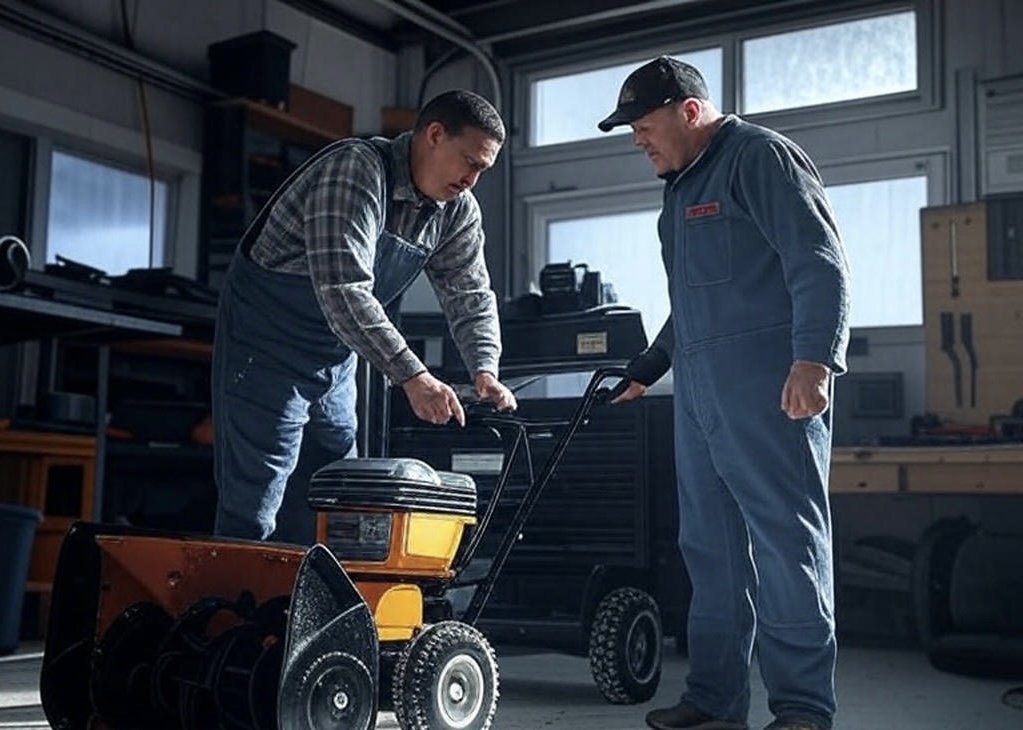
2.1. Step 1. Check the Manual
You should begin by reading your snowblower’s user manual. The manual provides important information about the carburetor’s location, the appropriate cleaning products to use, and any model-specific safety precautions that you must follow.

Check your snow blower's owner's manual for compatible cleaning products (Source: AZParts)
2.2. Step 2. Prepare Your Workspace
You need to choose a flat, well-ventilated area to work on the machine. You should also gather all necessary tools, such as screwdrivers, wrenches, gloves, carburetor cleaner, and a small container for soaking parts. Before you begin any disassembly, always disconnect the spark plug to prevent accidental startup.

Choose a well-ventilated, flat surface to work on and gather your tools (Source: AZParts)
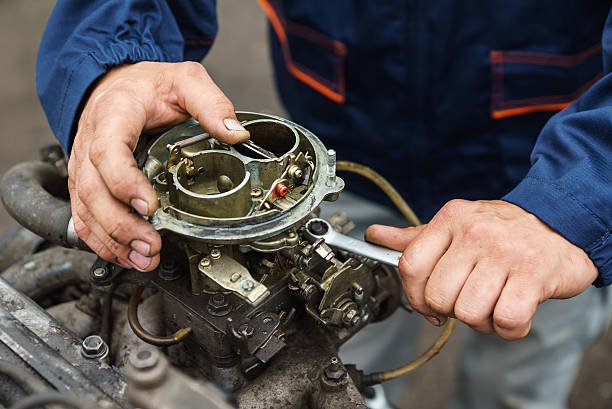
2.3. Step 3. Remove the Carburetor
You can carefully remove the engine cover or housing to access the carburetor. Then, you should disconnect the fuel line and linkage cables, making note of their original positions for reassembly. After that, you can unbolt the carburetor and gently remove it from the engine.
Disconnect the fuel line and linkage cables, taking note of their positions for reassembly (Source: IStock)
2.4. Step 4. Clean the Carburetor
You should spray carburetor cleaner into all visible jets, holes, and passageways. To remove stubborn deposits, you can use a small brush or compressed air. If you need a deeper clean, you can soak the carburetor in a cleaning solution for 20–30 minutes. Once finished, make sure to rinse it thoroughly and let it dry completely.

Need to spray carburetor cleaner into all visible jets, holes, and passages (Source: IStock)
2.5. Step 5. Reinstall the Carburetor
After the carburetor is fully clean and dry, you should reinstall it by reversing the removal steps. You need to reconnect the fuel line and linkage cables, tighten all bolts and screws, and check for leaks or loose fittings before replacing the engine cover.
Once clean and dry, reinstall the carburetor by reversing the removal steps (Source: IStock)
2.6. Step 6. Test the Snowblower
Once everything is in place, you can reconnect the spark plug and start the snowblower. Let the engine run at idle for a few minutes. You should observe the operation for any strange noises, smoke, or stalling. If the engine runs smoothly, your cleaning was successful.
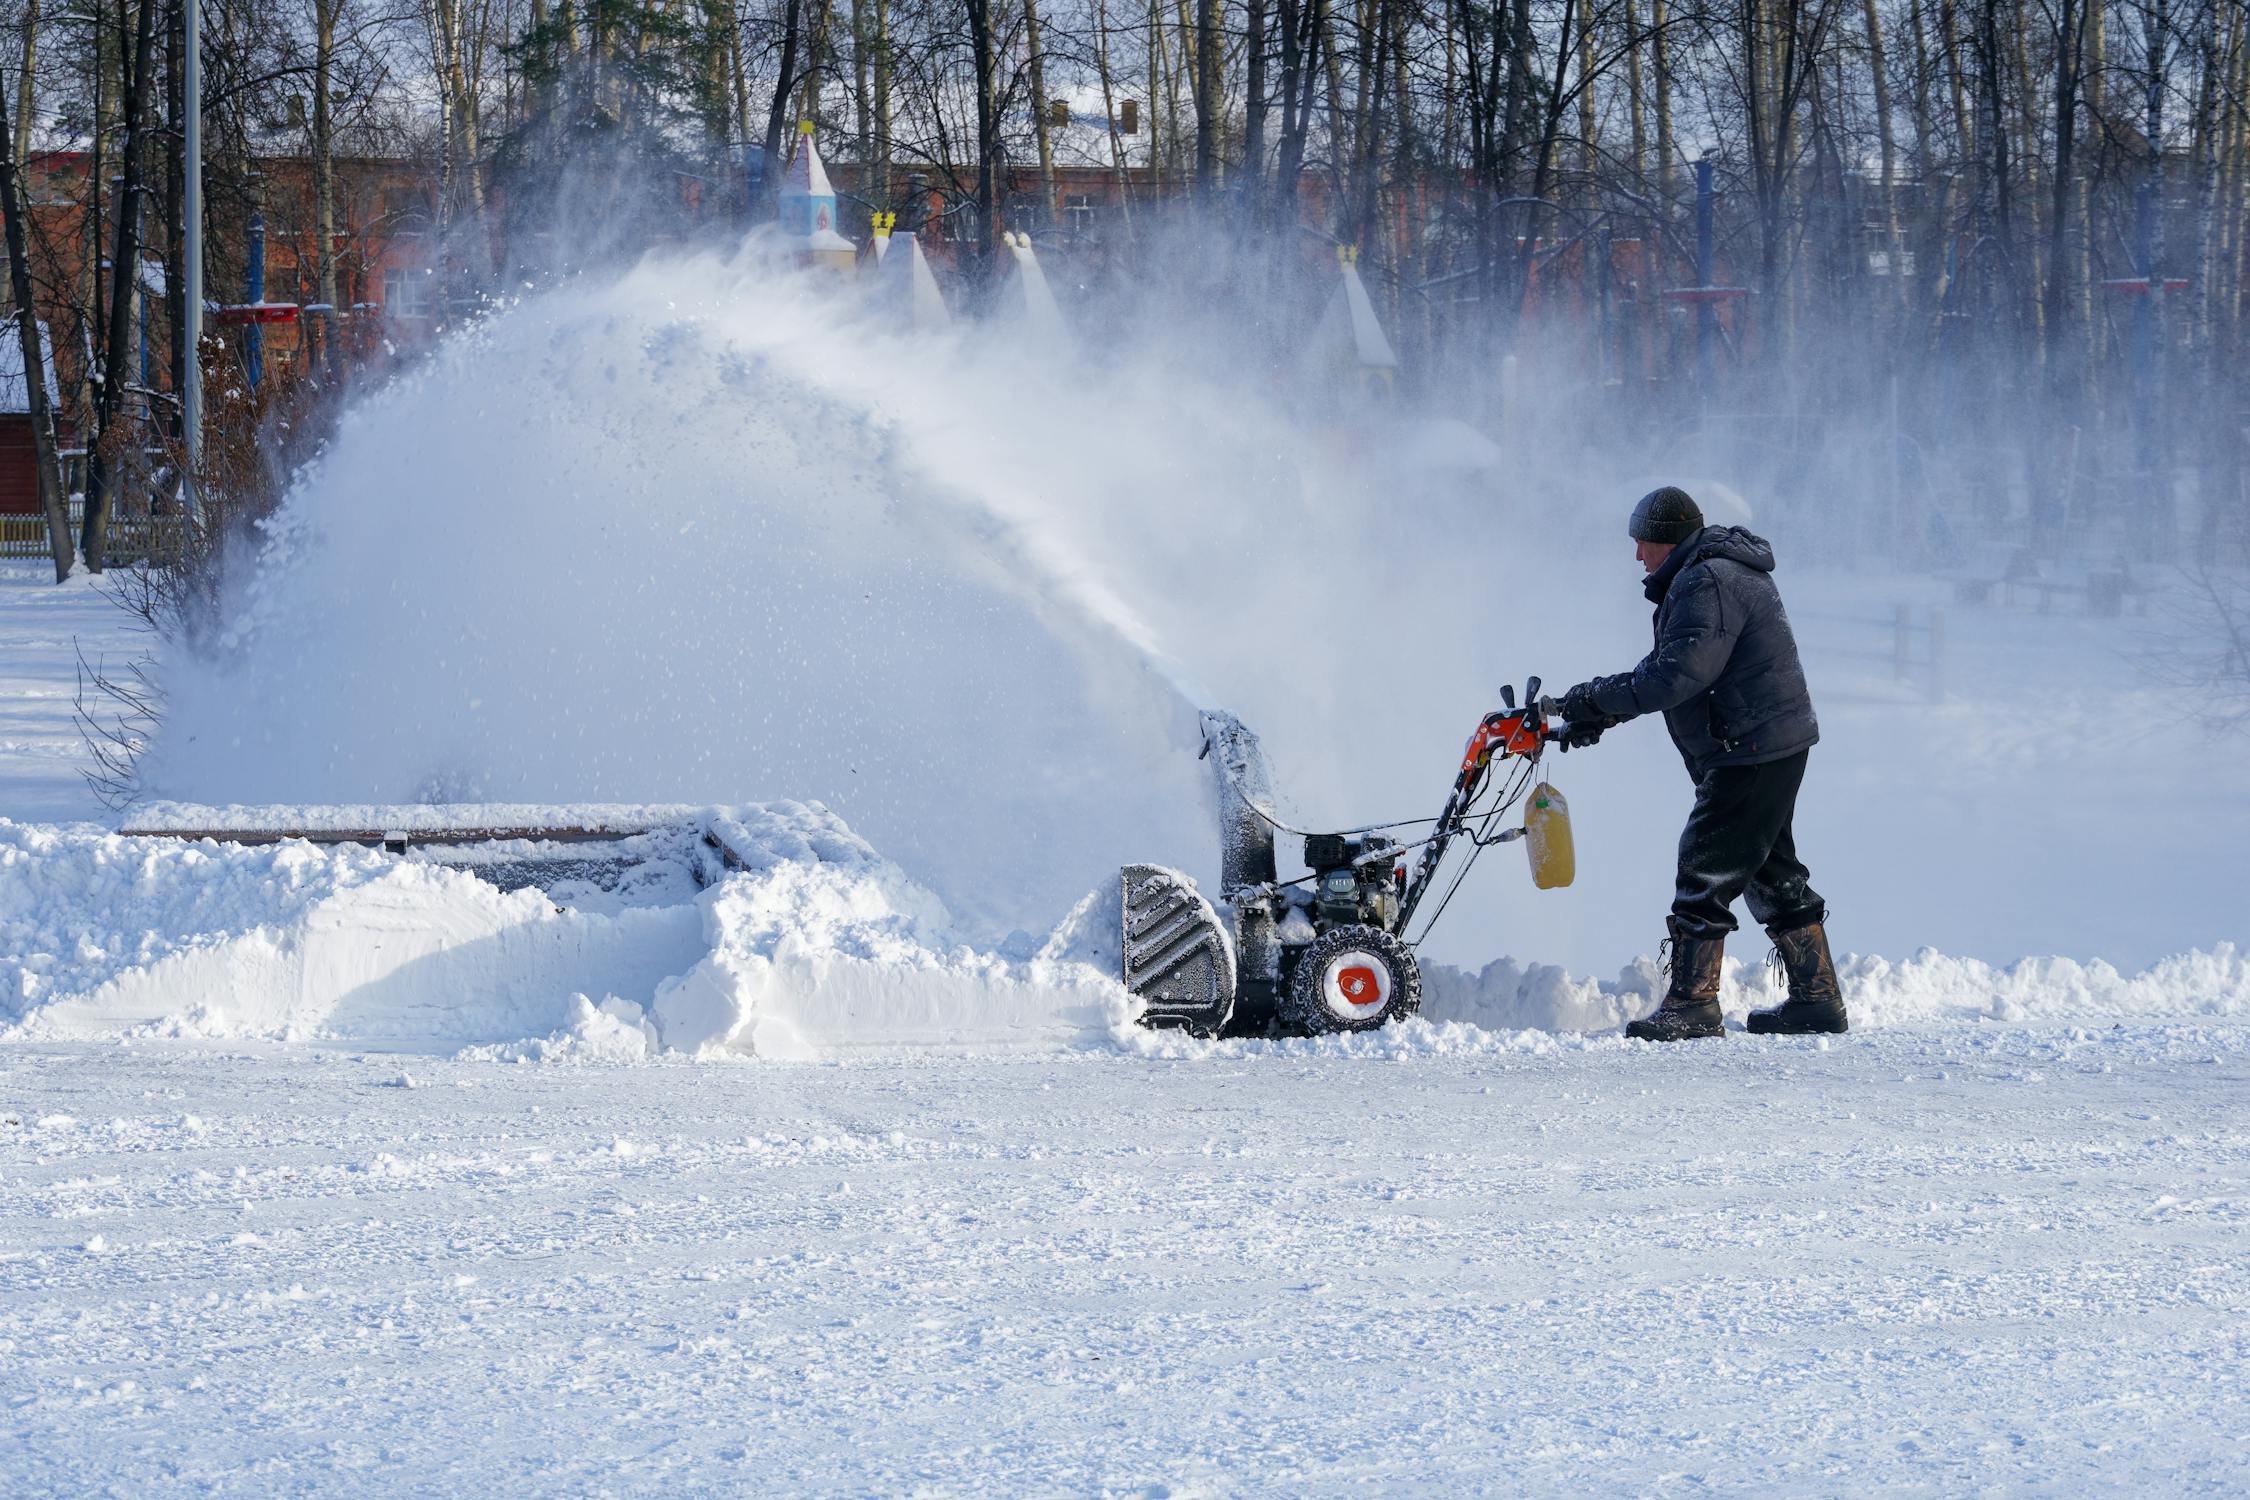
Reconnect the spark plug and start the snowblower to ensure it runs smoothly (Source: Pexels)
3. Maintenance Tips to Prevent Snow Blower Carburetor Issues
Proper care of your snow blower’s carburetor not only extends the life of your machine but also ensures reliable performance during winter’s harshest conditions. Below are essential maintenance tips to help you avoid common carburetor related issues:
3.1. Use Fresh, Stabilized Fuel
You should always use fresh gasoline in your snowblower. If you plan to store the machine for several weeks, you can add a fuel stabilizer to prevent sticky residue inside the carburetor. This step helps keep the fuel system clean and prevents clogs.
Always use fresh fuel, and add a stabilizer if your snow blower will sit unused for several weeks (Source: AZParts)
3.2. Run the Engine Dry Before Storage
After the final use of the season, you should run the engine until all remaining fuel is consumed. This step burns off leftover gasoline and reduces the chance of residue forming inside the carburetor during storage.
After the final use of the season, you should run the engine until all remaining fuel is consumed (Source: Pexels)
3.3. Clean or Replace the Air Filter Regularly
You need to check the air filter regularly because a clean filter supports the proper air-fuel mixture. If the air filter becomes clogged, it forces the carburetor to work harder and affects combustion. You should inspect the filter monthly and replace it if it is too dirty or damaged.

Clean the air filter regularly or replace it as needed to avoid affecting the combustion process (Source: AZParts)
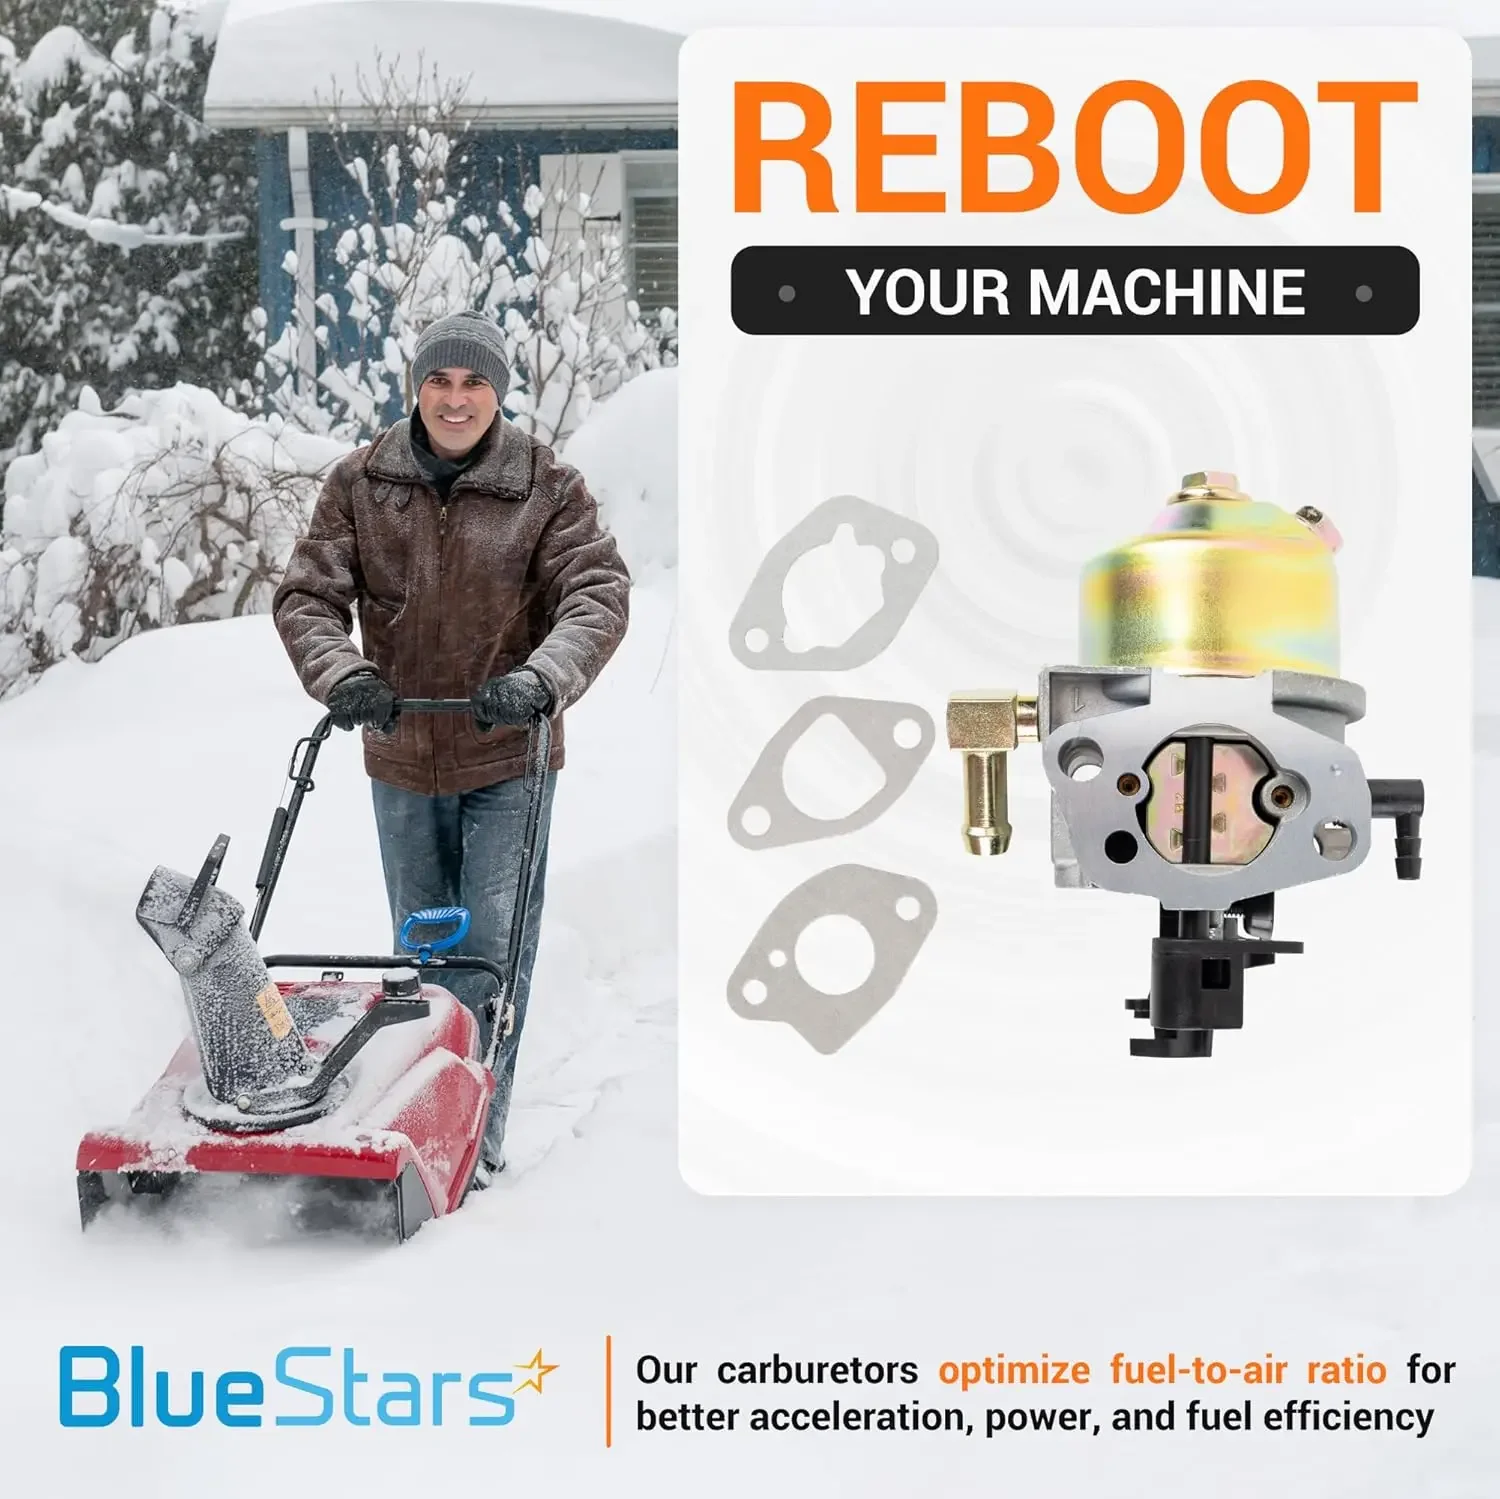
3.4. Replace the Carburetor If It's Too Clogged or Worn
If your snowblower becomes hard to start, stalls frequently, or releases black smoke, even after cleaning, you may need to replace the carburetor. In such cases, using the right snow blower tools and replacing the carburetor is the most effective solution to restore proper engine function.
You can consider installing the 951-05444 Carburetor from AZParts, which is compatible with Huayi 175SC models used in Cub Cadet, MTD, and Troy-Bilt snow throwers. This carburetor:
- Replaces models: 651-05444, 951-15236, 175SC, and 170SD
- Can be installed in under 30 minutes
- Improves engine performance and fuel efficiency
- Is built to withstand tough winter conditions
The 951-05444 Carburetor offers a reliable solution that helps your snowblower stay ready for winter’s toughest jobs.
The 951-05444 Carburetor is a reliable choice to maintain your snow blower’s efficiency and keep your machine ready for the next snowfall (Source: AZParts)
To support the carburetor upgrade, AZParts also offers several essential snow blower parts that can significantly improve your machine’s starting reliability and overall operation.
The 751-10955 / 951-10955 Recoil Starter Assembly is a durable and easy-to-install replacement designed for MTD, Cub Cadet, Troy-Bilt, and Yard Machines engines. This starter assembly is compatible with models such as 161-JW, 161-JWA, 161-JWA-11, and 161-JWA-12. Installing a new recoil starter ensures a dependable start every time you power up your snowblower.

The 751-10955/951-10955 Recoil Starter Assembly is easy to install (Source: AZParts)
Another useful component is the 699334 Starter Handle and Rope. This part is compatible with various snow throwers from Ariens, Tecumseh, and John Deere, as well as Briggs & Stratton engine models like 15Z100 and 12A100. Built with durable materials, this handle and rope set provides consistent performance for smooth and easy engine starts.
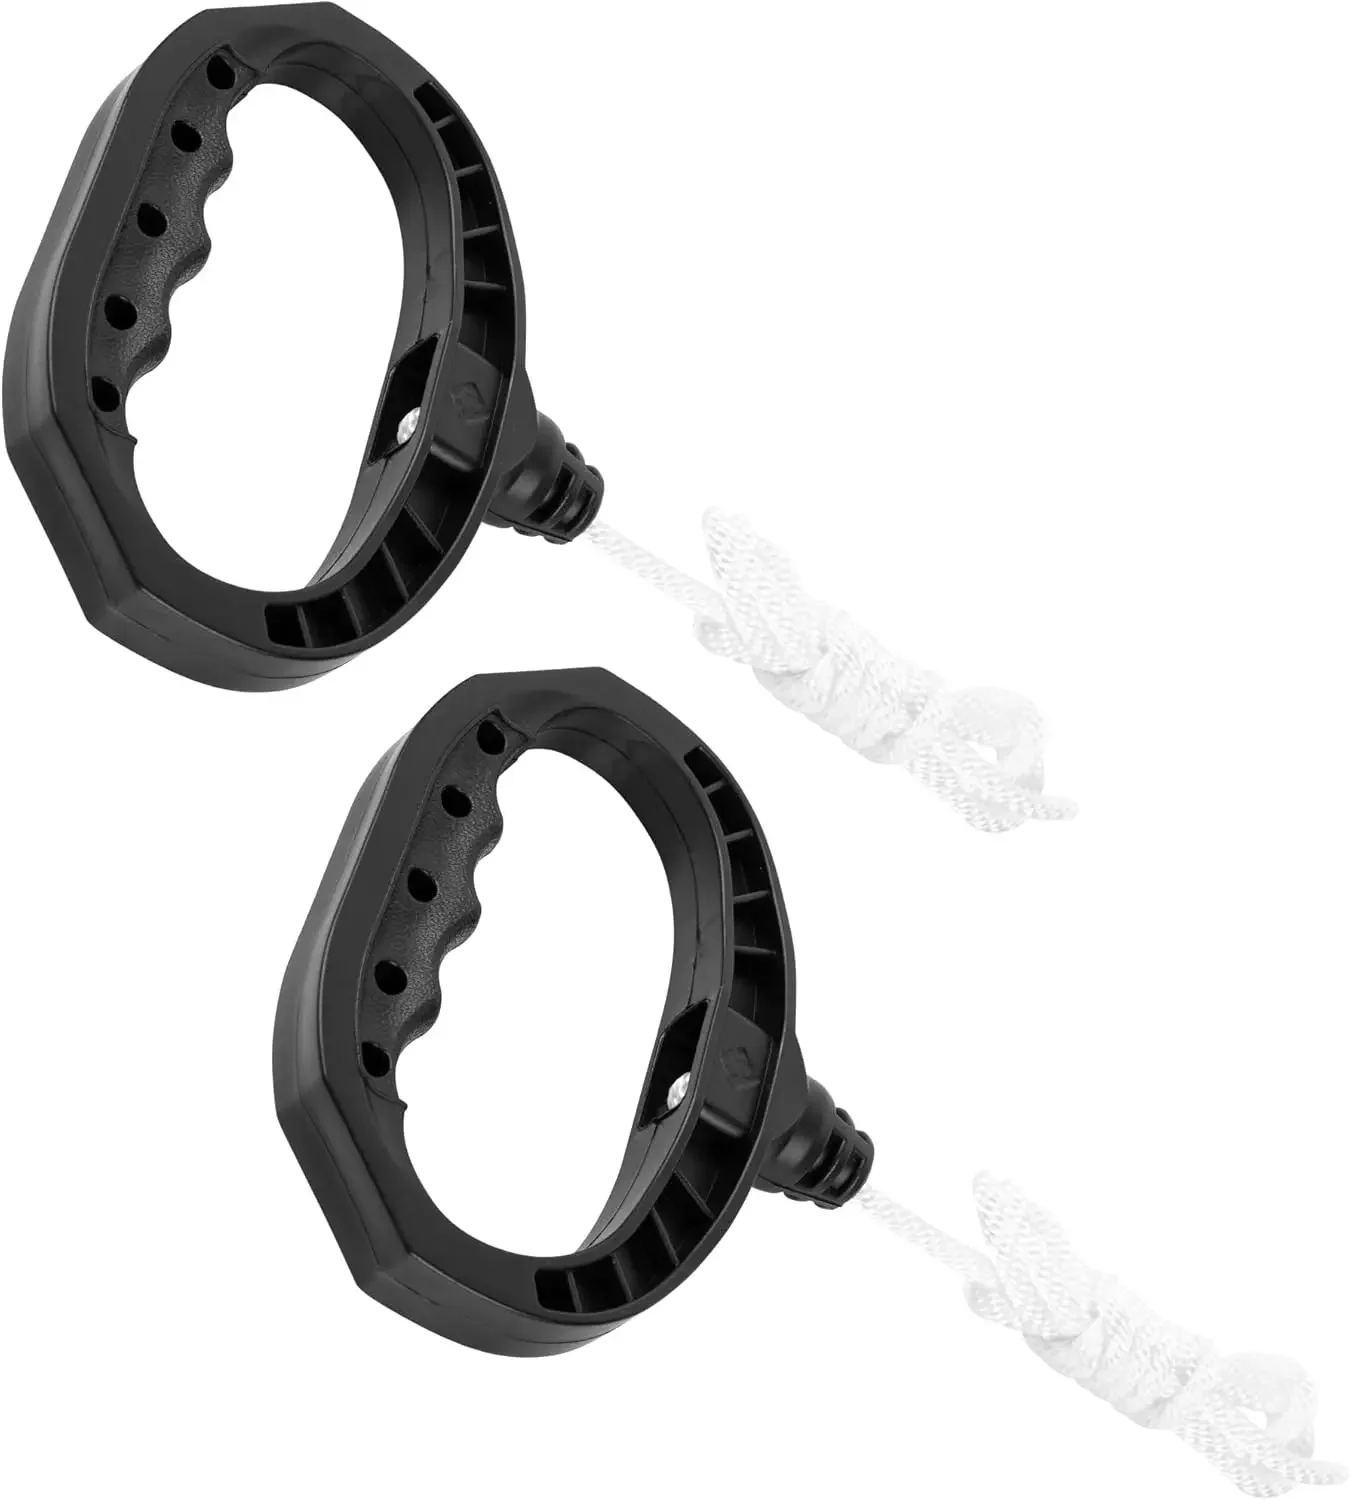
The 699334 Starter Handle and Rope designed for various snow thrower models (Source: AZParts)
Lastly, for snowblowers that need improved snow-clearing efficiency, AZParts offers replacement kits that include 99-9313 Rubber Paddles, 133-5585 Scraper Blade, and 121-6622 Drive Belt and Hardware Kits. These parts are designed for Toro CCR6053 models such as 210, 221, 421QE, 421QR, 621E, 621QZE, 621QZR, 621R, 621ZE, and 621ZR. Each replacement helps maintain effective contact with the ground, enhances snow collection, and ensures that your machine operates smoothly throughout the season.
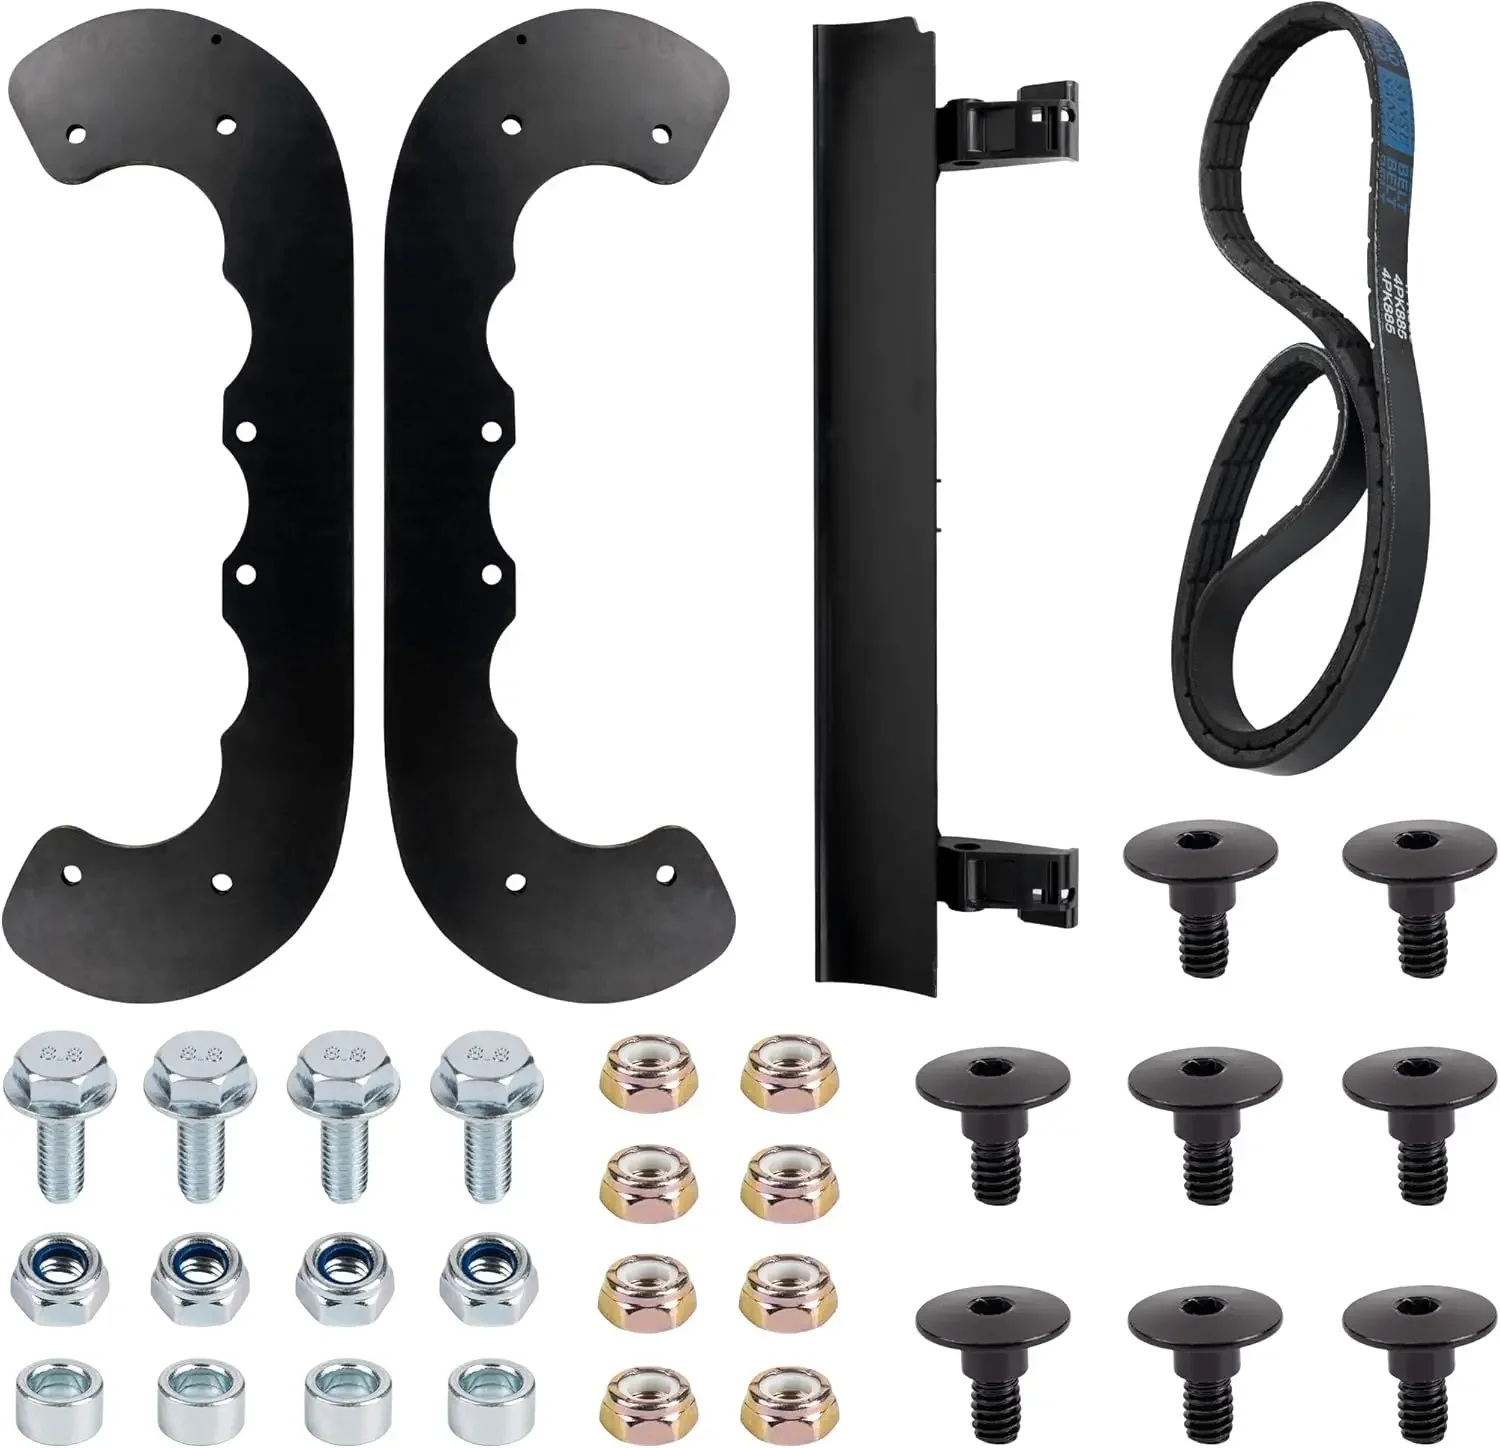
99-9313 Rubber Paddles, 133-5585 Scraper Blade, and 121-6622 Drive Belt and Hardware Kits (Source: AZParts)
By combining these high-performance replacement parts from AZParts, you can keep your snowblower in top shape and fully prepared for the demands of winter
4. FAQs about Cleaning Snow Blower Carburetor
4.1. Can I clean a snowblower carburetor without removing it?
Yes, in many cases, you can clean a snowblower carburetor without removing it. If your carburetor is only mildly clogged or dirty, you can use a carburetor cleaner spray. Spray it directly into the carburetor’s intake while the engine is running to help break down any buildup. However, for deep cleaning or if you're experiencing significant issues like engine stalling, it’s best to remove and disassemble the carburetor for a thorough cleaning.
4.2. How to unclog a snowblower carburetor?
To unclog a snowblower carburetor, follow these steps:
- Turn off the engine and remove the spark plug to avoid accidents.
- Drain any remaining fuel from the carburetor and gas tank.
- Remove the carburetor carefully from the snowblower.
- Use a carburetor cleaner to spray into the jets and passages to clear out any buildup or debris.
- If necessary, use a small brush or compressed air to clean any stubborn spots.
- Reassemble the carburetor, reinstall it, and test the snowblower to ensure it runs smoothly.
4.3. How do you unclog a carburetor without removing it?
If you prefer not to remove the carburetor, you can try the following methods:
- Spray carburetor cleaner directly into the intake or air filter.
- Start the engine and let it run for a few minutes. The cleaner will help break down any deposits or residue in the carburetor.
- Use a fuel additive designed to clean carburetors, and add it to the gas tank. This can help dissolve deposits over time.
- If the issue persists, consider removing the carburetor for a more thorough cleaning.
Regularly cleaning your snowblower carburetor can save you from costly repairs and ensure your machine performs at its best throughout the winter. By following the steps in this guide, you’ll be prepared for any cold-weather challenge. If cleaning isn’t enough to restore full performance, explore AZParts for high-quality snowblower parts, including easy-to-install replacement carburetors and components built to last. Keep your snowblower running smoothly—trust AZParts for reliable parts and expert guidance.
Contact Info
Address: 8 The Green, Ste A, Dover, Delaware 19901-3618, United States
Email: support@azparts.com
Read more:
Snowblower
Further Reading
Further Reading

Review
December 29, 2025
When winter arrives, clearing snow efficiently becomes essential for safety and convenience. However, many people often wonder about the difference between a snow blower and a snow thrower - two common snow removal tools that are sometimes confused. In this article, AZParts will help you understand how each machine works, its pros and cons, and guide you in choosing the right equipment based on your specific snow-clearing needs.

How-To Guides
December 25, 2025
As winter approaches, snow removal becomes an essential part of daily life, especially in areas with heavy snowfall. Snow blowers are powerful tools that make this task easier and more efficient. However, improper use of a snow blower can pose serious risks to both the operator and those nearby. In this article, AZParts will guide you on how to use a snow blower safely, effectively, and durably, while also sharing important tips to help you work with confidence in harsh winter conditions.
_1750053523.jpg&w=3840&q=75 "How to Start a Snowblower in 13 Steps (with Images)")
How-To Guides
December 22, 2025
When winter hits and snow starts piling up, starting your snow blower efficiently becomes essential. But after months of sitting idle, many machines can be tricky to get going. In this guide, AZParts walks you through the proper steps to start your snow blower with ease, along with maintenance tips and trusted replacement parts to keep it running smoothly all winter long.
%2520Cropped_1747039495.jpg&w=3840&q=75 "Your Snowblower Won’t Blow Snow? Check These Things")
Repair help
December 4, 2025
It’s one of the most frustrating winter problems when you fire up your machine, the engine roars to life, but nothing comes out of the chute. If your snowblower won’t blow snow, the problem likely lies somewhere between the auger and the impeller. In this article, AZParts will walk through the most common causes and practical fixes to get your blower working like new again.

Review
November 1, 2025
Winter brings the challenge of snow removal for many homeowners and property managers. Choosing between a single-stage and two-stage snow blower significantly impacts your snow-clearing efficiency and experience. In this comprehensive guide, AZParts explores the key differences between these two types of snow blowers, helping you make an informed decision based on your specific needs.