How-To Guides
How to Start a Snowblower in 13 Steps (with Images)
AZparts Team
Updated on December 22, 2025
8 min read
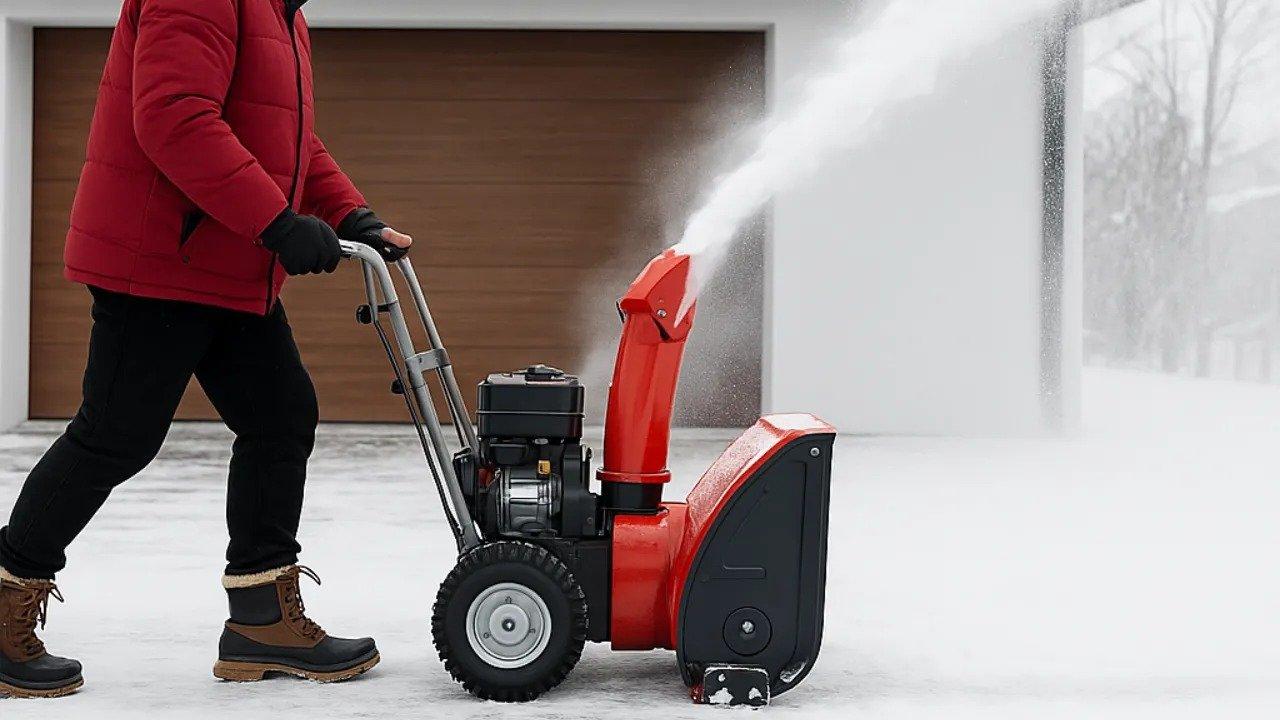
When winter hits and snow starts piling up, starting your snow blower efficiently becomes essential. But after months of sitting idle, many machines can be tricky to get going. In this guide, AZParts walks you through the proper steps to start your snow blower with ease, along with maintenance tips and trusted replacement parts to keep it running smoothly all winter long.
_1750053523.jpg&w=3840&q=75)
1. Pre-start Checklist for Starting Snowblower
Use this pre-start checklist for starting snowblower to ensure your machine is ready before every use. Proper preparation reduces breakdowns and increases safety.
- Inspect fuel: Make sure the fuel tank is full with clean, fresh gasoline. Avoid using gas older than 30 days. If stored for long periods, use a fuel stabilizer to prevent engine problems.
- Check engine oil: Verify oil level using the dipstick. Top off or replace the oil if it's dirty or low. Always use the oil type specified in the owner’s manual.
- Examine spark plug: Remove the spark plug to inspect for wear or carbon buildup. Clean or replace as needed, and reconnect securely.
- Inspect tires or tracks: Inspect tires for proper inflation. If your snowblower uses tracks, ensure they are tensioned correctly and show no damage.
- Check auger and impeller: Look inside the housing and clear any debris, ice, or snow. Rotate the auger manually to confirm it moves freely.
- Check belts and cables: Examine drive belts and control cables for fraying, cracks, or looseness. Replace or tighten if necessary.
Check out more: Why Is My Snow Blower Auger Not Turning?
_1750049442.jpg)
Check cables and belts before starting (Source: AZParts)
- Examine chute and deflector: Rotate the discharge chute and move the deflector to verify smooth operation. Lubricate if movement is stiff.
- Check shear pins: Ensure all shear pins are in place and unbroken. Replace any damaged or missing pins before starting the machine.
- Inspect battery (if equipped): For electric start models, check the battery charge level. Clean and secure all connections.
- Check safety controls: Test all operator presence and safety controls. The snowblower should stop when handles or levers are released.
2. Starting a Snowblower for Beginners
2.1. Inspecting the Snowblower
Before starting your snow blower for the season or even just after a short break, it’s important to conduct a proper inspection. This helps prevent mechanical issues, improves safety, and ensures your machine runs efficiently in cold weather. Below are three critical checks to perform:
2.1.1. Check the Oil Level
Start by checking the oil level using the dipstick. The oil should reach the "full" mark and appear clean. If the oil is low or dirty, top it off or replace it with the correct oil type recommended in your owner's manual. Running your snow blower with insufficient oil can lead to engine damage and reduced performance, especially in freezing temperatures.
_1750053100.jpg)
Before starting snowblower, check the oil level (Source: AZParts)
2.1.2. Fuel Up
Next, ensure the fuel tank is filled with fresh, clean gasoline. Old or ethanol-blended fuel that's been sitting for more than 30 days can degrade and cause engine problems like hard starts or sputtering.
If your snow blower hasn’t been used in a while, drain the old fuel and refill it with a fresh batch. Using a fuel stabilizer can also help extend fuel life, especially during off-season storage. Always refer to the manufacturer’s guide for the correct fuel grade.
2.1.3. Set the Drive Control to Neutral
Before you start the engine, double-check that the drive control lever is in the Neutral (N) position. This prevents the snow blower from moving unexpectedly once the engine turns over. Keeping all drive controls in the "off" or neutral position is a critical safety measure that helps avoid accidents during startup.
_1750053127.jpg)
Set the drive control to neutral before starting snowblower (Source: AZParts)
2.2. Prepping for Ignition
After inspecting your snow blower, the next critical step is preparing it for ignition. Especially in cold climates, following the proper sequence ensures a smooth and reliable engine start. Here’s a breakdown of the ignition preparation process:
2.2.1. Set the Choke to FULL
Always begin a cold start by setting the choke to “FULL”. This limits airflow, allowing more fuel into the carburetor essential for cold engines. If the engine was recently used, consider using a half-choke or warm-start setting to avoid flooding.
2.2.2. Move the Throttle to the “Fast"
Next, push the throttle lever to the “Fast” or high-speed setting, often symbolized by a rabbit. This ensures the engine has enough fuel-air mixture to run at operational speed once it starts. Slower throttle settings can cause sputtering or stalling on startup.
_1750053152.jpg)
Adjust the throttle lever to the “Fast” or high-speed setting (Source: AZParts)
2.2.3. Open the Fuel Shutoff Valve
Locate the fuel shutoff valve and turn it to the “ON” position. This allows fuel to flow freely from the tank to the carburetor. Leaving the valve off is a common oversight that prevents startup entirely. When finished with the machine, always switch this valve back to "OFF" to avoid fuel leaks or engine flooding.
2.2.4. Flip the ignition switch
Set the ignition switch to “ON” or “RUN” to activate the ignition system. This step powers the engine’s electrical system and allows combustion once the starter is engaged. The switch is typically located near the engine housing or control panel and resembles a basic up or down toggle.
Unhandled node: tab
2.2.5. Insert the Safety Ignition Key
If your snow blower is equipped with a safety key system, insert the Starter Ignition Key before starting. This key acts as a security feature that prevents accidental operation. Many compatible replacement keys, such as those available from AZParts, offer durable performance and fit popular snow blower models. Always remove the key to quickly shut off the engine or when storing the machine.
_1750053175.jpg)
Insert the safety ignition key (Source: AZParts)
2.2.6. Push the Primer Bulb
Finally, locate and press the primer bulb to help draw fuel into the carburetor.
- Prime 2 times if the temperature is above 15°F (-9°C).
- Prime 4 times in colder conditions.
Avoid over-priming, as it can flood the engine. If your primer bulb is cracked or unresponsive, consider replacing it with a compatible option from AZParts, which supplies high-quality primer bulbs for various snow blower brands.
2.3. Starting your Engine
After prepping your snow blower for ignition, it’s time to bring the engine to life. Whether your machine uses a traditional recoil system or features a modern electric start, follow these steps to get your snow blower running smoothly.
2.3.1. Pull the Starter Rope
If your snow blower uses a manual recoil start, locate the starter handle and rope. Grip the handle firmly, then pull it slowly until you feel resistance. From there, give a sharp and steady pull to crank the engine.
If the rope is frayed or the handle is damaged, it can affect starting efficiency. Quality Starter Handle & Rope replacements like those from AZParts can help restore smooth, reliable starts for most snow blower models.
_1750053239.jpg)
Explore starter rope at AZParts for best performance (Source: AZParts)
2.3.2. Plug in the Power Cord (if applicable)
For snow blowers equipped with electric start, connect the three-prong power cord to a grounded outlet that matches your machine’s voltage. Always check the owner’s manual for voltage requirements to avoid electrical issues. Plug in the other end securely into the snow blower's power input.
2.3.3. Press the start button (electric start only)
With the power cord connected, press the start button in short intervals (about five seconds) until the engine starts. Avoid holding the button too long, as this could damage the starter. Once the engine is running, unplug the power cord for safe operation.
2.3.4. Switch off the Choke
Let the snow blower run for a minute or two to warm up, especially in freezing conditions. Once it’s idling steadily, turn the choke lever to the “OFF” or “RUN” position. This allows normal airflow and prevents the engine from stalling or flooding during use.
Starting a snow blower may seem daunting at first, but with the right preparation and step-by-step approach, you can fire it up quickly even on the coldest days. From inspecting oil and fuel levels to managing choke and ignition settings, every detail matters for safe and efficient operation.
_1750053339.jpg)
Switch off the choke when you're ready to use the snowblower (Source: AZParts)
In addition to proper starting procedures, snowblower maintenance is essential. Regularly cleaning your snow blower, removing snow, salt, and debris buildup from the housing and auger, helps prevent corrosion and blockages. Performing a seasonal tune-up snow blower by checking spark plugs, oil levels, fuel filters, and drive belts ensures optimal performance and prolongs the machine's lifespan.
Over time, parts like starter ropes, shear pin, paddle set, and other snow blower parts may wear out or become less effective. When that happens, replacing them with high-quality parts is the key to maintaining long-term performance. Trusted suppliers like AZParts offer a wide range of replacement snow blower parts compatible with many popular brands helping you keep your machine running smoothly all season long.
Contact Info
Address: 8 The Green, Ste A, Dover, Delaware 19901-3618, United States
Email: support@azparts.com
Read more:
Snowblower
Further Reading
Further Reading


%2520Cropped_1747039495.jpg&w=3840&q=75)

