How-To Guides
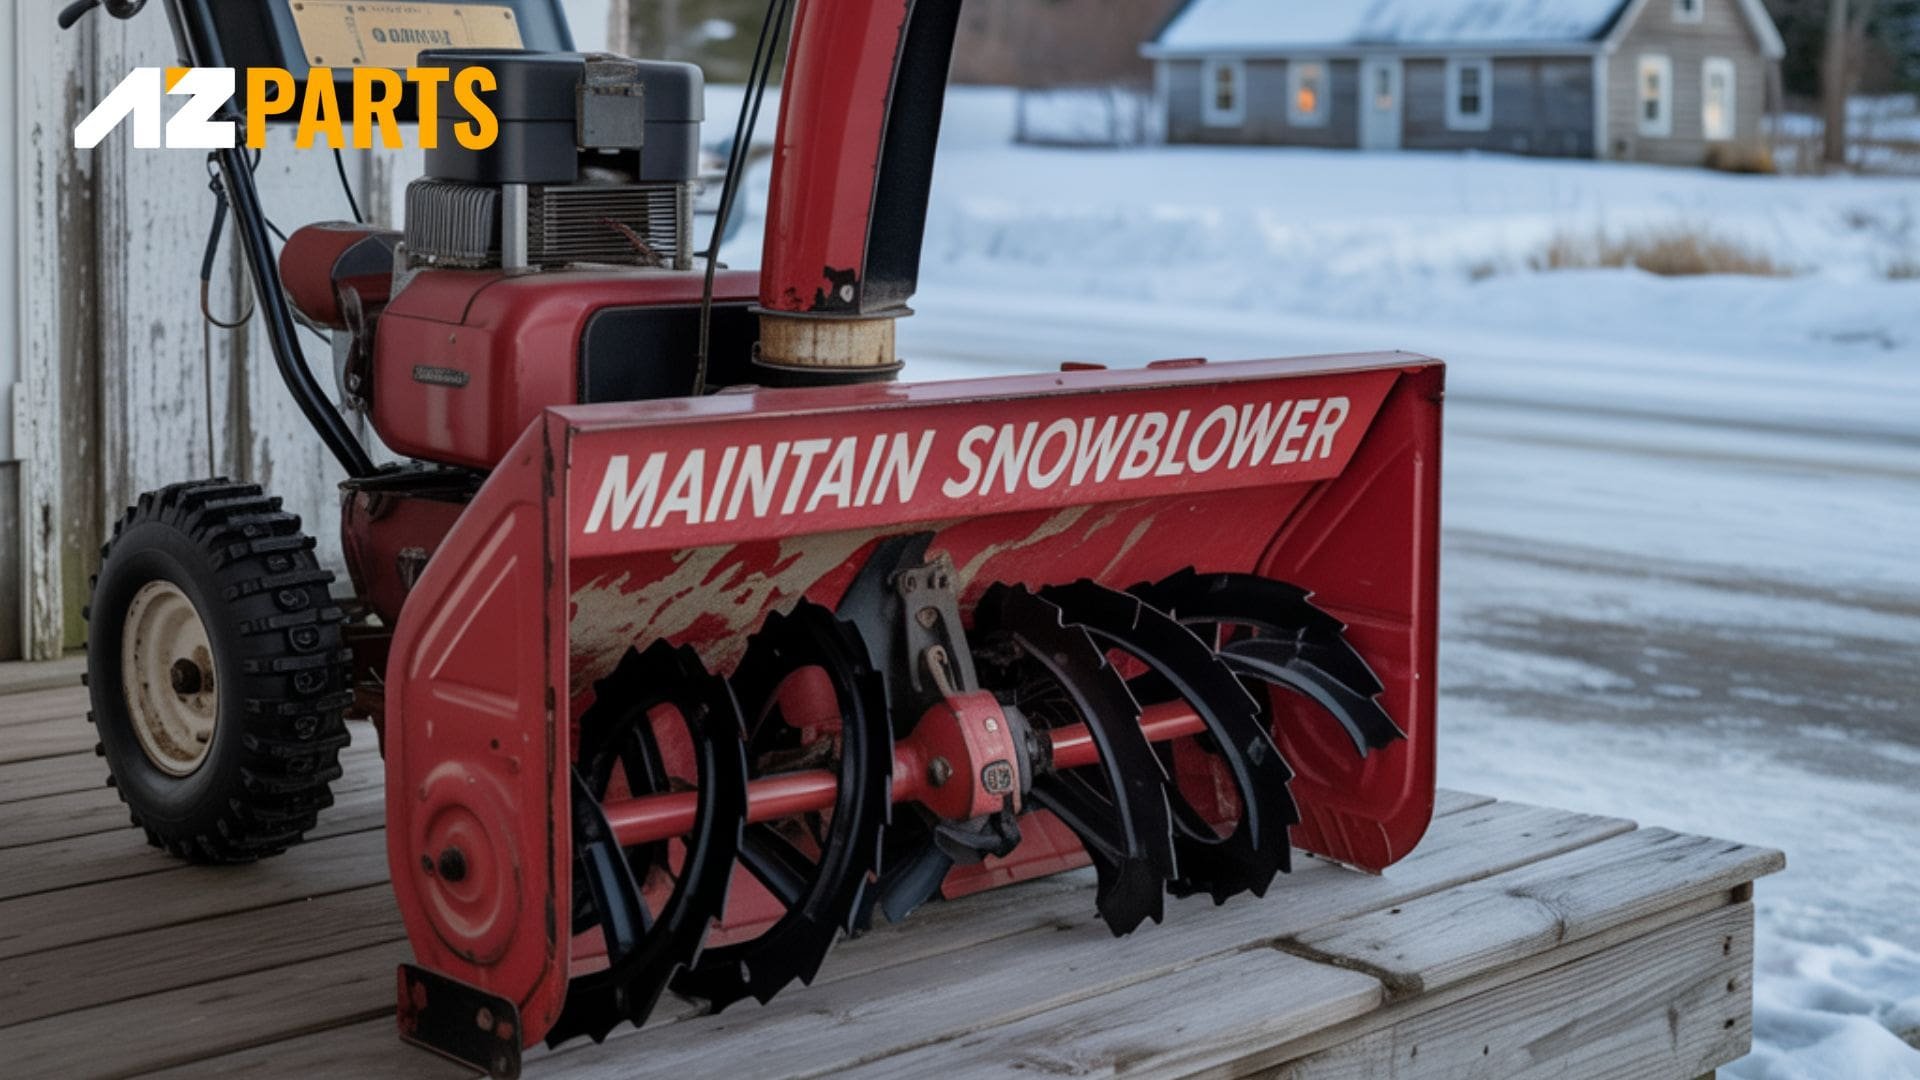
How to Maintain Snow Blower: Safety Tips
AZparts Team
Updated on November 4, 2025
8 min read
Regular snow blower maintenance is essential to keep your machine safe, reliable, and efficient, especially during harsh winters. At AZParts, we know how proper care and quality parts can extend the life of your snow blower and help it perform at its best. In this article, AZParts will walk you through key safety checks, cleaning routines, and expert maintenance tips for year-round performance.

1. Snow Blower Maintenance
Regular snow blower maintenance or what many call a snow blower tune up ensures your machine runs smoothly when you need it most. Whether you’re prepping for winter or storing your unit during warmer months, proper upkeep improves performance, prevents breakdowns, and extends the life of your snow blower.
1.1. Tools & Material Need
Before beginning any snow blower maintenance, it's important to gather all the necessary tools and materials. Having everything on hand, from basic wrenches to safety gear will help make the process smoother, more efficient, and safer. This checklist ensures you're fully prepared before diving into the maintenance steps:
- Wrench and socket set
- Screwdrivers (flathead and Phillips)
- Spark plug wrench
- Clean rags or paper towels
- Engine oil (as specified in your manual)
- Fuel stabilizer
- Replacement spark plug (optional)
- Air filter (if applicable)
- Degreaser or mild detergent
- Lubricating oil or spray (e.g., WD-40)
- Safety gloves and goggles
Having these materials ready will make the maintenance process faster and safer.
1.2. Step by Step Guide to Maintain Snow Blower
These steps apply to both snow blowers and snow throwers, so you can use this guide for general snow thrower maintenance as well.
Step 1: Turn Off and Disconnect Power
Before beginning any maintenance, you should always turn off the snow blower and disconnect the spark plug. This precaution helps prevent accidental startups while you’re working on the machine.
Always disconnect the spark plug before working to avoid accidental startups (Source: AZParts)
Step 2: Drain or Stabilize Old Fuel
If there is still fuel in the tank, you have two options: either drain it completely or add a fuel stabilizer. This step prevents the formation of varnish and clogs in the carburetor during storage. Stabilized fuel also helps keep internal parts protected while the machine is not in use.
Check out more: How to Clean A Snow Blower Carburetor
If your snow blower still has fuel, either drain the tank or add fuel stabilizer to prevent clogging in the carburetor (Source: AZParts)
Step 3: Change the Engine Oil
To change the oil, place a container underneath the drain plug and remove the plug to let the used oil drain completely. After the oil has fully drained, you should refill the engine with fresh oil that matches the manufacturer's recommended specifications. Replacing old oil ensures the engine stays lubricated and protected during the off-season.
Step 4: Inspect and Replace the Spark Plug
Remove the spark plug carefully and examine it for any signs of dirt, corrosion, or wear. If the spark plug is damaged or heavily soiled, you should clean it or replace it with a new one. A clean, functional spark plug is essential for reliable engine starting in the next season.
Step 5: Clean the Machine
Use a soft brush or clean cloth to remove any snow, salt, or dirt from the exterior of the snow blower. If you encounter stubborn grease or grime, a mild degreaser can help loosen and remove buildup. Make sure to clean critical areas like the auger and discharge chute thoroughly, as residue in these areas can cause performance issues.
Remove snow residue, salt, and dirt from all surfaces (Source: AZParts)
Step 6: Lubricate Moving Parts
Apply a light lubricant to key moving parts, including the auger, chute rotation mechanism, and control joints. Regular lubricating snowblower parts reduces friction, prevents rust, and keeps your machine functioning smoothly throughout the season.
Step 7: Check Belts and Cables
Inspect the drive and auger belts for any signs of cracking, stretching, or fraying. Test the belt tension and adjust it if necessary. In addition, check the control cables for wear or looseness, and make any needed adjustments to maintain proper responsiveness.

Inspect belts for cracks or fraying and test the tension (Source: AZParts)
Step 8: Inspect Tires or Skid Shoes
Examine the tires to ensure they are properly inflated and show no signs of excessive wear. For snow blowers equipped with skid shoes, inspect them for wear and replace them if they are worn down. Proper traction and clearance are critical for safe and effective snow removal.
Step 9: Store Properly
Before storing the snow blower for the off-season, make sure it is thoroughly cleaned and dried. If you haven’t done so already, drain the fuel or add stabilizer to protect the fuel system. Finally, store the machine in a dry, covered location to prevent rust and damage from moisture or temperature fluctuations.
Proper snow blower maintenance not only ensures peak performance during snow season but also saves you money on repairs. For replacement snow blower parts or accessories, AZParts offers genuine components for a wide range of snow blower models such as: Carburetor, Clutch Cable... Explore our catalog today to keep your equipment in top shape.
2. Storing Snow Blower Tips
Properly storing your snow blower at the end of the season is just as important as maintaining it during use. Without the right storage practices, moisture, fuel residue, and rust can damage key components, making your machine harder to start or even unusable next winter. Here are essential tips to help you store your snow blower safely and effectively:
2.1. Drain or Stabilize the Fuel
Leftover gasoline can gum up your carburetor and fuel lines.
- Option 1: Run the machine until the fuel tank is empty.
- Option 2: Add a fuel stabilizer, run the engine for a few minutes to circulate it, then turn it off.

Drain or stabilize the fuel for your snowblower (Source: AZParts)
2.2. Clean the Entire Machine
Dirt, salt, and snow residue left on your snow blower can lead to corrosion and rust over time. Use a damp cloth or a low-pressure hose to clean the exterior, including the auger housing, chute, and wheels. Make sure to wipe down all surfaces and let the unit air dry completely before storing, trapped moisture is one of the biggest enemies of long-term storage.
2.3. Lubricate Moving Parts
Lubricating your snow blower's moving components helps prevent rust and ensures smoother operation when you're ready to use it again. Spray light machine oil or silicone-based lubricant on areas like the auger shaft, chute controls, bearings, and wheel axles. Don’t forget to check any linkages or cables. Proper lubrication can extend their lifespan significantly.

Lubricating your snow blower's moving components (Source: AZParts)
2.4. Disconnect or Replace the Spark Plug
Removing the spark plug before storage is a simple safety measure to prevent accidental starts during handling or transport. While it's removed, consider adding a small amount of engine oil into the cylinder, then gently pull the starter cord to distribute it, protects the internal engine parts from corrosion. If your spark plug is old or showing wear, replace it now so the machine is ready to go next season.
2.5. Check Belts, Bolts, and Cables
Over time, belts can stretch or crack, and bolts may loosen due to vibration during use. Inspect the drive and auger belts for any signs of wear, and tighten any loose fasteners. Also, make sure control cables are functioning smoothly and not frayed, replacing them during storage avoids last-minute repairs when snow hits.
2.6. Cover and Store in a Dry Place
Store your snow blower in a well-ventilated, dry area like a garage or shed to protect it from humidity and temperature swings. Avoid using plastic covers, which can trap moisture and lead to rust; instead, choose a breathable fabric cover designed for outdoor power equipment. Make sure the snow blower is parked on a dry surface and away from any items that might tip or fall onto it.
3. FAQs about Snow Blower Maintenance
3.1. How often should you change the gear oil in a snowblower?
You should typically change the gear oil in a snowblower every 1 to 2 years, or after about 50 hours of use, depending on your model and how frequently it's operated.
3.2. Should I spray my snowblower with WD-40?
Yes, spraying certain parts of your snow blower with WD-40 or a similar water-displacing lubricant can be beneficial, especially for preventing rust. Use it on exposed metal components such as the auger, chute, and control cables. However, avoid spraying it on belts or friction discs, as it may cause slipping or reduce effectiveness. For long-term storage, applying WD-40 helps protect against corrosion and moisture damage.
3.3. What is the best lubricant for a snowblower?
The best lubricant for a snow blower depends on the part you're servicing:
- Use high-quality synthetic grease or lithium-based grease for gears, axles, and auger shafts.
- Apply silicone spray or dry graphite lubricant for control linkages and cables.
- Use engine-safe oil for internal engine components and a light protective spray like WD-40 for metal surfaces prone to rust.
A well-maintained snow blower not only runs better it also helps you avoid costly snow blower repair down the road. By following the right snow blower maintenance steps and using reliable parts, you reduce breakdowns and save money long-term. Trust AZParts for genuine replacement components and expert-backed resources. Explore how to keep your machine in top condition with AParts now!
Contact information:
- 8 The Green, Ste A, Dover, Delaware 19901-3618, United States
- support@azparts.com
Read more:
Snowblower
Further Reading
Further Reading

How-To Guides
December 25, 2025
As winter approaches, snow removal becomes an essential part of daily life, especially in areas with heavy snowfall. Snow blowers are powerful tools that make this task easier and more efficient. However, improper use of a snow blower can pose serious risks to both the operator and those nearby. In this article, AZParts will guide you on how to use a snow blower safely, effectively, and durably, while also sharing important tips to help you work with confidence in harsh winter conditions.
_1750053523.jpg&w=3840&q=75 "How to Start a Snowblower in 13 Steps (with Images)")
How-To Guides
December 22, 2025
When winter hits and snow starts piling up, starting your snow blower efficiently becomes essential. But after months of sitting idle, many machines can be tricky to get going. In this guide, AZParts walks you through the proper steps to start your snow blower with ease, along with maintenance tips and trusted replacement parts to keep it running smoothly all winter long.

Repair help
December 2, 2025
One of the most common and frustrating issues during winter is a snow blower auger not turning, even when the engine is running smoothly. Since the auger plays a critical role in collecting and throwing snow, its failure can severely impact your machine’s performance.
In this article, AZParts will guide you through 5 common reasons why your snow blower auger might stop spinning, along with practical fixes to help you get your equipment back to peak condition quickly and efficiently.
")
How-To Guides
November 19, 2025
Is your snowblower struggling to clear the white stuff, or worse, not working at all? One of the leading culprits is often a worn or broken snowblower drive belt. While replacing snowblower belts might sound complicated, it's actually a completely manageable maintenance task that can get your machine back to peak performance. In this guide, AZParts walk you through how to replace a snowblower belt safely and effectively, ensuring you're always ready to tackle any upcoming snowstorm.

Review
June 1, 2025
If your snowblower starts but stalls after a few seconds, several factors could be at play. These issues typically involve fuel delivery, air intake, ignition, or mechanical problems. Understanding these potential causes and their solutions can help you get your snowblower back to working condition.