How-To Guides
How to Replace SnowBlower Belts in Minutes (Right Ways)
AZparts Team
Updated on November 19, 2025
7 min read
Is your snowblower struggling to clear the white stuff, or worse, not working at all? One of the leading culprits is often a worn or broken snowblower drive belt. While replacing snowblower belts might sound complicated, it's actually a completely manageable maintenance task that can get your machine back to peak performance. In this guide, AZParts walk you through how to replace a snowblower belt safely and effectively, ensuring you're always ready to tackle any upcoming snowstorm.

1. What Does the Belt Do in a Snowblower?
The belts in your snowblower are crucial components, acting as the power links that transfer energy from the engine to the working parts of the machine. Essentially, they're what make your snowblower actually throw snow.
Snowblowers typically utilize two main types of belts, each with a specific job:
- Auger Belts: These belts are responsible for transferring power from the engine to the auger (the rotating blades at the front of the snowblower). The auger is what gathers the snow and feeds it into the impeller.
- Drive Belts: The drive belt, also known as the traction belt, transmits power from the engine to the wheels, allowing your snowblower to propel itself forward.
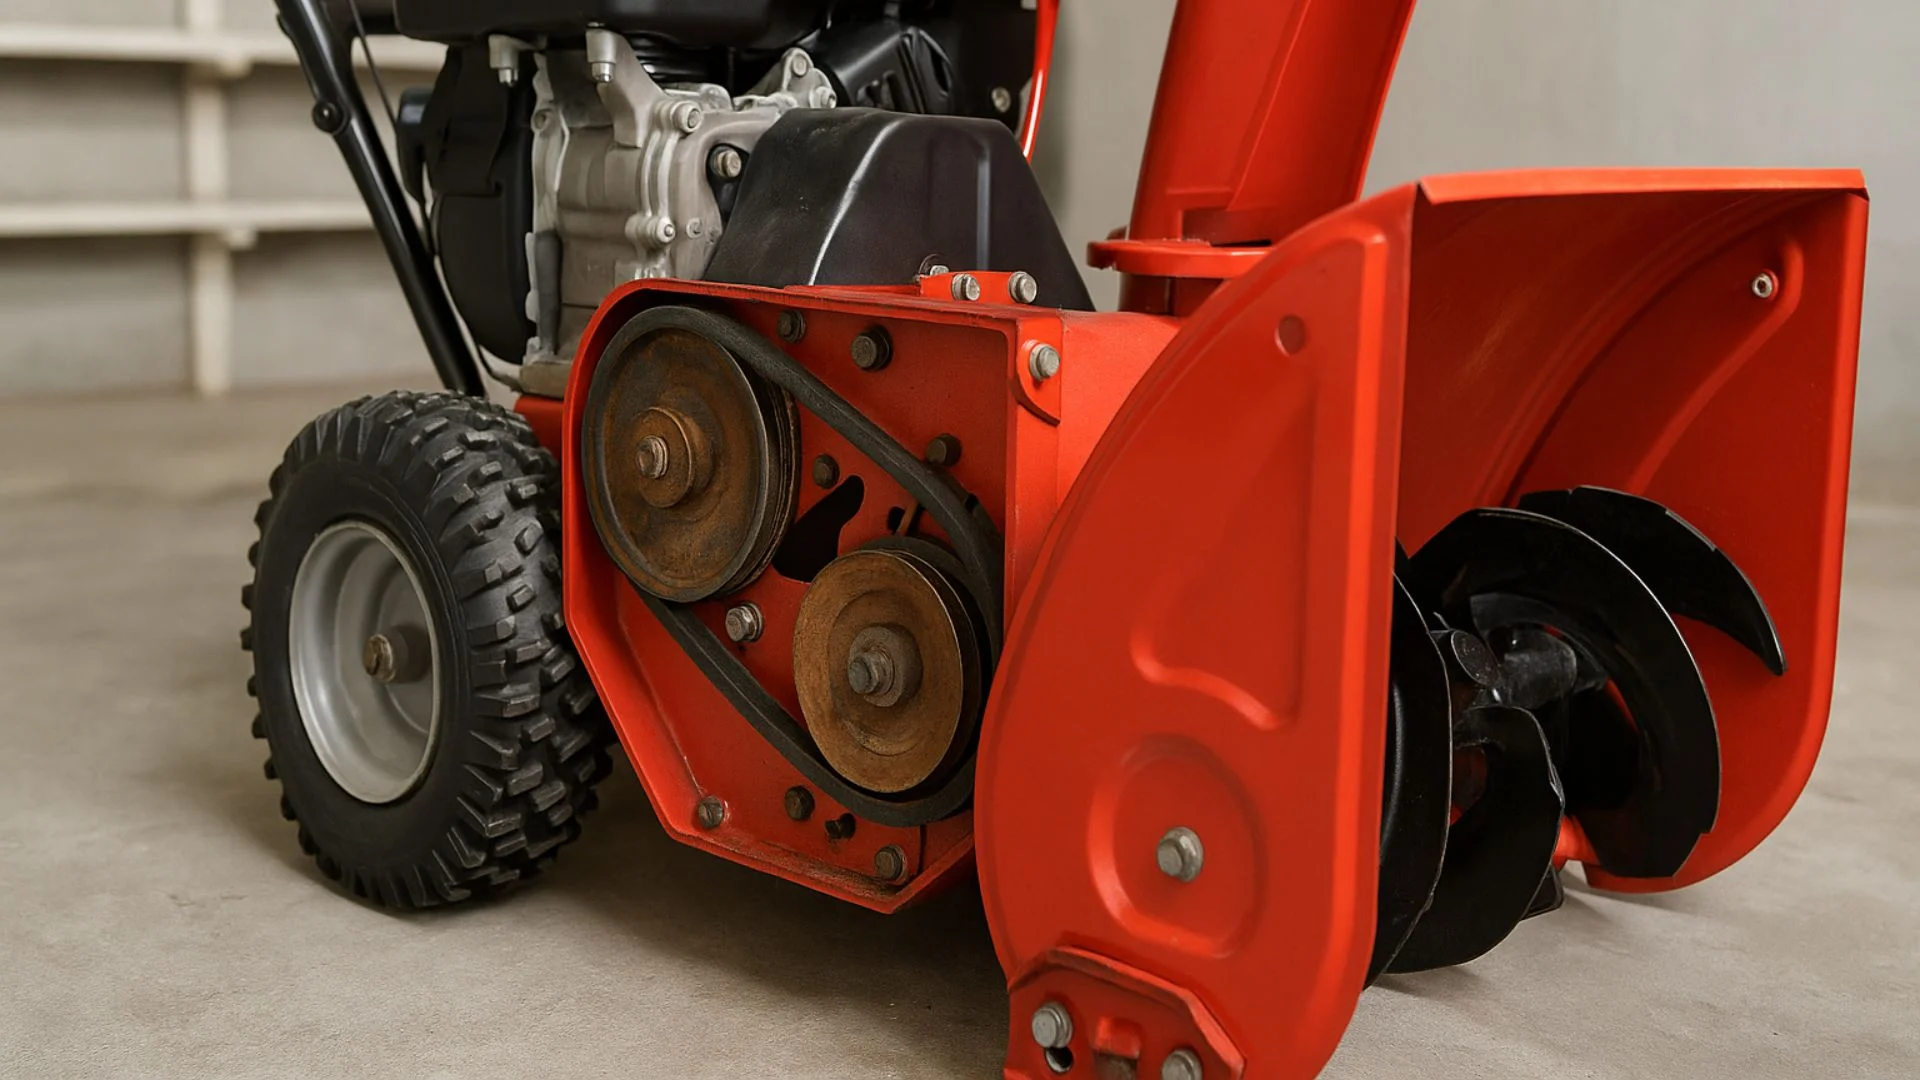
Belts is acting as the power links in snow blower (Source: AZParts)
Belts are consumables, meaning they're designed to wear out over time. Several factors contribute to belt failure:
- Heavy Use: Pushing through deep or icy snow puts significant stress on both auger and drive belts, leading to slipping, stretching, or snapping.
- Wear and Tear: Regular operation causes friction and heat, which gradually weakens the belt material.
- Age: Over time, rubber and other belt materials degrade, becoming brittle and prone to cracking or fraying.
2. Tools Required
- Adjustable wrench
- Rags
- Socket and ratchet set
- Wrench set
- Replacement belt
Additional Items to Prepare:
- Safety gloves
- Safety glasses
- Work light or flashlight
- Wheel chocks or blocks
- Brush for cleaning pulleys
- Light lubricant (optional)
- Small container for screws/bolts
- Phone camera to record belt routing before removal
3. Step-by-Step Instructions to Replace the Belt
3.1. Step 1: Turn Off and Prepare the Machine
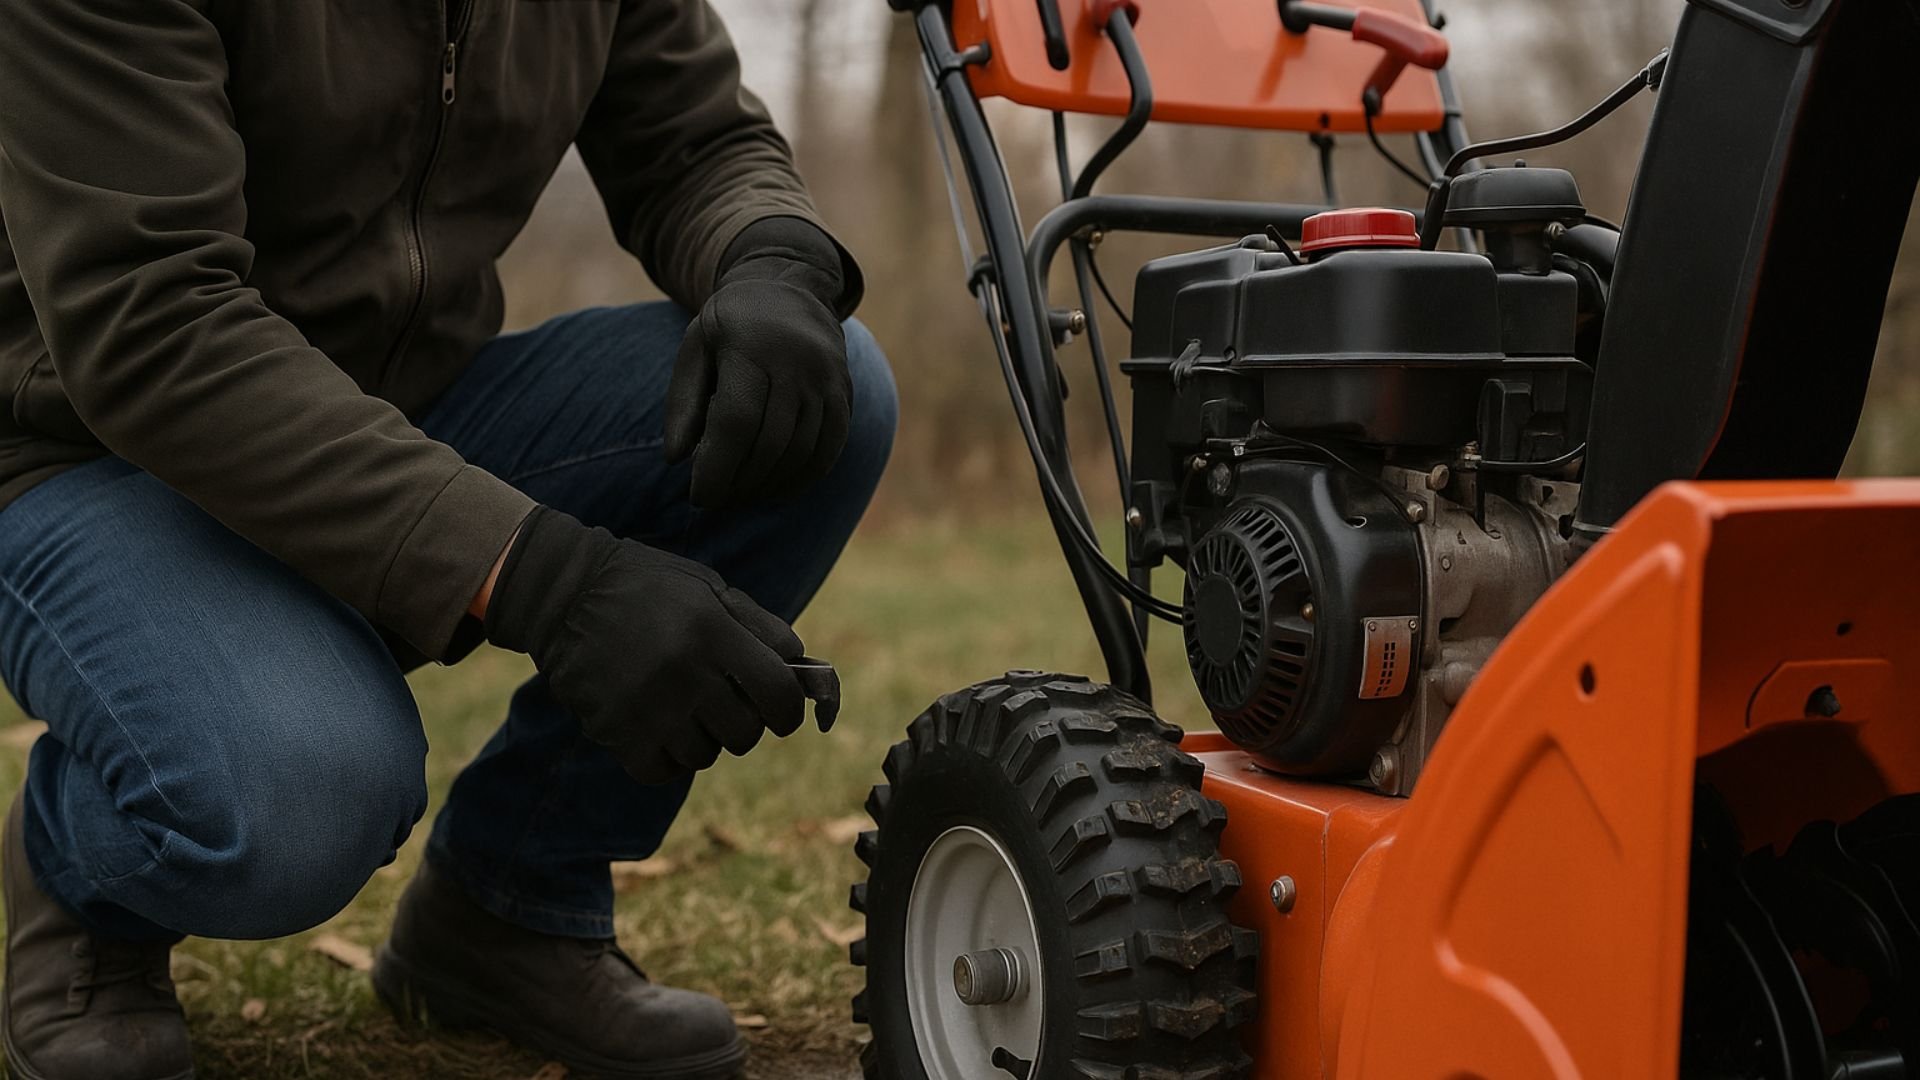
Turn off snowblower before replacing belts (Source: AZParts)
Before you begin any maintenance, make sure your snowblower is completely powered off. Disconnect the spark plug wire to prevent accidental starting while you’re working on the machine. For extra safety, let the engine cool down completely if it was recently used. This initial safety step is essential in any guide on how to replace a snowblower auger belt.
Next, empty the gas tank. Tilting a snowblower with fuel inside can lead to dangerous spills or fumes. Once the machine is cool and the fuel is drained, move it to a clean, flat workspace with good lighting. Keep all your tools nearby for easy access. This preparation step is crucial for both your safety and the ease of the snow blower belt replacement process.
3.2. Step 2: Remove the Belt Cover
Once the machine is safely prepped, begin by removing the belt cover (also known as the upper belt guard). This cover protects the drive system and needs to come off so you can inspect or replace the belts.
Use a socket wrench with a 12-inch extension bar to reach and loosen the bolts holding the cover in place. Carefully lift off the guard and set it aside along with the screws or bolts, keeping them organized for reassembly later.
With the cover off, you’ll have clear access to the top pulleys and belts. Take this opportunity to inspect the belt’s condition. If you find cracks, fraying, or glazing, it confirms that a snow blower belt replacement is necessary.
3.3. Step 3: Take Off the Old Belt
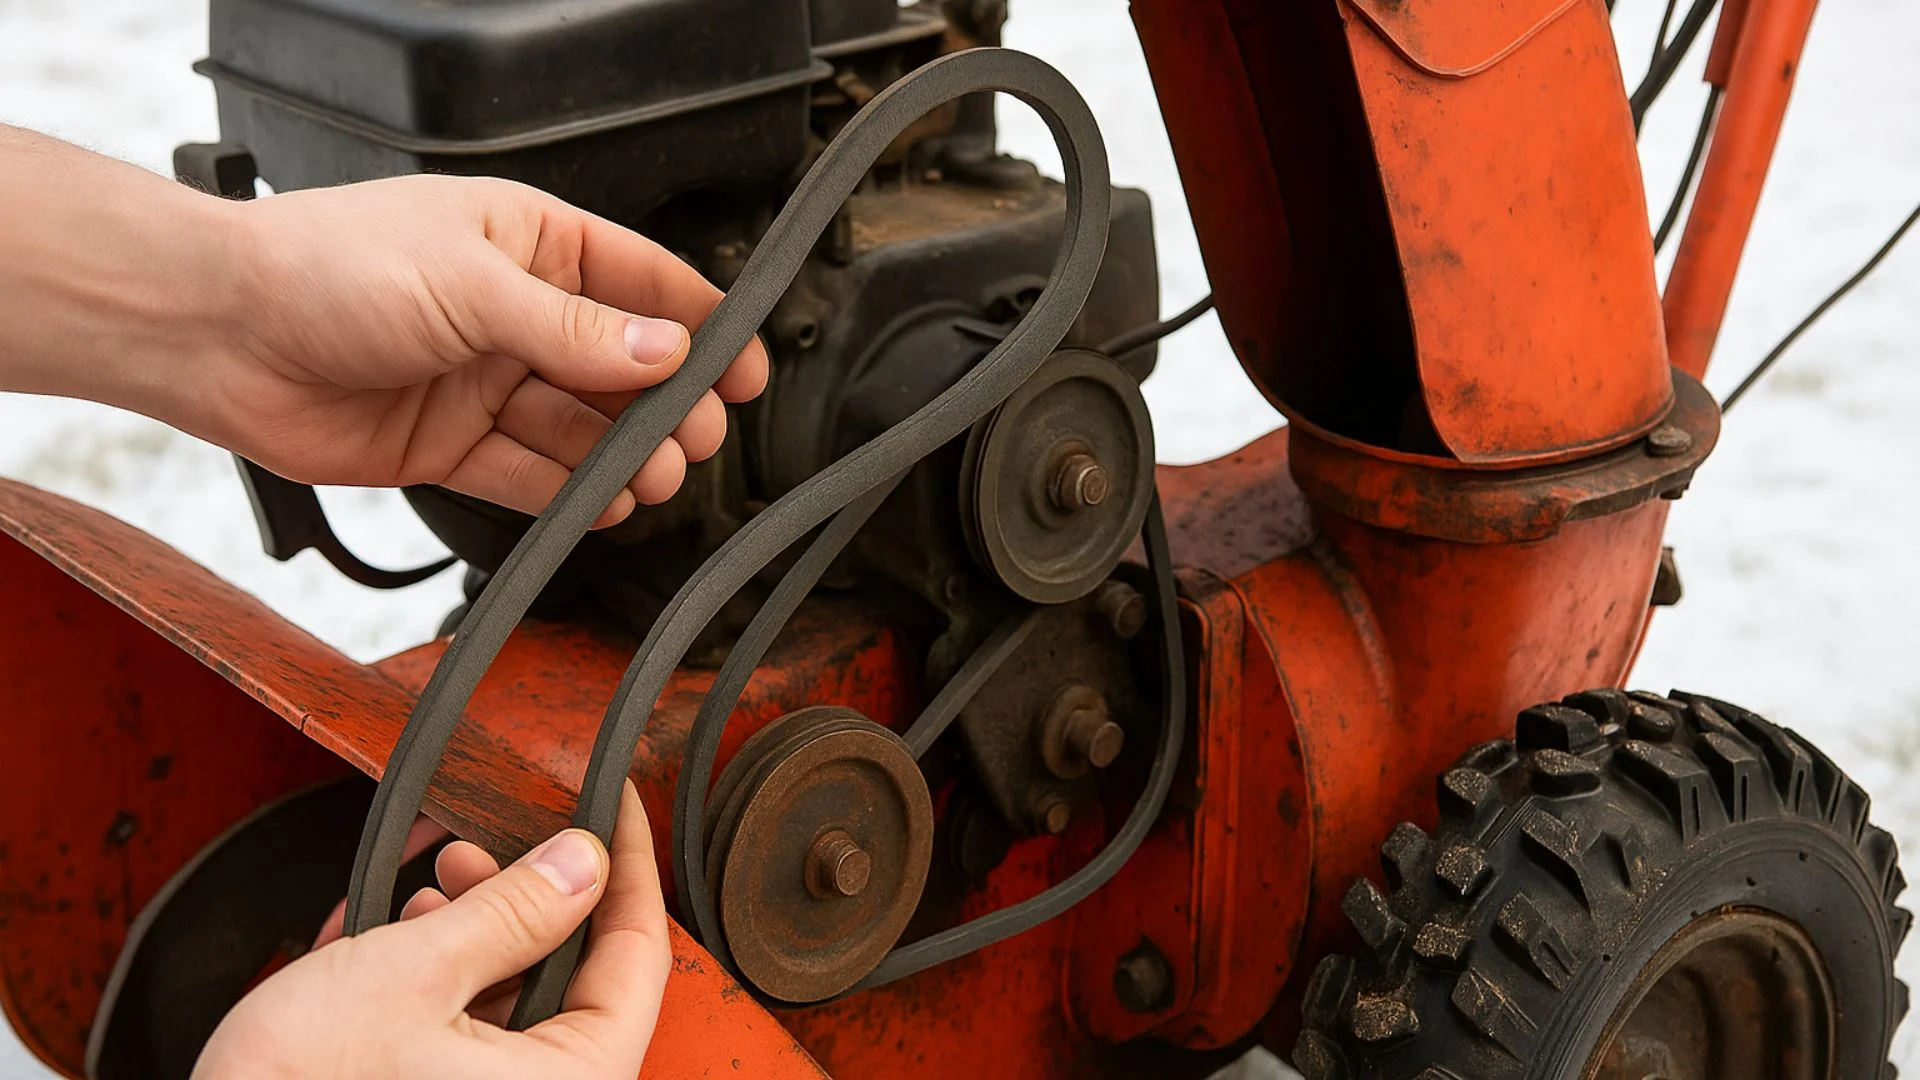
Take Off the Old Belt is one of most important steps (Source: AZParts)
Now that the belt cover is removed and you have access to the pulleys, it’s time to take off the old belt.
Start by relieving the tension in the belt system. Depending on your snowblower model, this can be done by either loosening the tensioner pulley, removing the tension spring, or prying the idler roller back gently with a screwdriver.
Once the belt is no longer tight, carefully slide it off the pulleys. You may need to wiggle it slightly to work it free, especially if it has been in place for several years.
After removing the belt, take a few moments to inspect the pulleys. Clean off any dirt, debris, or belt residue using a dry cloth. This helps ensure smooth operation when the new belt is installed.
3.4. Step 4: Install the New Belt
With the old belt removed and the pulleys cleaned, you’re ready to install the new belt, an important part of learning how to replace a snowblower auger belt correctly.
If your machine has a bottom access plate, now is the time to tilt the snowblower back (remember, the gas tank should be empty). Remove the plate to access the lower part of the pulley system if needed.
Carefully thread the new belt onto the pulleys, making sure it follows the same path as the old one. Double-check that the correct belt is going onto the correct pulley if your snowblower has multiple belts.
Once in place, reapply the tension by tightening the tensioner mechanism or reconnecting the spring. The belt should be snug but not overly tight, it should have a little flex, but not slip during use.
Finally, spin the pulleys by hand to make sure everything is aligned and moving smoothly before reassembling the belt cover.
3.5. Step 5: Reassemble and Test
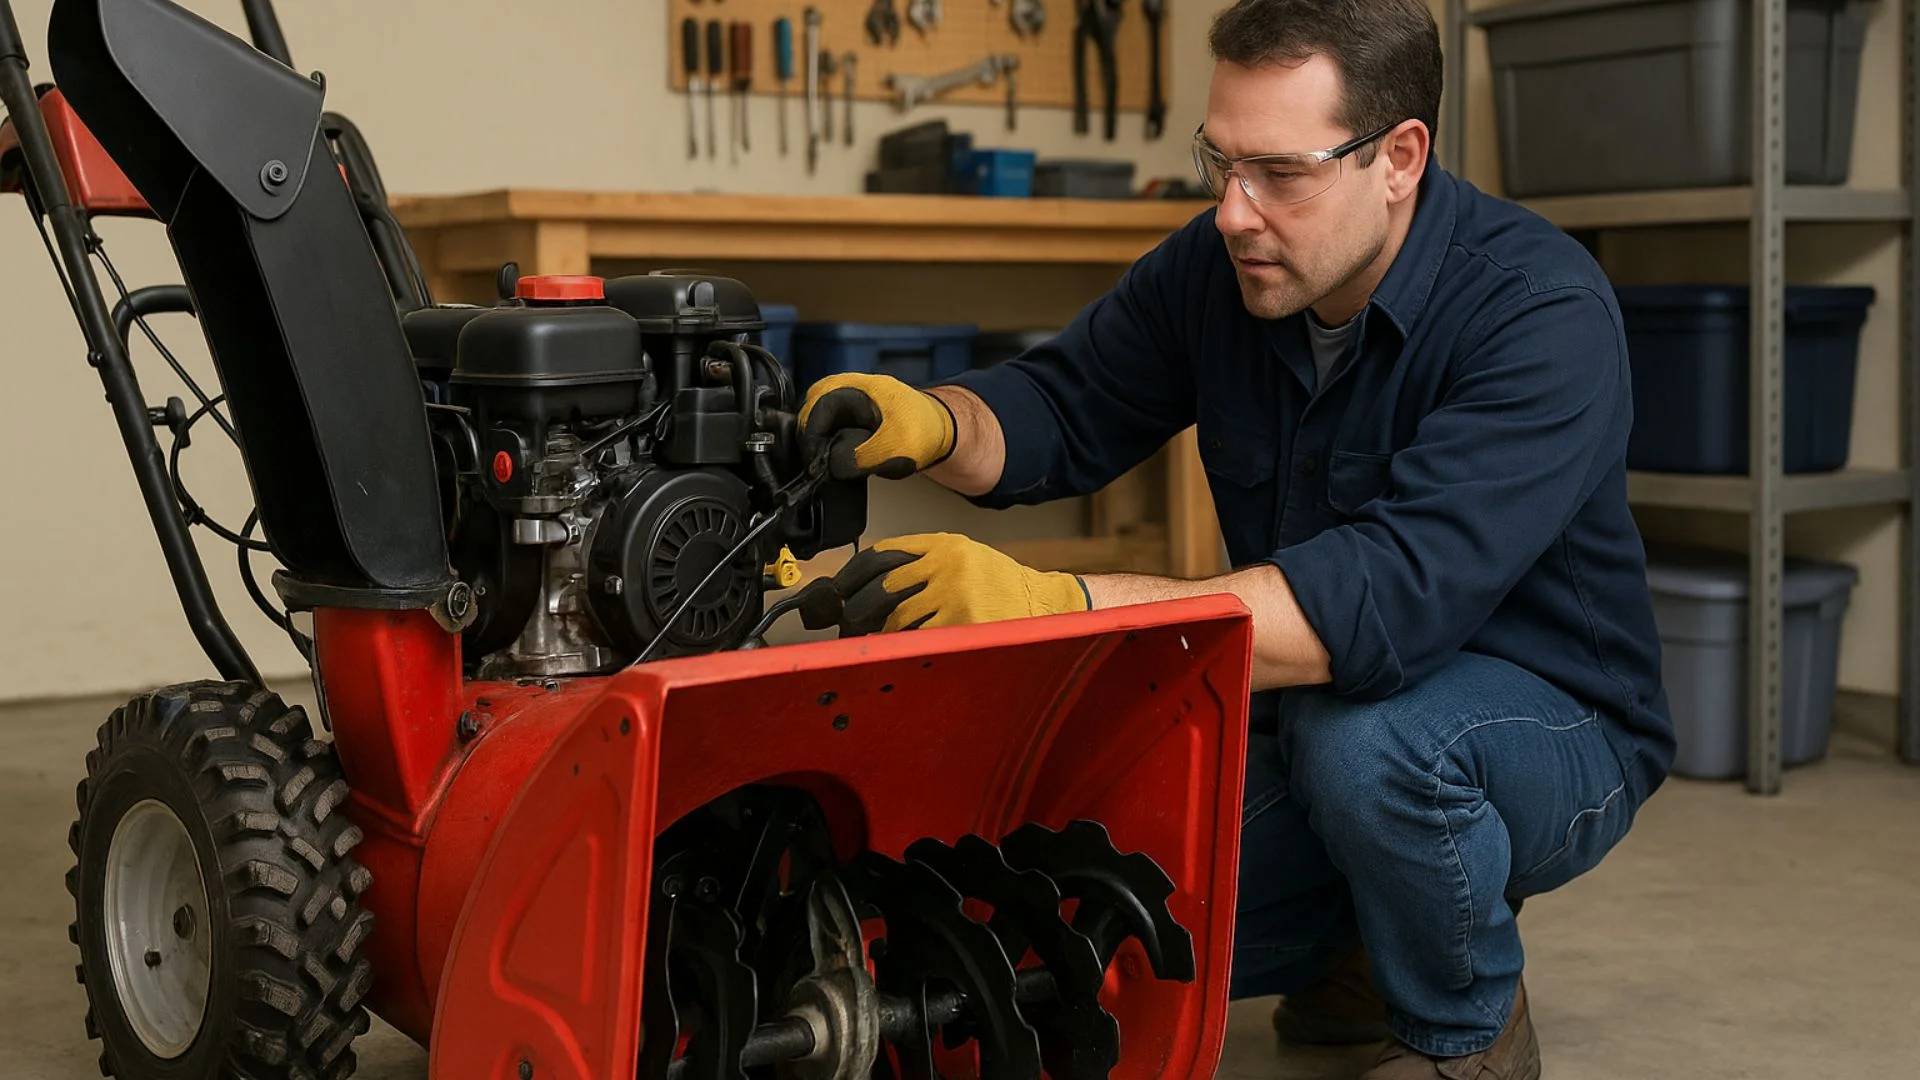
Reassemble and Test to ensure right snowblower belt replacement (Source: AZParts)
Now that the new belt is installed, it’s time to put everything back together and make sure the machine is working properly.
Start by reattaching the bottom access plate (if you removed it earlier), then carefully lower the snowblower back to its normal position. Make sure all screws or bolts are securely tightened.
Next, reinstall the upper belt cover. Use your socket wrench to fasten it firmly in place, and double-check that no tools or parts have been left inside the housing.
Once everything is assembled, reconnect the spark plug wire. If you drained the gas tank earlier, refill it with fresh fuel.
Now, start the snowblower and let it run for a few minutes. Engage the auger and drive system to test the belt. It should move smoothly without slipping, squealing, or vibrating abnormally.
4. FAQs about Snowblower Belt Replacement
4.1. How often should you change snowblower belts?
Most snowblower belts last about 5 to 7 years, depending on how often you use your machine and how heavy the snow conditions are. If you notice performance issues, visible damage, or it's been over five years since you last replaced the belt, it’s a good idea to change it before the next snow season begins.
4.2. How do I know if my snowblower belt is bad?
There are several signs that your snowblower belt may be worn or damaged. Common symptoms include:
- The auger or wheels are not engaging properly
- A burning rubber smell while the machine is running
- Squealing or grinding noises
- Reduced snow throwing distance
- Visible cracks, fraying, or shiny glazing on the belt
If you notice any of these signs, inspect the belt and replace it if needed.
4.3. How many belts does a snowblower have?
Most two-stage snow blowers have two belts — one for the auger and one for the drive system. Some single-stage models may only have one belt. Always refer to your owner’s manual to confirm the exact number and type of belts used in your specific model.
4.4. Is it worth fixing a snowblower?
In most cases, yes, it’s worth fixing a snowblower, especially if the issue is something simple like a worn belt, spark plug, or clogged chute. Replacing a belt is relatively low-cost and can significantly extend the life of your machine. However, if your snowblower is very old and requires multiple major repairs, you may want to compare the cost of fixing it versus investing in a new one.
Replacing your snowblower belt is a simple but important part of regular maintenance that ensures your machine runs smoothly and reliably all winter long. While belts are one of the most commonly replaced components, they’re just one piece of the puzzle. For optimal performance, you should also keep an eye on other key snowblower parts such as shear pins, skid shoes, scraper bars, spark plugs, and clutch cables,…
At AZParts, we offer a wide selection of high-quality replacement parts for snowblowers, not just belts, but other snow blower parts you need to keep your equipment in top condition. Whether you're a DIY enthusiast or a professional, you can count on AZParts for genuine parts, fast shipping, and trusted customer support.
Contact Information:
8 The Green, Ste A, Dover, Delaware 19901-3618, United States
Snowblower
Further Reading
Further Reading

How-To Guides
December 25, 2025
As winter approaches, snow removal becomes an essential part of daily life, especially in areas with heavy snowfall. Snow blowers are powerful tools that make this task easier and more efficient. However, improper use of a snow blower can pose serious risks to both the operator and those nearby. In this article, AZParts will guide you on how to use a snow blower safely, effectively, and durably, while also sharing important tips to help you work with confidence in harsh winter conditions.
_1750053523.jpg&w=3840&q=75 "How to Start a Snowblower in 13 Steps (with Images)")
How-To Guides
December 22, 2025
When winter hits and snow starts piling up, starting your snow blower efficiently becomes essential. But after months of sitting idle, many machines can be tricky to get going. In this guide, AZParts walks you through the proper steps to start your snow blower with ease, along with maintenance tips and trusted replacement parts to keep it running smoothly all winter long.

Repair help
December 2, 2025
One of the most common and frustrating issues during winter is a snow blower auger not turning, even when the engine is running smoothly. Since the auger plays a critical role in collecting and throwing snow, its failure can severely impact your machine’s performance.
In this article, AZParts will guide you through 5 common reasons why your snow blower auger might stop spinning, along with practical fixes to help you get your equipment back to peak condition quickly and efficiently.

How-To Guides
November 4, 2025
Regular snow blower maintenance is essential to keep your machine safe, reliable, and efficient, especially during harsh winters. At AZParts, we know how proper care and quality parts can extend the life of your snow blower and help it perform at its best. In this article, AZParts will walk you through key safety checks, cleaning routines, and expert maintenance tips for year-round performance.

Review
June 1, 2025
If your snowblower starts but stalls after a few seconds, several factors could be at play. These issues typically involve fuel delivery, air intake, ignition, or mechanical problems. Understanding these potential causes and their solutions can help you get your snowblower back to working condition.