How-To Guides
Quick Guide to Change Oil Snowblower Fast
AZparts Team
Updated on December 25, 2025
8 min read
Changing the oil in your snowblower is a key maintenance task that ensures your machine runs smoothly and reliably throughout the winter. Whether you're a first-time user or a seasoned homeowner, proper oil changes can extend the life of your engine and help you avoid costly repairs. In this guide, AZParts walks you through a simple, step-by-step process to change snowblower oil and keep it in peak condition all season long.

1. Before You Change Oil in Your Snowblower
Before you start changing oil in a snowblower, take a few minutes to prepare properly. Using the correct oil and warming up the engine slightly helps old oil drain more completely, making the process faster and cleaner. Proper preparation not only makes it easier to change oil snowblower the right way, but also protects the engine and ensures reliable performance throughout the winter season.
Preparing to change oil in your snowblower is an important step (Source: AZParts)
1.1. Select the Right Type of Oil
Choosing the correct oil is the most important step in an oil change for snowblower engines. Using the wrong oil can cause hard starts, reduced performance, and even long-term engine damage, especially in cold weather.
Always begin by checking your snowblower’s owner’s manual to confirm the recommended oil type and capacity before performing an oil change on snowblower equipment. In most cases, 5W-30 motor oil is a reliable choice because it flows well in low temperatures and supports smooth engine operation.
For extremely cold climates or machines that sit idle between snowfalls, synthetic oil is often a better option. During a snow thrower oil change, synthetic oil provides improved cold-start performance, stays fluid in freezing conditions, and delivers more consistent engine protection throughout the winter season.
1.2. Warm Up the Engine for Easier Flow
One of the easiest ways to get better results when you change oil in a snowblower is to warm up the engine first. Cold oil is thick and drains slowly, often leaving behind residue that can affect engine performance. Warming the engine allows oil to flow more easily, helping you remove more of the old, dirty oil.
Follow these steps for a safe and effective warm-up:
- Start the snowblower and let it run for about 3 to 5 minutes. This warms the oil just enough to improve flow without making the engine dangerously hot.
- Turn off the engine and allow it to cool for another 5 minutes to avoid burns.
- Before starting any work, disconnect the spark plug wire.
Warming up the engine before you change oil snowblower ensures a more complete drain, helps keep new oil cleaner longer, and improves the overall efficiency of your snowblower.
Warm Up the Engine for Easier Changing the Oil (Source: AZParts)
2. Step by Step: Change Snowblower Oil
Learning how to change snowblower oil step by step helps extend the life of your machine and keep it running smoothly all season. Whether you own a single-stage or two-stage model, the process is straightforward and can be done in under 30 minutes with just a few basic tools.
2.1. Remove the Old Oil
Before you begin, make sure the engine is warm (but not hot) and the spark plug is disconnected.
Steps to drain the old oil:
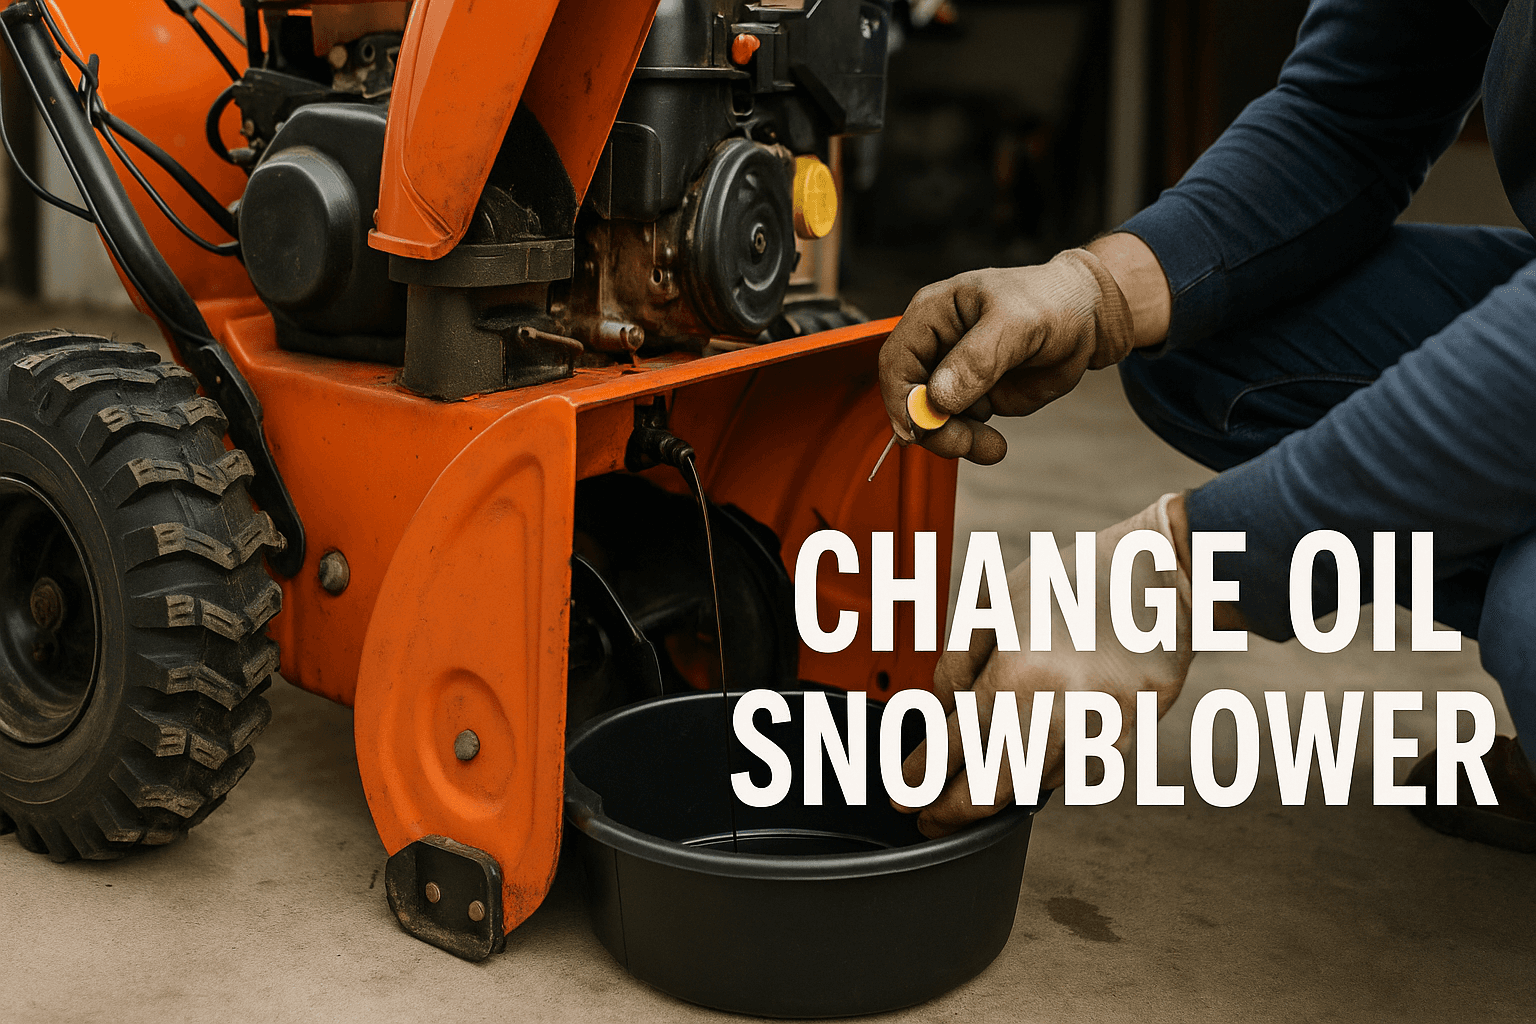
- Locate the oil drain plug or drain tube, usually found at the base of the engine.
- Place a drain pan underneath to catch the old oil.
- Loosen the plug carefully using a wrench. Once it's loose, finish unscrewing by hand to avoid dropping the plug.
- Allow the oil to drain completely. Tilting the snowblower slightly may help the last bit come out.
- Wipe the area clean and reinstall the drain plug securely.
Note:
- Single-Stage Snowblowers: The oil drain plug may be closer to the side or bottom of the unit.
- Two-Stage Snowblowers: Often have a longer drain tube that’s easier to access under the frame.
Remove the old oil is the first step of changing oil Snowblower (Source: AZParts)
Check out more: Single-Stage vs Two-Stage Snow Blowers: What’s the Difference?
2.2. Refill with Fresh Oil
Now that the old oil is out, it’s time to refill with clean, engine-safe oil.
How to refill properly:
- Open the oil fill cap or dipstick tube (usually marked with a yellow or black cap).
- Use a funnel to slowly pour in the correct type and amount of oil as specified in your snowblower’s manual.
- After pouring, check the oil level using the dipstick. It should be between the low and full marks.
- Wipe off the dipstick, reinsert it fully, and double-check the level.
- Once full, replace the dipstick cap and reconnect the spark plug.
Tip: Don’t overfill. Too much oil can cause engine strain or smoke.
An oil change on your snow blower is an important maintenance step, but the job isn’t finished right after refilling with fresh oil. Taking a few additional steps afterward will ensure your snow blower runs reliably and efficiently throughout the winter season, preventing costly repairs and downtime.
Changing the oil in Snowblower (Source: AZParts)
3. After the Oil Change on Snow Blower
3.1. Check Oil Level and Look for Leaks
After refilling with new oil, always check the oil level carefully using the dipstick. The oil should sit between the minimum and maximum marks. If the oil is too low, add a small amount more; if overfilled, drain a little to prevent engine damage.
Inspect the entire area around the drain plug and oil fill cap for any signs of leaks. Even a small drip can lead to bigger problems over time, such as oil starvation or engine damage. Tighten the drain plug and oil cap securely, but be careful not to overtighten, which can strip threads or damage seals.
Also, examine the underside of the snow blower and the engine casing for oil spots. Leaks can sometimes be hidden and only show after the engine runs and oil circulates.
Tips to check oil level in snowblower (Source: AZParts)
3.2. Start the Engine and Let It Run Briefly
Once you have confirmed the oil level and that everything is sealed correctly, reconnect the spark plug wire and start your snow blower. Let the engine run for about 5 minutes to allow the fresh oil to circulate through all moving parts. This helps lubricate the engine thoroughly and identify any potential issues early.
While the engine is running, listen carefully for any unusual noises such as knocking, rattling, or grinding that might indicate mechanical problems. Also, watch closely for any fresh oil leaks or smoke coming from the engine. If you notice any issues, shut down the engine immediately and investigate further or consult a professional.
Running the engine briefly also helps warm the oil, ensuring it reaches all necessary parts and performs optimally when you begin clearing snow.
Extra Tips for After Your Oil Change on Snow Blower
- Clean up any spilled oil immediately to prevent slipping hazards or damage to nearby components.
- Properly dispose of used oil by taking it to a recycling center or auto shop that accepts used motor oil. Never pour oil down drains or onto the ground.
- Consider logging your oil change date and mileage (or hours used) to keep track of maintenance for future reference. Regular oil changes every season or after 25 hours of use are generally recommended.
- Inspect other parts of your snow blower during this time, such as spark plugs, belts, and auger components, for wear and tear to avoid surprises later.
4. FAQs about Changing Oil Snowblower
4.1. How often should you change the oil in a snowblower?
It’s recommended to change the oil at least once every winter season or after about 25 hours of operation. Regular oil changes keep your engine running smoothly and prevent damage.
4.2. How do you drain oil from a snowblower?
First, warm up the engine to make the oil flow easier. Then disconnect the spark plug for safety, place a drain pan under the oil drain plug, loosen it carefully, and let the old oil drain out completely before tightening the plug again.
4.3. Is it OK to use 10w30 instead of 5W30 in snowblower?
Using 10W30 instead of 5W30 depends on your climate. 5W30 is preferred for colder temperatures because it flows better when cold, while 10W30 works fine in milder or warmer weather.
4.4. How much oil is in a snowblower?
The amount of oil varies by model, but most snowblowers typically hold about half a quart (around 16 ounces). Always check your owner’s manual to confirm the exact oil capacity.
Performing a timely change of oil snowblower is essential to maintain your machine’s performance and extend its lifespan through harsh winter conditions. Regular oil changes help prevent engine wear, improve fuel efficiency, and reduce costly repairs.
If you need quality replacement parts or accessories to keep your snowblower in top shape, check out the wide selection of snowblower parts at AZParts. From oil filters to spark plugs and more, AZParts has everything you need for reliable snowblower maintenance.
Stay ahead this winter by giving your snowblower the care it deserves with proper oil changes and trusted replacement parts from AZParts.
Contact Info
Address: 8 The Green, Ste A, Dover, Delaware 19901-3618, United States
Email: support@azparts.com
Read more:
Snowblower
Further Reading
Further Reading


_1750053523.jpg&w=3840&q=75)
%2520Cropped_1747039495.jpg&w=3840&q=75)
