How-To Guides
How to Replace a Shear Pin on Snow Blower
AZparts Team
Updated on November 28, 2025
5 min read
If your snow blower suddenly stops working or the auger stops spinning, a broken shear pin could be the culprit. This small safety component is designed to protect the engine and drive system when the machine hits a hard object. In this article, AZParts will learn how to identify the problem and safely replace the shear pin - getting your snow blower back up and running efficiently during the harsh winter season.

1. Tools and Materials Needed to Replace Snow Blower Shear Pin
Before starting the process of replacing the snow blower shear pin, it's essential to gather all the necessary tools and materials to ensure the procedure is smooth, quick, and safe. Proper preparation not only saves time but also reduces the risk of damaging the machine or causing injury during the replacement.
- Replacement Shear Pin
- Tool Set (Wrenches, Socket Set, Screwdrivers)
- Pliers
- Protective Gloves
- Flashlight or Headlamp
- Cloth or Small Brush
- Lubricant (Optional)
Having all of these materials prepared in advance is the first crucial step to ensure the shear pin replacement is done correctly, allowing your snowblower to operate safely, efficiently, and extend its lifespan.
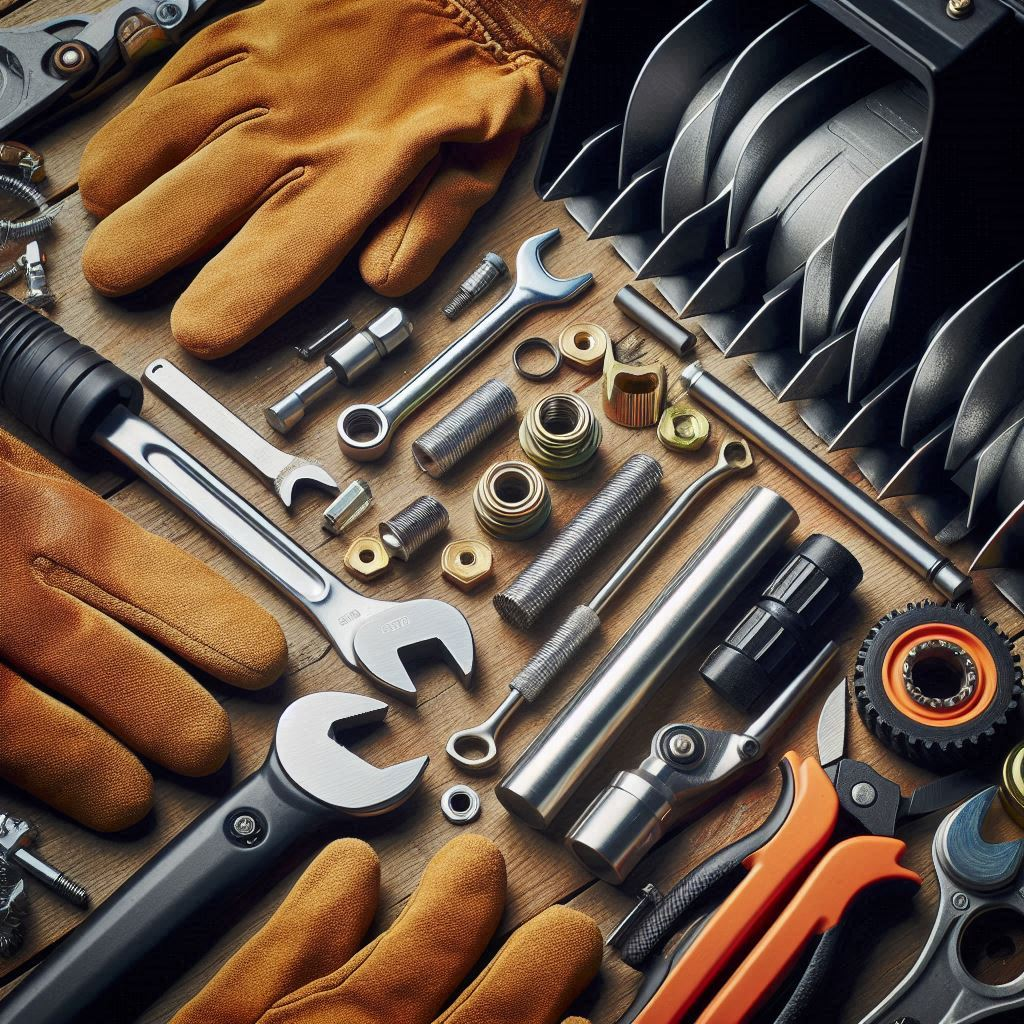
Tools and Materials Needed to Replace Snow Blower Shear Pin (Source: AZParts)
2. How to Replace a Shear Pin on Snow Blower
The shear pin is a crucial part that protects the snowblower’s transmission system, especially the auger, from damage when hitting hard objects like rocks or wood. In snow blower troubleshooting, a broken shear pin is a common issue. Replace it promptly to keep the machine running safely. Below is a step-by-step guide:
2.1. Step 1. Ensure the Engine Cannot Start Accidentally
Before starting the repair, make sure to disconnect the spark plug wire from the engine to prevent the machine from accidentally starting during the process. This step is crucial to ensure complete safety for the user.
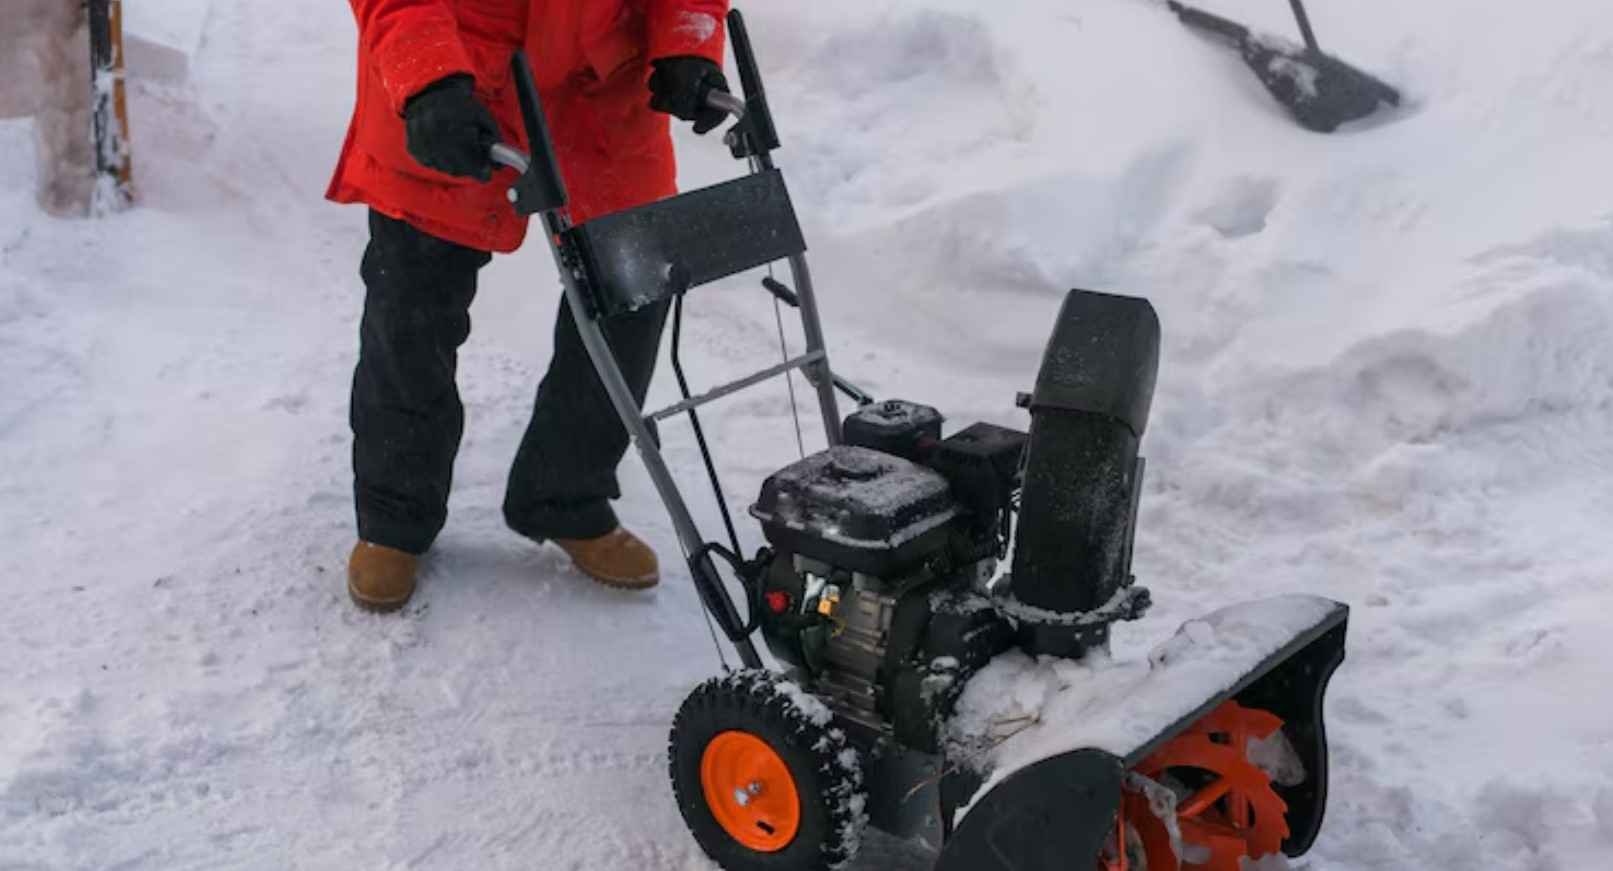
Ensure the Engine Cannot Start Accidentally (Source: Freepik)
2.2. Step 2. Remove Any Debris from the Auger Area
Inspect and remove any snow, ice, or foreign objects trapped in the auger area. Cleaning this area not only makes the task easier but also helps prevent further damage to other components when installing the new shear pin.
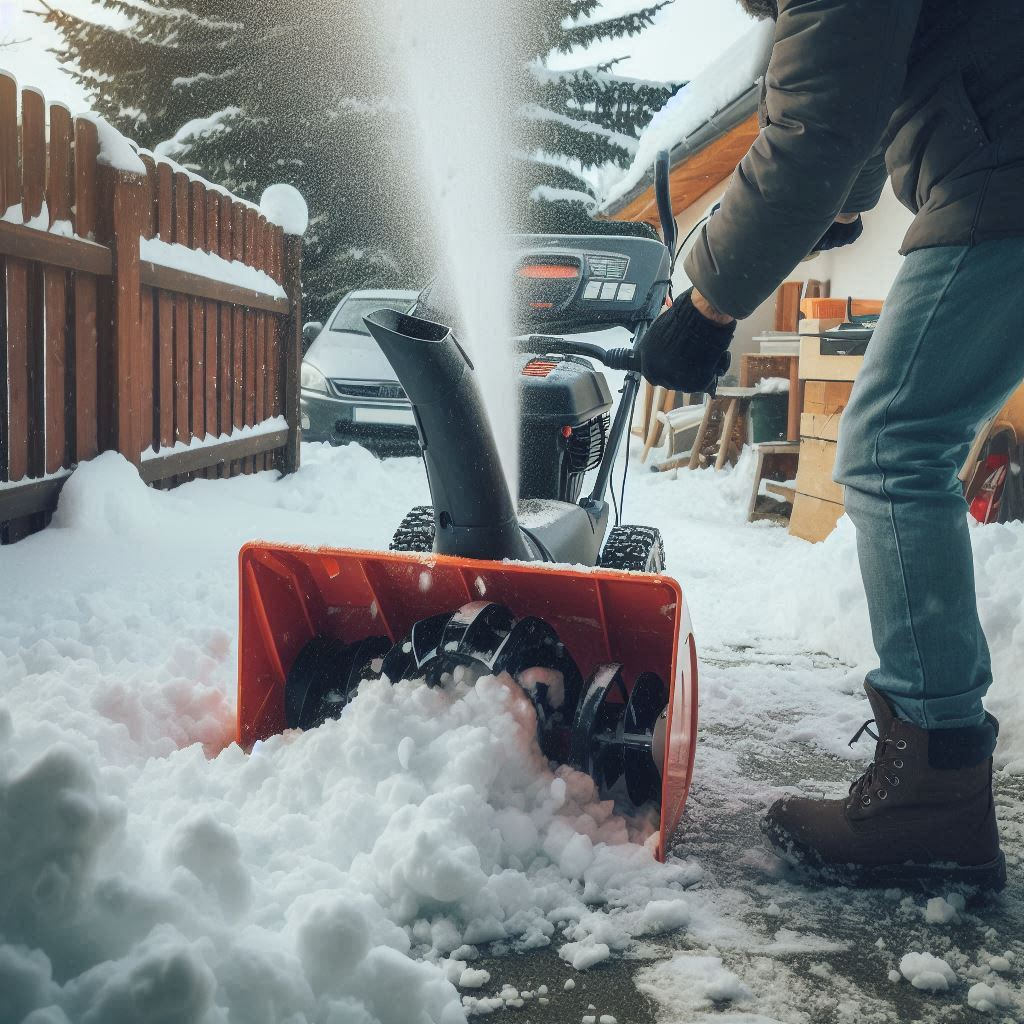
Inspect and remove any snow, ice, or foreign objects trapped in the auger area (Source: AZParts)
2.3. Step 3. Remove the Broken Shear Pins
Use a wrench or the appropriate tool to remove the broken shear pin from the auger shaft. If the pin is stuck, you can use pliers to pull out the remaining piece. Make sure the shaft hole is clean and free of any debris before installing the new shear pin.
2.4. Step 4. Install the New Shear Pins
After cleaning the shaft hole, align the auger and shaft holes to ensure they are properly aligned for the correct placement of the shear pin. Next, insert the new shear pin and secure it tightly using the accompanying nuts to ensure it stays firmly in place.
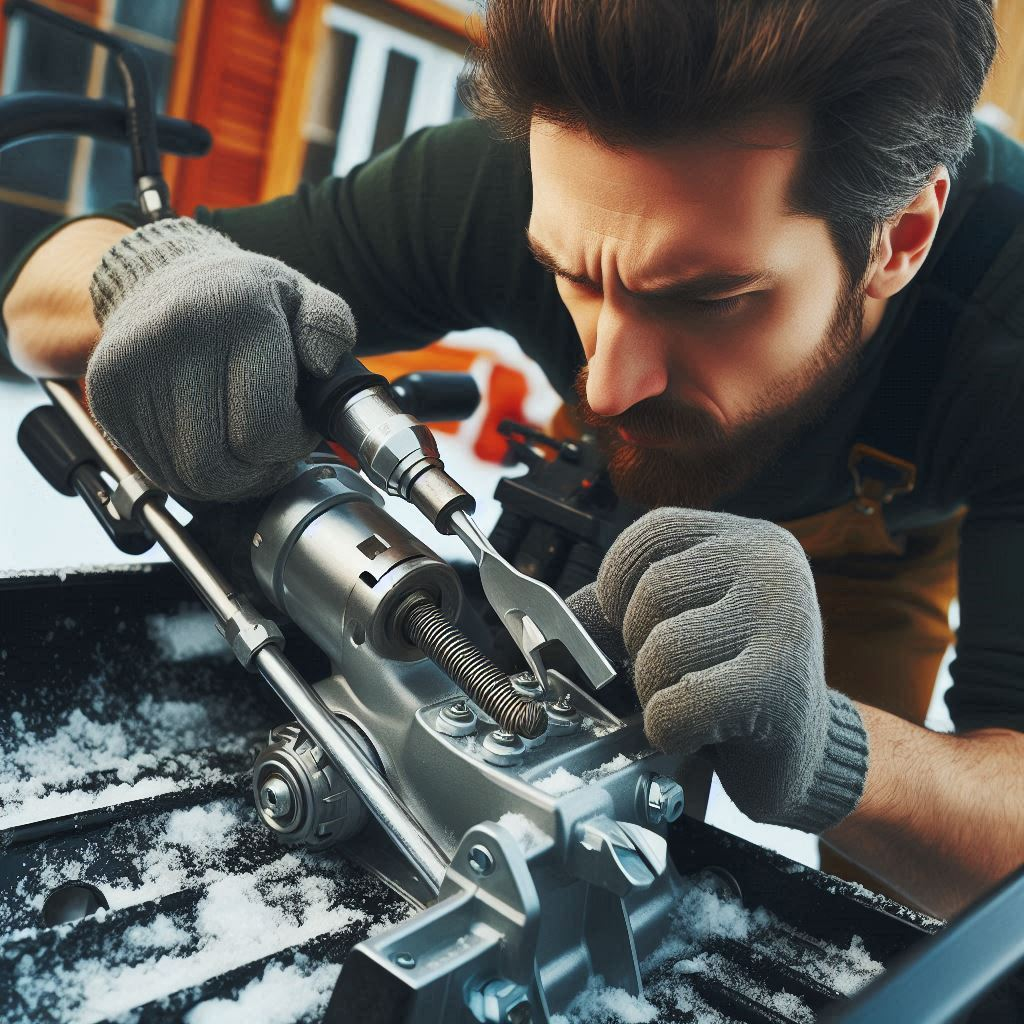
After cleaning the shaft hole, aligned for the correct placement of the shear pin (Source: AZParts)
2.5. Step 5. Manually Check the Auger’s Function
Gently rotate the auger by hand to ensure it moves smoothly. If the auger turns freely without any obstructions or unusual noises, it means the shear pin has been installed correctly and is functioning properly.
2.6. Step 6. Reconnect the Spark Plug Wire and Test the Snowblower
Reconnect the spark plug wire to the engine, then start the snowblower and observe its operation. Ensure the auger rotates smoothly without any unusual vibrations and that the machine is running steadily as it should.
3. FAQs about Replacing Snow Blower Shear Pin
3.1. How to change a shear pin on a snow blower?
First, turn off the machine and disconnect the spark plug wire for safety. Then, remove the broken shear pin from the auger shaft and install the new shear pin following the instructions, ensuring it's securely tightened with the included nut. Don't forget to manually check the auger before restarting the machine.
3.2. What happens when the shear pin breaks on a snowblower?
The shear pin is designed as a safety feature: when the auger encounters a hard obstruction (such as a stone or piece of wood), the pin breaks to disconnect the auger from the drive shaft. This prevents damage to the engine and other critical components.
3.3 Will an auger turn with a broken shear pin?
No. When the shear pin breaks, the auger will stop spinning because it’s no longer receiving power from the engine. However, the engine itself can still start and run normally, it just won’t be able to move or throw snow until the shear pin is replaced.
Replacing a broken shear pin on your snow blower is a quick and simple task when done correctly. To ensure a smooth fix, just prepare the necessary tools, follow basic safety precautions, and choose high-quality replacement parts from AZParts to help restore your machine’s performance and extend its lifespan through tough winter conditions.
Additionally, AZParts offers a wide range of snow blower parts, including shear pins, drive belts, spark plugs, scraper blades, and transmission components, carefully selected for compatibility and optimal performance with many popular snow blower models.
Don’t let a small part interrupt your snow-clearing routine. Be proactive with maintenance and timely part replacements to keep your machine running at its best. Explore premium snow blower replacement parts at AZParts today and stay ready for any snowfall!
Contact Info
Address: 8 The Green, Ste A, Dover, Delaware 19901-3618, United States
Email: support@azparts.com
Read more:
Snowblower
- 1. Tools and Materials Needed to Replace Snow Blower Shear Pin
- 2. How to Replace a Shear Pin on Snow Blower
- 2.1. Step 1. Ensure the Engine Cannot Start Accidentally
- 2.2. Step 2. Remove Any Debris from the Auger Area
- 2.3. Step 3. Remove the Broken Shear Pins
- 2.4. Step 4. Install the New Shear Pins
- 2.5. Step 5. Manually Check the Auger’s Function
- 2.6. Step 6. Reconnect the Spark Plug Wire and Test the Snowblower
- 3. FAQs about Replacing Snow Blower Shear Pin
Further Reading
Further Reading

Review
December 29, 2025
When winter arrives, clearing snow efficiently becomes essential for safety and convenience. However, many people often wonder about the difference between a snow blower and a snow thrower - two common snow removal tools that are sometimes confused. In this article, AZParts will help you understand how each machine works, its pros and cons, and guide you in choosing the right equipment based on your specific snow-clearing needs.

How-To Guides
December 25, 2025
As winter approaches, snow removal becomes an essential part of daily life, especially in areas with heavy snowfall. Snow blowers are powerful tools that make this task easier and more efficient. However, improper use of a snow blower can pose serious risks to both the operator and those nearby. In this article, AZParts will guide you on how to use a snow blower safely, effectively, and durably, while also sharing important tips to help you work with confidence in harsh winter conditions.
_1750053523.jpg&w=3840&q=75 "How to Start a Snowblower in 13 Steps (with Images)")
How-To Guides
December 22, 2025
When winter hits and snow starts piling up, starting your snow blower efficiently becomes essential. But after months of sitting idle, many machines can be tricky to get going. In this guide, AZParts walks you through the proper steps to start your snow blower with ease, along with maintenance tips and trusted replacement parts to keep it running smoothly all winter long.
%2520Cropped_1747039495.jpg&w=3840&q=75 "Your Snowblower Won’t Blow Snow? Check These Things")
Repair help
December 4, 2025
It’s one of the most frustrating winter problems when you fire up your machine, the engine roars to life, but nothing comes out of the chute. If your snowblower won’t blow snow, the problem likely lies somewhere between the auger and the impeller. In this article, AZParts will walk through the most common causes and practical fixes to get your blower working like new again.

Review
November 1, 2025
Winter brings the challenge of snow removal for many homeowners and property managers. Choosing between a single-stage and two-stage snow blower significantly impacts your snow-clearing efficiency and experience. In this comprehensive guide, AZParts explores the key differences between these two types of snow blowers, helping you make an informed decision based on your specific needs.