How-To Guides
How to Drain Gasoline from a Snowblower
AZparts Team
Updated on December 28, 2025
7 min read
Draining the gas from your snowblower is a simple yet essential task to ensure its longevity and readiness for the next winter. By doing so, you prevent fuel from deteriorating and clogging your snowblower’s system. This easy maintenance step requires just a few tools and a bit of time. Remember, safety is the top priority when handling fuel. In this article, AZParts provides reliable parts to keep your equipment running smoothly

Key Takeaways
- Always drain gasoline in a well-ventilated, fire-safe area and let the engine cool completely before starting.
- Using a siphon pump is the safest and cleanest way to remove gas from a snowblower tank.
- Running the engine after draining helps clear leftover fuel from the carburetor and fuel lines.
- Never store a snowblower with untreated gasoline, as ethanol can cause corrosion and clogging.
- Draining fuel or using a stabilizer before storage helps extend engine life and prevent costly repairs.
- Proper tools and quality replacement parts make seasonal snowblower maintenance quicker and safer.
1. Before You Start
1.1. Safety Inspection
Before draining gasoline from your snowblower, it’s essential to follow strict safety measures to avoid accidents, injuries, or fire hazards:
- Choose a Safe Location: Move the snowblower outdoors to a well-ventilated, flat surface, away from any heat sources, sparks, or open flames. Never run the engine indoors because carbon monoxide poisoning is a serious risk.
- Avoid Slippery or Delicate Surfaces: Choose a non-slip, stable area like a garage apron or a paved patio. Avoid draining fuel on driveways, as gasoline can damage asphalt or concrete and create hazardous slick spots.
- Turn Off and Cool Down: Ensure the snowblower is completely turned off and give it at least 30 minutes to cool down if it was recently used. Hot engine components can cause burns.
- Disconnect the Spark Plug Wire: This is a critical safety step to prevent accidental engine startup while you’re working.
Wear Personal Protective Equipment (PPE):
- Work gloves to protect your hands from hot parts or chemical exposure.
- Safety goggles or glasses to shield your eyes from fuel splashes.
- Earplugs if you’ll need to start the engine briefly during draining.
- Tight-fitting clothing to avoid anything getting caught in moving parts.
- Non-slip boots for better footing, especially on icy or wet surfaces.

Safety First: Worker Wearing Goggles, Mask, and Gloves (Source: Freepik)
1.2. Required Tools and Equipment
Gather the necessary tools and protective gear before you begin to ensure a smooth and safe process:
For snowblower parts and accessories, check out Snow Blower Parts to get the right tools and components for your equipment maintenance.
Tool/Equipment | Purpose |
|---|---|
Siphon pump or turkey baster | For removing gasoline safely from the fuel tank |
Approved fuel container (with cap) | To hold the drained gasoline securely |
Work gloves | Protect your hands from fuel and hot surfaces |
Safety goggles or eye protection | Prevent fuel splashes from reaching your eyes |
Earplugs (optional) | Protect hearing from engine noise if it's briefly run |
Paper towels or shop rags | Clean up spills and wipe down tools |
Screwdriver or socket set | Remove hose clamps or access fuel lines if necessary |
Slip-resistant footwear | Ensure safe footing on icy or wet ground |
2. How to Drain Gas from a Snowblower in 6 Steps
2.1. Move the Snowblower to the Chosen Area
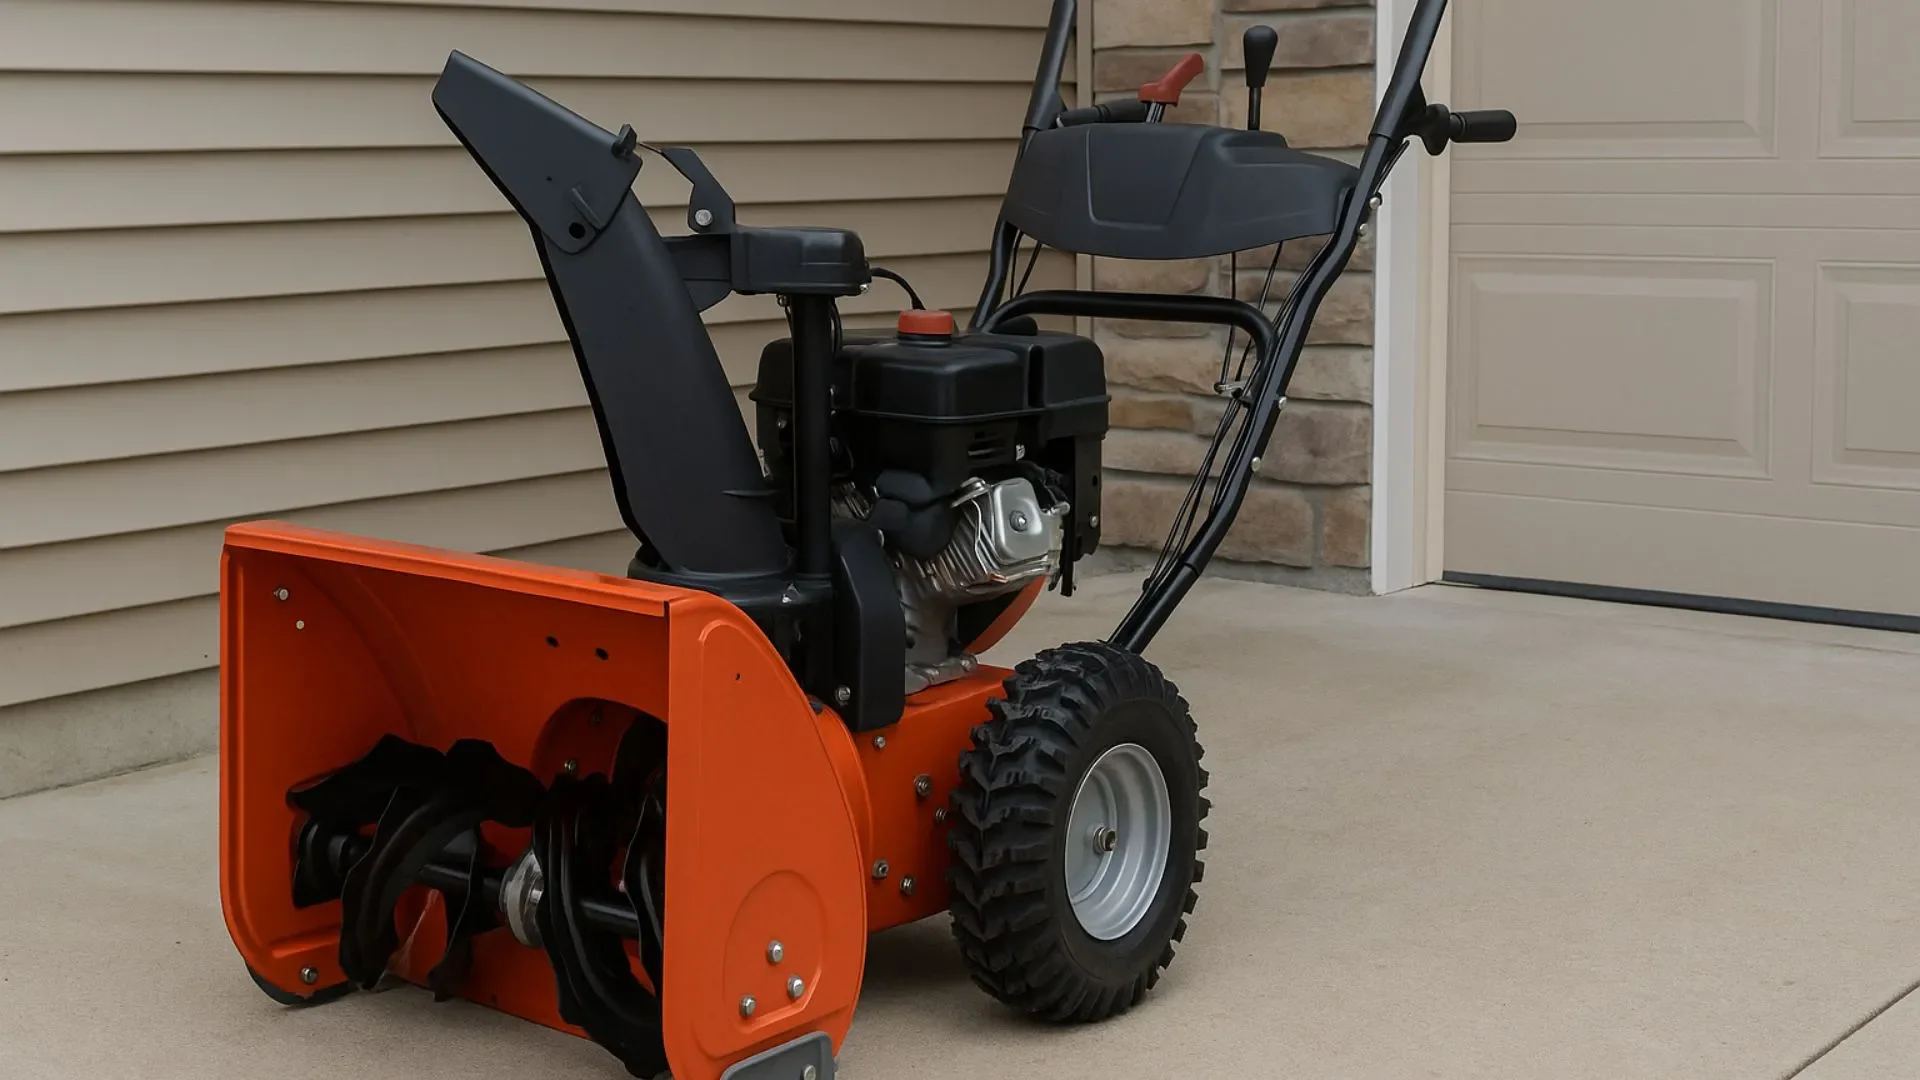
Positioning the Snowblower Before Maintenance ( Source: AZParts)
Start by setting up the snowblower in a stable, level area, making sure the engine is off and fully cooled down. Ensure the location is well-ventilated and far from any open flames or sparks to avoid accidents. For added protection while moving the snowblower, consider using the skid shoe, which can also prevent damage to the surface.
2.2. Get Familiar with a Siphon Pump
A siphon pump is an easy-to-use tool for draining fuel. If you're unfamiliar with how it works, here’s a quick rundown: The pump has a small handle (usually a different color) that you squeeze with one hand to create the pumping action. There are two tubes connected to the pump; one goes into the fuel tank and the other into the container where the drained fuel will be caught. Before you start, check that the siphon pump is in good condition to avoid leaks or spills during use.
2.3. Remove Fuel Tank Cap
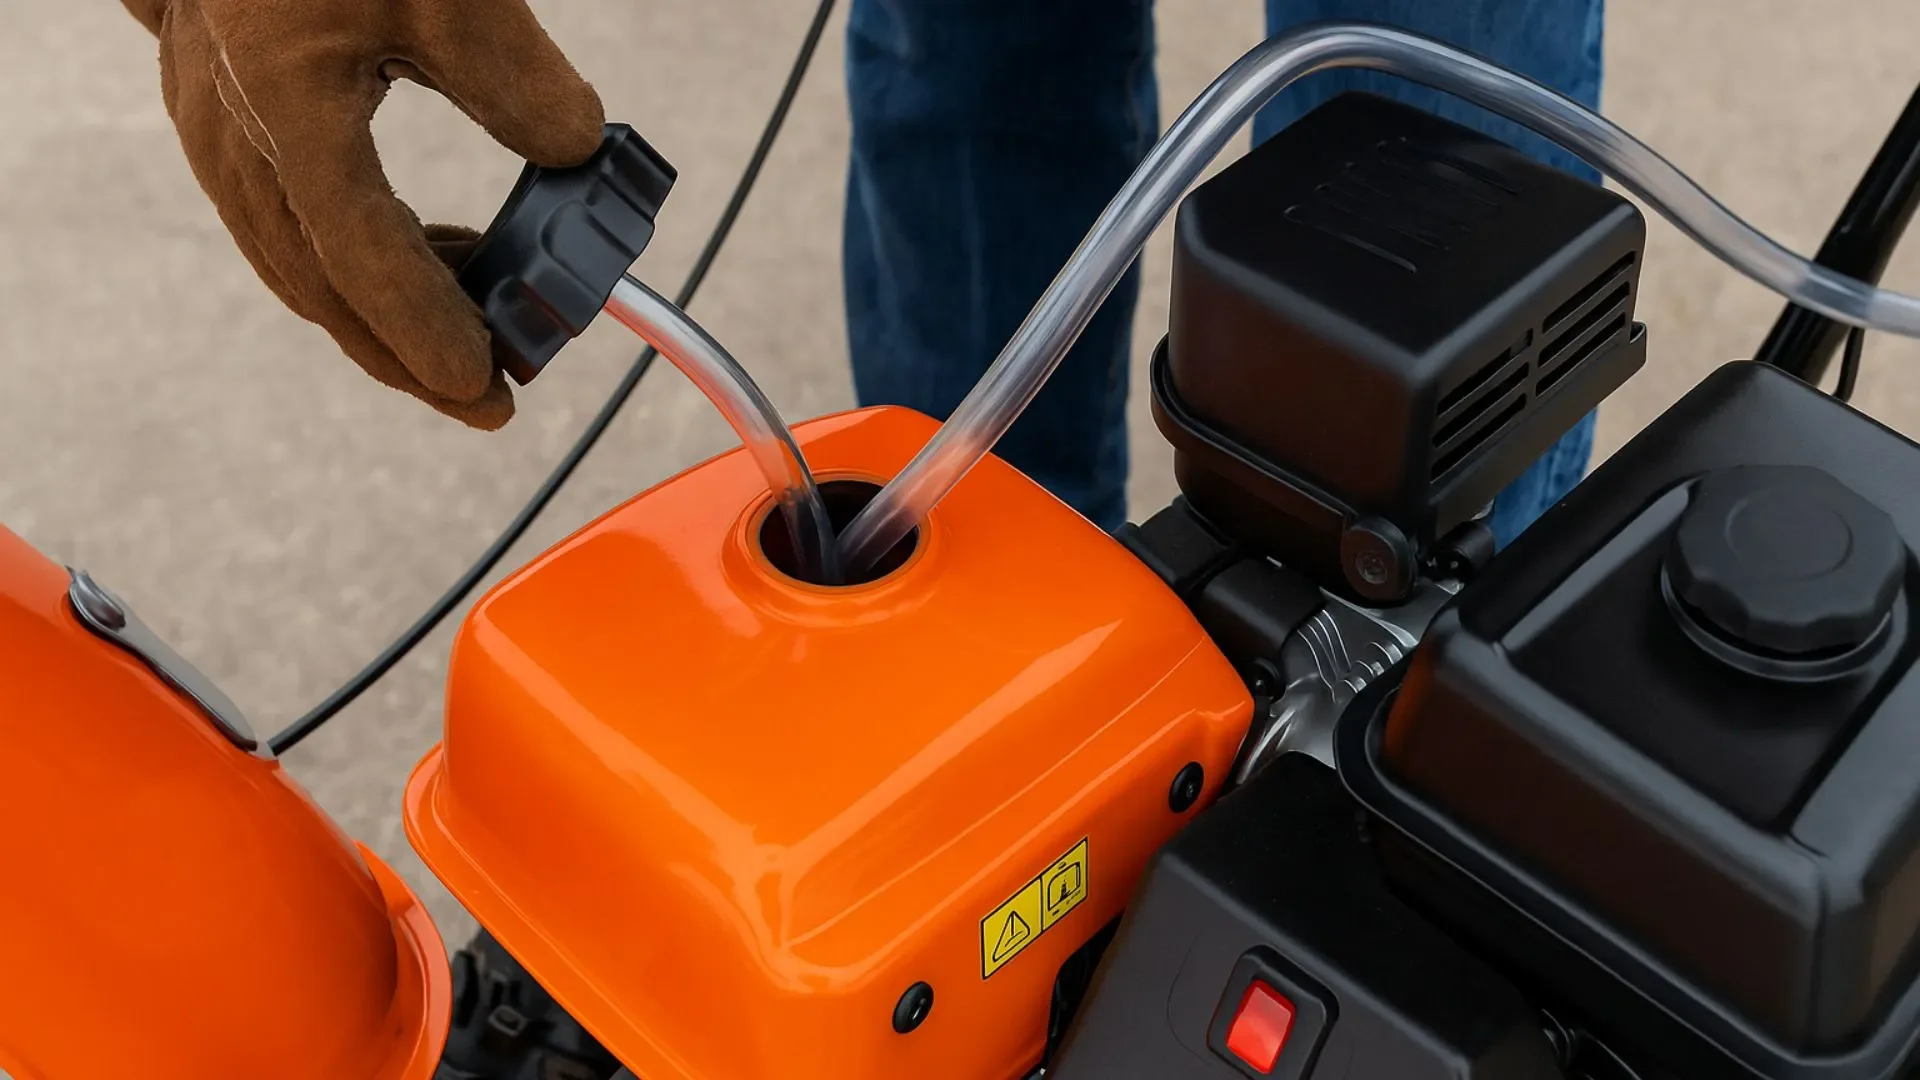
Getting Ready to Siphon Gas from the Snowblower (Source: AZParts)
Next, locate and carefully unscrew the fuel tank cap on the snowblower. Insert the siphon pump’s tube into the fuel tank, ensuring it goes as deep as possible for efficient fuel extraction. If the tank has a filter, make sure the siphon tube is positioned below it to allow smooth fuel flow.
2.4. Set up the Catch Pan
Place your catch pan or fuel container at a safe distance from the snowblower, ensuring it is positioned correctly to catch the draining fuel. Insert the other end of the siphon tube into the container. Make sure the container is large enough to hold all the fuel to avoid any overflow.
2.5. Drain out the Gas
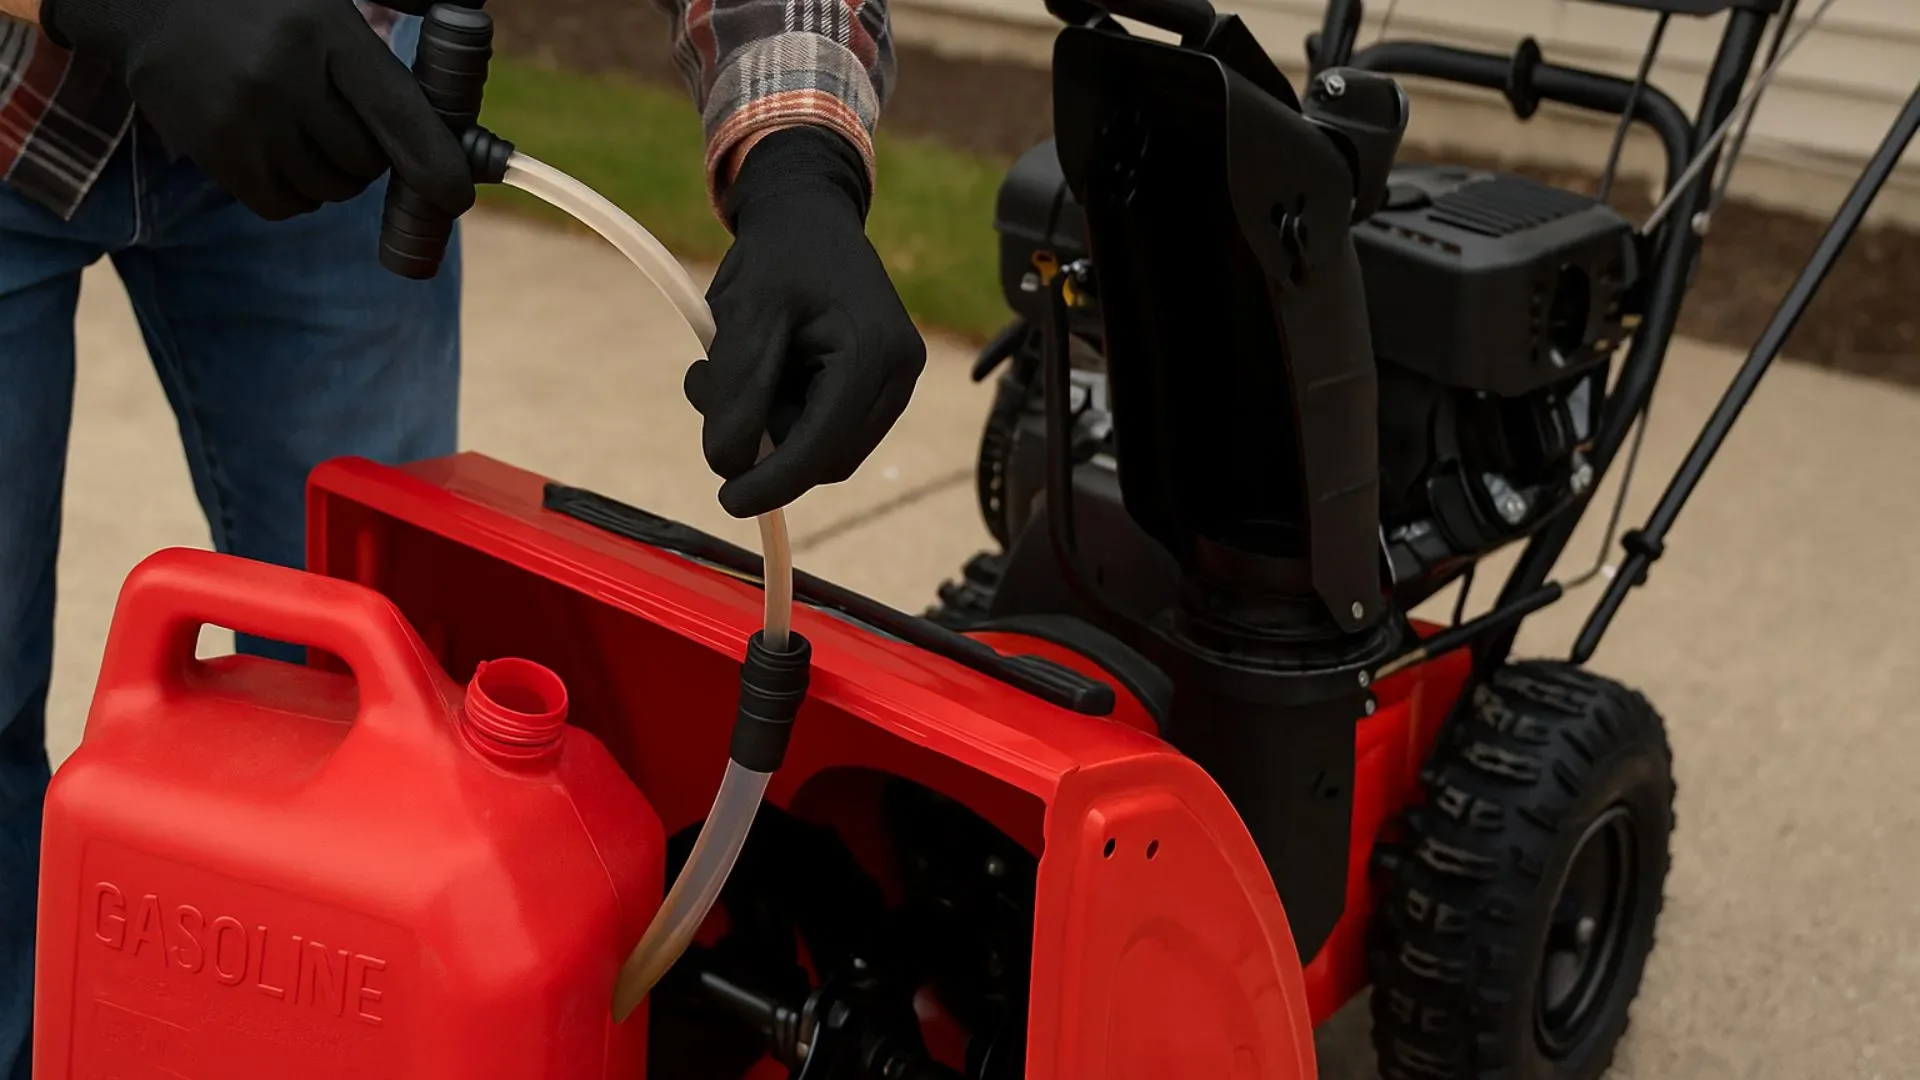
Operating Siphon Pump to Drain Gas into Safety Can (Source: AZParts)
Once the siphon pump is properly set up, begin the siphoning process by squeezing the pump handle. Keep a steady rhythm, using one hand to operate the pump while stabilizing it with the other hand. Ensure that the siphon tube remains fully submerged in the fuel tank throughout the process. Continue until most of the fuel has been drained into the container.
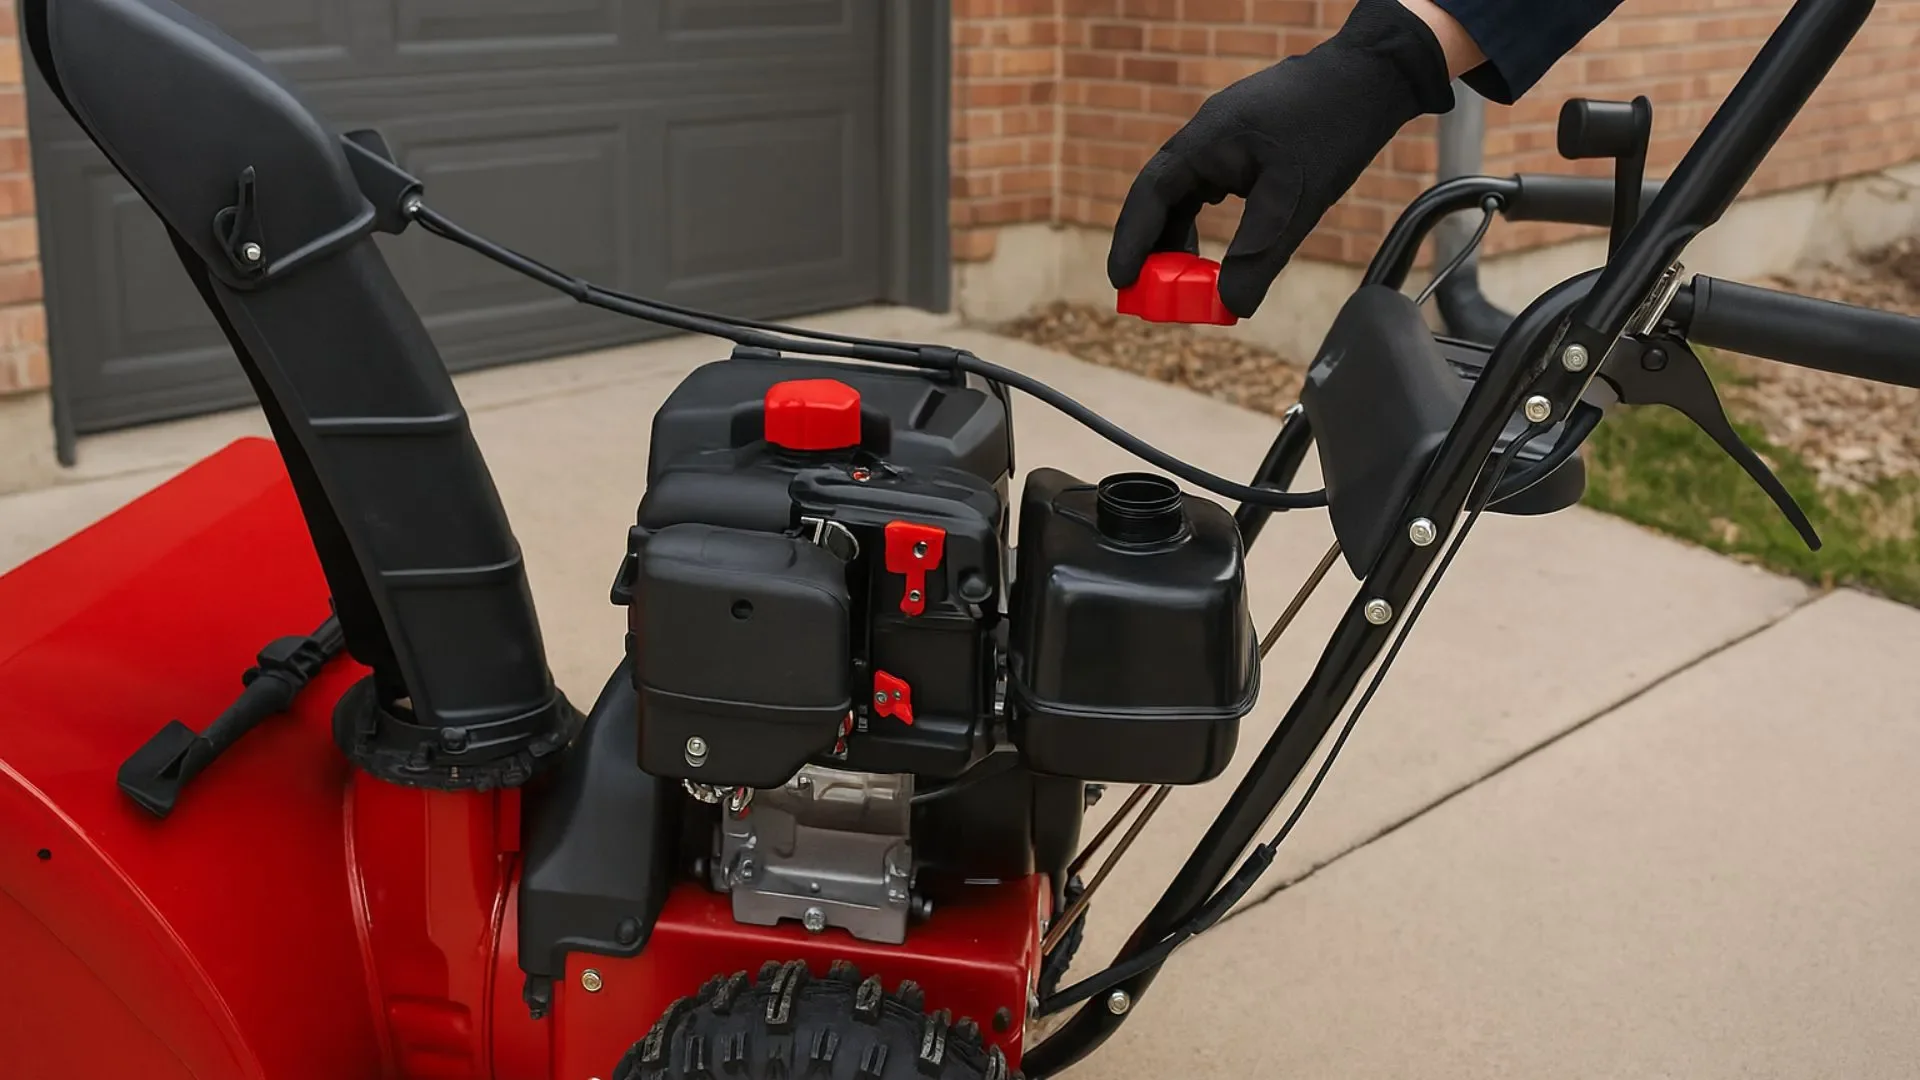
2.6. Run Engine to Drain out Residual Gas
After draining the majority of the fuel, a small amount of residual gas will remain in the system. To get rid of this, replace the fuel tank cap, start the engine, and let it run until it shuts off automatically due to the lack of fuel. This will ensure that any remaining fuel in the engine or fuel lines is fully burned off, leaving your snowblower ready for storage.
3. Do You Have to Drain Gas from a Snowblower Before Storing It for the Season?
Checking and Draining Fuel from Snowblower Tank (Source: AZParts)
Yes, you should. Draining the gas or treating it properly is a critical step before storing your snowblower at the end of winter. While some people mix a fuel stabilizer into a full tank and run the engine briefly to circulate it, others may find it easier to drain the remaining gas, especially if the tank is nearly empty.
Leaving untreated gasoline in the tank for months may not cause issues right away, which is why many people overlook it. However, by the time you try to start the machine next season, the damage may already be done. Most gasoline today contains ethanol, which absorbs moisture from the air. This can lead to corrosion, clogs in the carburetor, and even engine failure, often requiring costly repairs.
If you choose to drain the gas, use a siphon pump to remove the fuel, then start the engine and let it run until it stalls. This ensures the fuel system is completely empty. If using a stabilizer, fill the tank, add the stabilizer, and run the engine for a few minutes to let the treated fuel circulate.
The key takeaway is simple: don’t leave untreated gas sitting in your snowblower over the summer. A few minutes of preventive maintenance now can save you time, money, and frustration when the snow returns.
Understanding how to drain gas from a snowblower is a smart way to prevent engine issues and extend its lifespan. Whether you drain the tank or use a stabilizer, don’t leave untreated fuel in your machine during storage.
For trusted snow blower parts and maintenance tools, AZParts offers reliable replacement parts and accessories to support every step of your snowblower maintenance. With the right tools and a few minutes of your time, you can keep your machine in top condition year after year.
Contact Info
Address: 8 The Green, Ste A, Dover, Delaware 19901-3618, United States
Email: support@azparts.com
Read more:
Snowblower
Further Reading
Further Reading

Repair help
December 2, 2025
One of the most common and frustrating issues during winter is a snow blower auger not turning, even when the engine is running smoothly. Since the auger plays a critical role in collecting and throwing snow, its failure can severely impact your machine’s performance.
In this article, AZParts will guide you through 5 common reasons why your snow blower auger might stop spinning, along with practical fixes to help you get your equipment back to peak condition quickly and efficiently.
_1747325797.png&w=3840&q=75 "Snow Blower Won’t Start? Why and How to Fix It")
Repair help
November 27, 2025
There’s nothing worse than waking up to fresh snow, only to find your snow blower won’t start. Fortunately, most of these issues are easy to diagnose and fix at home with a little know-how and the right parts. In this guide, AZParts will walk you through the most common causes and quick fixes, so you can get back to clearing snow in no time.
")
How-To Guides
November 19, 2025
Is your snowblower struggling to clear the white stuff, or worse, not working at all? One of the leading culprits is often a worn or broken snowblower drive belt. While replacing snowblower belts might sound complicated, it's actually a completely manageable maintenance task that can get your machine back to peak performance. In this guide, AZParts walk you through how to replace a snowblower belt safely and effectively, ensuring you're always ready to tackle any upcoming snowstorm.

How-To Guides
November 4, 2025
Regular snow blower maintenance is essential to keep your machine safe, reliable, and efficient, especially during harsh winters. At AZParts, we know how proper care and quality parts can extend the life of your snow blower and help it perform at its best. In this article, AZParts will walk you through key safety checks, cleaning routines, and expert maintenance tips for year-round performance.

Review
June 1, 2025
If your snowblower starts but stalls after a few seconds, several factors could be at play. These issues typically involve fuel delivery, air intake, ignition, or mechanical problems. Understanding these potential causes and their solutions can help you get your snowblower back to working condition.