How-To Guides
How to Install a New Dishwasher For The First Time
AZparts Team
Updated on November 20, 2025
10 min read
Dishwashers are becoming an essential appliance in many modern households, helping save time and effort in daily dishwashing tasks. However, installing a new dishwasher can sometimes make people feel worried and confused, fearing it might be complicated or done incorrectly. In this article, AZParts will guide you step-by-step on how to easily and simply install your dishwasher, helping you confidently do it yourself at home without needing to hire a professional, while ensuring your machine operates efficiently and safely.

1. What You’ll Need Before Installing a Dishwasher
Before starting the installation, make sure you have everything ready - from basic tools to plumbing and electrical materials. Proper preparation prevents leaks, wiring issues, or poor fitting later. Here’s a complete checklist of what you need to install a dishwasher.
1.1. Essential Basic Tools
You’ll need these basic tools for a smooth setup:
- Screwdrivers (flathead and Phillips): Used to remove or secure screws on the dishwasher and accompanying accessories.
- Adjustable pliers and wrenches: Used to tighten water connections, especially the water inlet and drain hoses.
- Utility knife or box cutter: Helpful for cutting materials such as water pipes or tape.
- Measuring tape or ruler: To measure the space for the dishwasher and ensure a perfect fit.
- Flashlight or headlamp: Useful when working in poorly lit areas, such as under the sink.
Tips: Keep a towel or shallow pan nearby - a little leftover water may spill when you disconnect hoses.
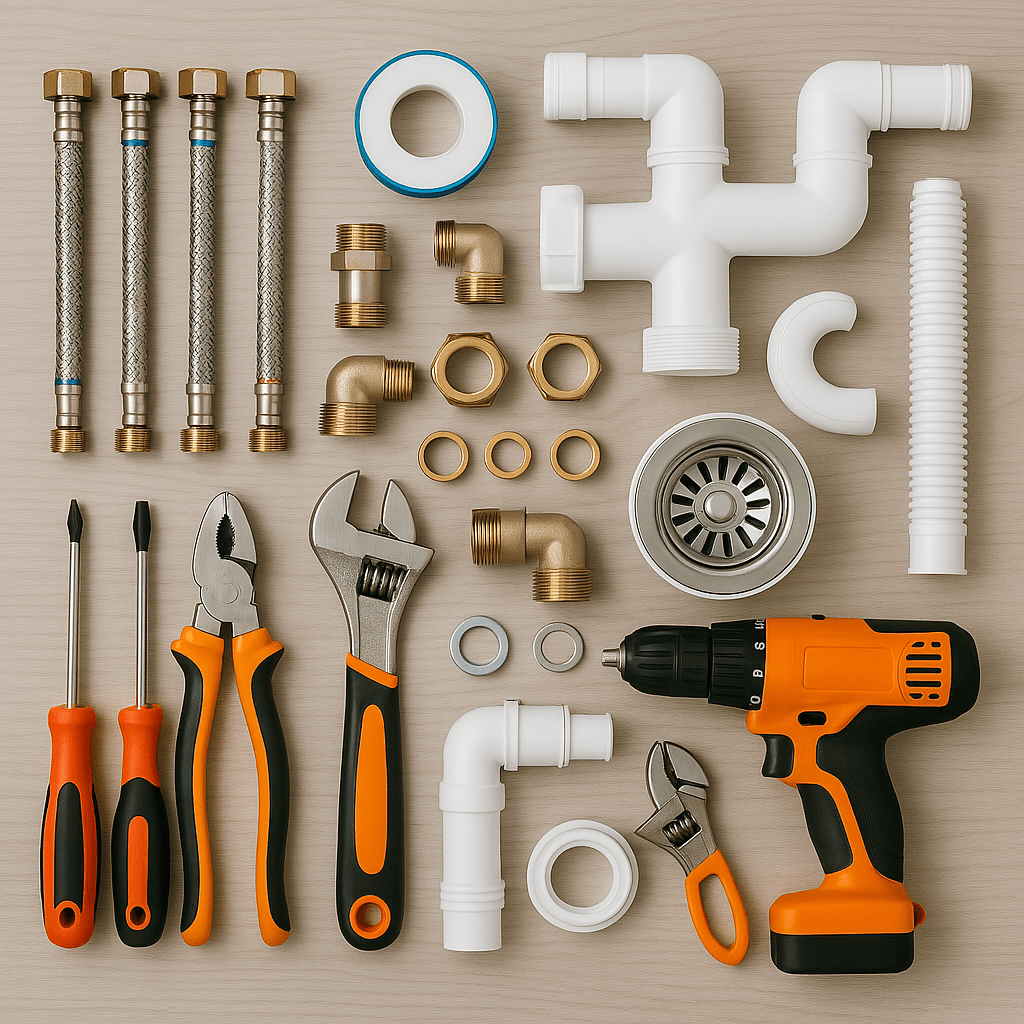
Before starting to install dishwasher, make sure you have all the necessary tools (Source: AZParts)
1.2. Materials Needed to Connect the Dishwasher
These are the key parts that connect your dishwasher to the home system:
- New water supply hose (flexible inlet hose): If not included with the machine, purchase a compatible hose to supply clean water to the dishwasher.
- Drain hose: It’s best to replace the old hose if it’s damaged, t oo short, or incompatible.
- Teflon tape: Used to wrap threaded connections to prevent water leaks effectively.
- Clamps or hooks: To keep hoses and wires organized and avoid tangling or obstruction.
If any part is missing or outdated, AZParts provides high-quality dishwasher installation kits and replacement hoses compatible with top brands.
1.3. Check Installation Conditions at Home
Before you begin installation, thoroughly inspect the surrounding environment:
- Dedicated power source: Dishwashers usually require a stable electrical supply, ideally a separate outlet with circuit breaker protection. Ensure the outlet has sufficient capacity and is located close to the installation area.
- Water shut-off valve: Verify that there is a cold water valve near the installation site (usually under the sink). If there isn’t one, you may need to call a plumber to install it.
- Drainage pipe: The dishwasher needs to be connected to the drainage system—usually the drain pipe under the sink. Check that the pipe is long enough and at the proper height for the dishwasher to drain correctly.
Before you begin installation, thoroughly inspect the surrounding environment (Source: AZParts)
1.4. Instruction Manual and Included Accessories
Each dishwasher brand has its own installation requirements. Always review the manufacturer’s manual and confirm you have:
- Mounting brackets or screws
- Leveling feet
- Junction box (for direct wire models)
- Power cord (for plug-in models)
If any parts are missing or damaged, replace them with genuine dishwasher parts from AZParts to ensure a perfect fit and long-term performance.
2. Step-by-Step Guide to Installing a New Dishwasher
The installation process involves several important steps. Following the correct order and being careful at each stage will ensure your dishwasher operates efficiently and safely.
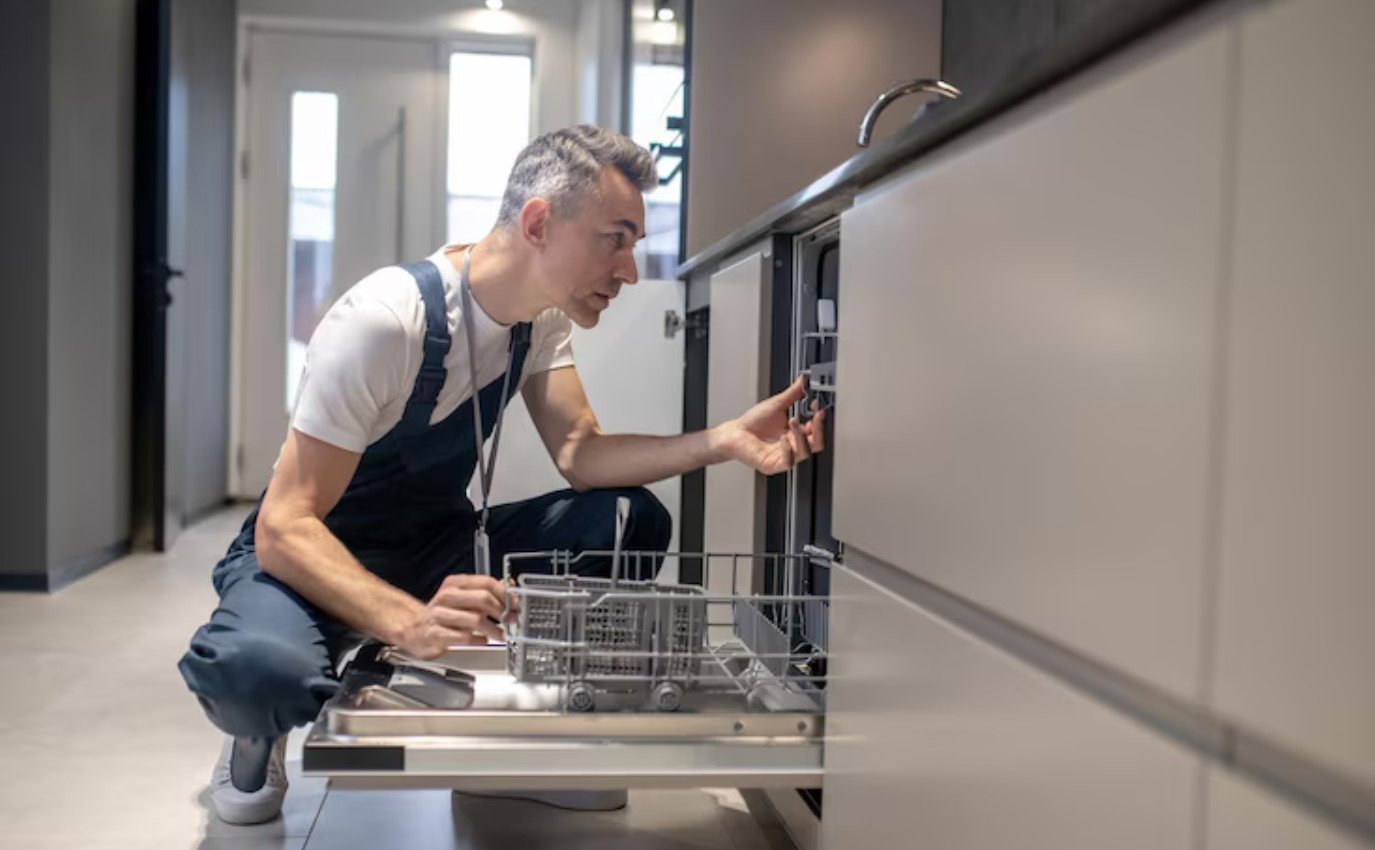
2.1. Step 1 – Turn Off Power and Water Supply
Before starting any work, make sure to switch off the electrical power by turning off the circuit breaker supplying the installation area. At the same time, close the water valve leading to the dishwasher to prevent leaks or flooding during installation. This step is crucial to ensure the safety of both the installer and the home’s electrical and plumbing systems.
Before starting any work, make sure to switch off the electrical power (Source: AZParts)
2.2. Step 2 – Remove the Old Dishwasher (If Applicable)
If you are replacing an old dishwasher, first disconnect its power source, water supply hose, and drain hose. If the dishwasher is screwed into the countertop or cabinet, remove these screws carefully. Gently pull out the old dishwasher and clean the installation area thoroughly. Check the water hoses and electrical wires for any damage, rust, or wear and replace them if necessary before installing the new machine.
2.3. Step 3 – Connect the Water Supply Line
Next, connect the water supply hose from the dishwasher to the water valve. Wrap Teflon tape around the threaded connections to ensure a watertight seal, then tighten them with a wrench. Be careful not to overtighten, as this can crack fittings or damage hoses. If the old hose is stiff, clogged, or brittle, it’s best to replace it with a new one for long-term reliability.
Connect the water supply hose from the dishwasher to the water valve (Source: AZParts)
2.4. Step 4 – Connect the Drain Hose Properly
The drain hose should be connected to the appropriate drainage system—either the sink drain or a separate waste line. It’s essential to position the drain hose higher than the bottom of the dishwasher (creating a “high loop”) or install an air gap if recommended by the manufacturer. This prevents dirty water from flowing back into the dishwasher. Avoid kinks, sags, or low positioning of the hose, as these can reduce drainage efficiency and cause leaks.
DIY Guide: Install a Dishwasher Drain Hose in 6 Steps
2.5. Step 5 – Hook Up the Power Supply
Depending on the dishwasher model, power can be connected in one of two ways. If the dishwasher uses a standard plug, simply plug it into a properly grounded outlet. If it requires direct wiring into a wall junction box, it’s best to hire a professional electrician to ensure safety and code compliance. Regardless of the method, use a dedicated power source and avoid sharing the outlet with other high-power appliances.
2.6. Step 6 – Slide in and Secure the Dishwasher
After completing all connections, carefully slide the dishwasher into its designated spot. Make sure the power cord and hoses are not pinched, bent, or compressed. Adjust the leveling feet underneath the machine to keep it stable and prevent vibrations during operation. Finally, if necessary, screw the dishwasher into the countertop or cabinet for added stability.
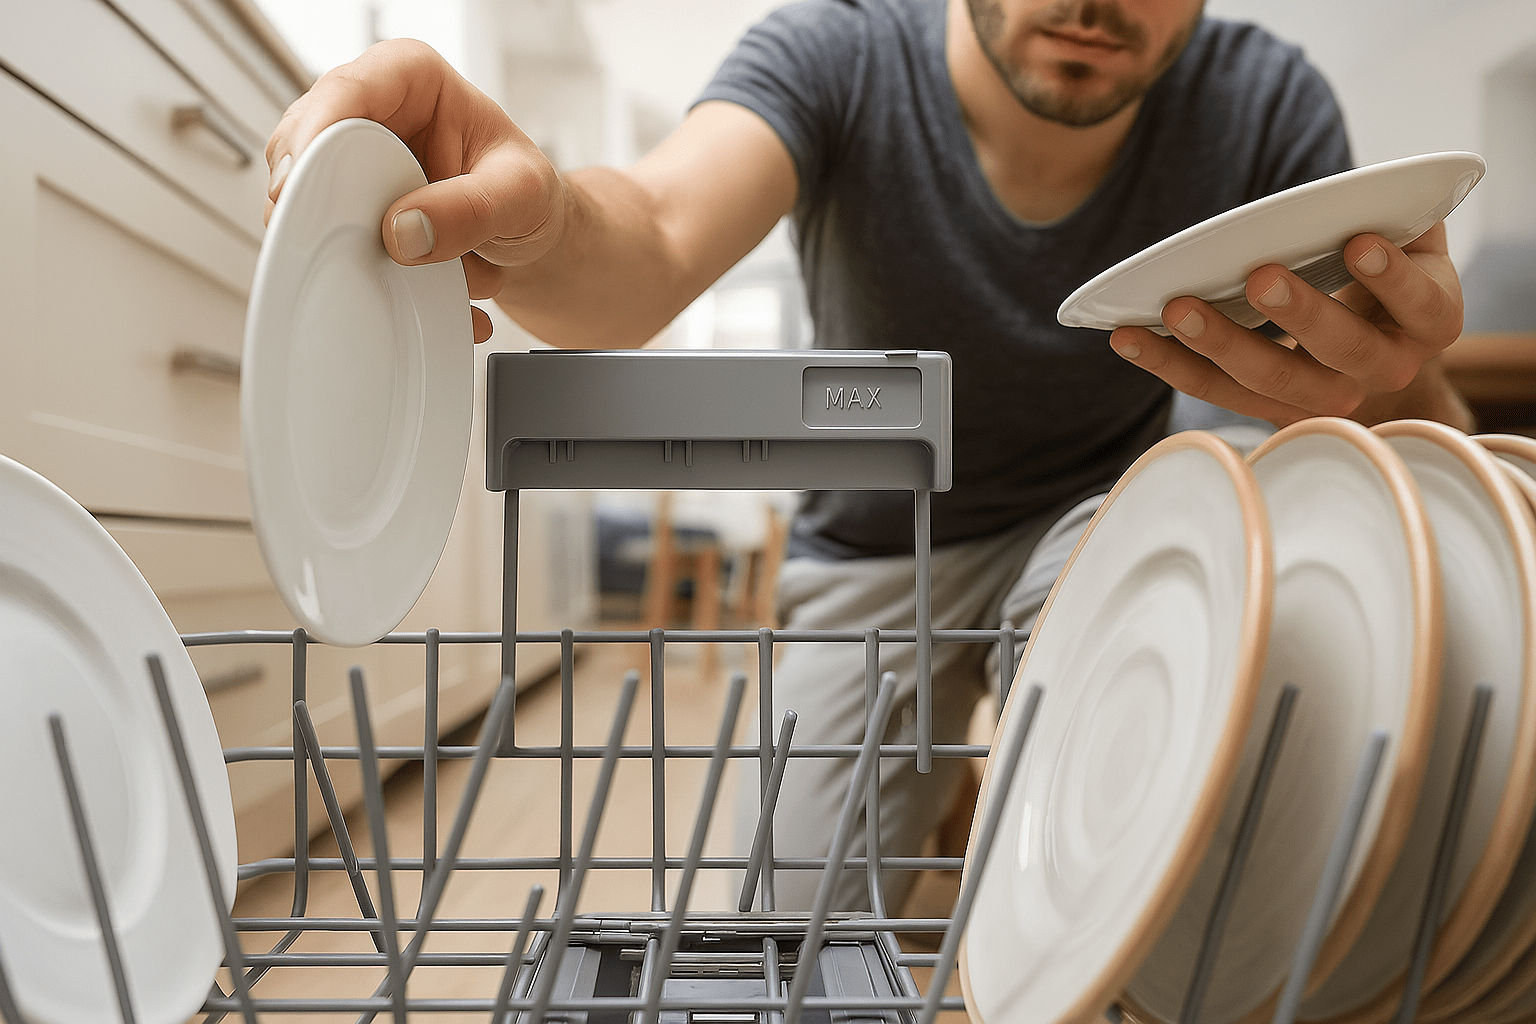
2.7. Step 7 – Test the Installation
Turn the power back on and open the water valve. Run a short wash cycle to test the machine. Observe if the dishwasher fills with water properly, check for leaks at all connection points, ensure the drain hose is functioning correctly, and listen for any unusual noises or error messages. If everything works smoothly, the installation is complete. If any issues arise, turn off the machine immediately and recheck each connection step.
Turn the power back on and open the water valve (Source: Freepik)
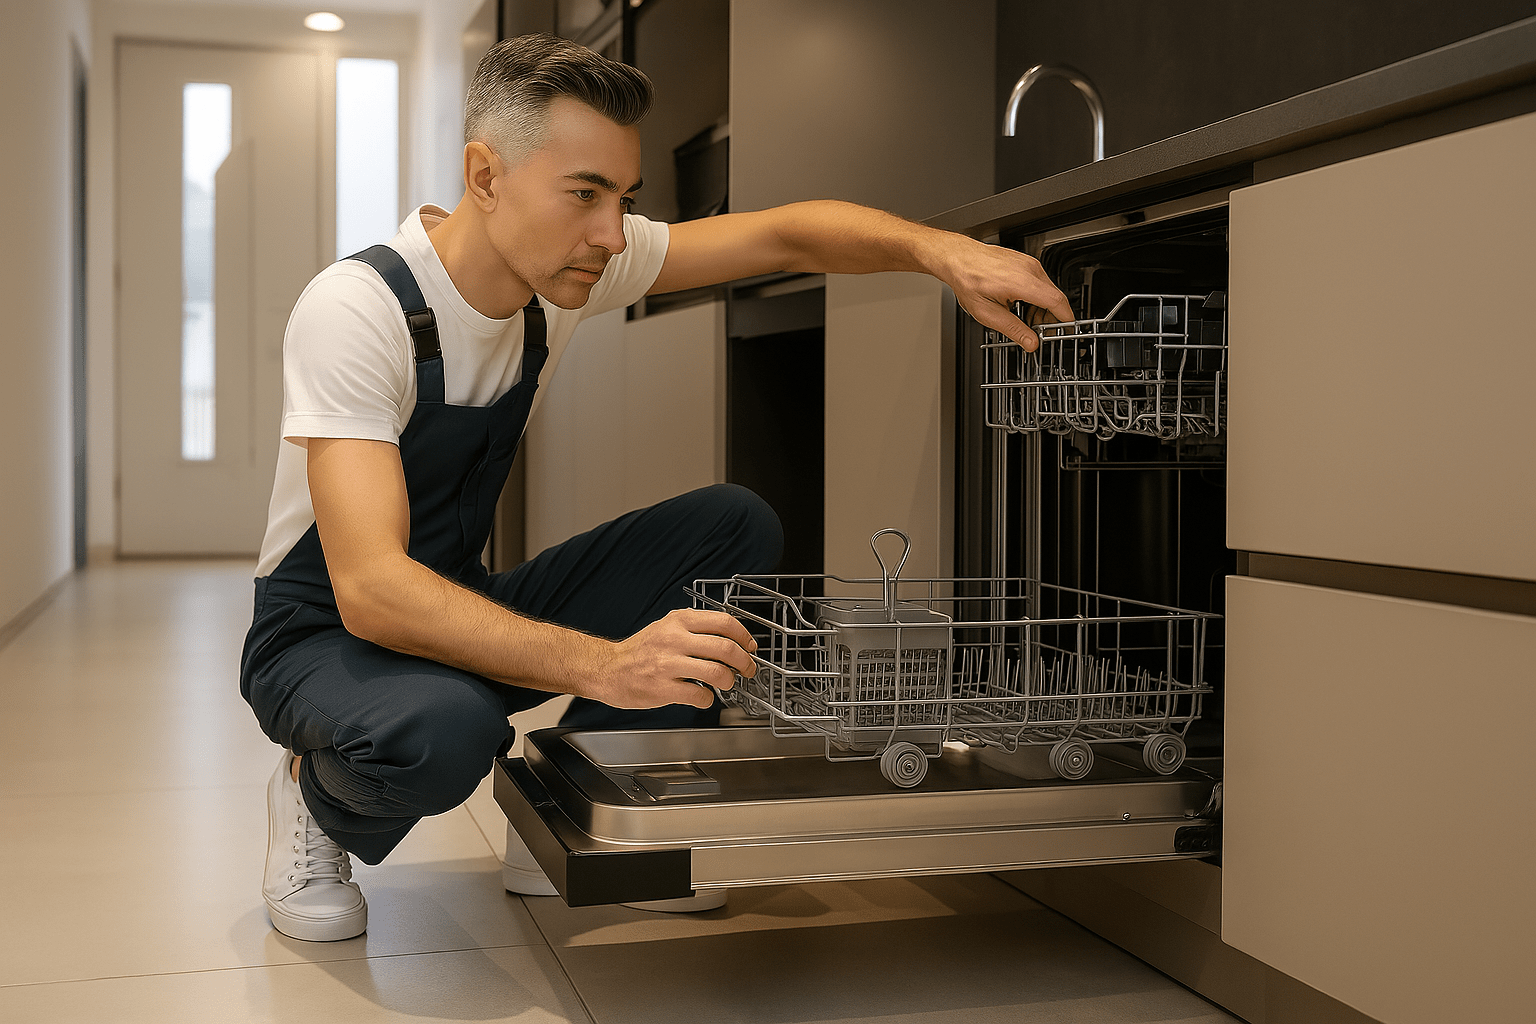
3. Pro Tips for a Smooth DIY Dishwasher Install
Installing a dishwasher yourself can be easier than you think, as long as you keep these useful tips in mind:
- Choose the Right Installation Location: Place the dishwasher close to the sink for easy connection of the water supply and drain hoses. Make sure there is a nearby power outlet and enough space for installation and future maintenance.
- Prepare All Necessary Tools and Materials: Have on hand essential tools like wrenches, screwdrivers, Teflon tape, as well as spare supply and drain hoses to avoid interruptions during installation.
- Understand the Key Parts of Dishwasher: Familiarize yourself with essential components such as the water inlet valve (connects to your home water supply), drain hose (carries dirty water out), mounting brackets (secure the unit in place), leveling legs (adjust stability), and the junction box (electrical connections). Knowing these parts helps you identify connection points and troubleshoot issues during installation.
- Carefully Read the Manufacturer’s Instructions: The user manual provides specific technical requirements, dimensions, and wiring instructions tailored to your dishwasher model.
- Create a High Loop for the Drain Hose if No Air Gap is Installed: Raising the drain hose before connecting it to the drainage system prevents dirty water from flowing back into the dishwasher, helping maintain hygiene and proper operation.
- Level and Stabilize the Dishwasher: Adjust the machine’s feet to ensure it stands firmly and evenly. This reduces vibrations, noise, and prevents damage to internal components.
- Run a Short Test Cycle After Installation: Once all connections are complete, run a quick wash cycle to check for leaks, error messages, or unusual noises.
- Document Your Connections: Take photos or notes of how you connected the power cable, water hoses, and where you placed the dishwasher. This will make future maintenance, removal, or replacements much easier.
- Choose the Right Parts for Your Dishwasher Brand: Using brand-compatible parts ensures your dishwasher runs efficiently and avoids long-term damage. Whether you need replacement hoses, filters, or racks, always select components designed for your specific brand.
Choosing the correct parts not only ensures a smooth DIY installation but also extends the lifespan of your dishwasher.

Pro Tips for a Smooth DIY Dishwasher Install (Source: Freepik)
4. When Should You Hire a Professional Instead?
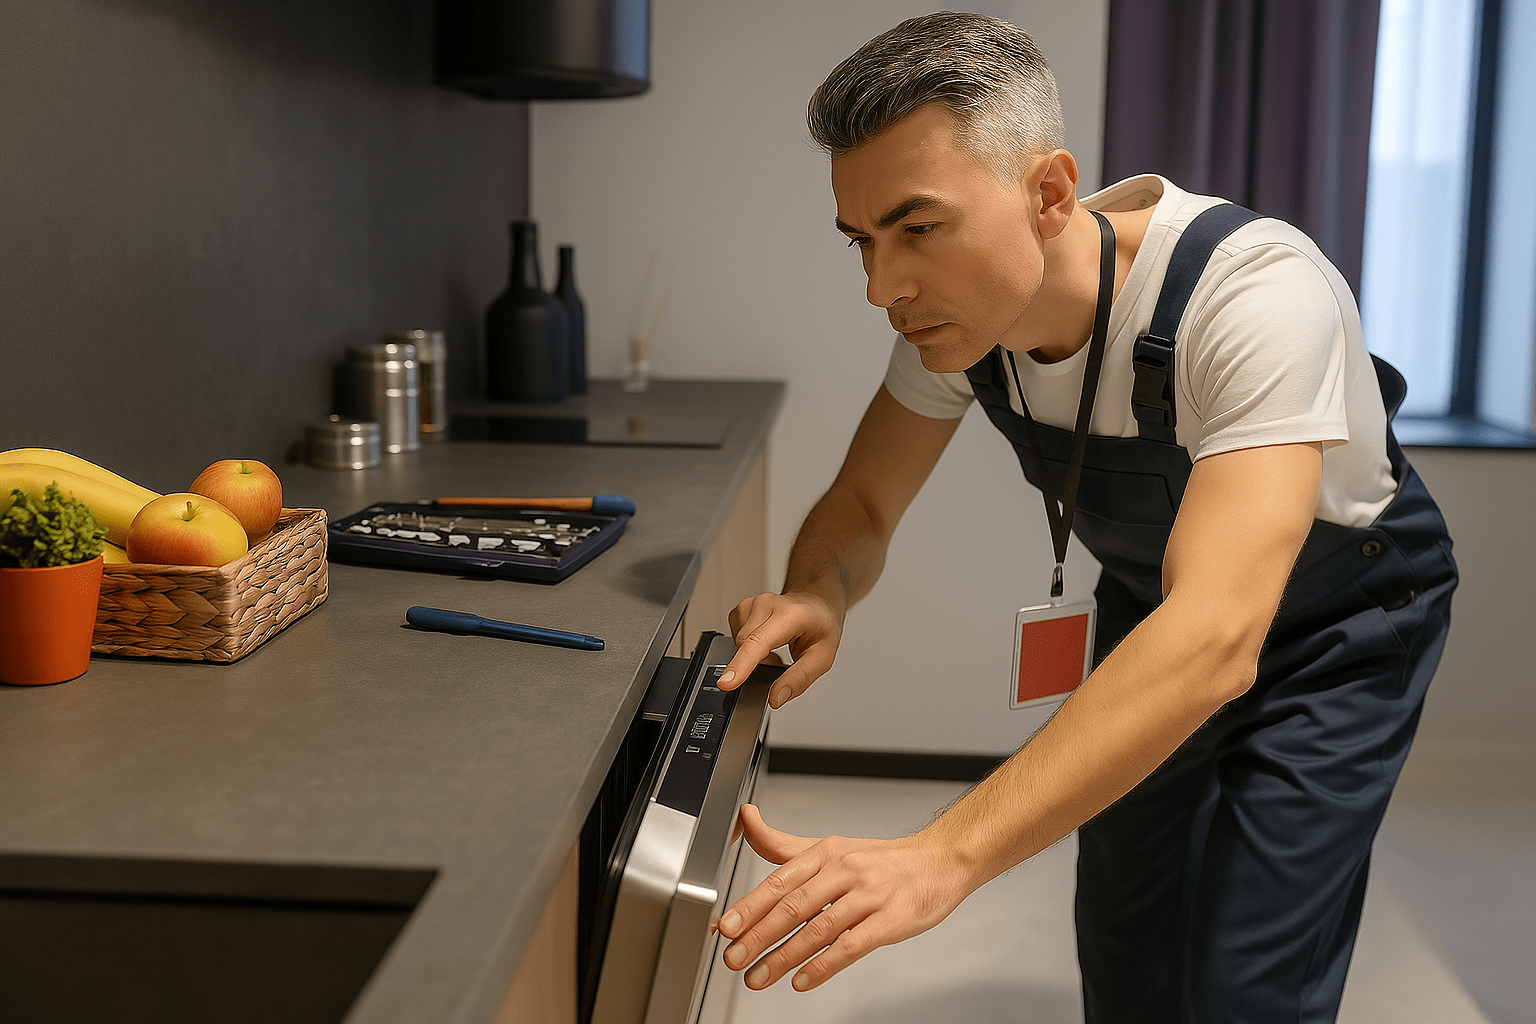
You should consider hiring a professional if you lack experience or are unsure about the electrical and plumbing requirements. Properly connecting the power supply and water lines is crucial to avoid leaks, electrical hazards, or poor dishwasher performance. If your home’s electrical or plumbing systems are outdated or not up to code, a professional can inspect and ensure a safe installation.
If the installation area is hard to access or your dishwasher has a complex design, such as built-in models or units requiring special wiring, hiring a technician is the safest and most efficient option. This will save you time, ensure correct installation, protect your warranty, and reduce the risk of future issues.
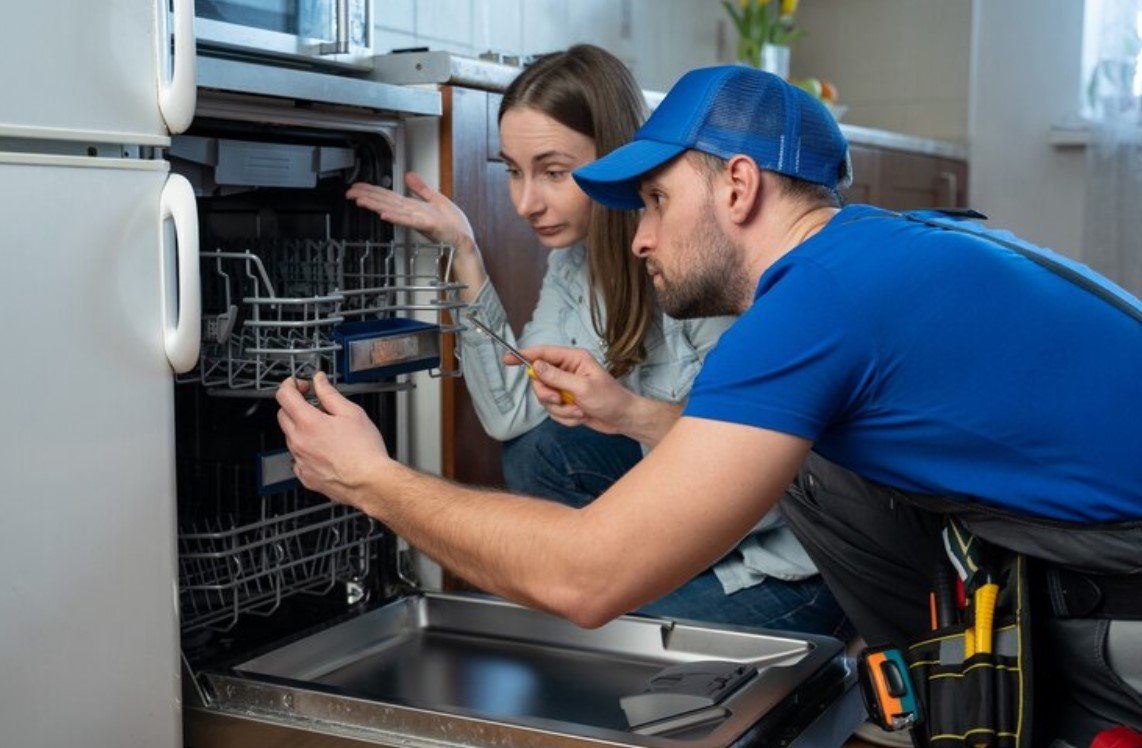
You should consider hiring a professional if you lack experience (Source: Freepik)
5. Frequently Asked Questions (FAQs)
5.1 Does my dishwasher need an air gap or high loop?
Generally, to prevent wastewater from flowing back into the dishwasher, it is recommended to install an air gap or create a high loop for the drain hose. This helps maintain hygiene and ensures stable operation of the machine.
5.2 How long does it take to install a dishwasher?
Installation usually takes about 1 to 2 hours, depending on the complexity of the electrical and plumbing systems, as well as whether you need to remove an old dishwasher.
5.3 Can I reuse the old drain hose or should I replace it?
If the old drain hose is intact, without cracks, damage, or blockages, you can reuse it. However, replacing the drain hose is generally recommended to ensure safety, prevent leaks, and extend the dishwasher’s lifespan.
5.4 How much does it cost to install a new dishwasher?
The installation cost varies based on your location, the complexity of the job, and whether any electrical or plumbing upgrades are needed. Typically, costs range from several hundred thousand to over a million VND.
5.5 Is it safe to install a dishwasher by myself?
Self-installation can be safe if you have sufficient knowledge and proper tools. However, if you are unsure about the electrical or plumbing work or face complex situations, it is best to hire a professional to ensure safety and long-term efficiency.
5.6. Can you install your own dishwasher?
Yes, you can definitely install a dishwasher yourself especially if the water supply, drain line, and electrical outlet are already in place. Replacing an old unit with a new one is usually straightforward. However, if it’s your first time installing or you’re not comfortable with plumbing and electrical work, it’s safer and more reliable to hire a professional.
Installing and connecting a new dishwasher is not overly complicated if you prepare well, follow the correct steps, and adhere to basic safety principles. Doing it yourself can save costs and bring satisfaction when the job is done smoothly. However, do not hesitate to seek professional help when encountering technical issues or complex requirements to ensure your dishwasher operates stably and lasts longer.
If your dishwasher encounters damage or needs replacement, you can find a wide range of genuine dishwasher parts at AZParts to ensure quality and durability. We hope this guide helps you quickly own an efficiently working dishwasher that enhances convenience and comfort in your kitchen space.
Contact information:
8 The Green, Ste A, Dover, Delaware 19901-3618, United States
Read more:
Dishwasher
- 1. What You’ll Need Before Installing a Dishwasher
- 2. Step-by-Step Guide to Installing a New Dishwasher
- 2.1. Step 1 – Turn Off Power and Water Supply
- 2.2. Step 2 – Remove the Old Dishwasher (If Applicable)
- 2.3. Step 3 – Connect the Water Supply Line
- 2.4. Step 4 – Connect the Drain Hose Properly
- 2.5. Step 5 – Hook Up the Power Supply
- 2.6. Step 6 – Slide in and Secure the Dishwasher
- 2.7. Step 7 – Test the Installation
- 3. Pro Tips for a Smooth DIY Dishwasher Install
- 4. When Should You Hire a Professional Instead?
- 5. Frequently Asked Questions (FAQs)
- 5.1 Does my dishwasher need an air gap or high loop?
- 5.2 How long does it take to install a dishwasher?
- 5.3 Can I reuse the old drain hose or should I replace it?
- 5.4 How much does it cost to install a new dishwasher?
- 5.5 Is it safe to install a dishwasher by myself?
- 5.6. Can you install your own dishwasher?
Further Reading
Further Reading

How-To Guides
December 28, 2025
If your dishes come out dirty or your dishwasher seems less effective, clogged spray arms might be the reason. This guide from AZParts explains how to clean dishwasher spray arms step by step and answers common questions to keep your dishwasher running smoothly. You’ll also find trusted replacement spray arms and other quality parts to keep your machine performing like new.

Review
December 4, 2025
Have you ever wondered what’s inside a dishwasher and how its dishwasher inside parts work together to get your dishes spotless? Understanding the internal components of your dishwasher not only helps with troubleshooting but also prepares you for installing or replacing dishwasher parts confidently at home. In this comprehensive guide, AZParts breaks down each major dishwasher inside part, explaining how it functions and what to check when maintenance or replacement is needed.
_1748246700.jpg&w=3840&q=75 "How to Replace a Broken Dishwasher Door Spring Fast")
How-To Guides
November 28, 2025
A broken dishwasher door spring can make your appliance feel heavy, unstable, or difficult to open and close. If you're dealing with a loose or slamming door, it’s likely time for a replacement. In this article, AZParts will walk you through replacing a dishwasher door spring using three simple methods, whether you're fixing a detached spring or installing a full link kit.

How-To Guides
October 10, 2025
If your dishwasher isn’t draining properly or making strange noises, it may be time to replace the dishwasher pump. While calling a technician is an option, many homeowners can handle the replacement themselves with the right tools and clear instructions. In this guide, you'll learn how to safely and efficiently replace your drain pump at home—and where to find trusted replacement parts from AZParts.

How-To Guides
July 30, 2025
The Frigidaire dishwasher saves time and effort but may face issues like not starting, weak cleaning, leaks, or poor drying that affect its performance. In this guide, AZParts offers detailed instructions on how to troubleshoot common issues with Frigidaire dishwashers, along with helpful maintenance tips to ensure long-lasting and stable operation.