How-To Guides
DIY Guide: Install a Dishwasher Drain Hose in 6 Steps
AZparts Team
Updated on October 6, 2025
9 min read
A properly installed dishwasher drain hose not only prevents water backup and potential flooding but also ensures your dishwasher operates efficiently for years to come. This comprehensive guide will walk you through each step of the installation process, from gathering the necessary tools to completing the final connections. By following these detailed instructions and using quality parts from trusted suppliers like AZParts, you'll have your dishwasher draining properly in no time.

1. What Tools and Replacement Parts Do You Need Before Installing the Drain Hose?
Proper preparation is crucial for a successful installation. Having all necessary tools and dishwasher drain hose parts ready before starting will save time and prevent frustrating interruptions during your project.
Essential Tools Required:
- Adjustable wrench set
- Screwdriver set (Phillips and flathead)
- Drill with various bits
- Measuring tape and level
- Flashlight or headlamp
- Safety glasses and work gloves
- Bucket and towels for cleanup
Key Replacement Parts: The most critical component is the drain hose itself, designed specifically for your dishwasher model. A piercing valve may be necessary when connecting to garbage disposals without existing dishwasher ports. This valve creates secure connections without major modifications to your disposal unit.
If you're looking for reliable dishwasher components, AZParts offers comprehensive selections of genuine drain hose replacement parts, including hose fitting, durable hose clamps, extension adapter and a U-bend hose holder for secure positioning designed for various dishwasher brands.
2. Step-by-Step Guide to Installing a Dishwasher Drain Hose
Now that you have all the necessary tools and parts, let's walk through the complete installation process. Each step is designed to build upon the previous one, ensuring a systematic approach that minimizes the risk of errors or complications.
Step 1 – Access the Dishwasher's Discharge Fitting
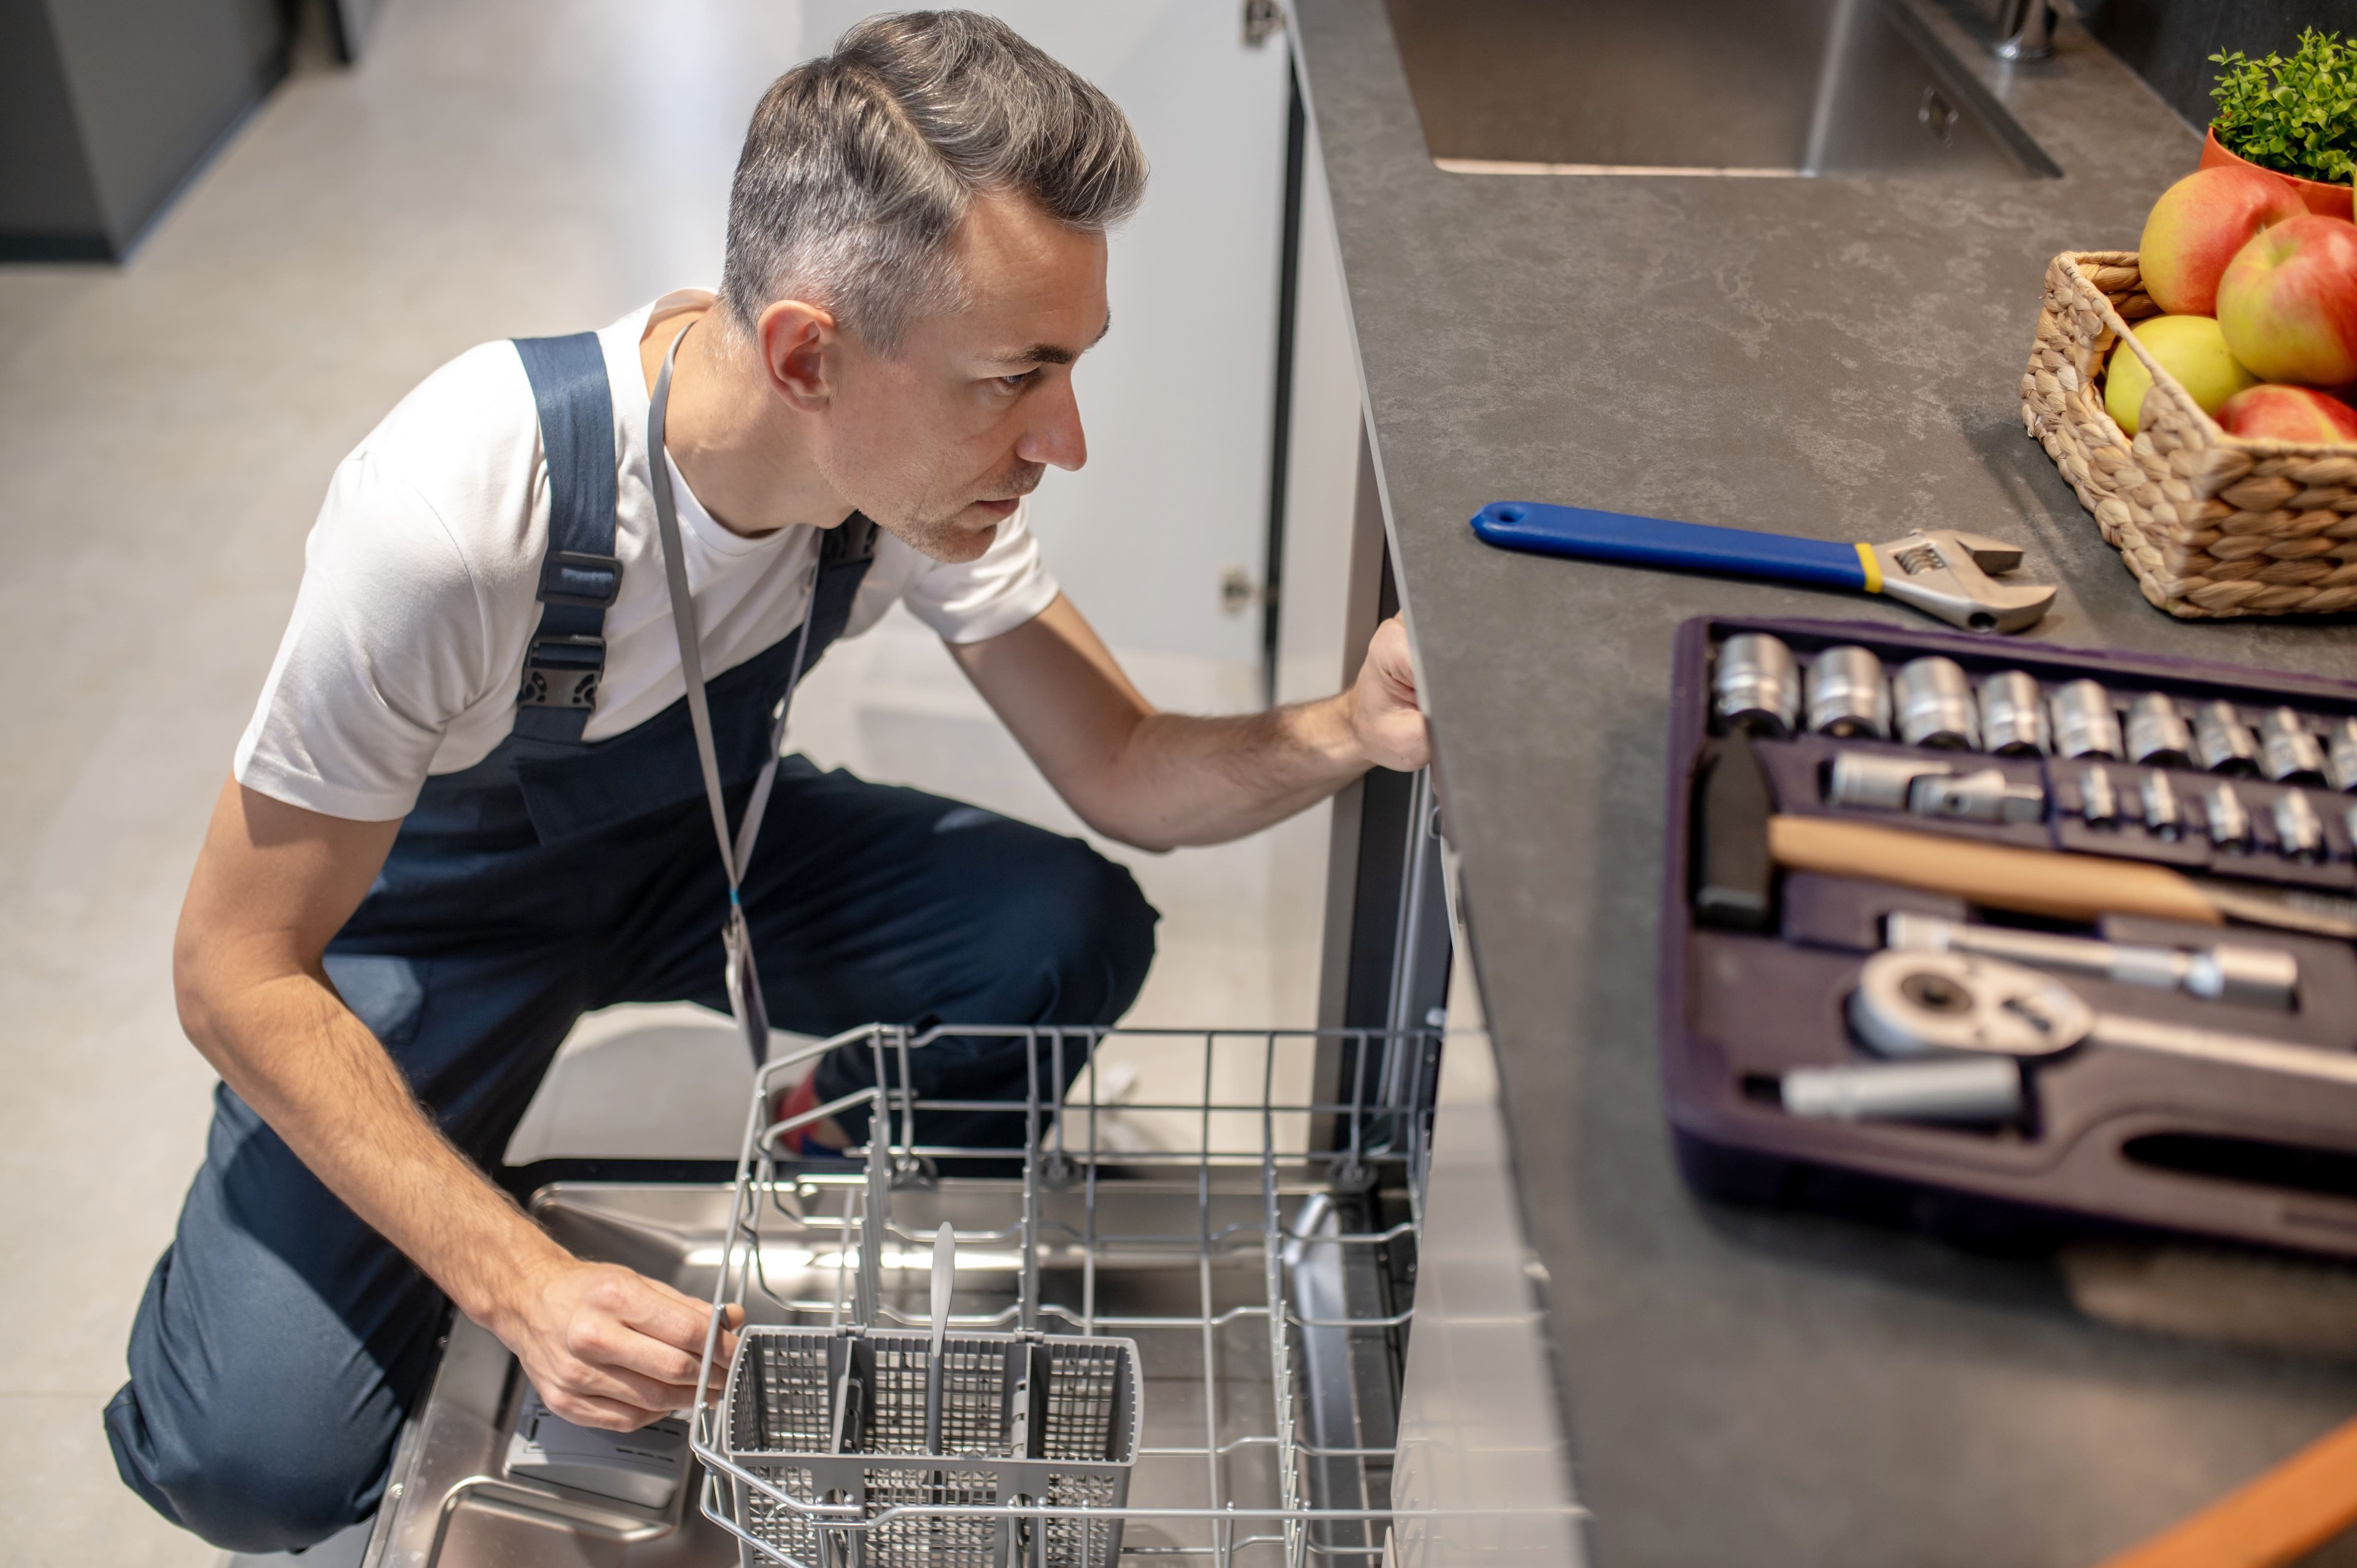
Access the dishwasher's discharge fitting (Source: Freepik)
- Locate the dishwasher outlet fitting, typically found at the bottom rear or side of the unit, ensuring the dishwasher is completely disconnected from power and drained of water.
- Carefully pull the dishwasher away from the wall to provide adequate working space and identify the hose port location, usually a ribbed plastic fitting designed to accommodate the drain hose.
- Remove existing hoses by loosening hose clamps and sliding old hoses off fittings, noting the original hose positioning and routing as reference for your new installation.
- Clean the outlet fitting thoroughly, removing debris or residue that could interfere with new connections, and inspect for damage, cracks, or wear that would require replacement.
Step 2 – Drill Routing Holes (If Needed)
- Measure your new drain hose diameter and add approximately 1/4 inch for easy routing, using a stud finder to locate hidden obstacles and examine the drilling area from multiple angles.
- For cabinet hose routing, start with small pilot holes and gradually increase size using step drill bits to provide better control and reduce splintering risks.
- When you install drain hose through cabinet walls, position holes to allow gentle curves without sharp bends that restrict water flow, planning the entire path before drilling.
- Use protective grommets or sleeves in drilled holes to prevent hose damage from sharp edges or repetitive movement, always wearing safety glasses and having a vacuum ready for debris collection.
Step 3 – Prepare the Sink Drain or Garbage Disposal Connection
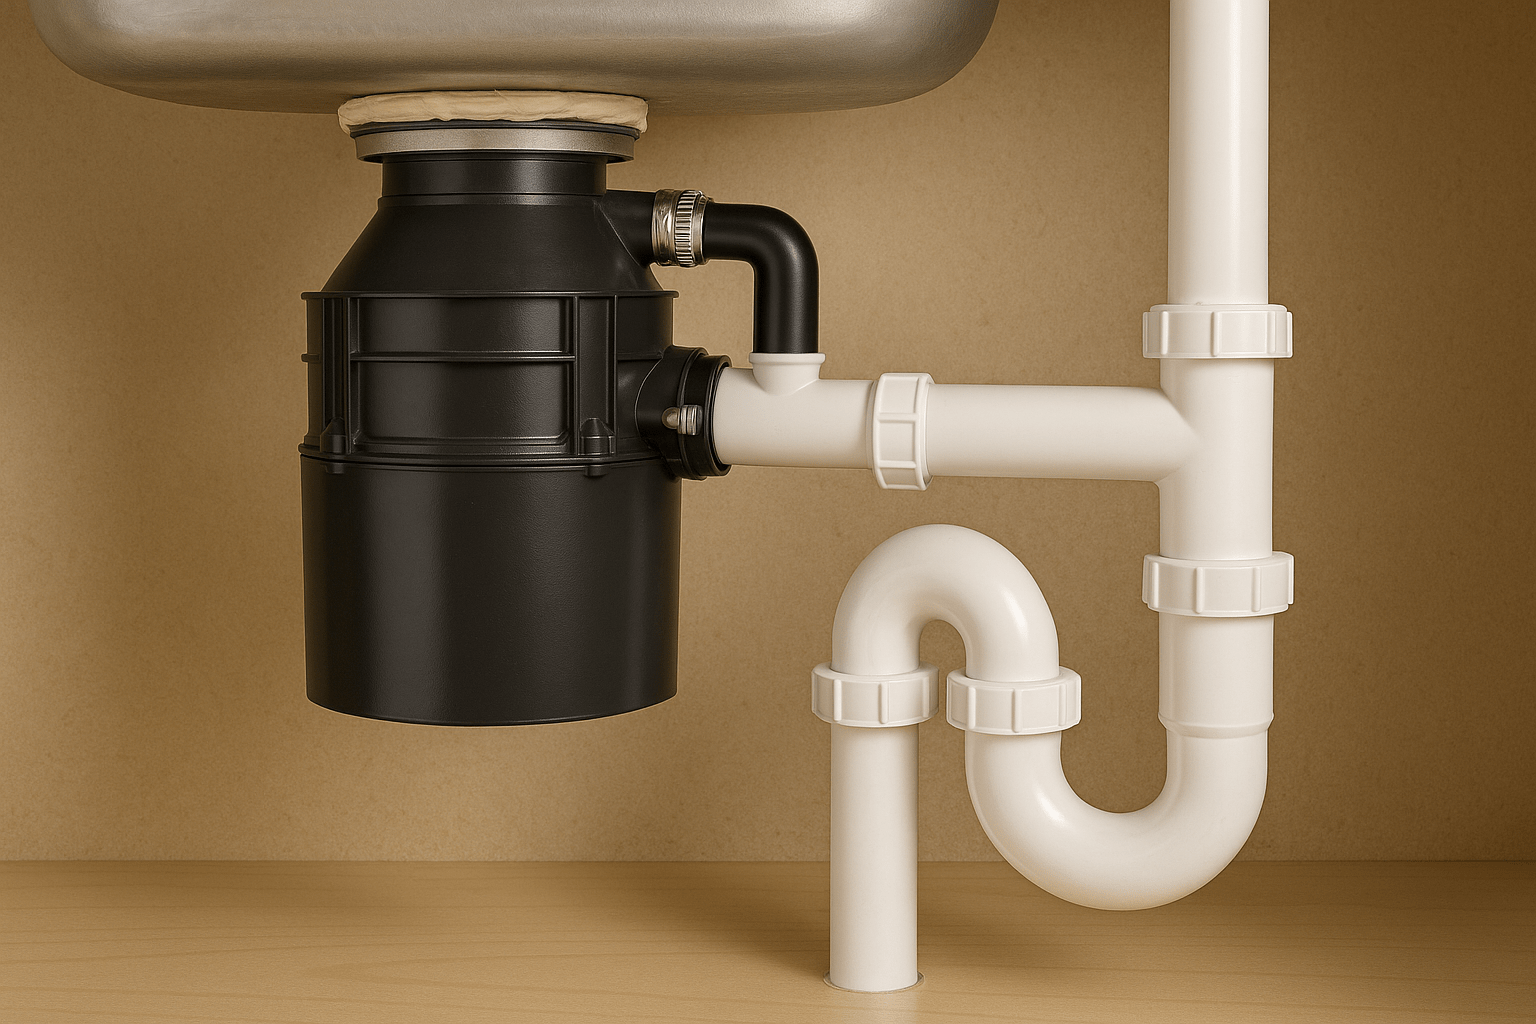
Prepare the sink drain or garbage disposal connection (Source: AZParts)
- For garbage disposal connections, locate the dishwasher inlet port on the disposal unit's side and remove pre-installed knockout plugs using a hammer and punch, ensuring debris falls into the disposal chamber.
- For sink connection installations without garbage disposals, install a disposal drain adapter or dedicated dishwasher tailpiece to create necessary connection points while maintaining proper sink drainage.
- Clean connection areas thoroughly and inspect threads or surfaces for damage, applying thin layers of plumber's silicone or Teflon tape to threaded connections for watertight seals.
- Test-fit your drain hose to connection points before final attachment, ensuring hoses slide on easily but fit snugly for secure connections when clamps are tightened.
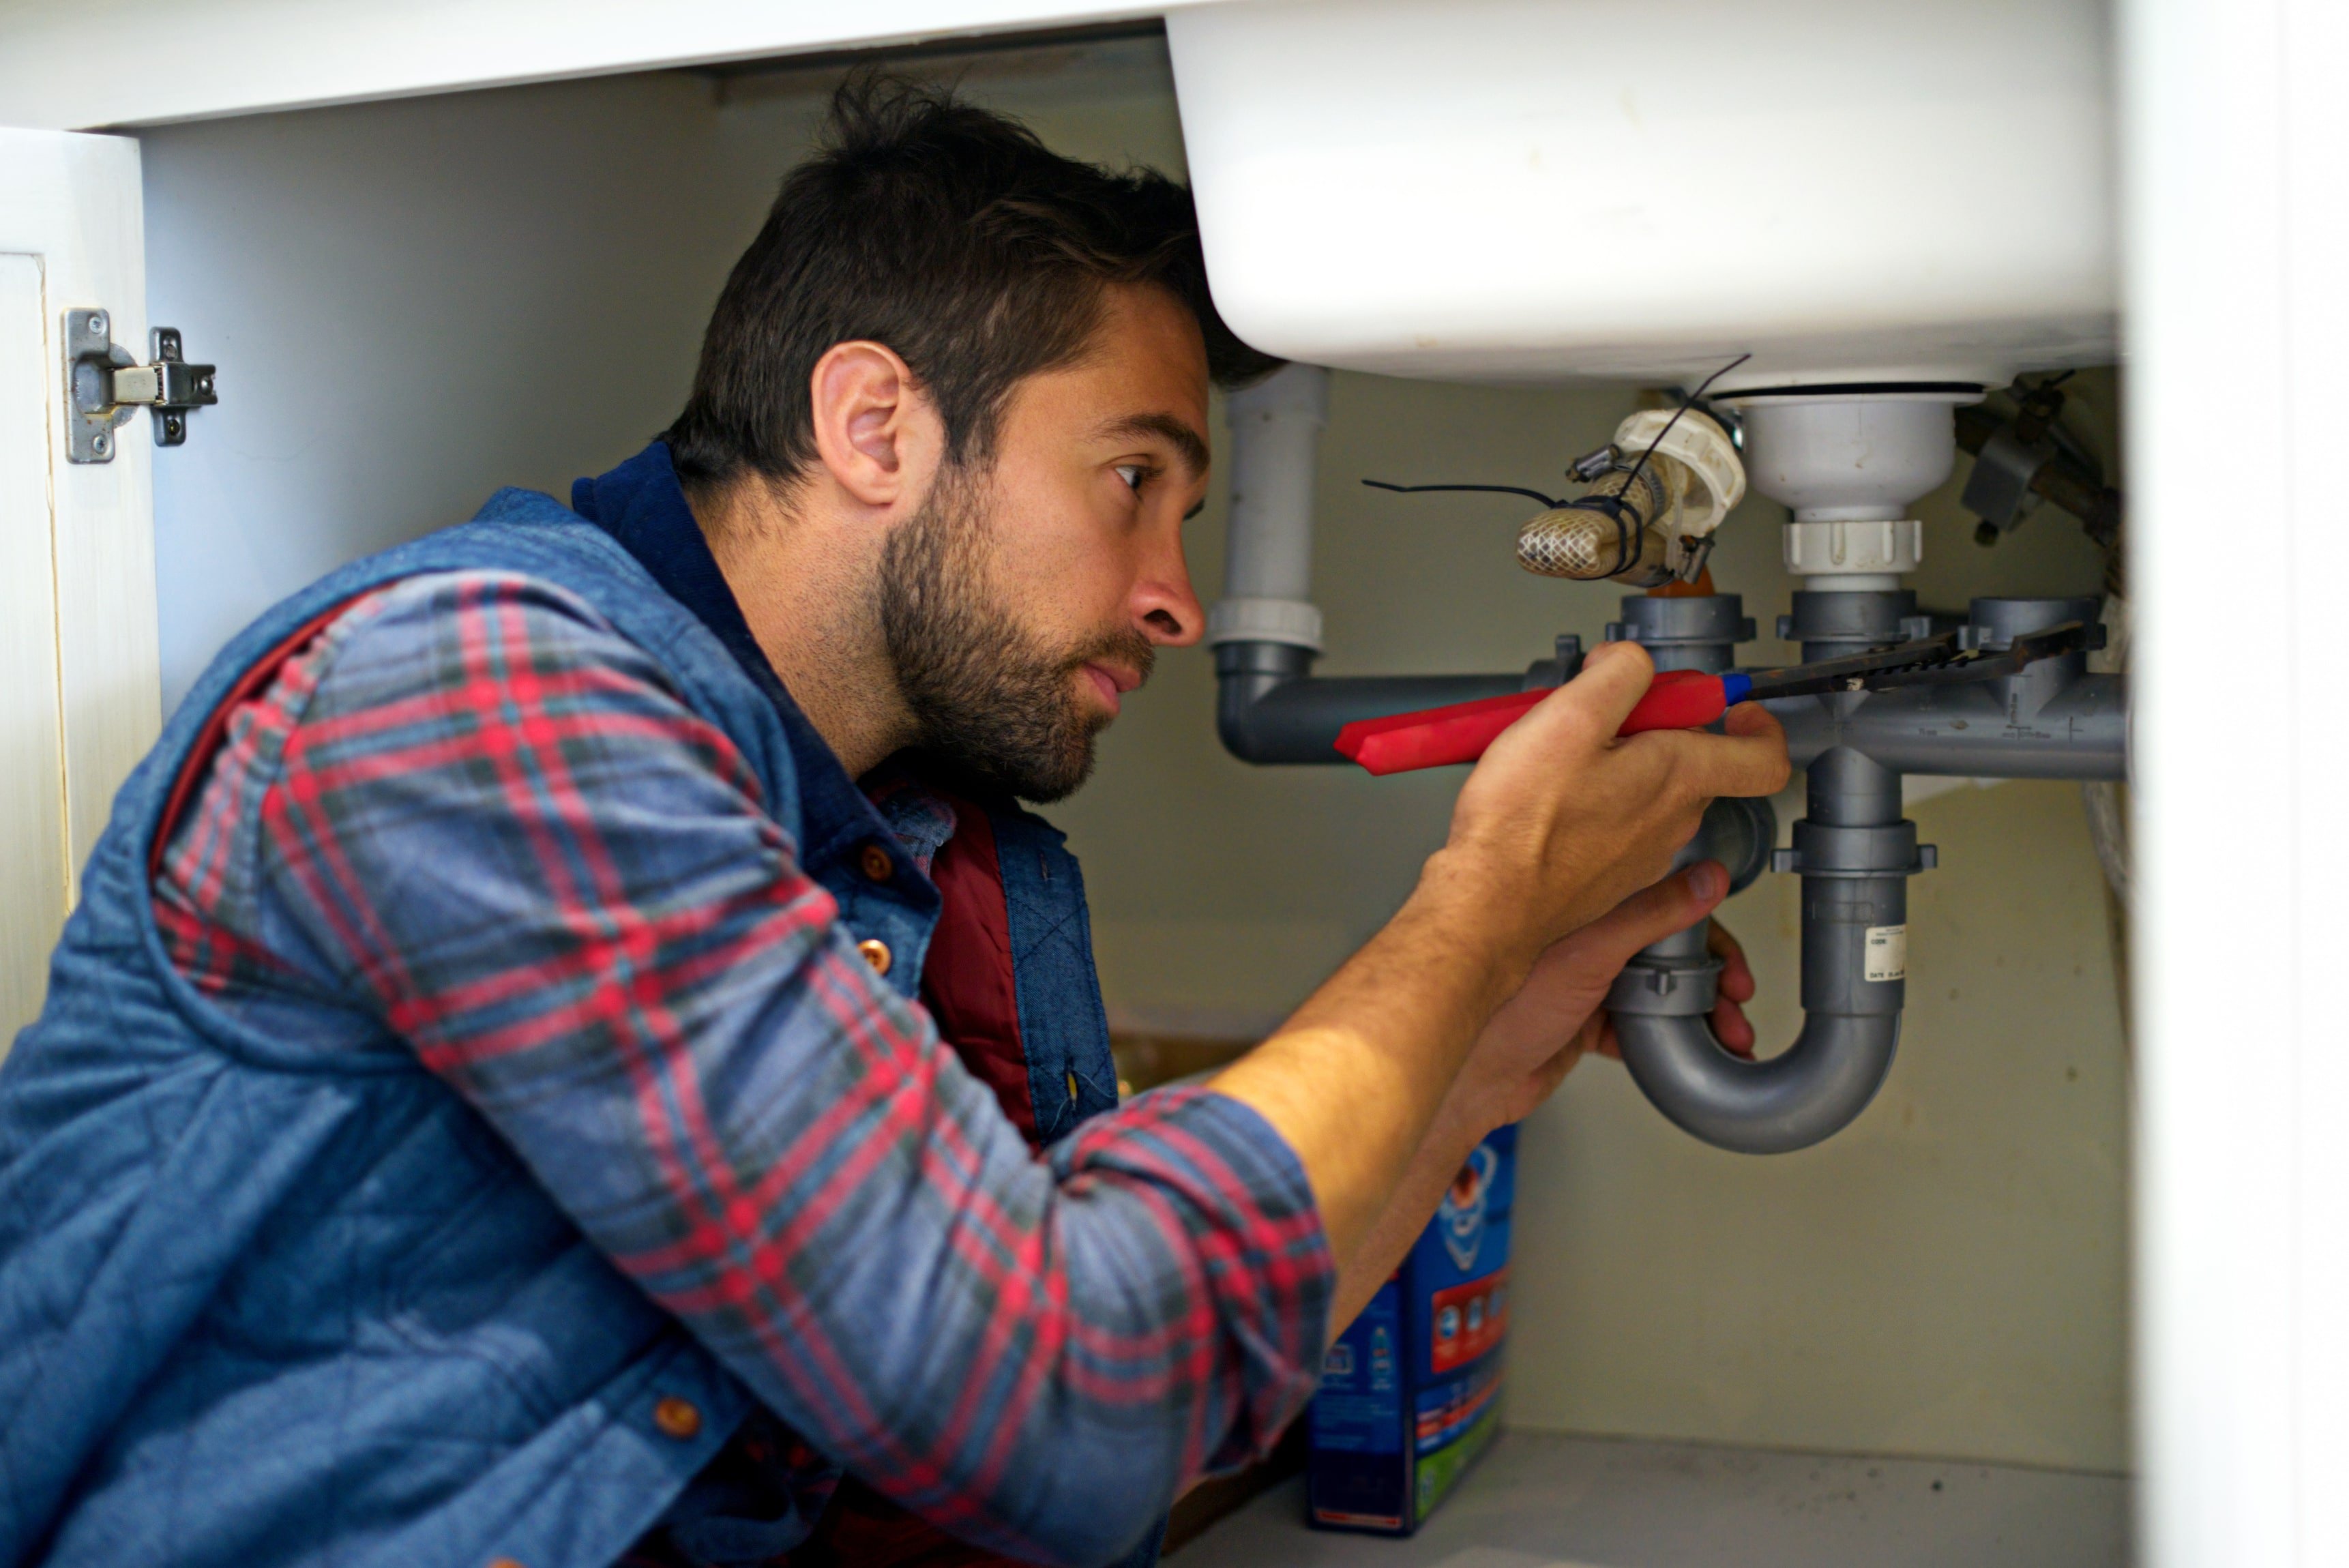
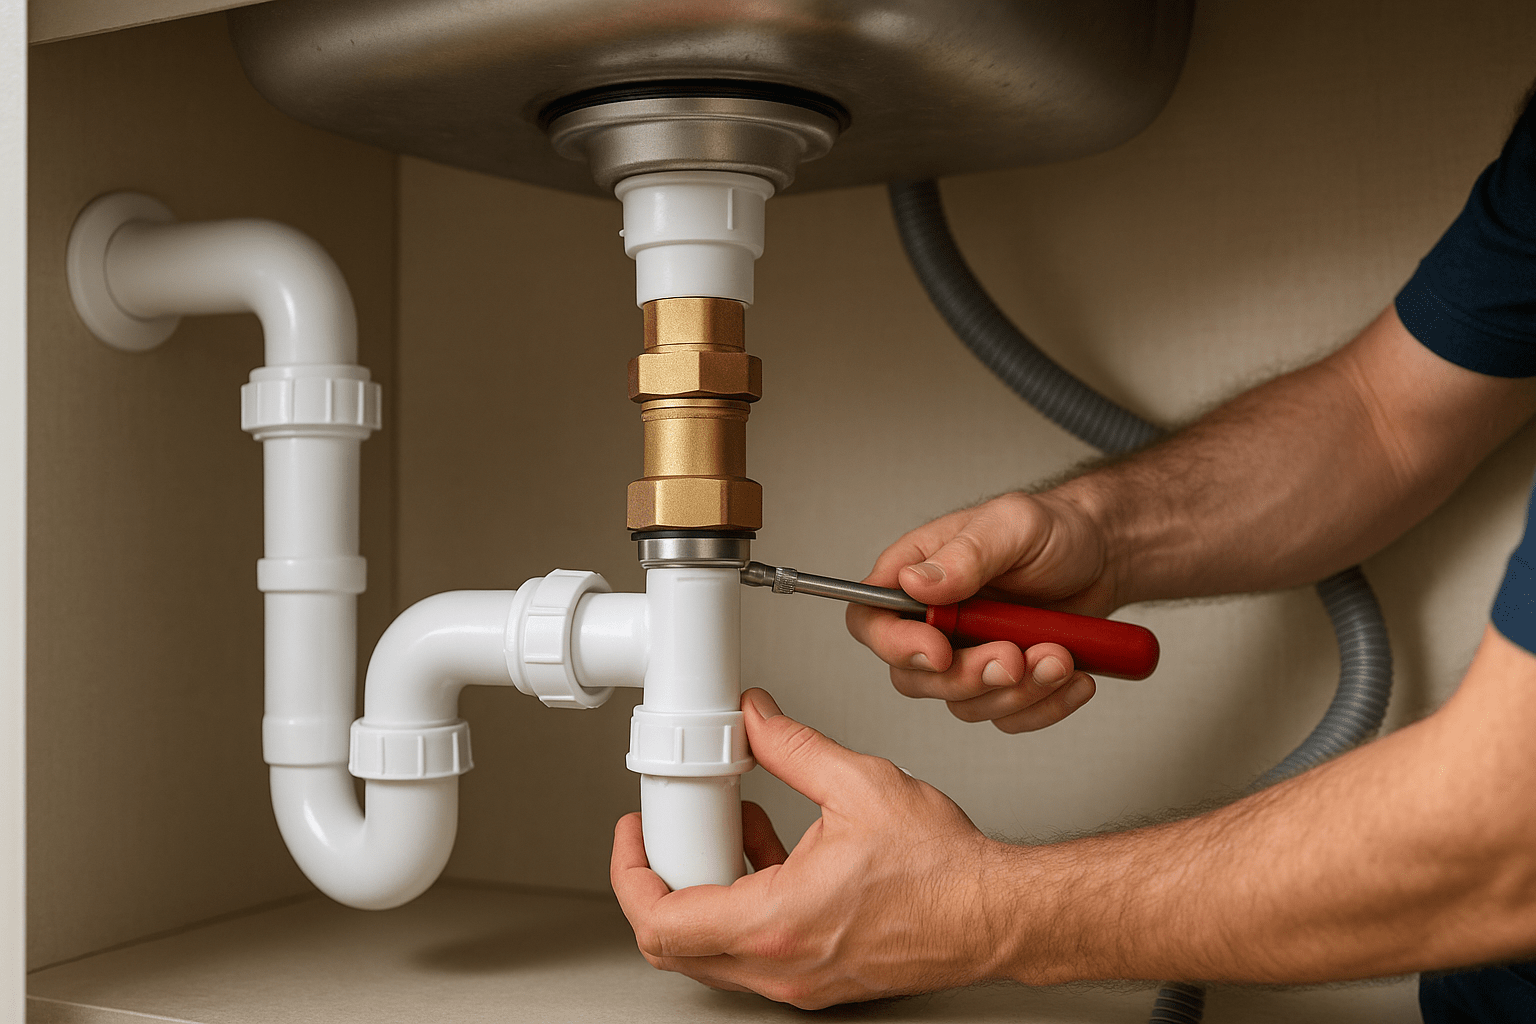
Step 4 – Connect the New Drain Hose to the Dishwasher
- Slide a new hose clamp onto the drain hose before making connections, positioning the clamp approximately 2-3 inches from the hose end to allow proper positioning over the outlet fitting.
- Carefully slide the drain hose onto the dishwasher's outlet fitting, ensuring it goes on fully and evenly with at least 1.5 inches extending onto the fitting for adequate connection surface area.
- Position the hose clamp over the connection area where hose meets outlet fitting, centering the clamp over this junction for maximum holding power.
- To secure the hose to the outlet properly, tighten clamps gradually using screwdrivers, checking frequently for proper hose positioning while avoiding over-tightening that could damage hoses.
Step 5 – Route the Drain Hose Properly to Avoid Kinks or Bends
Route the drain hose properly to avoid kinks or bends (Source: Freepik)
- When implementing drain hose routing tips, maintain gentle curves rather than sharp bends, ensuring hoses follow smooth paths from dishwashers to connection points without kinks or compression.
- Plan routing to prevent hose blockage by avoiding areas where hoses might be pinched or compressed, keeping hoses away from sharp edges, hot surfaces, and moving parts.
- Use cable ties or mounting clips to secure hoses along routes without over-tightening restraints, and use protective sleeves or padding when hoses must cross hazardous areas.
- Maintain adequate clearance around hoses throughout entire routes, never stretching hoses tight or compressing them, allowing routing slack to accommodate normal movement and vibration.
Step 6 – Install a Backflow Prevention Device (Siphon Break)
Install a backflow prevention device (Source: AZParts)
Installing proper backflow prevention protects your dishwasher from contaminated water and ensures compliance with local plumbing codes. Most jurisdictions require either air gap installation or high loop configurations to prevent wastewater from siphoning back into dishwashers.
Choose between these anti-backflow device options based on local codes, kitchen design constraints, and personal preferences. Both methods are effective when properly installed and maintained.
Option 1 – Install an Air Gap
- Install air gap devices that provide the most reliable backflow protection by creating physical separation between dishwasher drain hoses and wastewater systems, typically mounted on sinks or countertops.
- Drill holes in sink decks or countertops near sink areas, as air gap units consist of decorative caps, bodies, and connection fittings for both dishwasher drain hoses and disposal/sink connections.
- Connect drain hoses from dishwashers to air gap device inlet sides using appropriate clamps for secure connections, ensuring separate hoses run from air gap outlets to garbage disposal or sink drain connections.
- Verify that potential backflow exits through air gaps rather than entering dishwashers, providing superior protection with visible air spaces preventing reverse flow possibilities.
Option 2 – Use a High Loop Method
- Route drain hoses to points higher than dishwasher drain pumps before descending to connection points, creating gravity-based barriers that prevent most backflow situations.
- Create effective high loops by securing drain hoses to countertop undersides or cabinet walls at highest practical points, positioning loops at least 20 inches above floor levels.
- Use appropriate mounting brackets or clips to secure high loops, ensuring hoses maintain curved shapes even under water weight and positioning as close to sinks as possible while maintaining required heights.
- Verify mounting points are sturdy enough to support hoses when filled with water during normal operation, providing adequate backflow prevention through gravity-based design.
3. Should You DIY or Hire a Professional to Install the Drain Hose?
Deciding between DIY installation and hiring professionals depends on skill levels, available time, local codes, and installation complexity. Understanding each approach's pros and cons helps make informed decisions.
Criteria | DIY Installation | Professional Installation |
Cost | • Eliminates $150-400 service fees • Only material costs required • Significant cost savings upfront • Risk of expensive mistakes if done incorrectly | • Higher upfront cost ($150-400+ labor) • Includes labor, expertise, and warranty • May prevent costly future repairs • Insurance coverage for work performed |
Time and Effort | • Work at your own pace and schedule • No need to coordinate with contractors • Flexible timing around your availability • Can pause/resume as needed | • Faster completion by experienced professionals • Requires scheduling and coordination • Minimal personal time investment • Quick resolution of unexpected issues |
Technical Skill Required | • Basic to intermediate plumbing knowledge needed • Suitable for simple installations • Learning opportunity for future projects • May struggle with complex configurations | • No technical knowledge required from homeowner • Handles complex plumbing configurations • Expertise in electrical and structural modifications • Problem-solving experience for complications |
Code Compliance & Permits | • Homeowner responsible for understanding local codes • May miss permit requirements • Risk of non-compliant installation • Potential issues during home inspections | • Licensed professionals understand building codes • Handle permit applications and inspections • Ensure full code compliance • Warranty covers compliance issues |
Risk Assessment | • Higher risk of installation errors • Potential for water damage or mold • Appliance warranty may be affected • Long-term costs may exceed initial savings | • Lower risk due to professional expertise • Insurance protection against damages • Maintains appliance warranties • Guaranteed workmanship |
Best Suited For | • Simple drain hose replacements • Straightforward installations • Homeowners with some plumbing experience • Non-complex existing plumbing systems | • Complex plumbing modifications • New electrical connections required • Structural changes needed • Permit-required installations |
4. Frequently Asked Questions About Dishwasher Drain Hoses
4.1. Does a dishwasher drain hose need a high loop or air gap?
Yes, most local plumbing codes require backflow prevention for dishwasher drain installations. Specific requirements vary by jurisdiction, but you'll typically need either high loops or air gap devices. Air gaps provide superior protection by creating physical separation between dishwashers and wastewater systems, while high loops use gravity to prevent backflow. Check with local building departments to determine required methods in your area.
4.2. Why is my dishwasher draining into the sink?
When dishwashers drain into sinks, it usually indicates blockages in shared drainage systems or improper backflow prevention device installation. Common causes include clogged garbage disposals, blocked sink drains, kinked drain hoses, or malfunctioning air gaps. Start by running garbage disposals and checking for obvious blockages. Inspect drain hose routing for kinks or compressions restricting flow.
4.3. Can improper hose routing cause water backup?
Absolutely. Improper hose routing is among the most common causes of dishwasher drainage problems and water backup issues. Sharp bends, kinks, or compressions in drain hoses significantly restrict water flow, causing slow drainage or complete blockages. Additionally, routing hoses too low without proper backflow prevention allows wastewater to siphon back into dishwashers.
Conclusion
Installing a dishwasher drain hose is a manageable DIY project that saves money while ensuring appliance efficiency. Following this comprehensive guide and using quality replacement parts helps complete installations with confidence and achieve professional-quality results.
For all your dishwasher replacement parts and installation accessories, trust AZParts to provide genuine components needed for reliable, long-lasting installations. Visit our website today to explore our extensive selection of dishwasher parts and accessories.
Contact Information:
8 The Green, Ste A, Dover, Delaware 19901-3618, United States
Read more:
Drain hose
- 1. What Tools and Replacement Parts Do You Need Before Installing the Drain Hose?
- 2. Step-by-Step Guide to Installing a Dishwasher Drain Hose
- Step 1 – Access the Dishwasher's Discharge Fitting
- Step 2 – Drill Routing Holes (If Needed)
- Step 3 – Prepare the Sink Drain or Garbage Disposal Connection
- Step 4 – Connect the New Drain Hose to the Dishwasher
- Step 5 – Route the Drain Hose Properly to Avoid Kinks or Bends
- Step 6 – Install a Backflow Prevention Device (Siphon Break)
- 3. Should You DIY or Hire a Professional to Install the Drain Hose?
- 4. Frequently Asked Questions About Dishwasher Drain Hoses
Further Reading
Further Reading

How-To Guides
December 4, 2025
A dirty vacuum filter can seriously reduce your vacuum’s performance, making it harder to clean and even damaging the motor over time. Regular cleaning is a simple yet essential task that helps your machine work like new. In this guide, AZParts walks you through the easy steps to clean your vacuum filter properly and shows you when it’s time to replace it with a high-quality part.

How-To Guides
August 1, 2025
The clean refrigerator water dispenser comes into direct contact with your daily drinking water, yet it’s often overlooked during routine kitchen cleaning. Over time, mineral deposits, bacteria, and mold can build up in the water line and nozzle, compromising both water quality and your health. Fortunately, with just a few basic tools and five simple steps, you can thoroughly clean this part right at home. In this guide, AZParts will walk you through the detailed cleaning process to help keep your water dispenser fresh, maintain pure taste, and extend the lifespan of your appliance.

How-To Guides
August 1, 2025
A clean microwave filter is essential for maintaining your appliance's performance and extending its lifespan. Over time, grease and food particles accumulate, reducing efficiency and potentially damaging internal components. Regular filter maintenance ensures optimal ventilation and keeps your kitchen fresh. Microwave filters come in two types: grease filters that capture vapors and particles, and charcoal filters that neutralize odors. Proper cleaning and replacement saves money on repairs while keeping your microwave running smoothly. For reliable replacement parts, AZParts offers a comprehensive selection of genuine microwave components.

How-To Guides
August 1, 2025
A clean chainsaw air filter is essential for optimal engine performance and longevity. Whether you're a professional arborist or weekend warrior, understanding how to clean chainsaw air filters properly can save you money on repairs and ensure your saw runs smoothly for years. AZParts will help you learn how to replace chainsaw air filters when cleaning is no longer effective and ensures uninterrupted operation during critical tasks.

How-To Guides
July 31, 2025
Keeping your refrigerator clean is essential for food safety, energy efficiency, and extending your appliance's lifespan. A dirty fridge can harbor bacteria, produce unpleasant odors, and even cause mechanical issues that require replacement parts. Whether you're dealing with spills, expired food, or general maintenance, knowing how to clean the refrigerator properly ensures your appliance runs smoothly for years to come. At AZParts, we understand the importance of proper refrigerator maintenance and provide genuine replacement parts to keep your appliance in top condition.