How-To Guides
How to Clean & Replace Microwave Filter in Easy Steps
AZparts Team
Updated on August 1, 2025
7 min read
A clean microwave filter is essential for maintaining your appliance's performance and extending its lifespan. Over time, grease and food particles accumulate, reducing efficiency and potentially damaging internal components. Regular filter maintenance ensures optimal ventilation and keeps your kitchen fresh. Microwave filters come in two types: grease filters that capture vapors and particles, and charcoal filters that neutralize odors. Proper cleaning and replacement saves money on repairs while keeping your microwave running smoothly. For reliable replacement parts, AZParts offers a comprehensive selection of genuine microwave components.

1. How Often to Clean Your Microwave Filter
The frequency of cleaning your microwave filter depends on your cooking habits and the type of food you prepare. For average household use, clean your grease filter every 1-2 months. Heavy cooking, especially with greasy foods, may require monthly cleaning. Charcoal filters typically need replacement every 6-12 months, as they cannot be cleaned effectively.
Signs that indicate your filter needs attention include reduced ventilation performance, visible grease accumulation, persistent cooking odors, and microwave making noises during operation. Regular inspection helps you identify when cleaning or replacement is necessary before problems develop.

Microwave Filter Cleaning Frequency Guide (Source: AZParts)
2. What You'll Need
Before starting the cleaning process, gather these essential supplies:
For cleaning grease filters:
- Warm water
- Dish soap or degreasing detergent
- Soft-bristled brush or toothbrush
- Clean cloths or paper towels
- Large sink or basin
- Rubber gloves (optional)
For replacing charcoal filters:
- New charcoal filter (model-specific)
- Screwdriver (if required)
- Owner's manual for reference
Having all materials ready ensures a smooth, efficient cleaning process without interruptions.
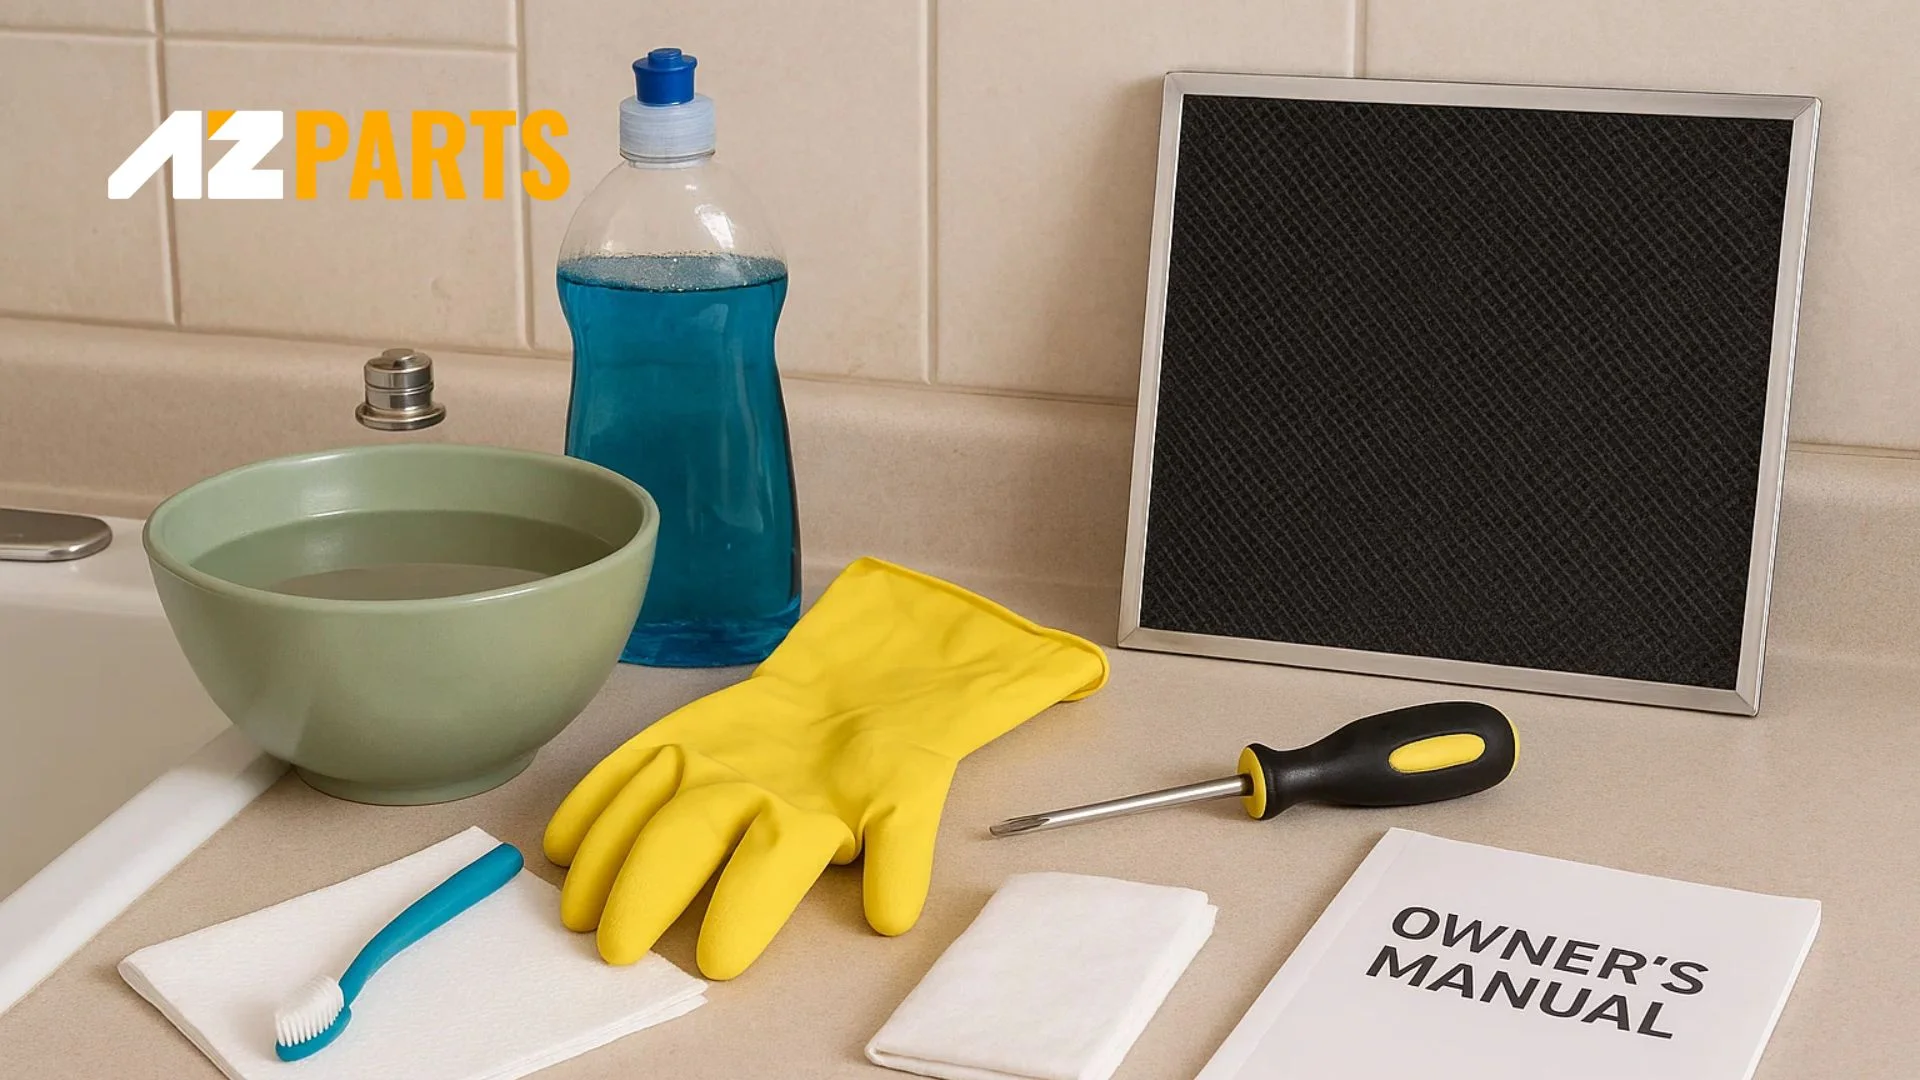
Essential Microwave Filter Cleaning Supplies (Source: AZParts)
3. How to Clean a Grease Filter
Cleaning your microwave's grease filter is a straightforward process that requires basic household supplies and minimal time investment.
Step 1: Disconnect the Microwave
Safety should always be your first priority when performing appliance maintenance. Unplug your microwave from the electrical outlet to eliminate any risk of electrical shock. If your microwave is hardwired, turn off the circuit breaker controlling the unit. Allow the appliance to cool completely if it was recently used, as internal components may retain heat.
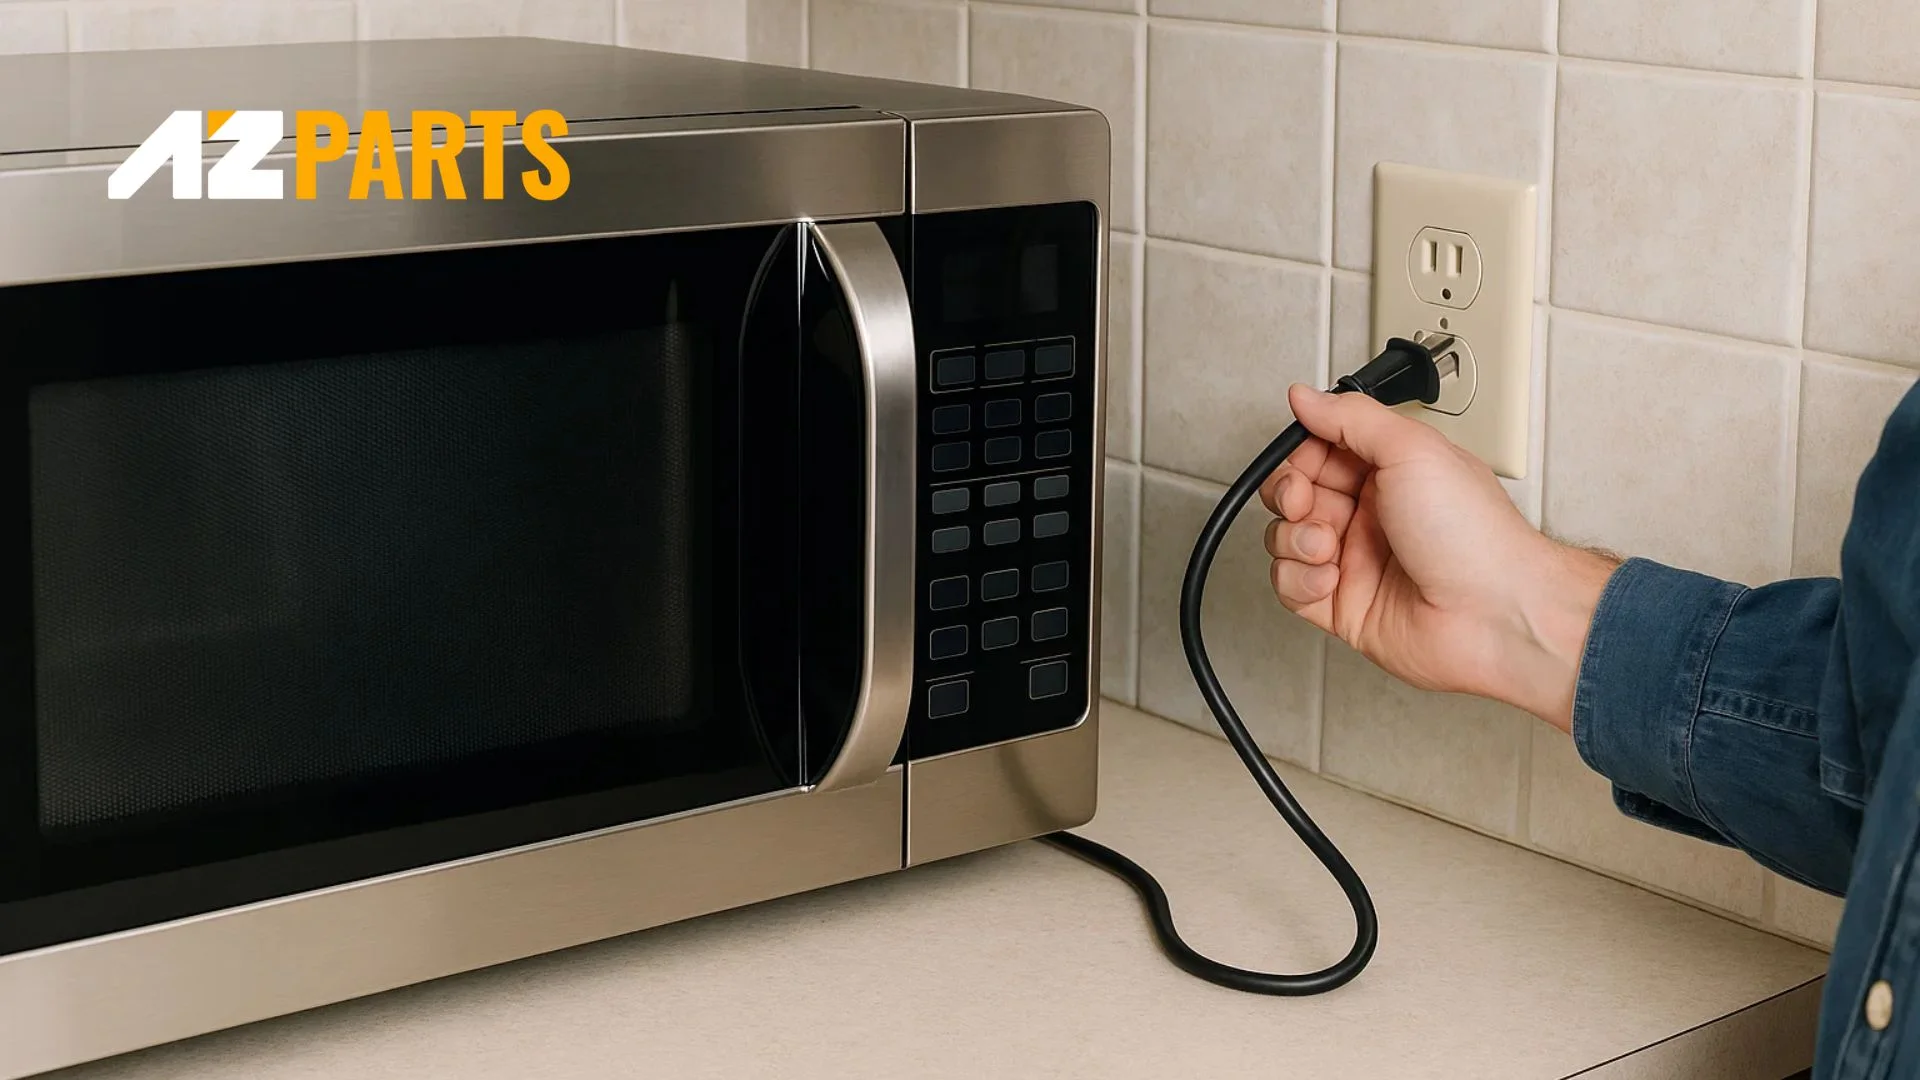
Unplug the Microwave (Source: AZParts)
Step 2: Locate and Remove the Grease Filter
Most microwave grease filters are located on the bottom of over-the-range units or inside the appliance near the ventilation area. Consult your owner's manual for the exact location, as designs vary by manufacturer and model.
To remove the filter, look for tabs, clips, or sliding mechanisms that secure it in place. Gently push or slide these mechanisms while carefully pulling the filter out. Some filters may require slight tilting or angling to clear surrounding components. Handle the filter carefully to avoid bending or damaging the mesh.
Step 3: Soak the Filter in Soapy Water
Fill a large sink or basin with warm water and add a generous amount of dish soap or degreasing detergent. The water should be hot enough to help dissolve grease but not so hot that it's uncomfortable to handle.
Submerge the filter completely in the soapy water and allow it to soak for 10-15 minutes. This soaking period helps loosen stubborn grease and food particles, making the scrubbing process more effective. For heavily soiled filters, extend the soaking time to 20-30 minutes.
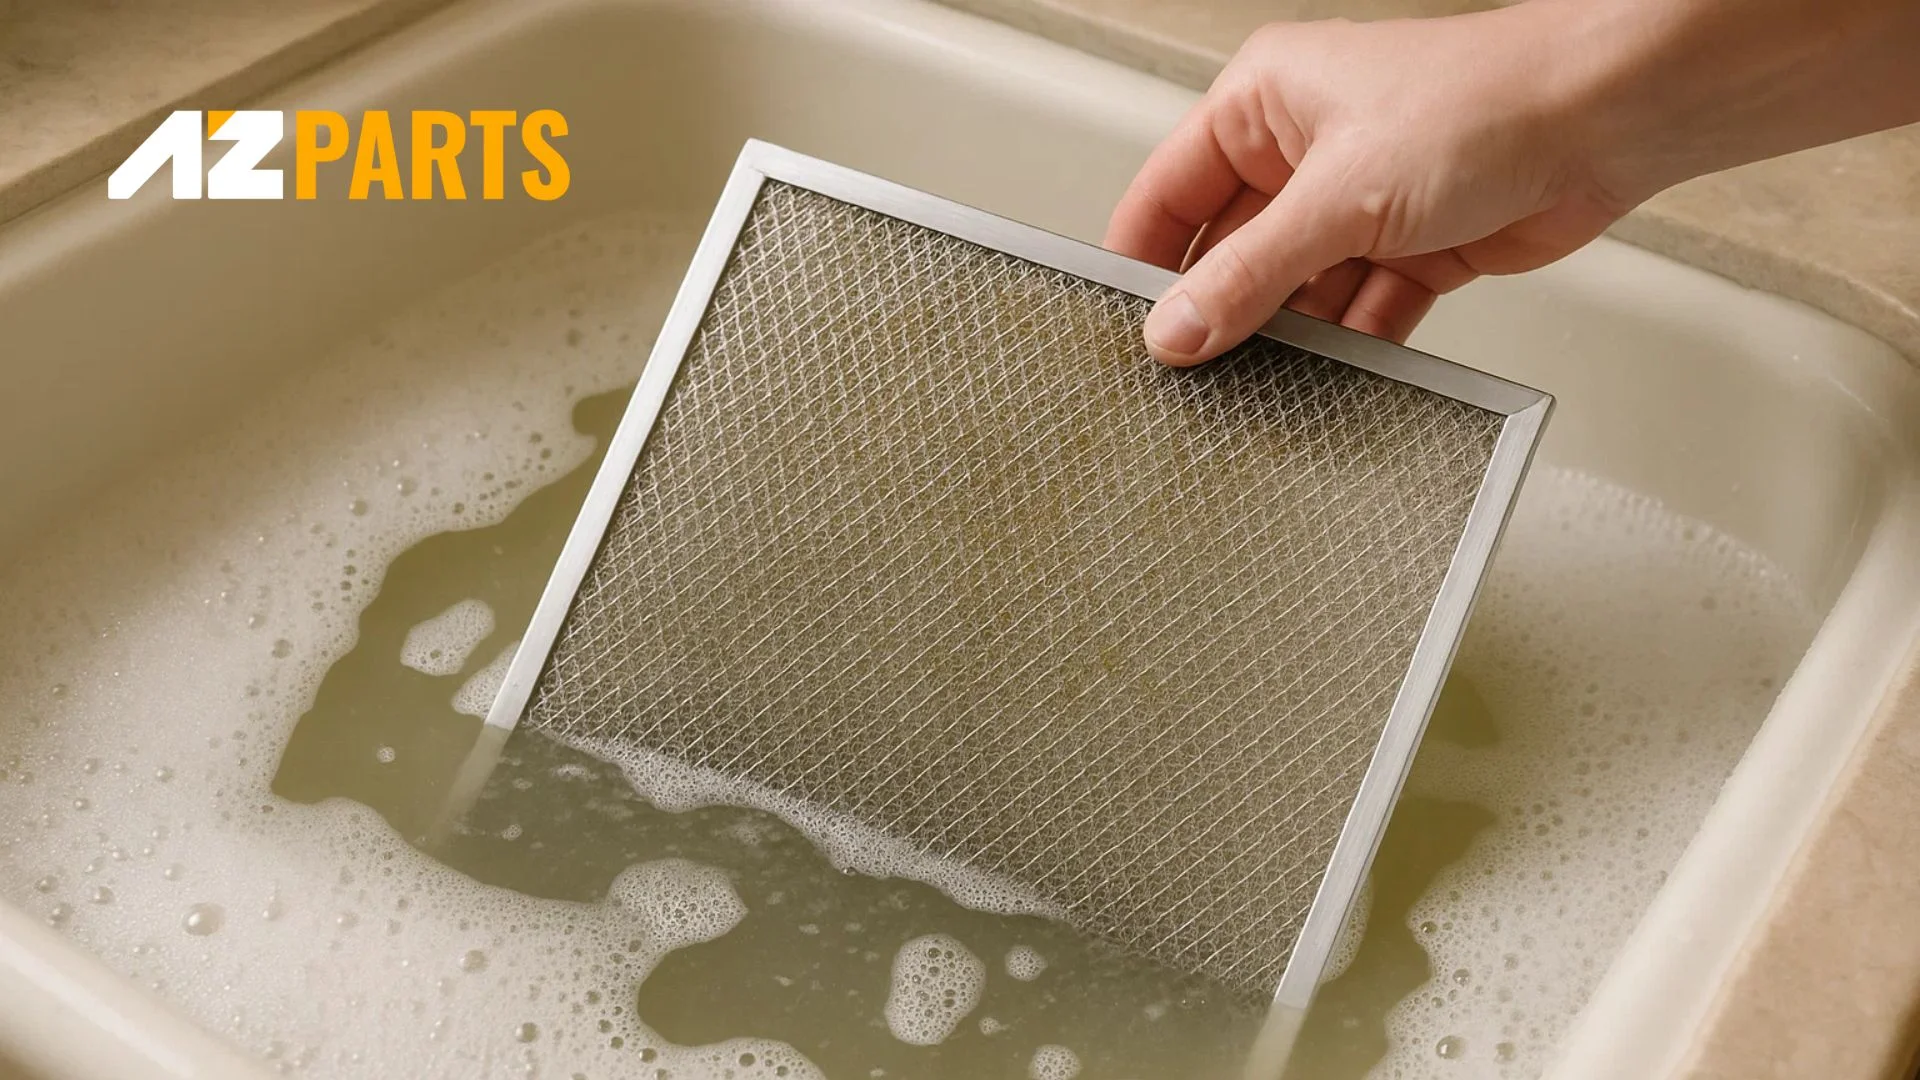
Soak Filter in Soapy Water (Source: AZParts)
Step 4: Scrub the Filter
After soaking, use a soft-bristled brush or old toothbrush to gently scrub both sides of the filter. Work in circular motions, paying special attention to areas with heavy grease buildup. Avoid using abrasive materials or harsh scrubbers that could damage the filter mesh.
For persistent grease spots, apply additional dish soap directly to the area and continue scrubbing. Be thorough but gentle to maintain the filter's integrity while removing all accumulated debris.
Step 5: Rinse and Dry Thoroughly
Rinse the filter under warm running water, ensuring all soap residue is removed. Shake off excess water and inspect the filter for any remaining grease or food particles. If necessary, repeat the scrubbing and rinsing process.
Pat the filter dry with clean cloths or paper towels, then allow it to air dry completely before reinstallation. Proper drying prevents water spots and ensures the filter is ready for use.
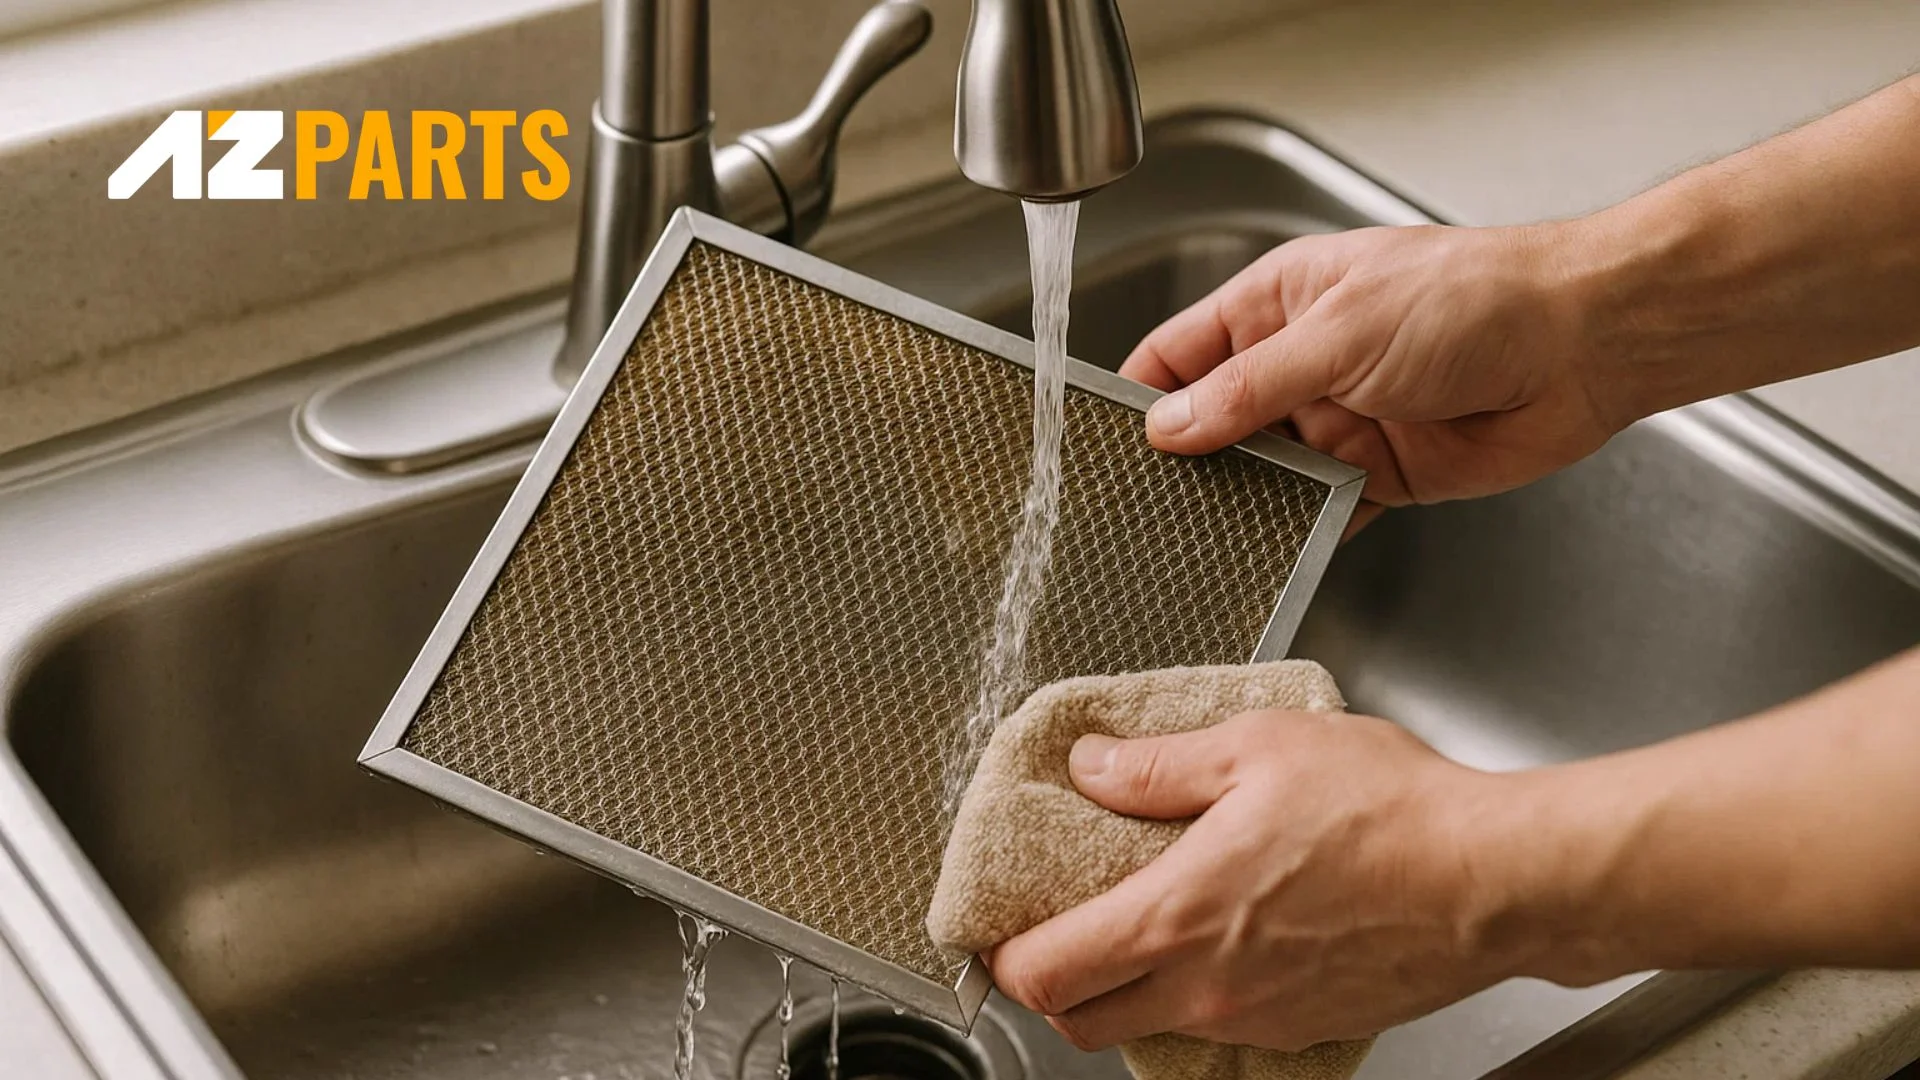
Rinse and Dry Filter (Source: AZParts)
Step 6: Reinstall the Filter
Once the filter is completely dry, carefully reinstall it in the microwave. Align the filter properly with its housing and secure it using the same tabs, clips, or mechanisms used for removal. Ensure the filter sits flush and secure to maintain proper ventilation function.
Test the microwave's ventilation system to confirm proper installation and operation before returning the appliance to regular use.
4. How to Replace a Microwave Charcoal Filter
Charcoal filters cannot be cleaned and must be replaced periodically to maintain odor control effectiveness.
Step 1: Disconnect the Microwave
Follow the same safety procedures as outlined in the grease filter cleaning section. Unplug the microwave and allow it to cool completely before beginning the replacement process.
Step 2: Remove the Vent Panel
Charcoal filters are typically located behind a removable vent panel or cover. This panel may be secured with screws, clips, or tabs. Carefully remove any fasteners and set them aside in a safe location.
Gently remove the vent panel, taking note of its orientation f
Unhandled node: tab
or proper reinstallation. Some panels may require specific positioning or alignment with internal components.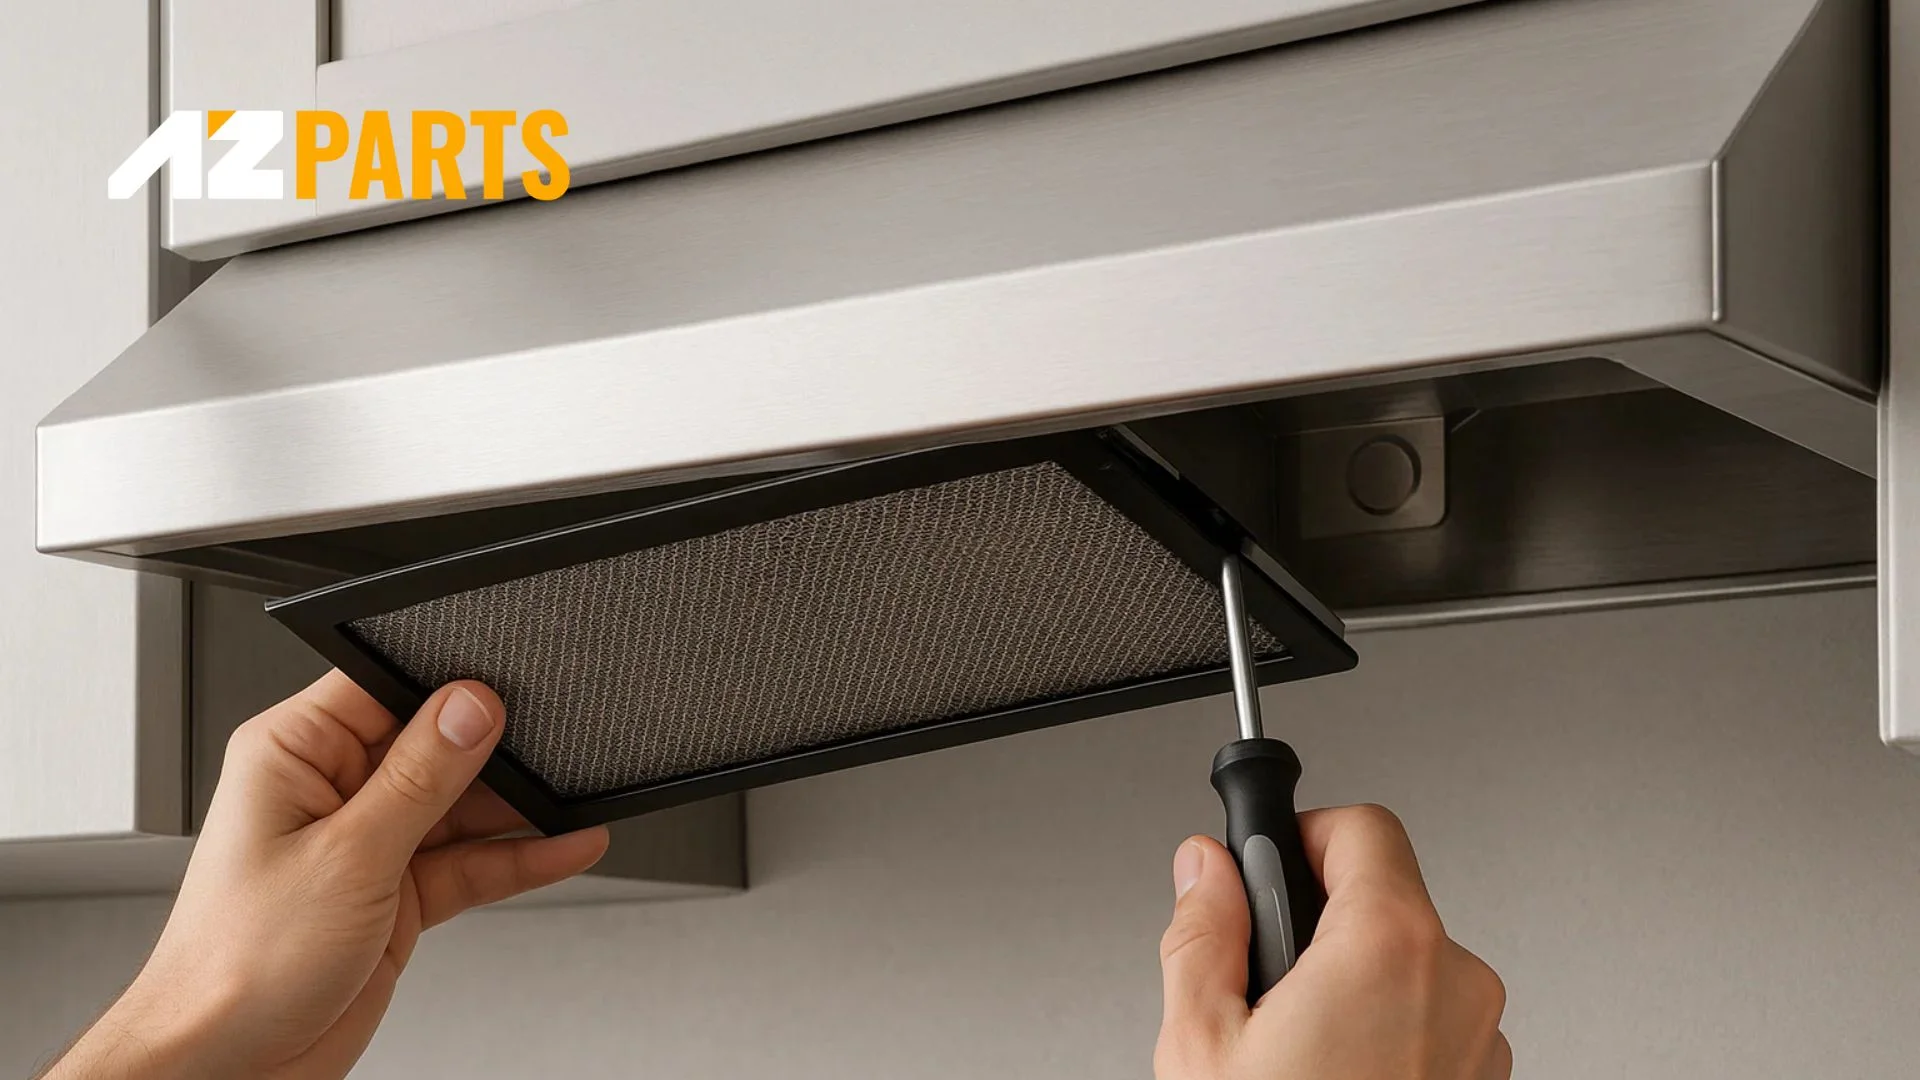
Remove the Vent Panel (Source: AZParts)
Step 3: Remove the Old Charcoal Filter
Locate the charcoal filter, which is usually a rectangular or circular component made of activated carbon material. Carefully remove it from its housing, noting the orientation and positioning for proper installation of the replacement filter.
Dispose of the old filter according to local waste disposal guidelines, as activated carbon filters are typically not recyclable through standard programs.
Step 4: Insert the New Charcoal Filter
Unpack the new charcoal filter and remove any protective packaging. Install it in the same position and orientation as the old filter, ensuring it sits securely in its designated housing.
Verify that the new filter doesn't interfere with any surrounding components and that it's properly seated to function effectively.
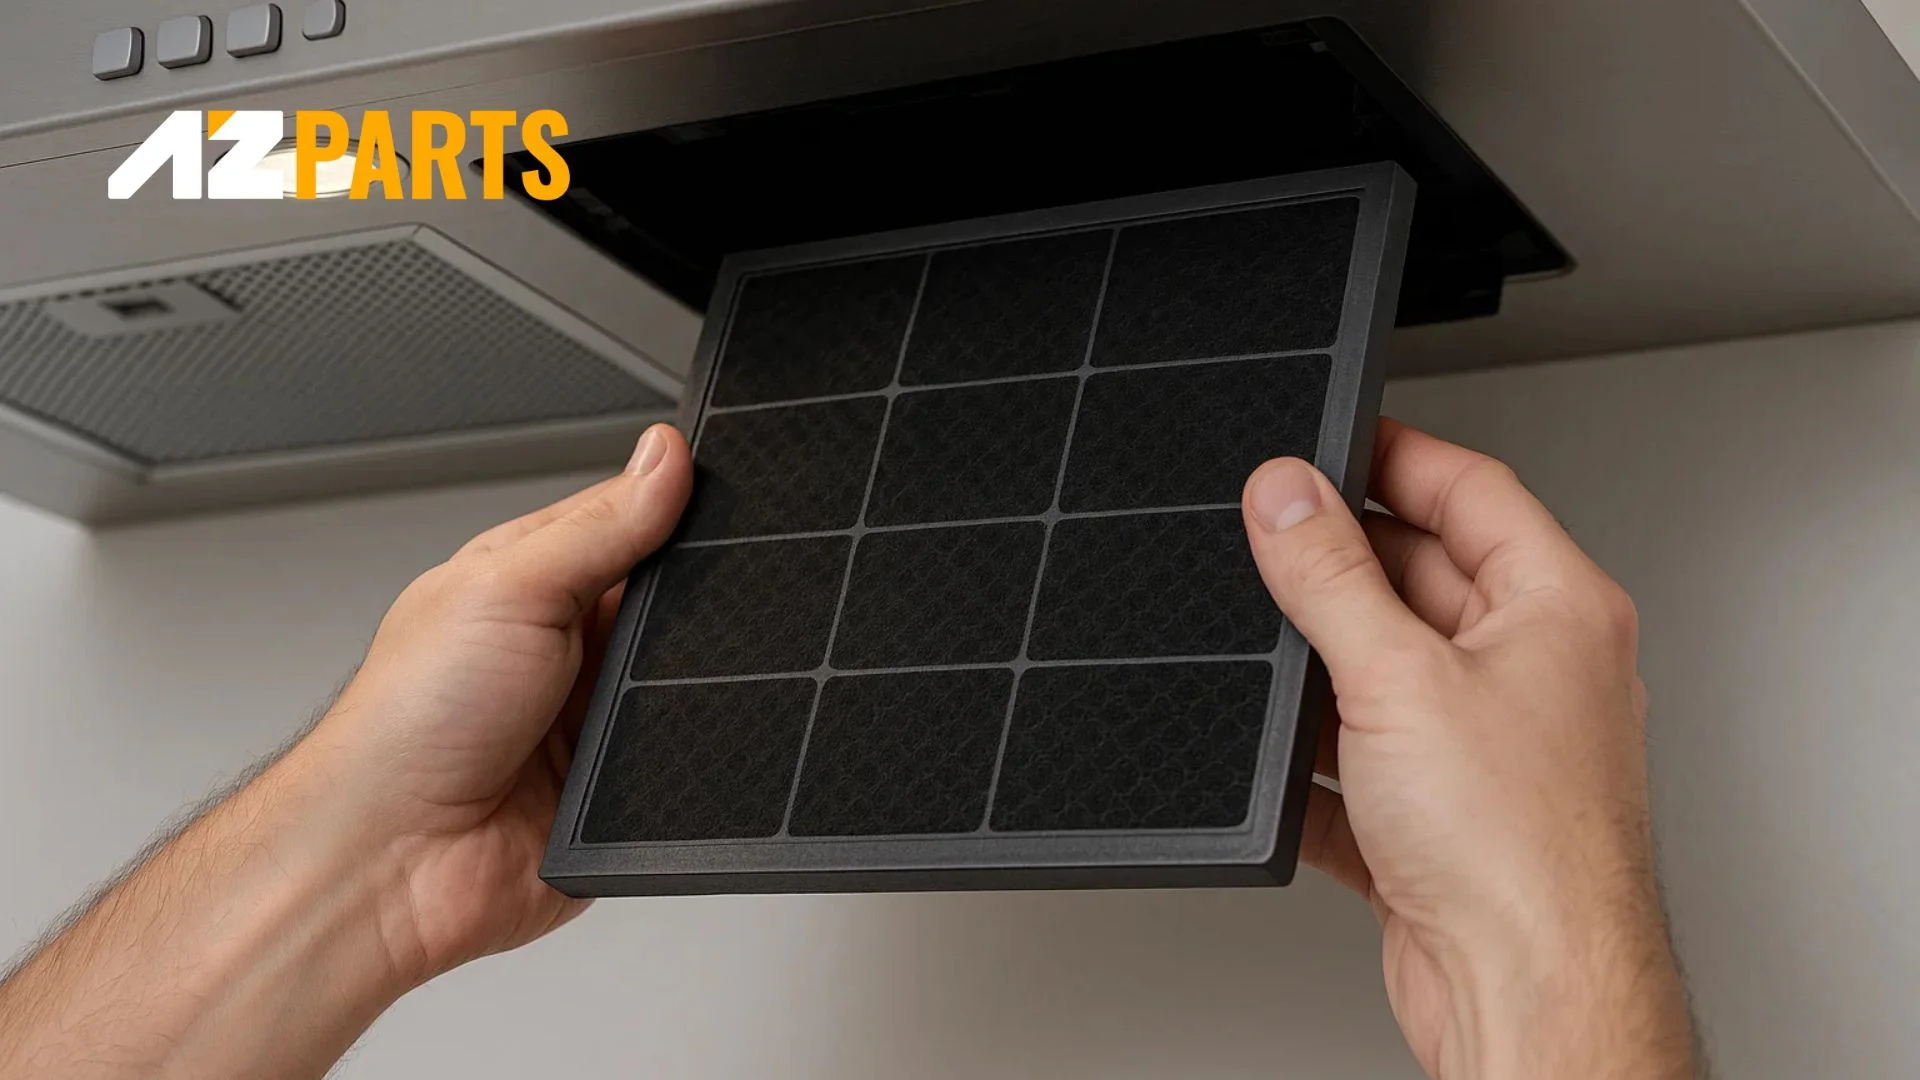
Insert the New Charcoal Filter (Source: AZParts)
Step 5: Reassemble the Vent Panel
Replace the vent panel in its original position, ensuring proper alignment with the microwave housing. Secure it with the original screws, clips, or tabs, tightening fasteners appropriately without over-tightening.
Test the microwave's operation to ensure proper installation and functionality before returning to regular use.
5. Other Microwave Parts You Can Easily Replace at Home
Beyond filters, several other microwave components can be easily replaced at home with basic tools and minimal technical knowledge. These DIY repairs can save significant money compared to professional service calls.
The turntable motor is a commonly replaced component that drives the rotating glass plate. When this motor fails, food heating becomes uneven, and you may notice the plate not rotating properly. If you're looking for a reliable turntable motor replacement, AZParts has you covered with the Turntable Motor part ensuring smooth operation and even cooking results.
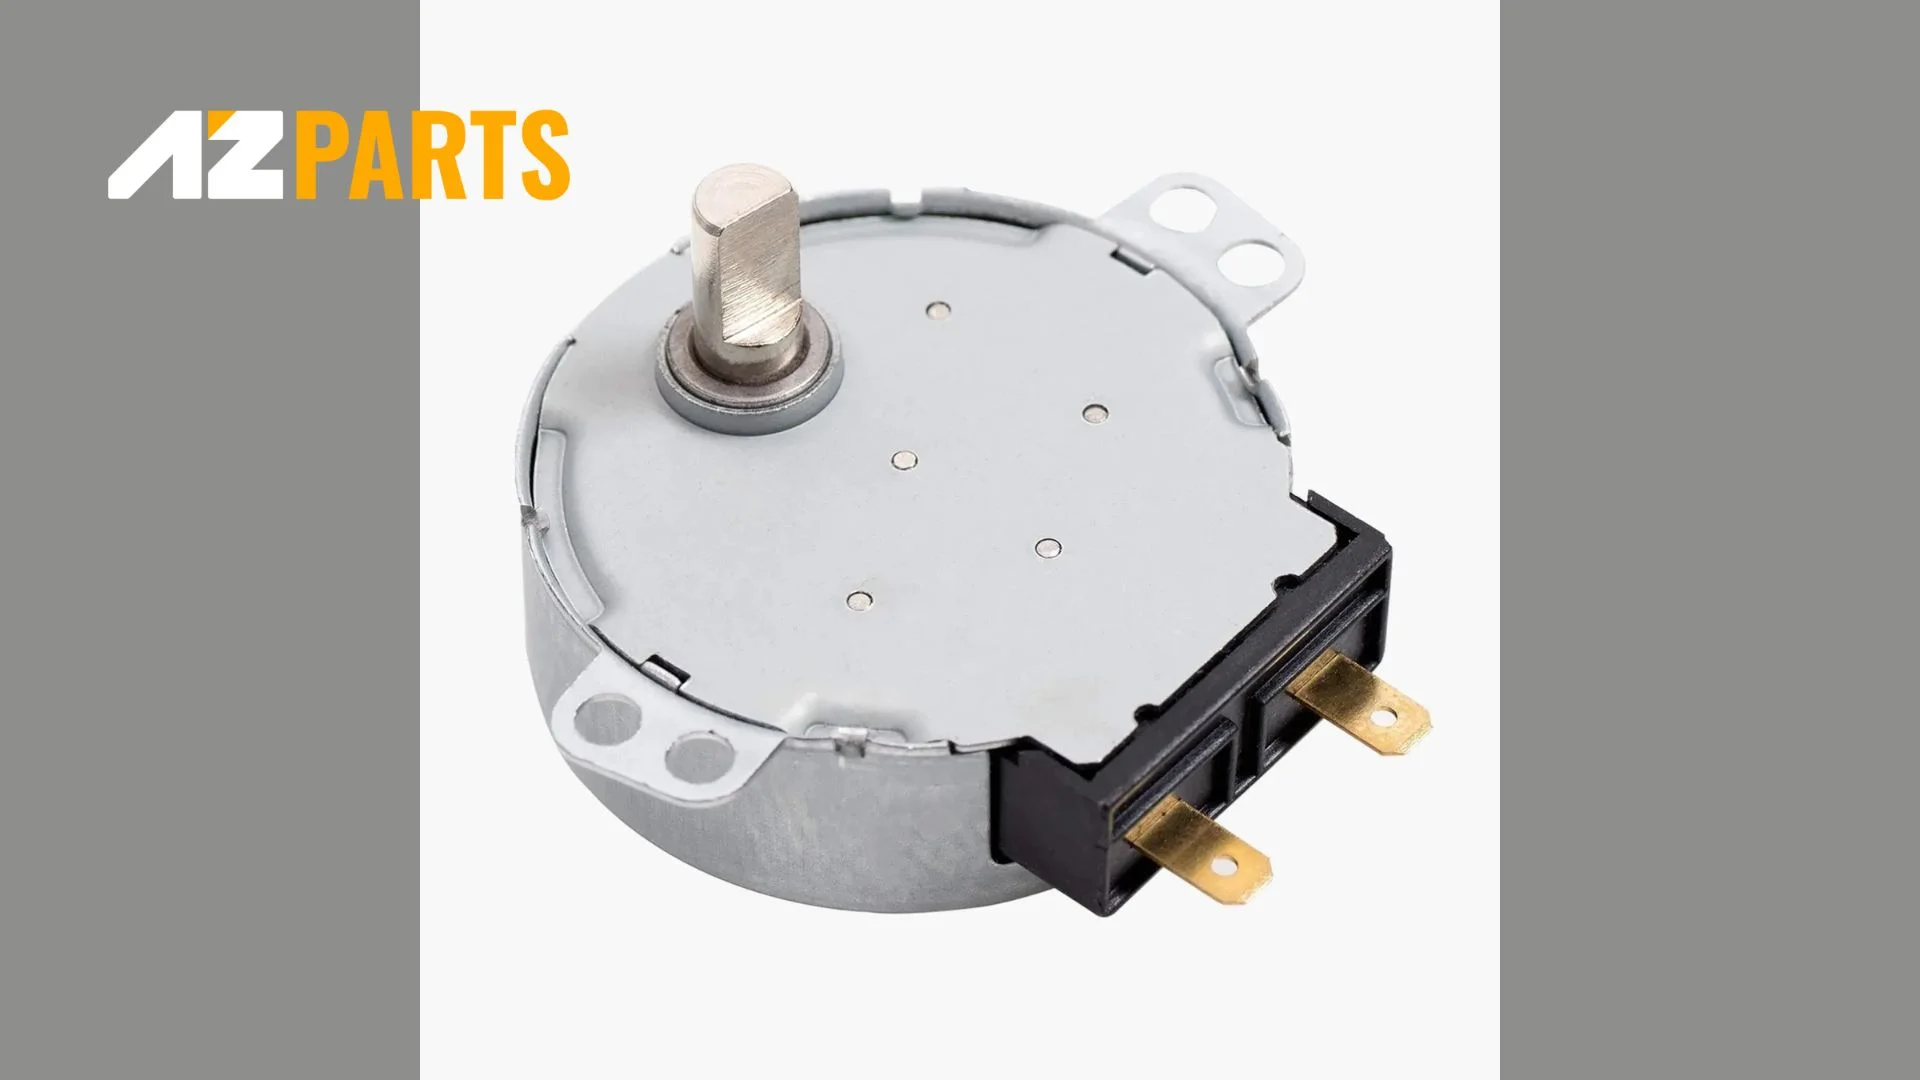
Turntable Motor Replacement for Microwaves (Source: AZParts)
Glass plates frequently crack or break due to thermal stress or accidental impact. Replacing a damaged glass plate is straightforward and immediately improves your microwave's functionality. AZParts provides durable glass plates like the microwave glass plate part designed to withstand daily use and temperature variations.
Door handles experience regular wear from frequent opening and closing. A broken or loose handle affects convenience and potentially safety. Professional-grade door handles such as the microwave door handle part from AZParts restore proper operation and maintain your microwave's appearance.
Microwave fuses protect internal circuits from electrical surges and component failures. A blown fuse prevents the microwave from operating entirely. AZParts stocks replacement fuses like the microwave fuse part for various models, allowing quick restoration of appliance function.
These replacement parts are designed for easy installation, often requiring only basic tools and following manufacturer instructions. Regular maintenance and timely part replacement ensure your microwave continues operating efficiently for years, making it a worthwhile investment in your kitchen appliance's longevity.
Proper microwave filter maintenance is essential for optimal appliance performance and longevity. Regular cleaning of grease filters and timely replacement of charcoal filters prevents costly repairs and ensures your microwave operates efficiently. By following these simple maintenance steps, you can extend your appliance's lifespan while maintaining a clean, fresh-smelling kitchen environment.
For reliable microwave replacement parts and professional-quality components, trust AZParts to keep your microwave running smoothly. Whether you need filters, motors, or other essential parts, AZParts provides genuine components that ensure lasting performance.
Contact Info
Address: 8 The Green, Ste A, Dover, Delaware 19901-3618, United States
Email: support@azparts.com
Microwave
Further Reading
Further Reading

Review
July 31, 2025
When your trusty microwave starts acting up, you're faced with a common household dilemma: is it worth repariting a microwave or replace it? This decision becomes increasingly complex as technology advances and repair costs fluctuate. Understanding the key factors that influence this choice can save you both money and frustration. At AZParts, we specialize in providing genuine replacement parts for various appliances, including microwaves, helping homeowners make informed decisions about their kitchen equipment repairs.

How-To Guides
July 31, 2025
Your microwave works hard every day, heating meals and warming beverages countless times. Like any frequently used appliance, it needs regular maintenance to stay efficient and safe. Proper microwave maintenance extends your device's lifespan while ensuring optimal performance and food safety. At AZParts, we've created this comprehensive guide to help you maintain your microwave effectively at home, saving money on repairs and keeping your appliance running smoothly.

Repair help
July 31, 2025
Hearing strange sounds coming from your microwave? Whether it’s buzzing, humming, grinding, or clicking, unusual noises can be more than just annoying, they may be a sign of internal issues. If your microwave is making noise, it’s important to identify the source before it leads to a bigger problem. In this guide, join AZParts to explore five common causes and what you can do about them.

Repair help
July 31, 2025
A microwave is one of the most-used appliances in any kitchen — but it's also one of the most overlooked when it comes to cleaning. If you’ve ever asked yourself, “How to clean my microwave properly?”, you’re definitely not alone.
From food splatters and grease to stubborn odors, a dirty microwave isn’t just unappealing — it can affect performance, harbor bacteria, and even become a fire risk. In this guide, AZParts shares the most effective tips on cleaning microwave interiors and exteriors, so you can keep your appliance in top shape for years to come.

Repair help
July 30, 2025
Microwaves are essential for quick and convenient meals, but what happens when yours suddenly stops heating? If you’re dealing with the frustrating issue of your microwave not heating, there could be several reasons behind it. From simple problems like a faulty door latch to more serious internal failures, understanding the cause is the first step to finding a solution. In this guide, join AZParts to explore the most common reasons a microwave stops heating and what you can do to fix it, whether through a quick DIY check or by replacing a damaged part.