Repair help
How to Clean My Microwave: Step-by-Step Tips
AZparts Team
Updated on July 31, 2025
4 min read
A microwave is one of the most-used appliances in any kitchen — but it's also one of the most overlooked when it comes to cleaning. If you’ve ever asked yourself, “How to clean my microwave properly?”, you’re definitely not alone.
From food splatters and grease to stubborn odors, a dirty microwave isn’t just unappealing — it can affect performance, harbor bacteria, and even become a fire risk. In this guide, AZParts shares the most effective tips on cleaning microwave interiors and exteriors, so you can keep your appliance in top shape for years to come.

Why You Should Clean Your Microwave Regularly
Many people assume microwaves don’t need cleaning because they heat food at high temperatures. But that’s a dangerous myth. According to a 2017 NSF International study, microwave keypads are among the most contaminated surfaces in your kitchen — more than sinks and cutting boards — often harboring bacteria like E. coli and Salmonella.
Here’s why regular cleaning matters:
- Prevents bacterial growth: Food residue is a breeding ground for germs.
- Eliminates lingering odors: Stuck-on particles cause bad smells that transfer to fresh meals.
- Improves heating efficiency: Greasy buildup can block heat and cause uneven cooking.
- Reduces fire hazards: The NFPA reports microwaves are responsible for 4% of cooking-related fires — often due to grease.
- Extends lifespan: A clean, well-maintained microwave can last 7–10 years vs. 5 or fewer if neglected.
How to Clean a Microwave
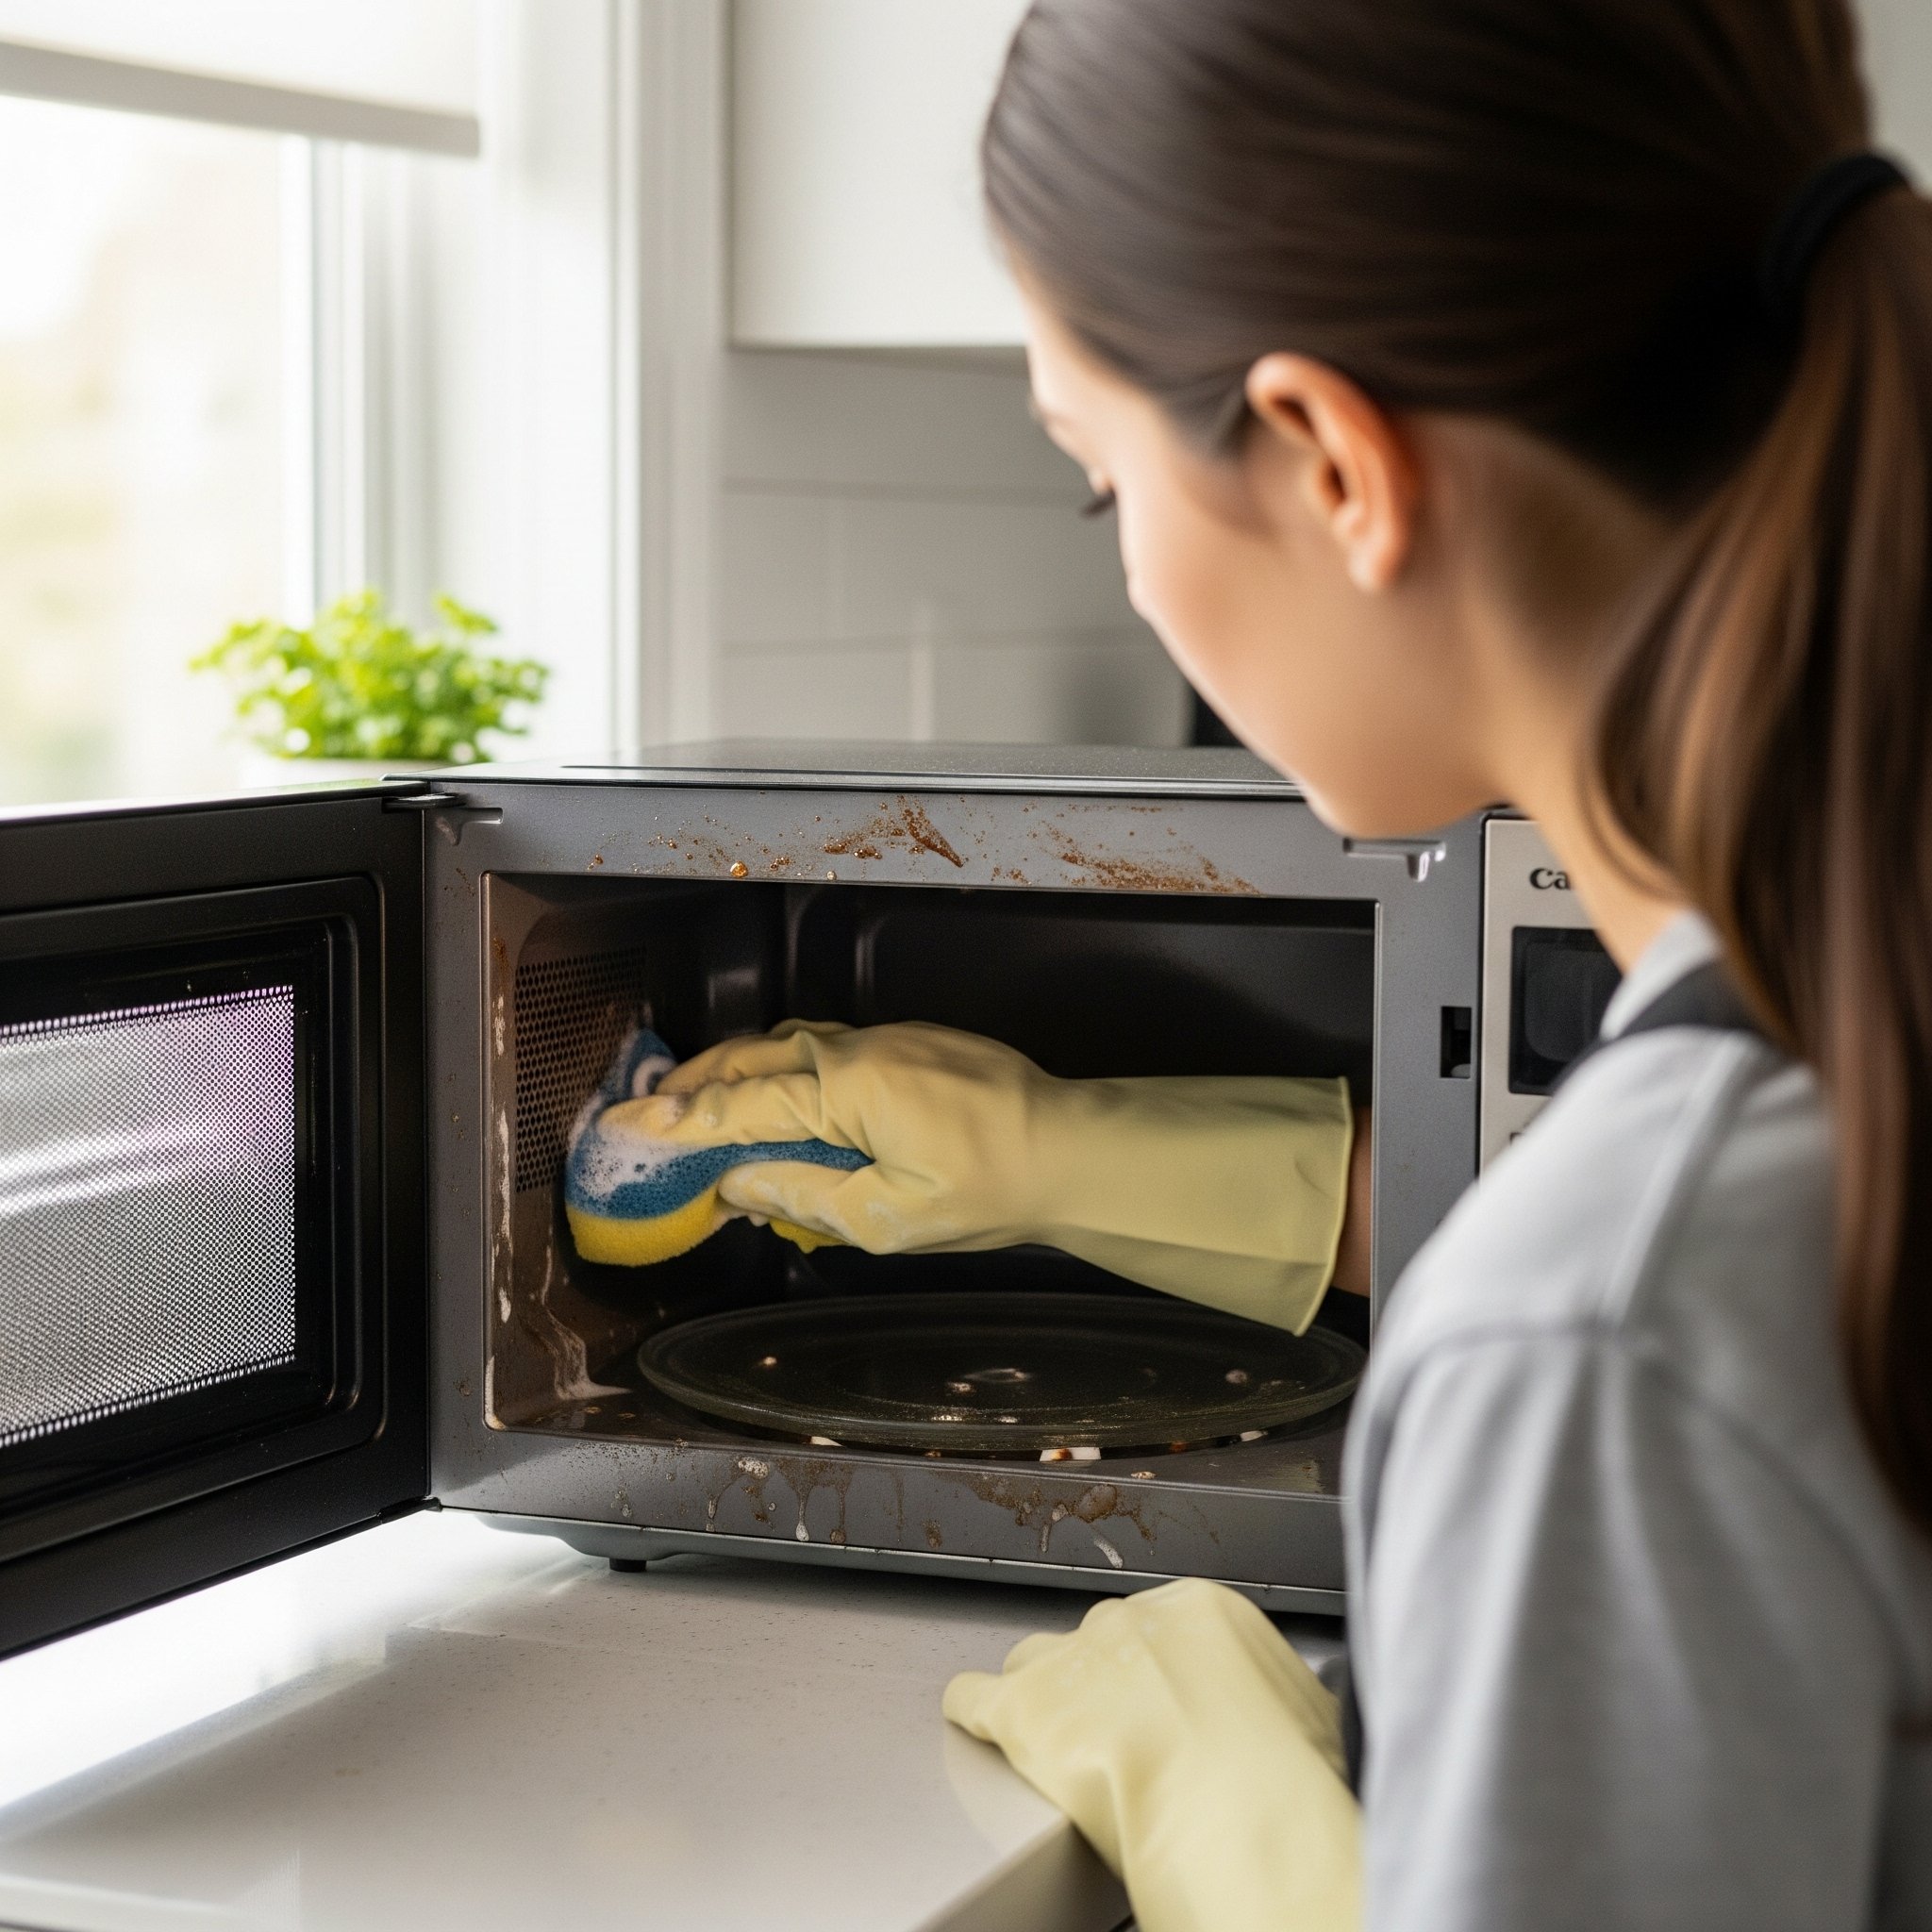
1. Quick & Easy Cleaning (For Light Messes)
If your microwave has minimal splatters or mild odors, this simple method will work effectively.
What you need:
- A damp sponge or microfiber cloth
- Mild dish soap
- Warm water
Steps:
- Unplug the microwave – Always disconnect the power before cleaning.
- Wipe down the interior – Use a damp sponge with warm, soapy water to clean the walls, ceiling, and turntable.
- Clean the turntable – Remove the glass tray and wash it separately with dish soap.
- Wipe the exterior – Clean the door, handle, and control panel with a damp cloth.
- Dry with a clean towel – Ensure all parts are completely dry before plugging the microwave back in.
Recommended Frequency: At least once a week to prevent buildup.
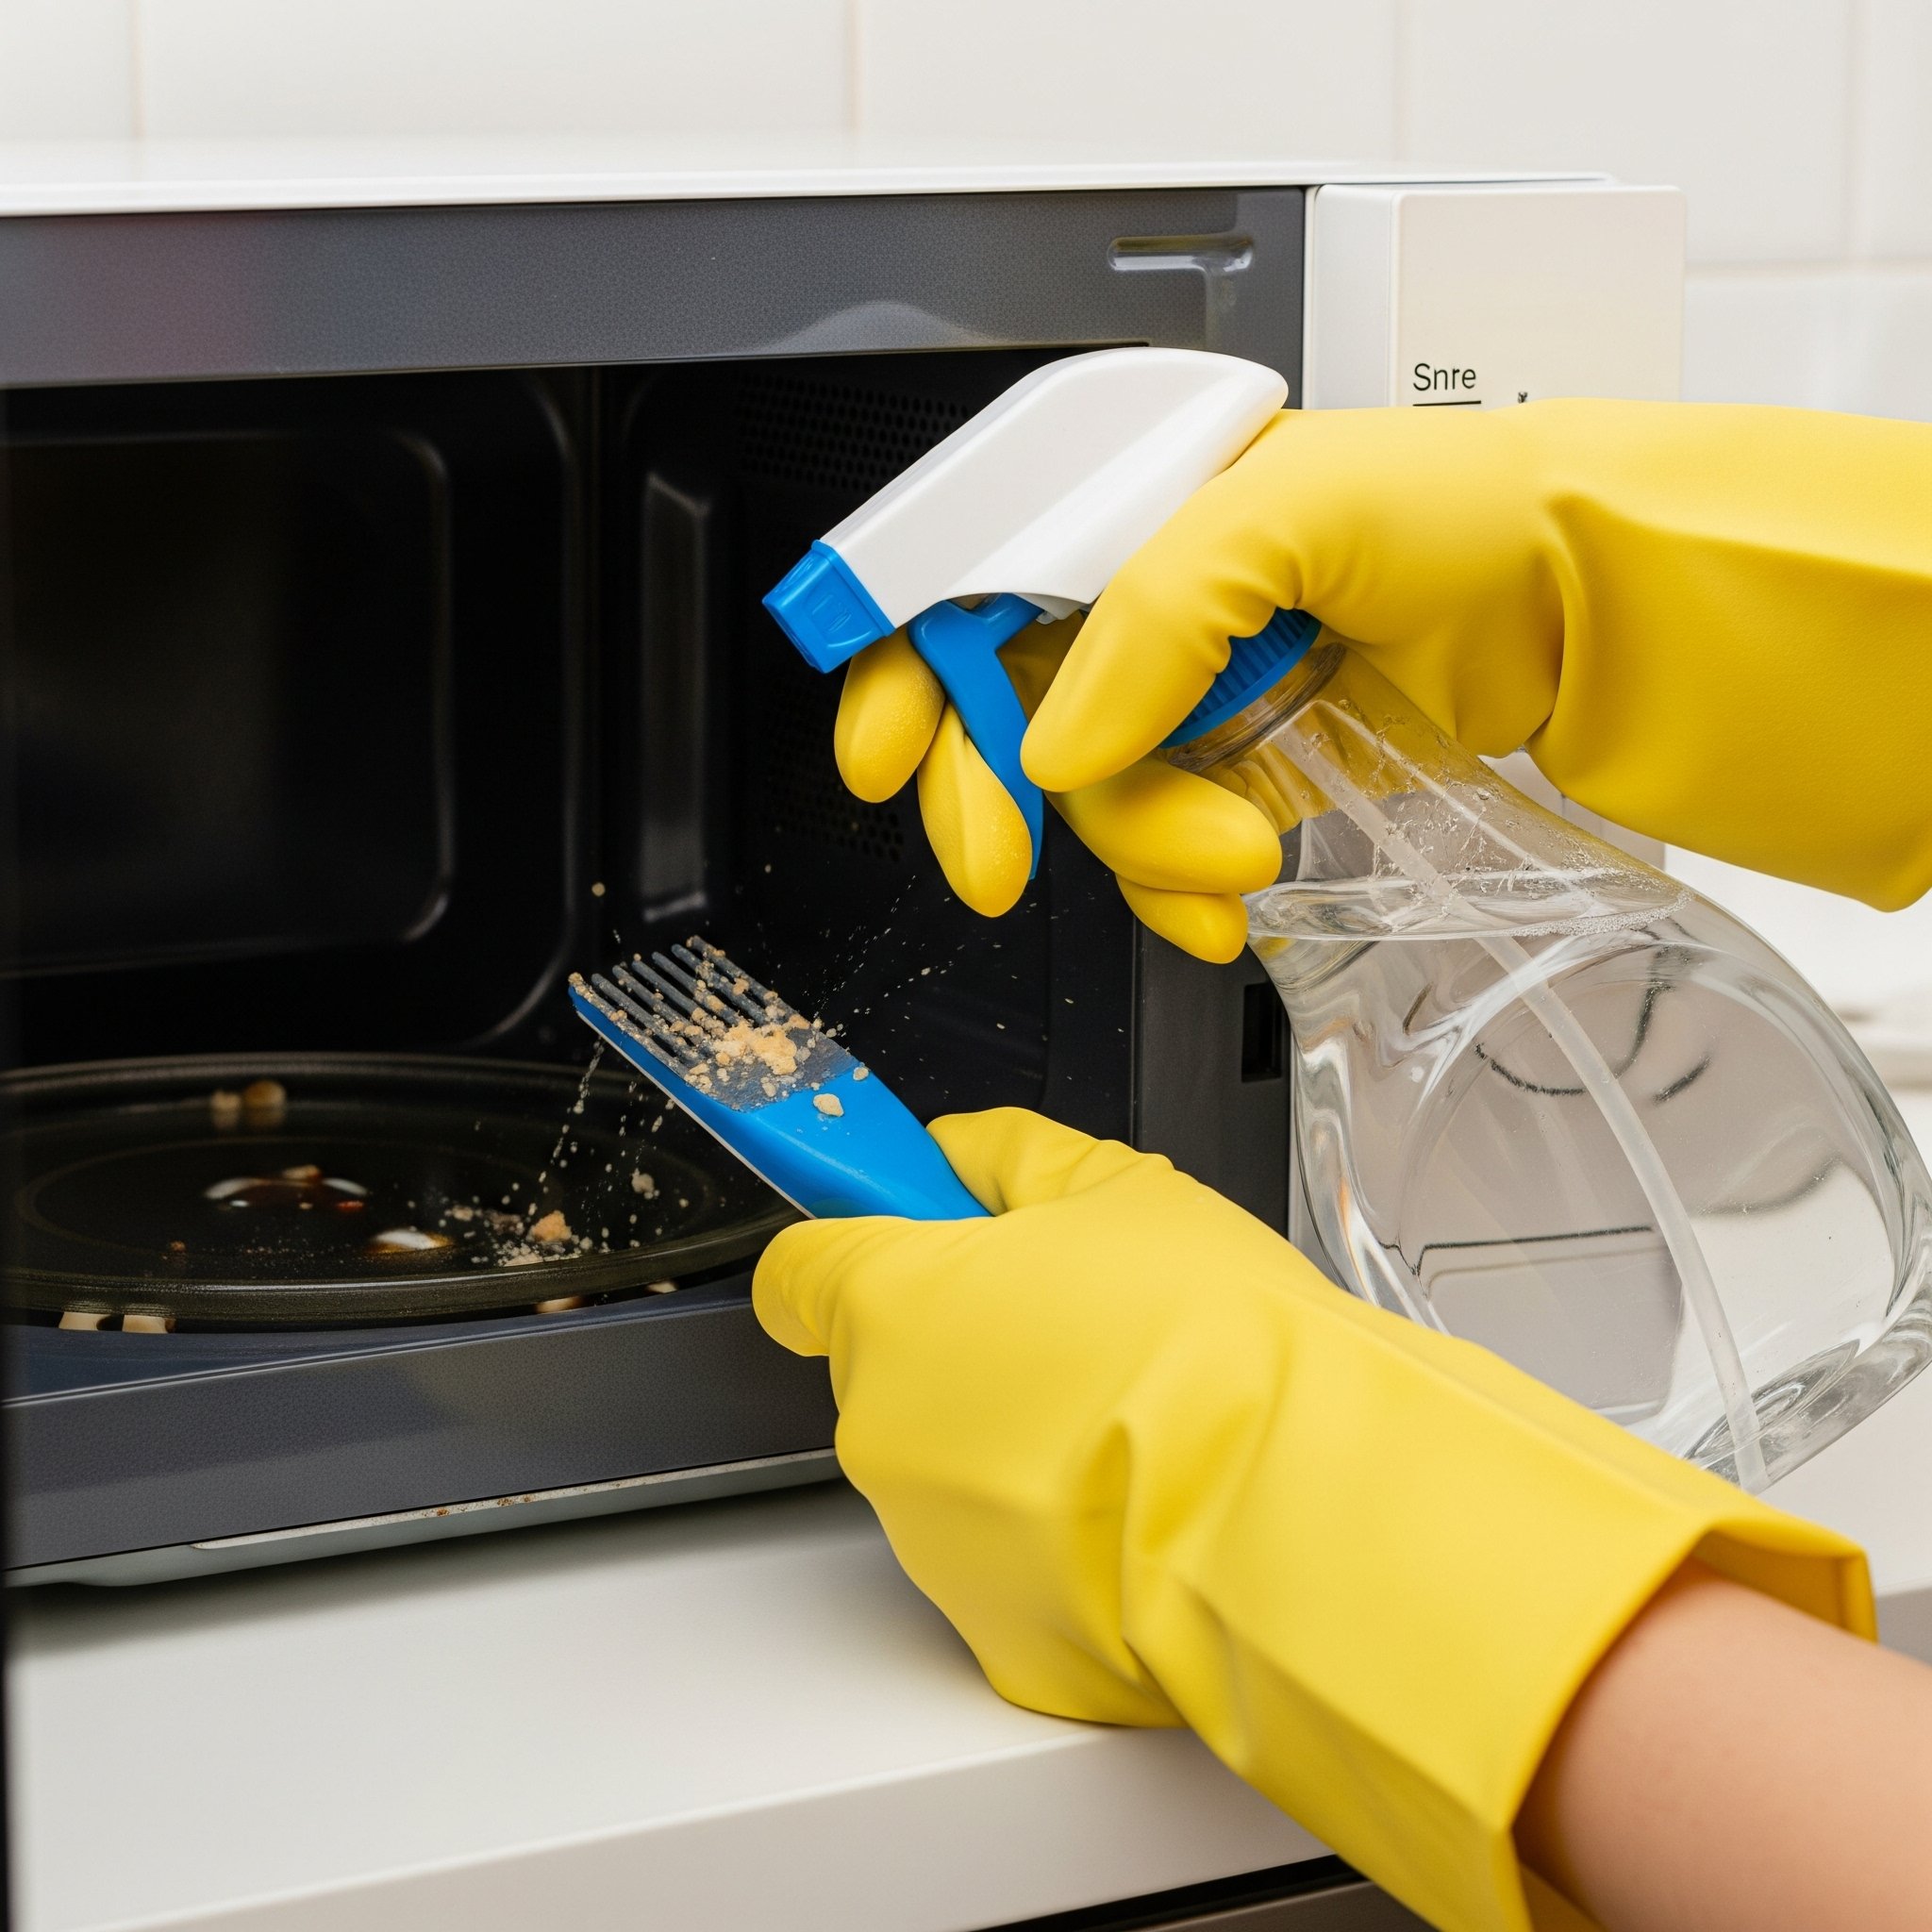
2. Steam Cleaning with Vinegar or Lemon (For Moderate Stains & Odors)
For stubborn stains and lingering odors, steam cleaning is the best solution.
What you need:
- 1 cup of water
- 2 tablespoons of white vinegar (or 1 sliced lemon)
- Microwave-safe bowl
- Sponge or cloth
Steps:
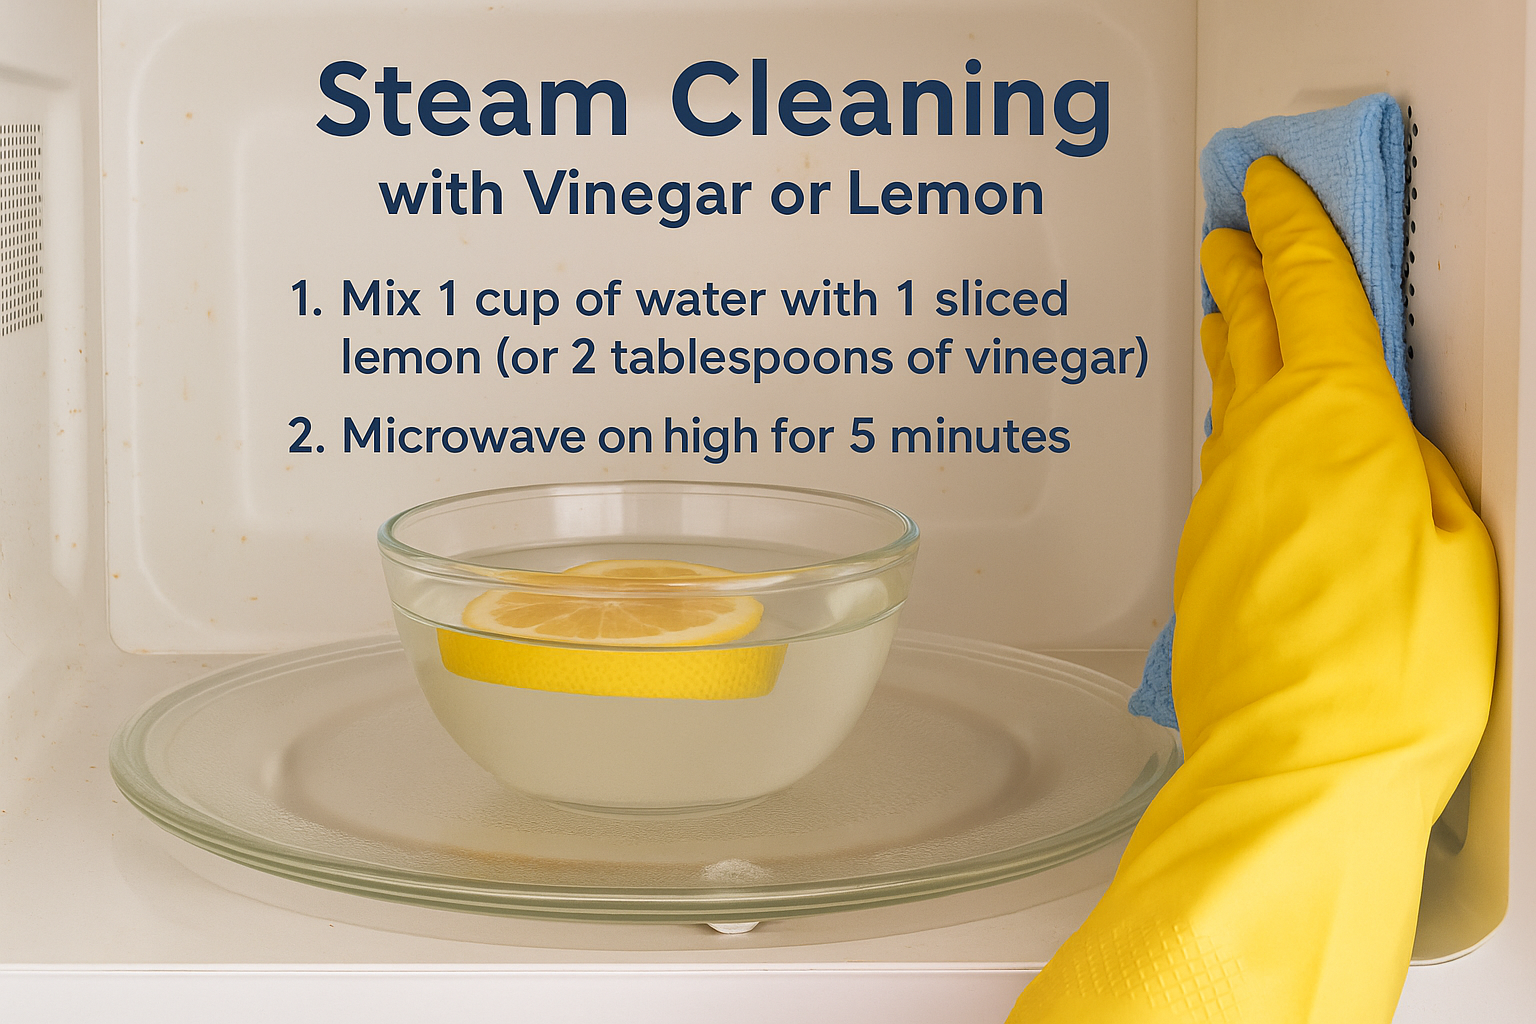
- Prepare the cleaning solution – Add 1 cup of water and 2 tablespoons of vinegar (or use sliced lemons) in a microwave-safe bowl.
- Microwave on high for 5 minutes – This creates steam that loosens dried-on food and grease.
- Let it sit for 2 minutes – Allow the steam to continue breaking down grime.
- Wipe down the interior – Use a sponge or cloth to remove softened debris.
- Clean the turntable & exterior – Wash the turntable separately and wipe the control panel with a damp cloth.
Recommended Frequency: Every 1-2 weeks to keep the microwave fresh and odor-free.
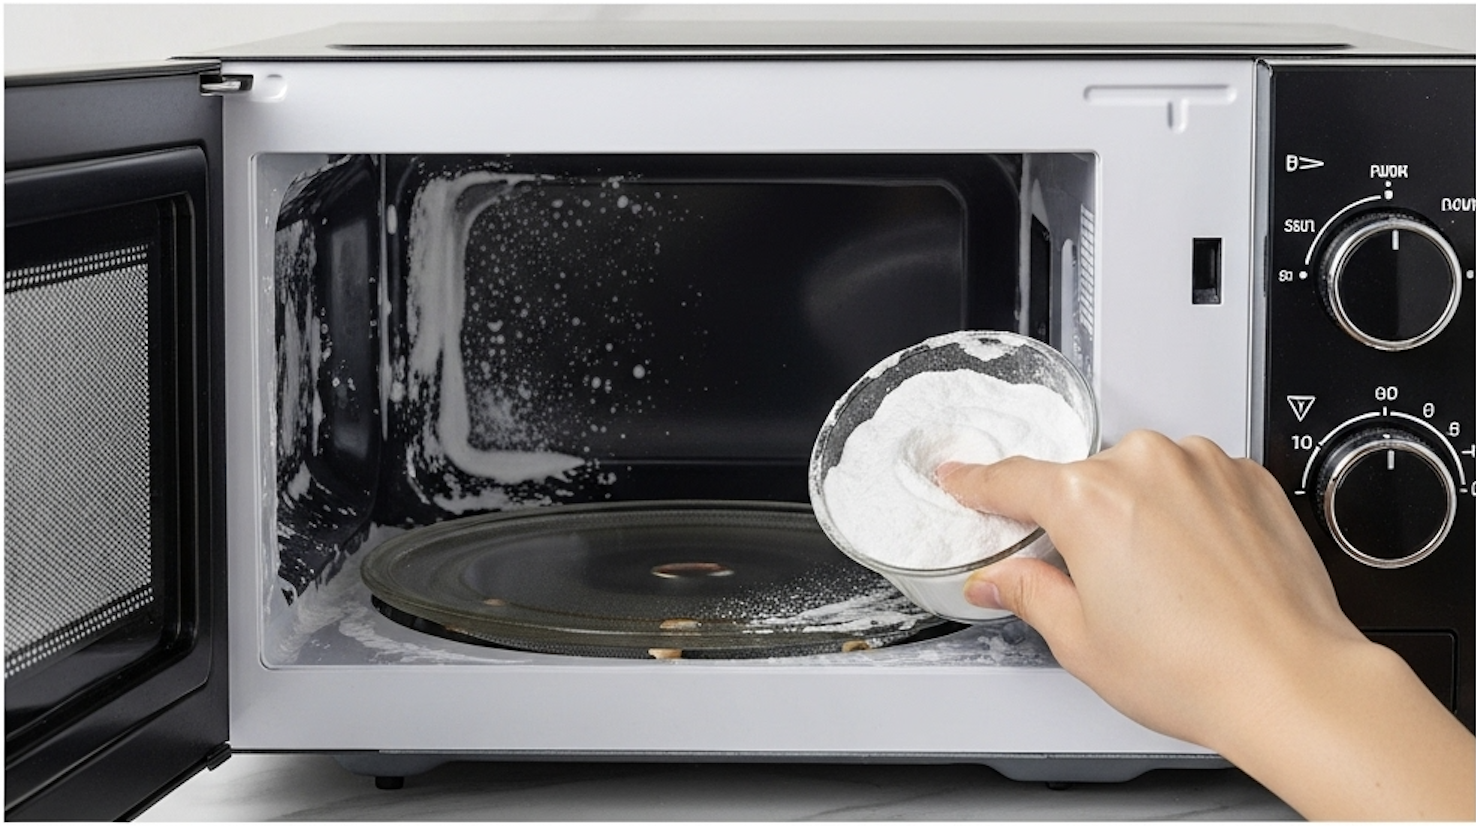
3. Deep Cleaning with Baking Soda (For Heavy Grease & Burnt Stains)
For tough stains, dried-on grease, or burnt food residue, a baking soda paste works best.
What you need:
- 3 tablespoons of baking soda
- Water (enough to form a thick paste)
- Sponge or scrub brush
Steps:
- Mix baking soda and water – Create a thick paste.
- Apply to stained areas – Focus on stubborn spots inside the microwave.
- Let sit for 5 minutes – This helps loosen grime.
- Scrub gently – Use a sponge or brush to remove stains.
- Wipe with a damp cloth – Clean off any residue and dry the microwave with a towel.
Recommended Frequency: Once a month or as needed for deep cleaning.
5 Maintenance Tips on Cleaning Microwave (and Keeping It Clean)
- Cover your food with a microwave-safe lid or paper towel to prevent splatters.
- Clean spills immediately to avoid them hardening.
- Never use metal or foil — it can cause sparks and fires.
- Check and clean vents/filters (especially for over-the-range microwaves).
- Wipe the door seal regularly to prevent leaks and maintain efficiency.
Final Thoughts
If you’ve been wondering “how to clean my microwave properly?”, the answer lies in a consistent cleaning and maintenance routine.
- Weekly: Quick clean with dish soap and water
- Every 1–2 weeks: Steam clean with vinegar or lemon
- Monthly: Deep clean with baking soda
- Ongoing: Follow prevention tips for long-term efficiency
Bonus Fact: According to Consumer Reports, properly maintaining a microwave can extend its lifespan by 30-50%, saving you money in the long run.
FAQ: How to Clean My Microwave
Q: Can I use bleach to clean my microwave?
A: It’s not recommended. Bleach can damage the interior and leave harmful fumes. Stick to natural cleaners like vinegar, lemon, and baking soda.
Q: What’s the fastest way to clean a microwave?
A: Steam cleaning with vinegar takes just a few minutes and is highly effective for loosening grime and deodorizing.
Q: How do I get rid of burnt smells in my microwave?
A: Use a steam cleaning method with lemon or vinegar, followed by wiping with baking soda paste for stubborn odors.
Contact Info
Address: 8 The Green, Ste A, Dover, Delaware 19901-3618, United States
Email: support@azparts.com
Check out more:
2. Microwave Making Noises? Here Are 5 Possible Causes
Microwave
Further Reading
Further Reading

Repair help
July 31, 2025
Microwaves are convenient appliances that help quickly heat and cook food in modern life. However, after a period of use, they may encounter various issues such as not heating, the turntable not spinning, the door not opening, or the control panel becoming unresponsive. These problems not only cause inconvenience but also affect the appliance’s performance and durability. In this article, AZParts will highlight 9 common microwave problems and suggest effective solutions so you can safely and cost-effectively fix them at home.

Review
July 31, 2025
When your trusty microwave starts acting up, you're faced with a common household dilemma: is it worth repariting a microwave or replace it? This decision becomes increasingly complex as technology advances and repair costs fluctuate. Understanding the key factors that influence this choice can save you both money and frustration. At AZParts, we specialize in providing genuine replacement parts for various appliances, including microwaves, helping homeowners make informed decisions about their kitchen equipment repairs.

How-To Guides
July 31, 2025
Your microwave works hard every day, heating meals and warming beverages countless times. Like any frequently used appliance, it needs regular maintenance to stay efficient and safe. Proper microwave maintenance extends your device's lifespan while ensuring optimal performance and food safety. At AZParts, we've created this comprehensive guide to help you maintain your microwave effectively at home, saving money on repairs and keeping your appliance running smoothly.

Repair help
July 31, 2025
Hearing strange sounds coming from your microwave? Whether it’s buzzing, humming, grinding, or clicking, unusual noises can be more than just annoying, they may be a sign of internal issues. If your microwave is making noise, it’s important to identify the source before it leads to a bigger problem. In this guide, join AZParts to explore five common causes and what you can do about them.

Repair help
July 30, 2025
Microwaves are essential for quick and convenient meals, but what happens when yours suddenly stops heating? If you’re dealing with the frustrating issue of your microwave not heating, there could be several reasons behind it. From simple problems like a faulty door latch to more serious internal failures, understanding the cause is the first step to finding a solution. In this guide, join AZParts to explore the most common reasons a microwave stops heating and what you can do to fix it, whether through a quick DIY check or by replacing a damaged part.