How-To Guides
How to Replace a Dishwasher Heating Element?
AZparts Team
Updated on July 11, 2025
8 min read
Is your dishwasher not drying the dishes properly, failing to heat the water, or displaying an error related to the heating system? The problem might be a damaged heating element. This is an essential part that heats the water and supports the drying process. Instead of calling a technician, you can replace the heating element yourself at home if you have the right tools and follow the safety instructions. In the guide below, AZParts will walk you through each step to help you complete the replacement easily and effectively.

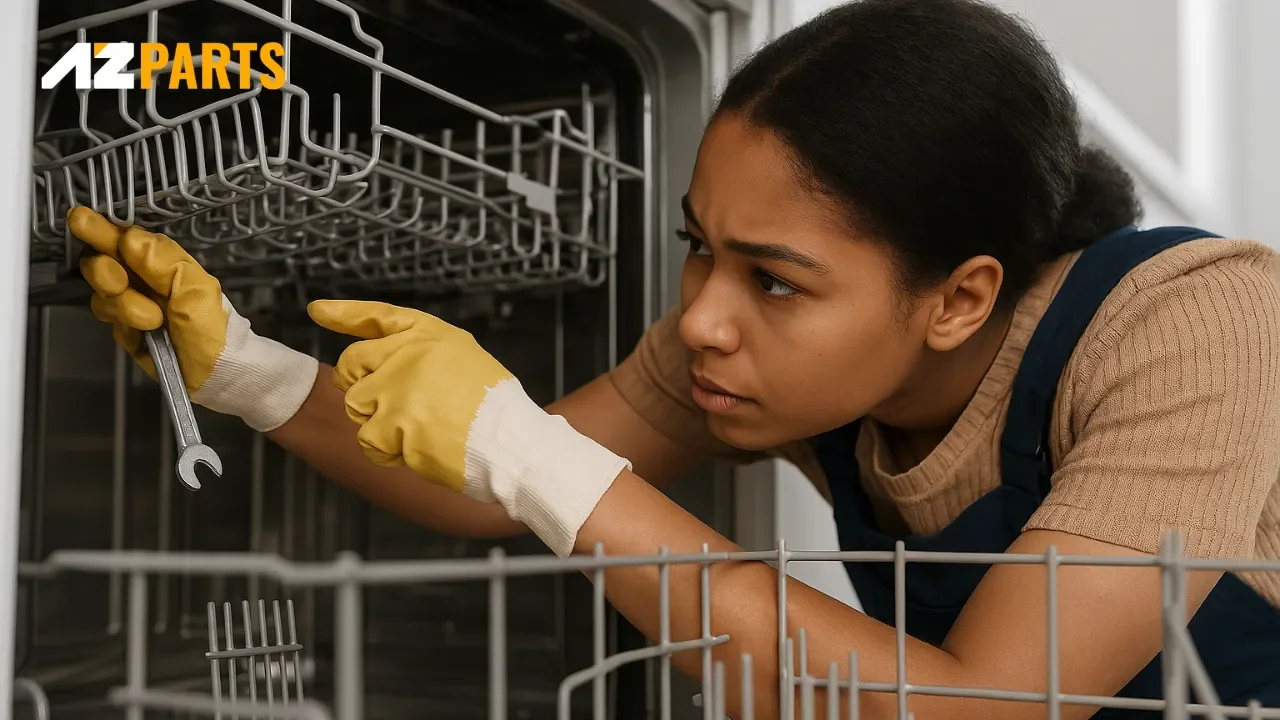
1. Signs Your Dishwasher Heating Element Needs Replacement
1.1 Dishes are still wet and cold after the drying cycle
When the dishwasher finishes its wash and dry cycle, the dishes should come out dry and slightly warm thanks to the heat produced by the heating element. If you notice that the dishes remain wet and cold, especially when using the heated dry setting, it's likely that the heating element is faulty or not working properly. This can be inconvenient and may also increase the risk of bacterial growth if damp dishes are stored away.

Dishes are still wet and cold after the drying cycle (Source: AZParts)
1.2 The wash cycle takes longer than usual
Modern dishwashers are designed to optimize wash time based on certain conditions, and water temperature is a key factor. If the heating element is not functioning, the dishwasher may take longer to heat the water or repeat some steps to ensure proper cleaning. This can lead to extended cycle times and higher energy and water usage.
1.3 The machine shows a heating system error
Many dishwashers today are equipped with sensors and self-diagnostic features. If the unit detects an issue with the heating system, such as a faulty element, overheating, or a disconnected wire, it may display an error code on the control panel or emit warning signals like blinking lights or beeping sounds. When this happens, refer to the user manual to understand the error code and determine the appropriate repair or replacement steps.
1.4 Water doesn't reach the required temperature
The heating element is essential for raising the water temperature to the ideal level for cleaning, usually between 50°C and 70°C depending on the selected cycle. Hot water helps dissolve detergent, remove grease, and sanitize dishes. If the water feels cold or just slightly warm during the wash, the heating element may no longer be working efficiently. Without hot water, dishes may not be properly cleaned, especially if they have oily or stuck-on residue.
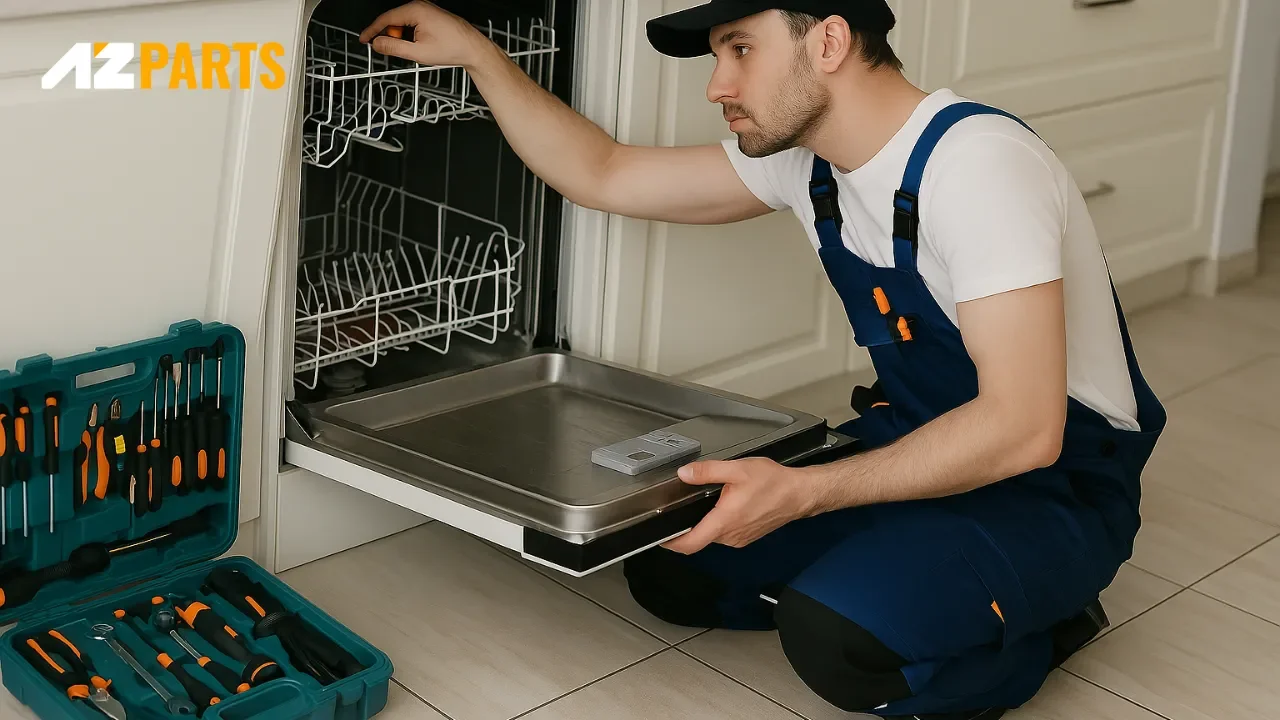
2. What You’ll Need for the Job
Before you begin replacing the heating element, make sure you have all the necessary tools and materials prepared to ensure the process goes smoothly and safely:
- Protective gloves
- Socket wrench or adjustable wrench
- Channel lock pliers
- Dual-head screwdriver (Phillips and flathead)
- Towel or waterproof mat
- Lubricant or appliance-safe grease
- Compatible replacement heating element
- (Optional) Hose clamps
- Dishwasher model number
The necessary tools and materials prepared to ensure the process goes safely (Source: AZParts)
3. Safety First – Before You Begin
Before starting any repair involving both electricity and water, such as replacing the heating element in a dishwasher, safety must always be the top priority. Improper handling can lead to water leaks, short circuits, or even electric shock. To ensure complete safety, follow these steps:
- Turn off the power at the circuit breaker: Switch off the circuit breaker that supplies electricity to the dishwasher. This cuts off all electrical current to the appliance and eliminates the risk of electric shock during disassembly.
- Shut off the water supply valve: Close the main water valve connected to the dishwasher to stop water from flowing into the machine. This helps prevent water from spilling or leaking when disconnecting hoses.
- Unplug the dishwasher: Even after turning off the circuit breaker, you should still unplug the dishwasher from the wall outlet to make sure no residual electricity is present.
- Disconnect the water inlet and drain hoses: Use your hands or appropriate tools to detach both the water supply hose and the drain hose. Be prepared for a small amount of water to remain in the hoses, so have a towel or small container ready to catch any spills.
- Place a towel or waterproof mat under the dishwasher: Lay a large towel, kitchen rag, or waterproof mat underneath the base of the dishwasher. This will absorb any water that may leak during the process and help keep your work area clean and dry.
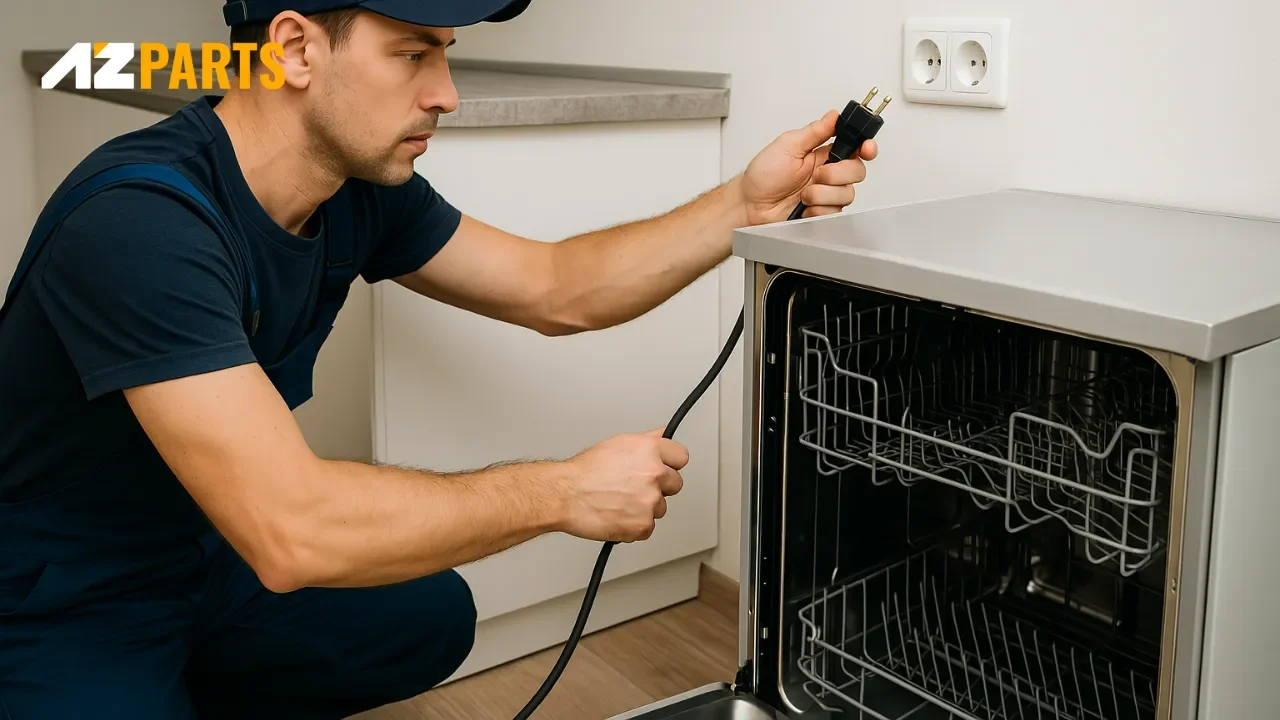
Before starting repair you should turn off the power and shut off the water supply valve (Source: AZParts)
4. Step-by-Step Instructions to Replace the Heating Element
Step 1: Remove the front access panels
Use a suitable screwdriver to remove the lower kick plate and the front access panel of the dishwasher. These panels cover important electrical components and plumbing connections. Once removed, place the screws in a small tray or bag to avoid losing them, as you will need them later when reassembling the unit.
Remove the lower kick plate and the front access panel of the dishwasher (Source: AZParts)
Step 2: Detach the mounting brackets and pull the dishwasher out
Unscrew the mounting brackets that secure the top of the dishwasher to the underside of the countertop. Once the brackets are removed, gently pull the dishwasher out a few inches, or completely if space allows. Then, carefully lay the dishwasher on its back on a towel or soft mat to access the bottom of the unit where the heating element is located.
Step 3: Disconnect the old heating element
Look underneath the dishwasher to locate the two terminal connections of the heating element. Before disconnecting any wires, take a photo or mark each wire to ensure you reconnect them correctly later. Gently pull the wires off the terminals. Then use a wrench or adjustable spanner to remove the nuts securing the element. After that, open the dishwasher door and carefully pull the old heating element out from inside the tub.
Step 4: Install the new heating element
Before installation, apply a small amount of lubricant or appliance-safe grease to the ends of the new heating element. This helps it slide in more easily and ensures a watertight fit. Insert the new element into position inside the tub. From underneath, reattach and tighten the mounting nuts using a wrench. Reconnect the wires to the correct terminals, referring to the photo or markings you made earlier. Finally, pour a small amount of water into the tub and check the bottom for any leaks.
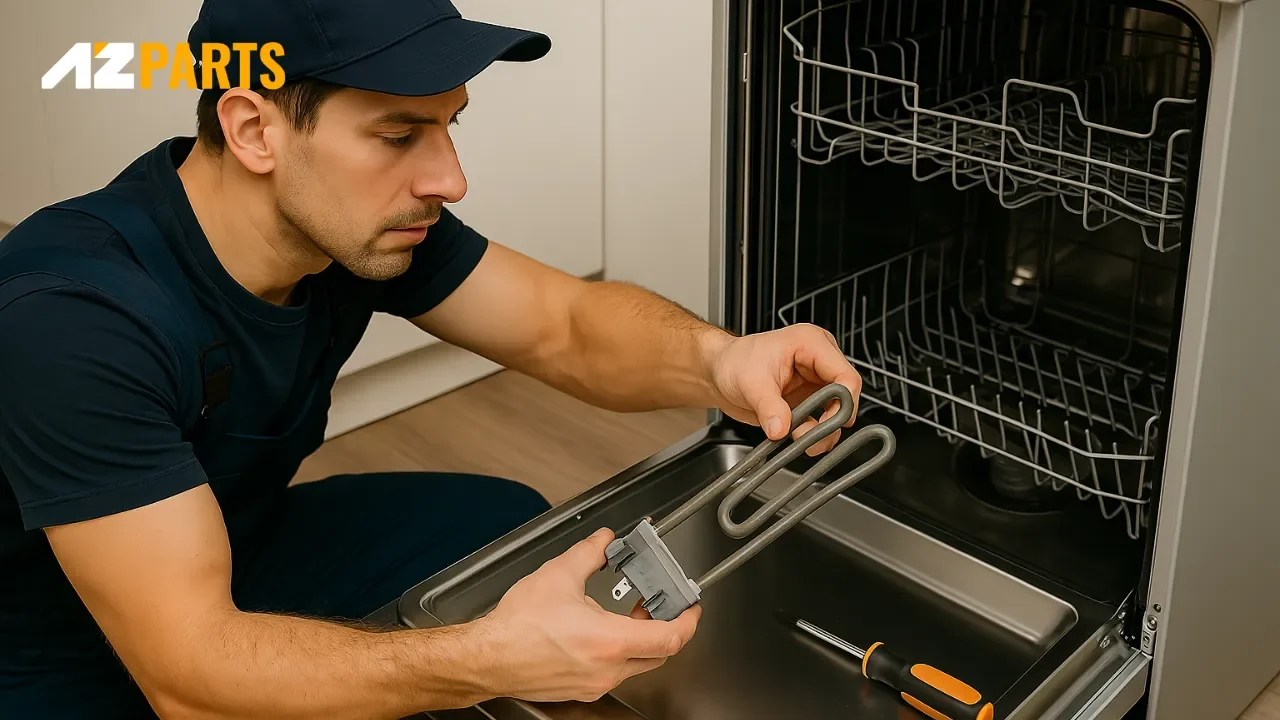
Install the new heating element (Source: AZParts)
Step 5: Reassemble the dishwasher
Once you are sure the new element is securely installed and there are no leaks, return the dishwasher to an upright position. Gently slide it back into its place under the counter. Use a screwdriver to reattach the mounting brackets and secure the unit. Then reinstall the access panels you removed earlier and tighten the screws to hold them in place.
Step 6: Reconnect the water and power supply
Reattach both the water inlet hose and the drain hose to their original positions. Make sure all connections are tight and secure. Turn the water supply valve back on. Finally, plug the dishwasher back into the power outlet or flip the circuit breaker switch to restore power. You can now run a short test cycle to ensure the machine operates correctly and the new heating element functions as expected.
Reattach both the water inlet hose and the drain hose to their original positions (Source: AZParts)
5. Common Questions About Dishwasher Heating Element Replacement
5.1 How do I know if the heating element is faulty?
Common signs that the heating element may be faulty include dishes remaining wet and cold after the wash cycle, water not reaching the required temperature, unusually long wash cycles, or the machine displaying an error code related to the heating system. If you frequently encounter these issues, it’s a good idea to inspect the heating element and consider replacing it.
5.2 Can I do this repair myself or should I call a technician?
You can absolutely replace the heating element yourself if you have the proper tools, a compatible part, and follow the safety instructions carefully. However, if you’re not comfortable working with electrical or plumbing components, or if your dishwasher has a more complex structure, it’s best to hire a professional technician to avoid damage or safety risks.
5.3 How long does it take to replace a heating element?
Replacing the heating element typically takes between 45 minutes and 1 hour, depending on your familiarity with the process, the space you’re working in, and the type of dishwasher. If it’s your first time, allow at least an hour to work carefully and safely.
5.4 How much does it cost to replace a dishwasher heating element?
The cost of the replacement part usually ranges from $30 to $120, depending on the brand and model. If you hire a technician, labor costs can add another $75 to $150, depending on your location.
Replacing a dishwasher’s heating element may sound intimidating, but with the proper tools, clear step-by-step guidance, and attention to safety, it’s a manageable task for most homeowners. Since the heating element is essential for both effective cleaning and drying, addressing issues early can help maintain your dishwasher’s performance, reduce energy consumption, and prevent larger problems down the line.
For reliable dishwasher parts, you can explore options at AZParts, where you’ll find a wide range of heating elements designed to fit various models from trusted brands such as Whirlpool Dishwasher part, Bosch Dishwasher part, Electrolux Dishwasher part, and others. Selecting a compatible part ensures a smoother installation process and helps restore your dishwasher to optimal working condition.
Contact Information:
8 The Green, Ste A, Dover, Delaware 19901-3618, United States
Learn more about fixing common dishwasher problems:
Dishwasher
Further Reading
Further Reading

How-To Guides
December 28, 2025
If your dishes come out dirty or your dishwasher seems less effective, clogged spray arms might be the reason. This guide from AZParts explains how to clean dishwasher spray arms step by step and answers common questions to keep your dishwasher running smoothly. You’ll also find trusted replacement spray arms and other quality parts to keep your machine performing like new.

Review
December 4, 2025
Have you ever wondered what’s inside a dishwasher and how its dishwasher inside parts work together to get your dishes spotless? Understanding the internal components of your dishwasher not only helps with troubleshooting but also prepares you for installing or replacing dishwasher parts confidently at home. In this comprehensive guide, AZParts breaks down each major dishwasher inside part, explaining how it functions and what to check when maintenance or replacement is needed.
_1748246700.jpg&w=3840&q=75 "How to Replace a Broken Dishwasher Door Spring Fast")
How-To Guides
November 28, 2025
A broken dishwasher door spring can make your appliance feel heavy, unstable, or difficult to open and close. If you're dealing with a loose or slamming door, it’s likely time for a replacement. In this article, AZParts will walk you through replacing a dishwasher door spring using three simple methods, whether you're fixing a detached spring or installing a full link kit.

How-To Guides
October 10, 2025
If your dishwasher isn’t draining properly or making strange noises, it may be time to replace the dishwasher pump. While calling a technician is an option, many homeowners can handle the replacement themselves with the right tools and clear instructions. In this guide, you'll learn how to safely and efficiently replace your drain pump at home—and where to find trusted replacement parts from AZParts.

How-To Guides
July 30, 2025
The Frigidaire dishwasher saves time and effort but may face issues like not starting, weak cleaning, leaks, or poor drying that affect its performance. In this guide, AZParts offers detailed instructions on how to troubleshoot common issues with Frigidaire dishwashers, along with helpful maintenance tips to ensure long-lasting and stable operation.