How-To Guides
How to Tune up Lawn Mower in Just a Few Easy Steps
AZparts Team
Updated on July 24, 2025
16 min read
To keep your lawn mower running smoothly and efficiently throughout the mowing season, regular maintenance or a tune-up is essential. A well-tuned mower not only cuts grass more effectively but also uses less fuel and extends the life of the engine. In this article, AZParts will walk you through a simple step-by-step guide to tune up your lawn mower at home, including changing the oil, checking the spark plug, cleaning or replacing the air filter, and sharpening the blade.

1. When Should You Tune Up a Lawn Mower?
The ideal time to tune up your lawn mower is before the growing season begins specifically in late winter to early spring. This timing ensures your machine is ready to perform at its best when your lawn needs it most.
Many homeowners make the mistake of waiting until their grass is already overgrown, only to find their mower sluggish, smoking, or refusing to start. By then, it’s too late for a stress-free fix. Tune-ups require time whether you’re replacing spark plugs, cleaning filters, or sharpening blades and repair shops tend to get overwhelmed once lawn care season kicks off.
Why late winter or early spring?
- Parts are easy to find – Most stores are fully stocked after winter inventory resets.
- Avoid the spring repair rush – Technicians are more available and turnaround is faster.
- Save money – Catching minor issues early can prevent expensive repairs later.
- Better for your lawn – A mower in top shape cuts cleaner, helping your grass stay healthy.
Pro tip: Even if you didn’t use your mower much last season, don’t skip the tune-up. Fuel can go stale, oil breaks down, and moisture can cause corrosion. A quick check-up now avoids frustration later.

You should tune up your lawn mower is before the growing season (Source: AZParts)
2. Safety First: Pre-Tune-Up Checklist
2.1. Stabilize the Power Source
If there’s gasoline left in the fuel tank, take precautions to prevent spills:
- Either drain the fuel tank completely, or run the mower until it runs out of gas.
- Seal the tank: Remove the gas cap, place a small plastic bag over the opening, then screw the cap back on. This creates a makeshift seal to reduce the chance of leaking when you tilt the mower.
Pro Tip: Keep a fire extinguisher nearby if fuel is present. Gasoline fumes are highly flammable, better safe than sorry.
2.2. Disconnect the Spark Plug
This is one of the most important safety steps.
- Disconnect the spark plug wire or cable to eliminate the risk of accidental engine ignition.
- Always do this before working near the blade, changing the oil, or cleaning components.
Even a slight movement of the blade can trigger the engine to start. Disconnecting the spark plug keeps you safe.
2.3. Work in a Well-Ventilated Area
- Perform your tune-up outdoors or in a garage with good airflow.
- Gas fumes, cleaning sprays, and oil vapors can build up quickly in enclosed spaces and pose health or fire risks.
- Lay down a piece of cardboard or tarp to catch oil and debris, and keep a drain pan and clean rags handy.
Tune up lawn mower in a well-ventilated area (Source: AZParts)
2.4. Recommended Safety Gear:
- Safety glasses
- Heavy-duty work gloves
- Disposable gloves for handling oil or fuel
- Closed-toe, non-slip footwear
Taking time to prepare a safe and organized workspace will make your tune-up smoother, safer, and far more efficient.
3. How to Tune up Lawn Mower
3.1. Step 1: Clean the Mower (Deck & Undercarriage)
Before you begin tuning up your lawn mower, it’s essential to give the deck and undercarriage a thorough cleaning, especially if it was stored last season without a proper wash. Built-up grass clippings and dirt can impact performance and even promote rust.
- Start by preparing a cleaning solution: Mix warm water with a few tablespoons of dish soap (Dawn works well) in a spray bottle and shake to combine.
- Position the mower correctly: Instead of tilting it onto its side which can cause oil to seep into the carburetor or muffler gently lean it back onto its rear wheels. Use a couple of 2x4 boards to prop it up securely or place a heavy object over the handle to keep it steady.
- Protect the blade: For safety, wrap an old towel around the mower blade, or use a pool noodle cut lengthwise as a protective cover.
- Loosen and remove debris: Spray the underside of the mower deck with a garden hose to dislodge thick, dried-on grass. Then use a 1.5-inch putty knife to scrape off any remaining buildup. Be careful not to damage the metal.
- Scrub and rinse: Apply the soapy solution generously to the deck underside, then scrub thoroughly with a stiff-bristle brush. Rinse with clean water and allow the area to dry completely.
- Prevent future buildup: Once dry, apply a rust-inhibiting spray to the underside of the deck. This not only helps reduce grass clumping and sticking but also protects the metal from corrosion over time.
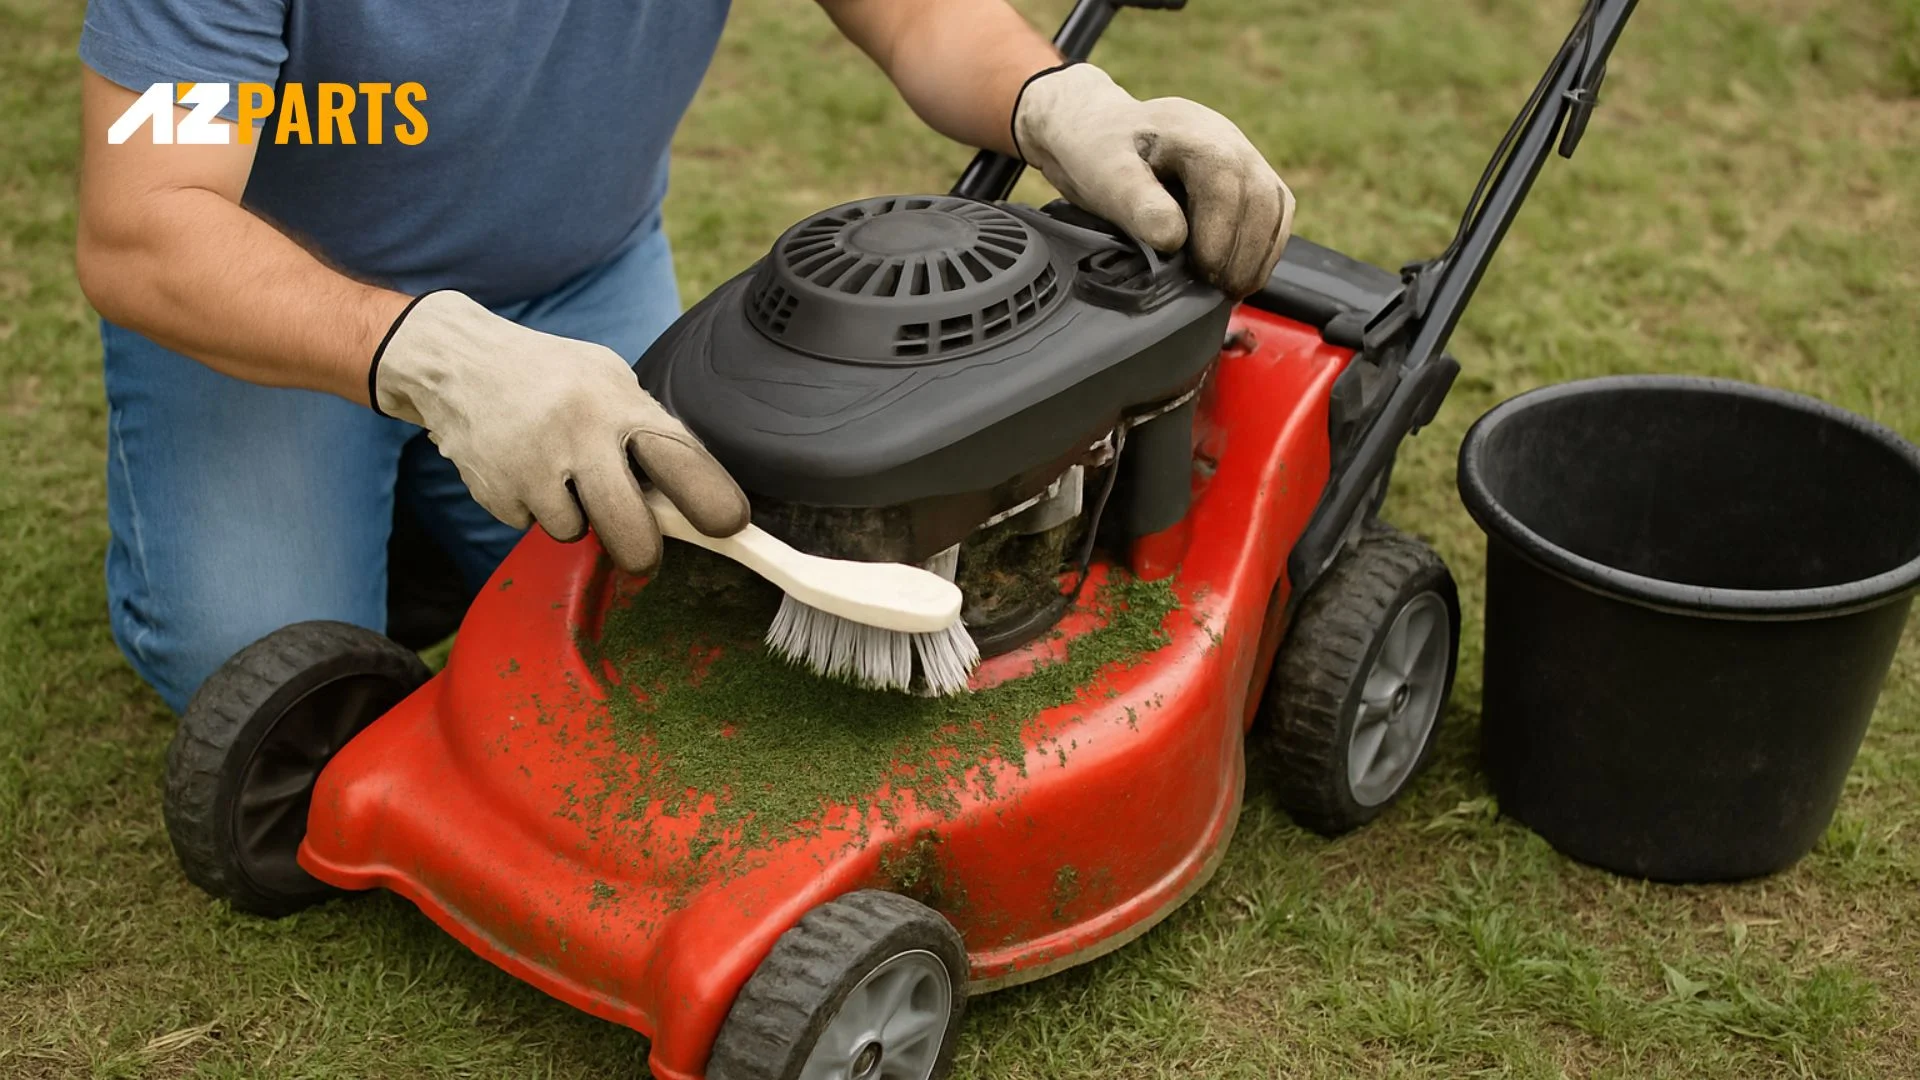
Clean the mower to remove grass clippings and dirt (Source: AZParts)
3.2. Step 2: Change the Engine Oil
Changing the engine oil is one of the most important steps in your lawn mower tune-up. Over time, engine oil becomes contaminated with moisture, carbon deposits, and dirt from the combustion process, reducing its effectiveness. Fresh oil protects engine components and extends the mower’s lifespan.
Before You Begin: Check your mower’s manual to determine whether it has an oil drain plug or uses the “tip-and-drain” method. Also, confirm if it has a replaceable oil filter.
Method 1: With a Drain Plug
- Prepare the Setup:
- Tilt the mower onto its back wheels—not its side—to avoid oil leaking into the carburetor or muffler.
- Place flattened cardboard beneath the engine and set a drain pan on top.
- Stabilize the mower using 2x4s or something heavy across the handle.
- Drain the Old Oil:
- Wipe the area around the oil dipstick clean with a lint-free cloth.
- Remove the dipstick.
- Locate the drain plug and clear any dirt around it.
- Use a wrench or socket to unscrew the plug counterclockwise.
- Allow all oil to drain into the pan.
- Clean & Reinstall the Plug:
- Wipe the plug threads clean and inspect the gasket or O-ring. Replace if damaged.
- Hand-tighten the plug back in place, then snug it an extra half-turn using your wrench. Do not overtighten.
- Optional: Replace the Oil Filter
- If your mower has one, unscrew the old filter using an oil filter wrench.
- Ensure the old rubber gasket isn’t stuck to the engine.
- Clean the mounting surface with a degreaser.
- Lightly coat the new filter gasket with fresh oil before installing.
- Screw the new filter on by hand until it contacts the base, then tighten it another ¼ to ½ turn.
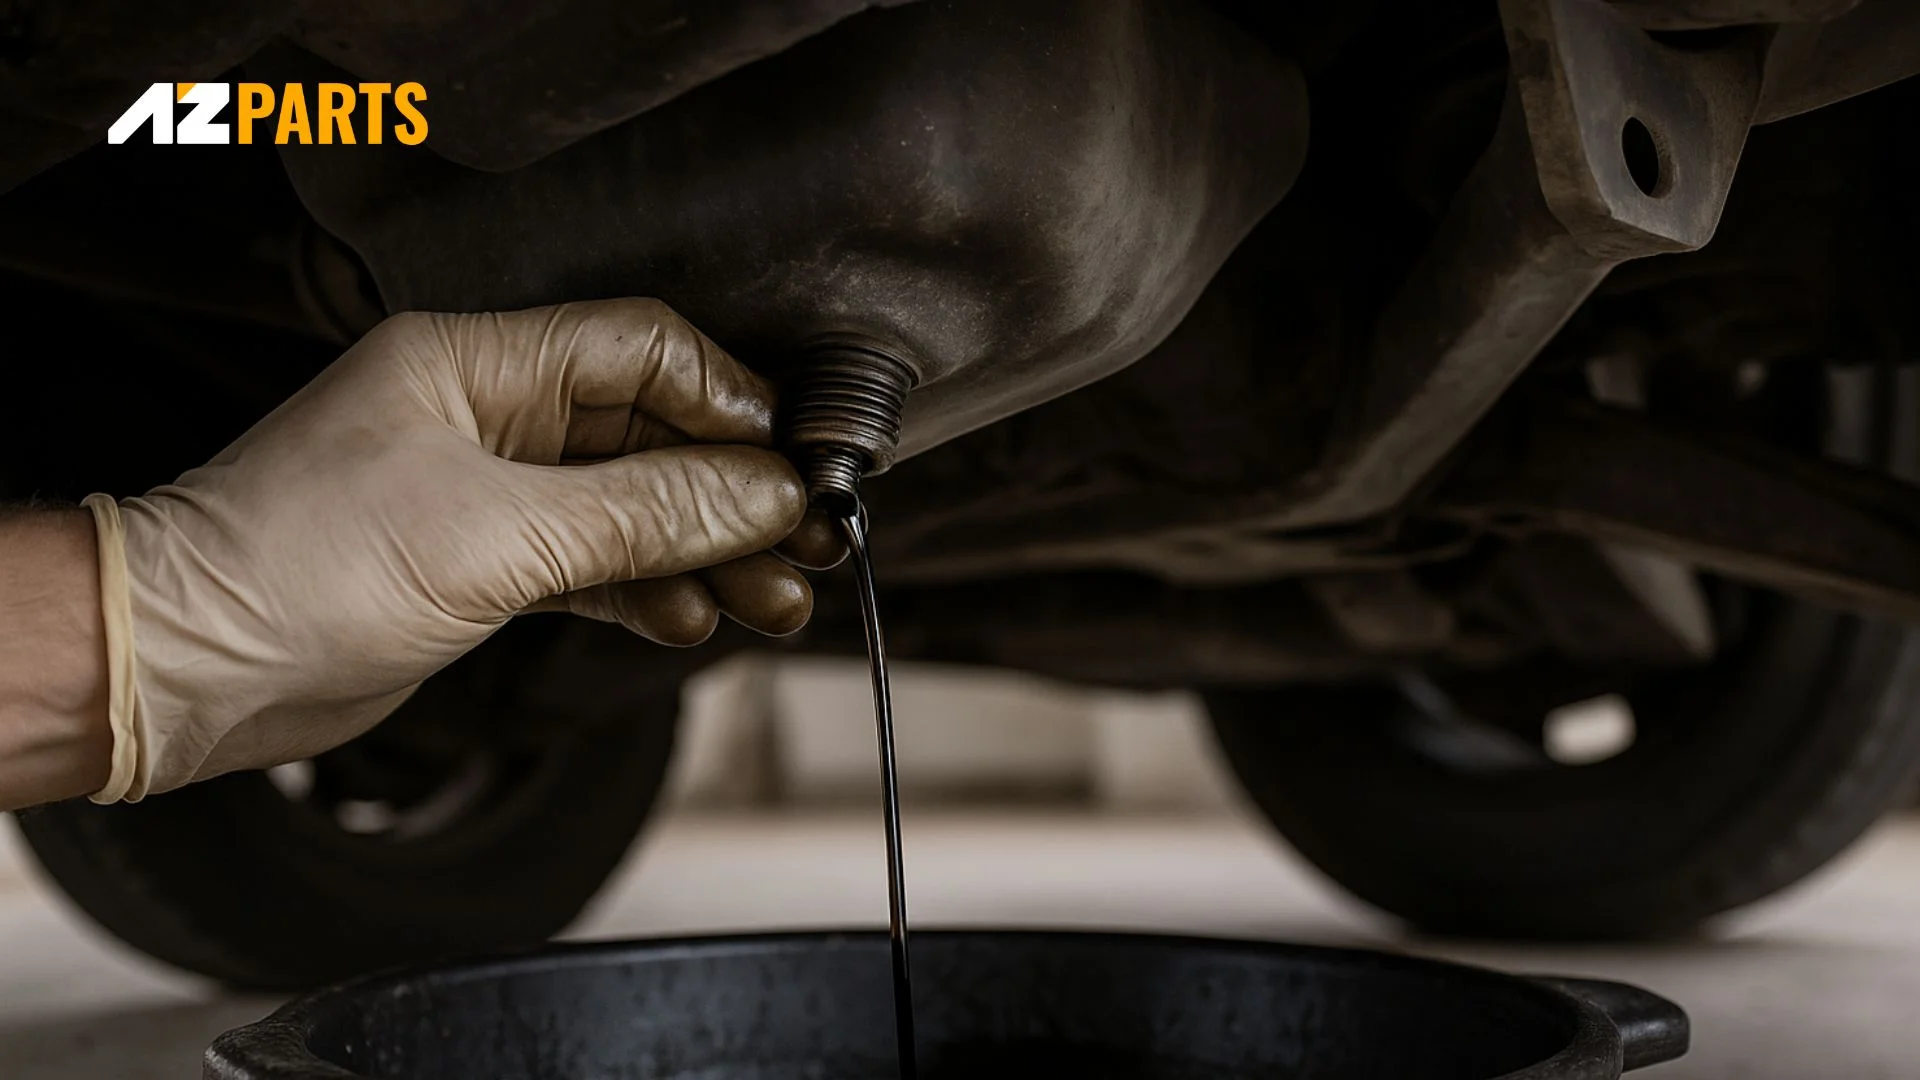
Chang new oil with a drain plug (Source: AZParts)
Method 2: Without a Drain Plug
- Get Ready:
- Clean around the oil fill cap and dipstick.
- Remove the dipstick.
- Place a drain pan and cardboard beside the mower, on the side where the dipstick is located.
- Drain the Oil:
- Carefully tilt the mower onto its side so the oil drains out of the fill tube into the pan.
- Keep tilting until the flow stops.
- Return Mower to Upright Position: Lower the mower back down and proceed to refill with fresh oil.
Pro Tips:
- Use a funnel when refilling to avoid messy spills.
- Add oil slowly, checking the dipstick frequently to avoid overfilling.
- Dispose of old oil properly. Never dump it down the drain or in the trash. Most auto shops or recycling centers accept used oil at no cost or a small fee.
- If you regularly service multiple small engines (like snow blowers or generators), consider investing in a fluid transfer lawn mower fuel pump or oil syringe to make oil changes cleaner and easier.
High-quality lawn mower fuel pump at AZParts (Source: AZParts)
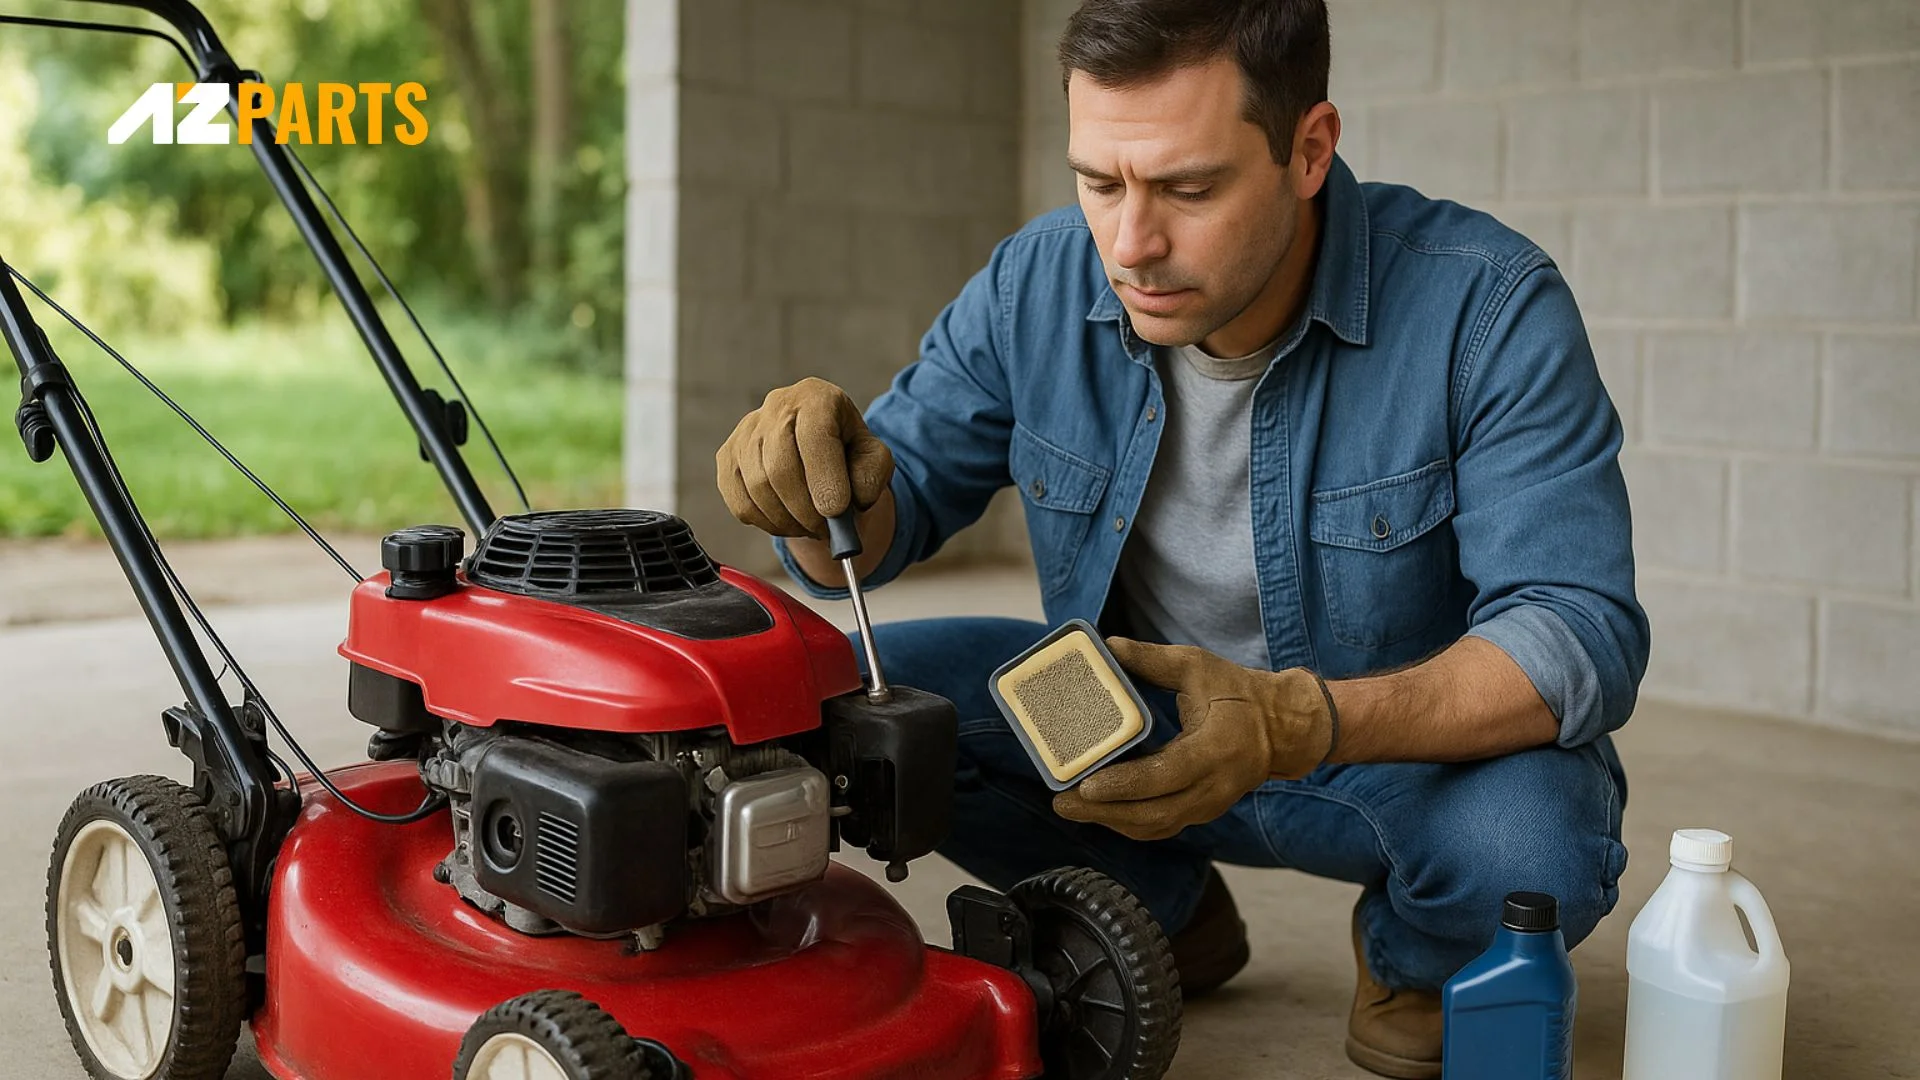
3.3. Step 3: Replace the Air Filter
Your mower’s engine depends on a clean air filter to ensure the right mix of air and fuel. Over time, dust, grass, and debris clog the filter, which can disrupt airflow, reduce fuel efficiency, and even prevent the engine from starting. Replacing the lawn mower air filter is a simple but essential maintenance step.
How to Replace the Air Filter:
- Find the Air Filter Housing: Look for a plastic or metal cover on the side of the engine, often secured with one or two screws or clips.
- Remove the Old Filter:
- Loosen the retaining screw(s) and remove the cover.
- Take out the old air filter. If your model has a foam pre-filter, remove that as well.
- Clean the Filter Housing:
- Cover the air intake with a clean rag to prevent debris from getting inside.
- Use a clean cloth dampened with a mild degreaser or dish soap solution (like diluted Dawn) to wipe away dust, grime, or dried grass from the housing.
- Allow the area to dry completely before continuing.
- Clean or Replace the Foam Pre-Filter (if applicable):
- If your mower includes a foam pre-cleaner, wash it in warm, soapy water.
- Rinse thoroughly and let it air dry completely before reinstalling.
- Note: Foam filters tend to wear out after 1–2 seasons and should be replaced if deteriorated.
- Install the New Filter:
- Remove the rag from the air intake.
- Place the new air filter into the housing, making sure it fits snugly.
- Reattach the cover and tighten the screws or clips to secure it in place.
Tip: Most lawn mower air filters should be replaced at least once per mowing season, or more often in dusty environments. Keeping the filter clean helps maintain optimal fuel efficiency and engine performance.
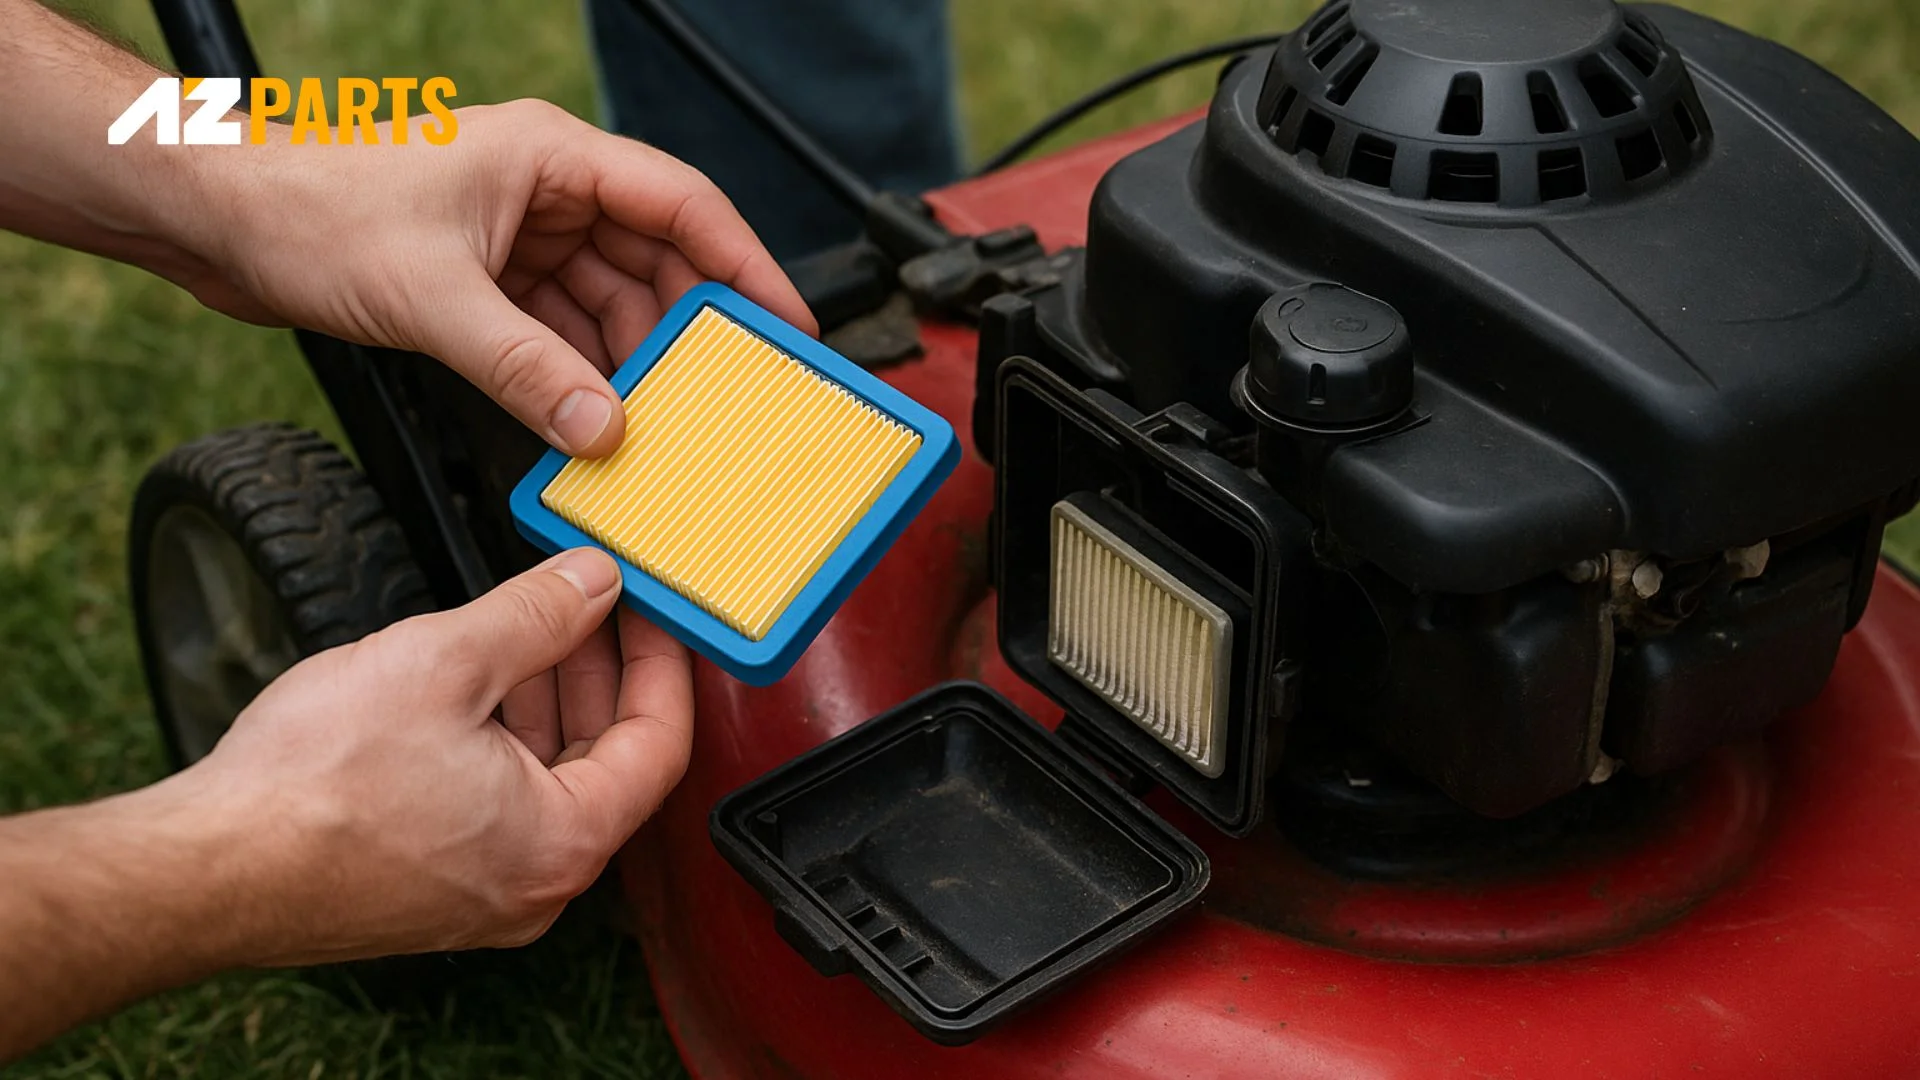
Remove old filter before replacing new filter (Source: AZParts)
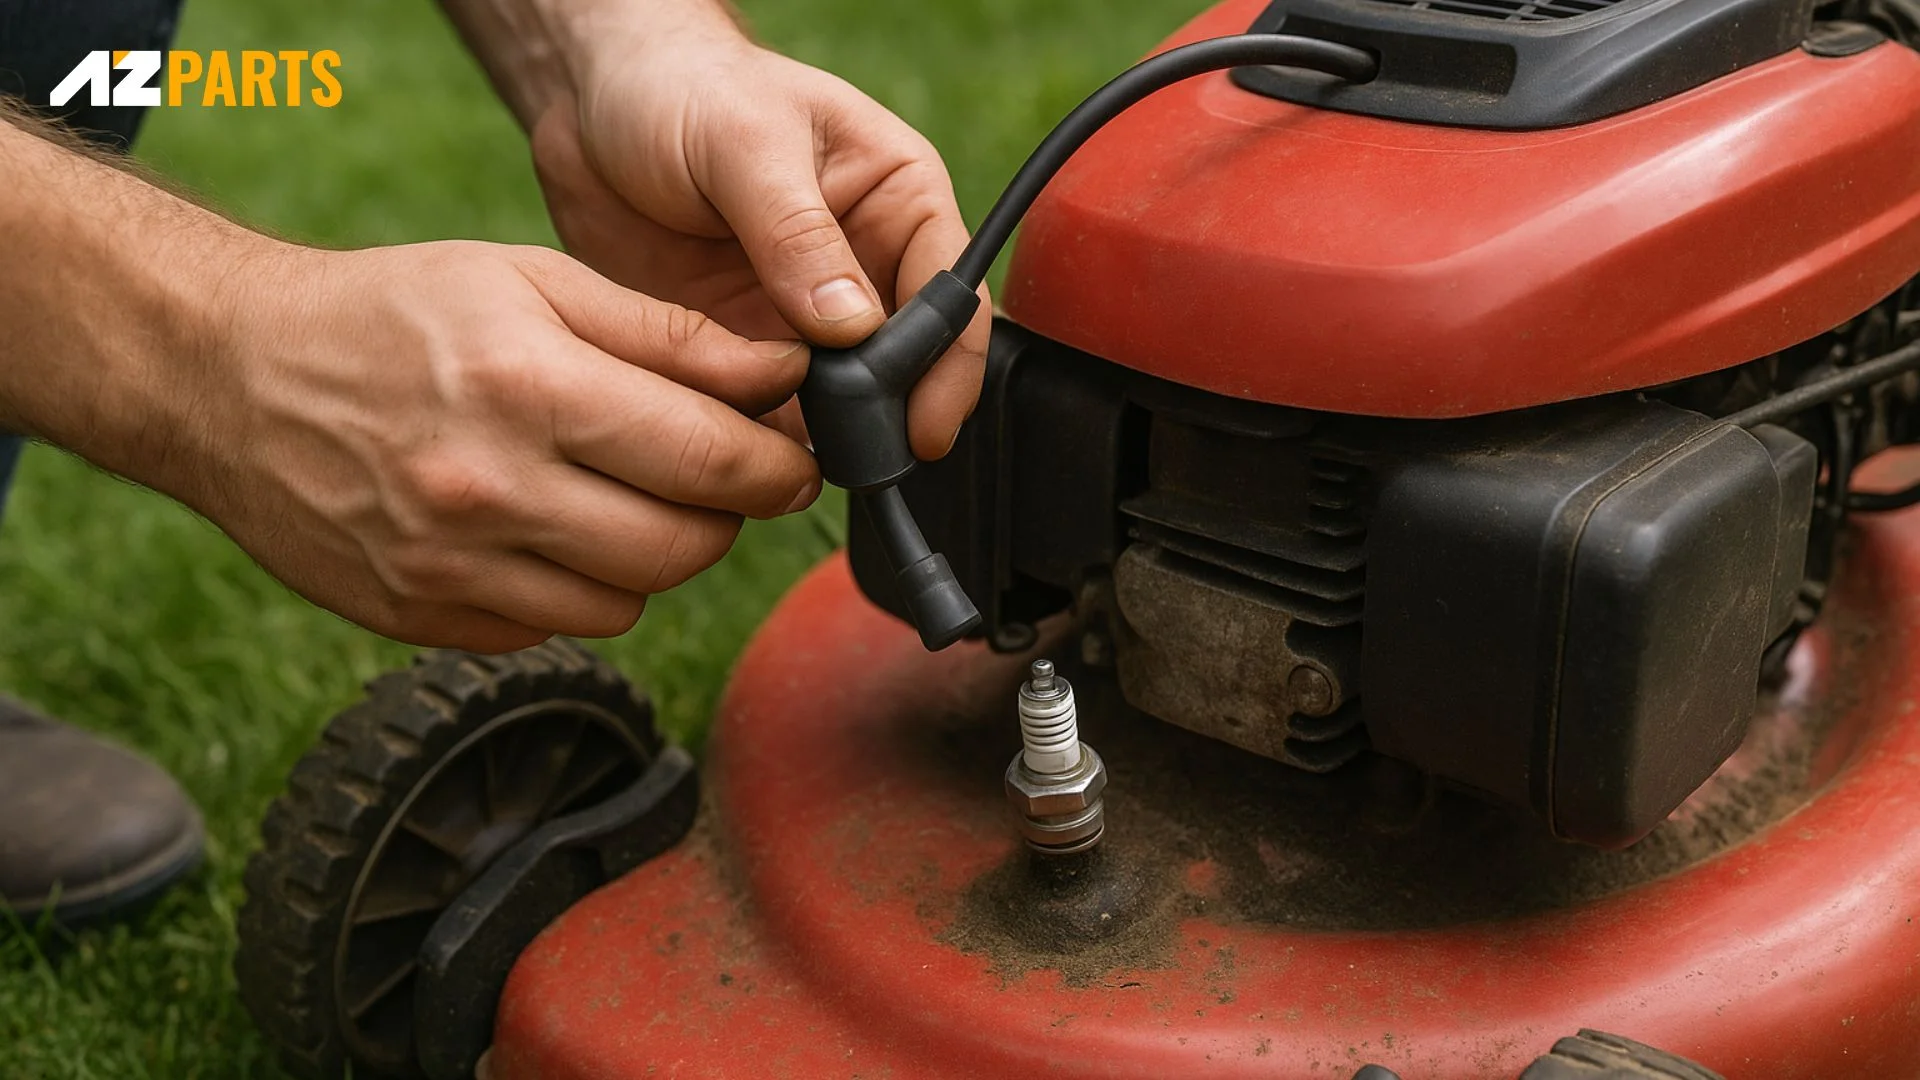
3.4. Step 4: Replace the Spark Plug
The spark plug plays a vital role in your mower’s engine, it delivers the spark needed to ignite the air-fuel mixture inside the combustion chamber. A worn or dirty spark plug can cause hard starts, rough idling, and reduced engine efficiency. Replacing it is simple and inexpensive, yet makes a big difference.
Locate and Remove the Spark Plug:
- Find the Spark Plug:
- Look for a thick rubber-covered cable connected to a ceramic (usually white) cylinder sticking out of the engine. That’s your spark plug.
- On push mowers, it’s usually visible and easy to access. On riding mowers, you might need to lift a plastic engine cover.
- Disconnect the Wire:
- Firmly pull the rubber boot straight off the spark plug. It should pop off with a bit of resistance.
- For safety, move the wire aside so it doesn’t accidentally reconnect while you’re working.
- Loosen and Remove:
- Use a spark plug socket (commonly 13/16", but double-check your model) and a ratchet to turn the plug counterclockwise.
- If the plug is stuck, apply a small amount of penetrating oil to the base and let it sit for 10 minutes before trying again.
Install the New Spark Plug:
- Check and Prepare the New Plug:
- Compare the new plug to your mower’s manual to ensure it’s the correct part.
- Inspect the gap between the center electrode and the curved side electrode using a spark plug gauge. Adjust to spec if needed.
- Apply a small dab of anti-seize compound to the threads—this helps prevent the plug from sticking in the future.
- Install by Hand First:
- Carefully thread the new spark plug into place by hand to avoid cross-threading.
- Once snug, use your socket wrench to tighten it just until it stops, then give it an extra ¼ turn—no more. Overtightening can crack the ceramic or damage the threads.
- Wait Before Reconnecting: Leave the spark plug wire disconnected for now, especially if you're still working on other parts of the mower. This reduces the risk of accidental starting.
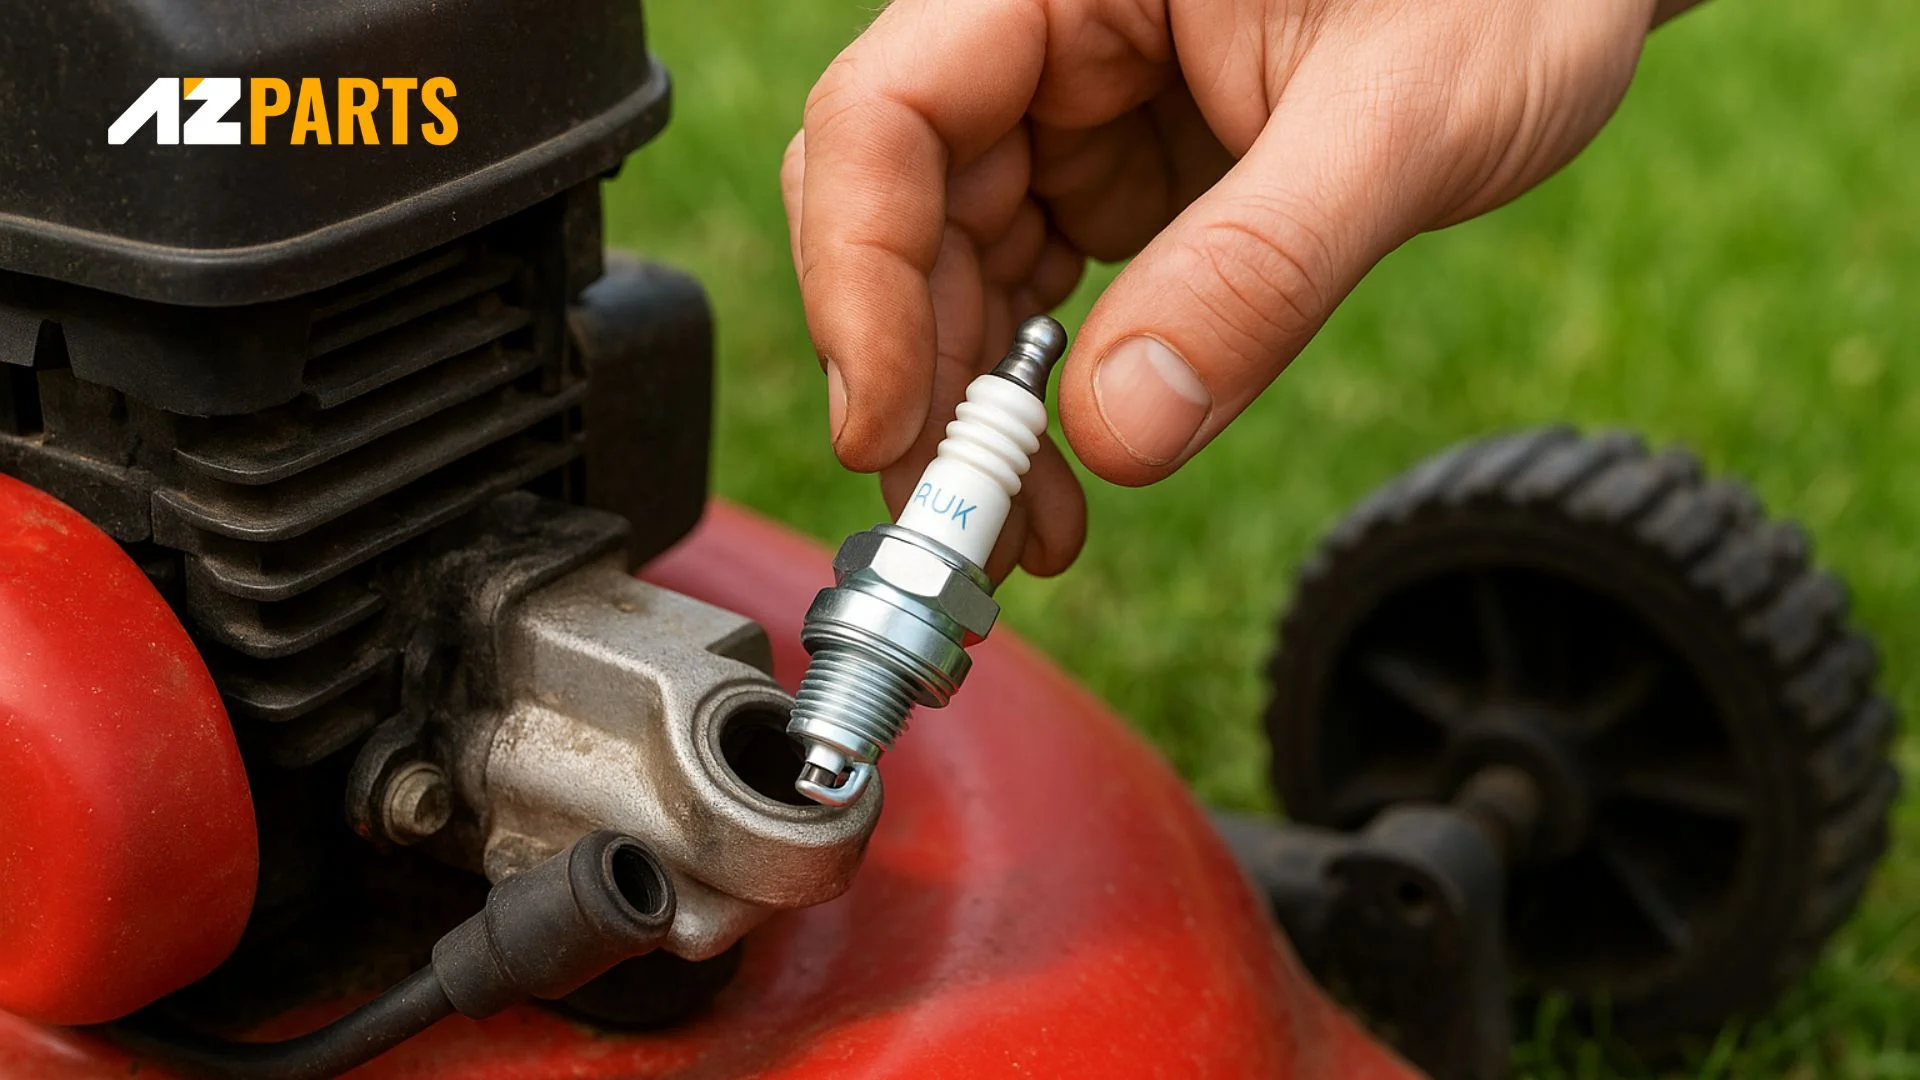
A worn or dirty spark plug can affect to lawn mower performance (Source: AZParts)
Tip: Replace the spark plug at least once a year, or more often if your mower is used frequently. It’s a cheap and easy upgrade that ensures smoother starts and more reliable engine performance.
3.5. Step 5: Sharpen or Replace the Blade
A sharp mower blade is essential for clean, even cuts and healthier grass. Dull blades tear or shred the grass, leaving it vulnerable to disease and browning. To maintain peak cutting performance, the blade should be sharpened at least once per mowing season—or more often if you mow frequently or over rocky terrain.
Safety First: Before doing anything, disconnect the spark plug to prevent the mower from starting accidentally.
How to Remove the Blade:
- Tilt the Mower Safely:
- Tip the mower back onto its rear wheels, or if necessary, gently onto its side, making sure the lawn mower carburetor and muffler remain upright to avoid oil leakage.
- Use a block of wood wedged against the blade to keep it from spinning as you loosen the bolt.
- Loosen the Blade Bolt:
- Use a socket wrench (usually 5/8" or specific to your model) to remove the bolt holding the blade in place.
- If the bolt is stuck, slip a short pipe over the wrench handle for extra leverage.
- Inspect the Blade:
- Look for major nicks, dents, or cracks. If the blade is heavily damaged, it’s safer to replace it.
- If it's just dull or lightly worn, proceed to sharpen it.
Sharpening the Blade:
- Secure the blade in a bench vise with the cutting edge facing up.
- Use a metal file or sharpening stone to follow the original angle of the blade’s edge.
- File in one direction only, maintaining even pressure until the edge is sharp.
- Flip and repeat on the other side.
- Check for balance by placing the blade on a nail or blade balancer. An unbalanced blade can cause vibration and damage to the mower.
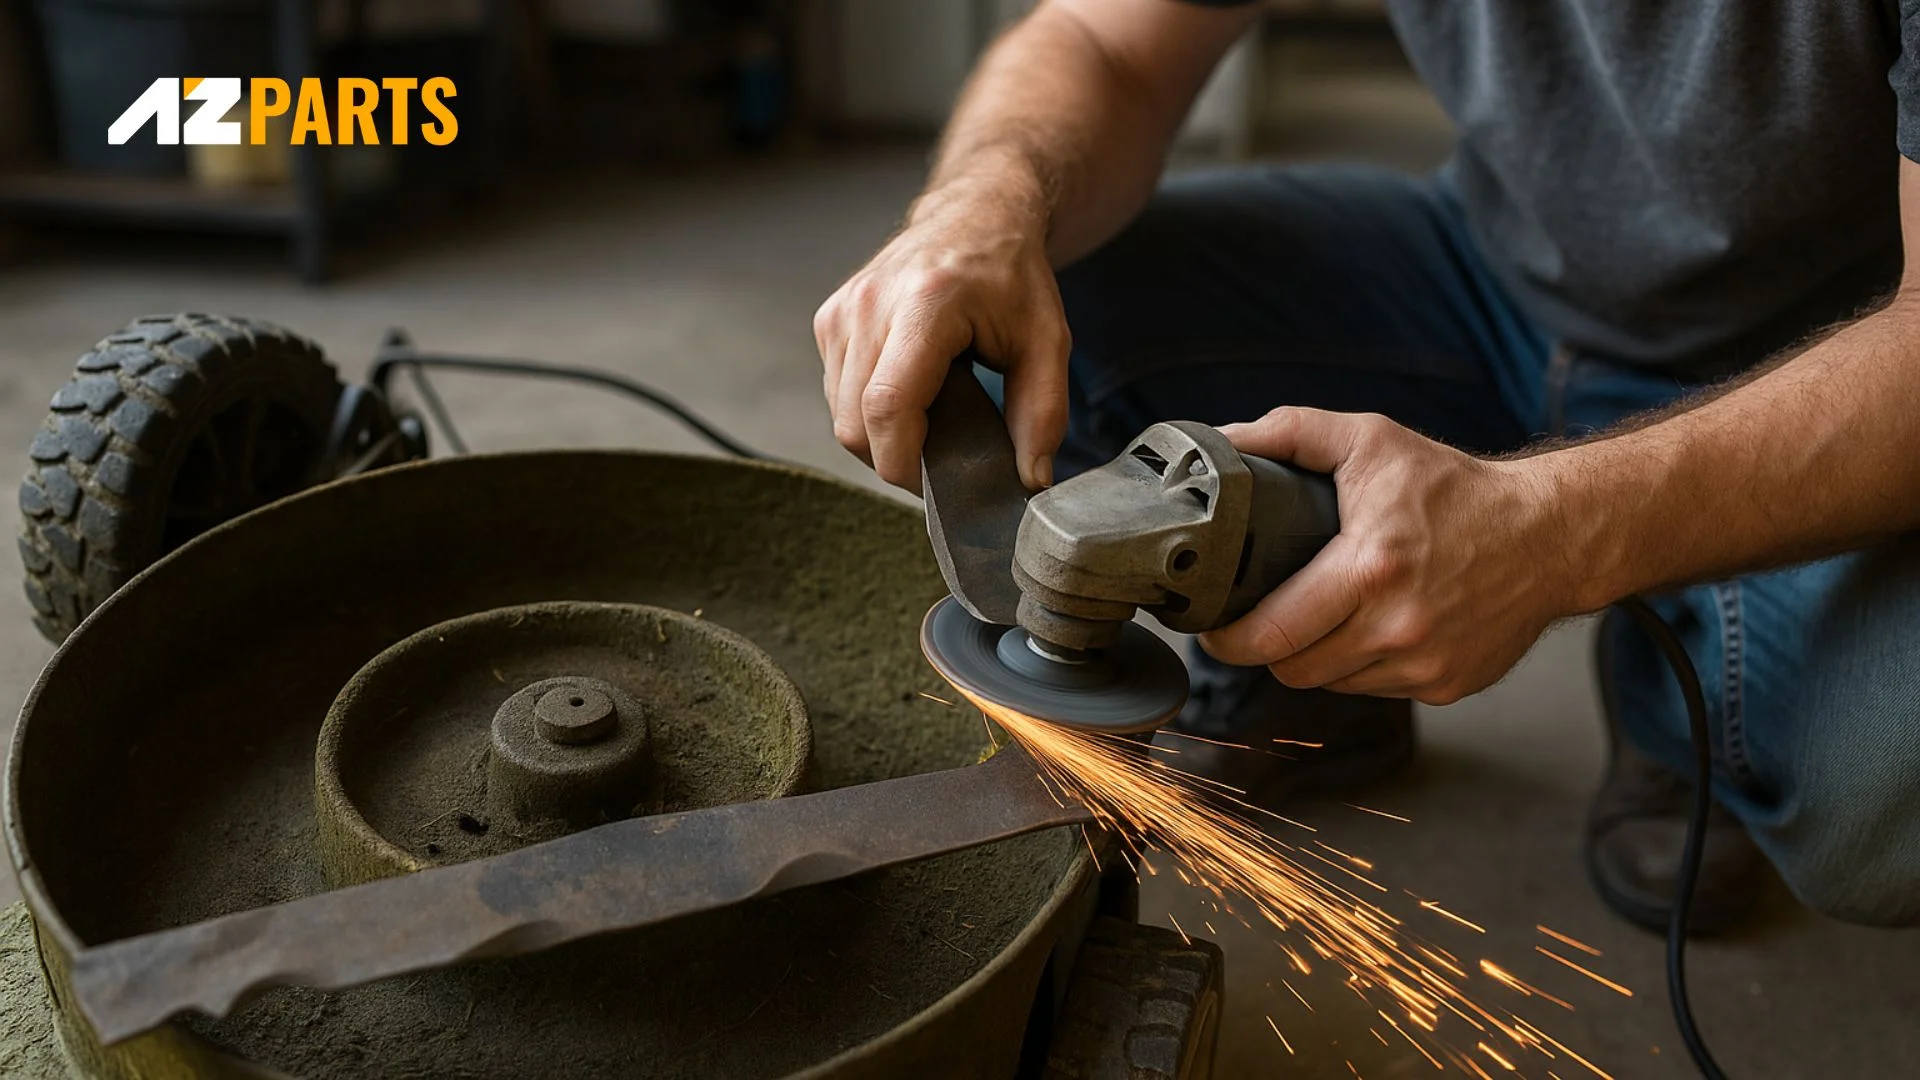
Sharpening the blade to enhance lawn mower productivity (Source: AZParts)
After Sharpening: Do not reinstall the blade just yet if you’re continuing with other maintenance steps (like cleaning or checking the underside). Wait until all under-deck work is complete before securely reattaching the blade.
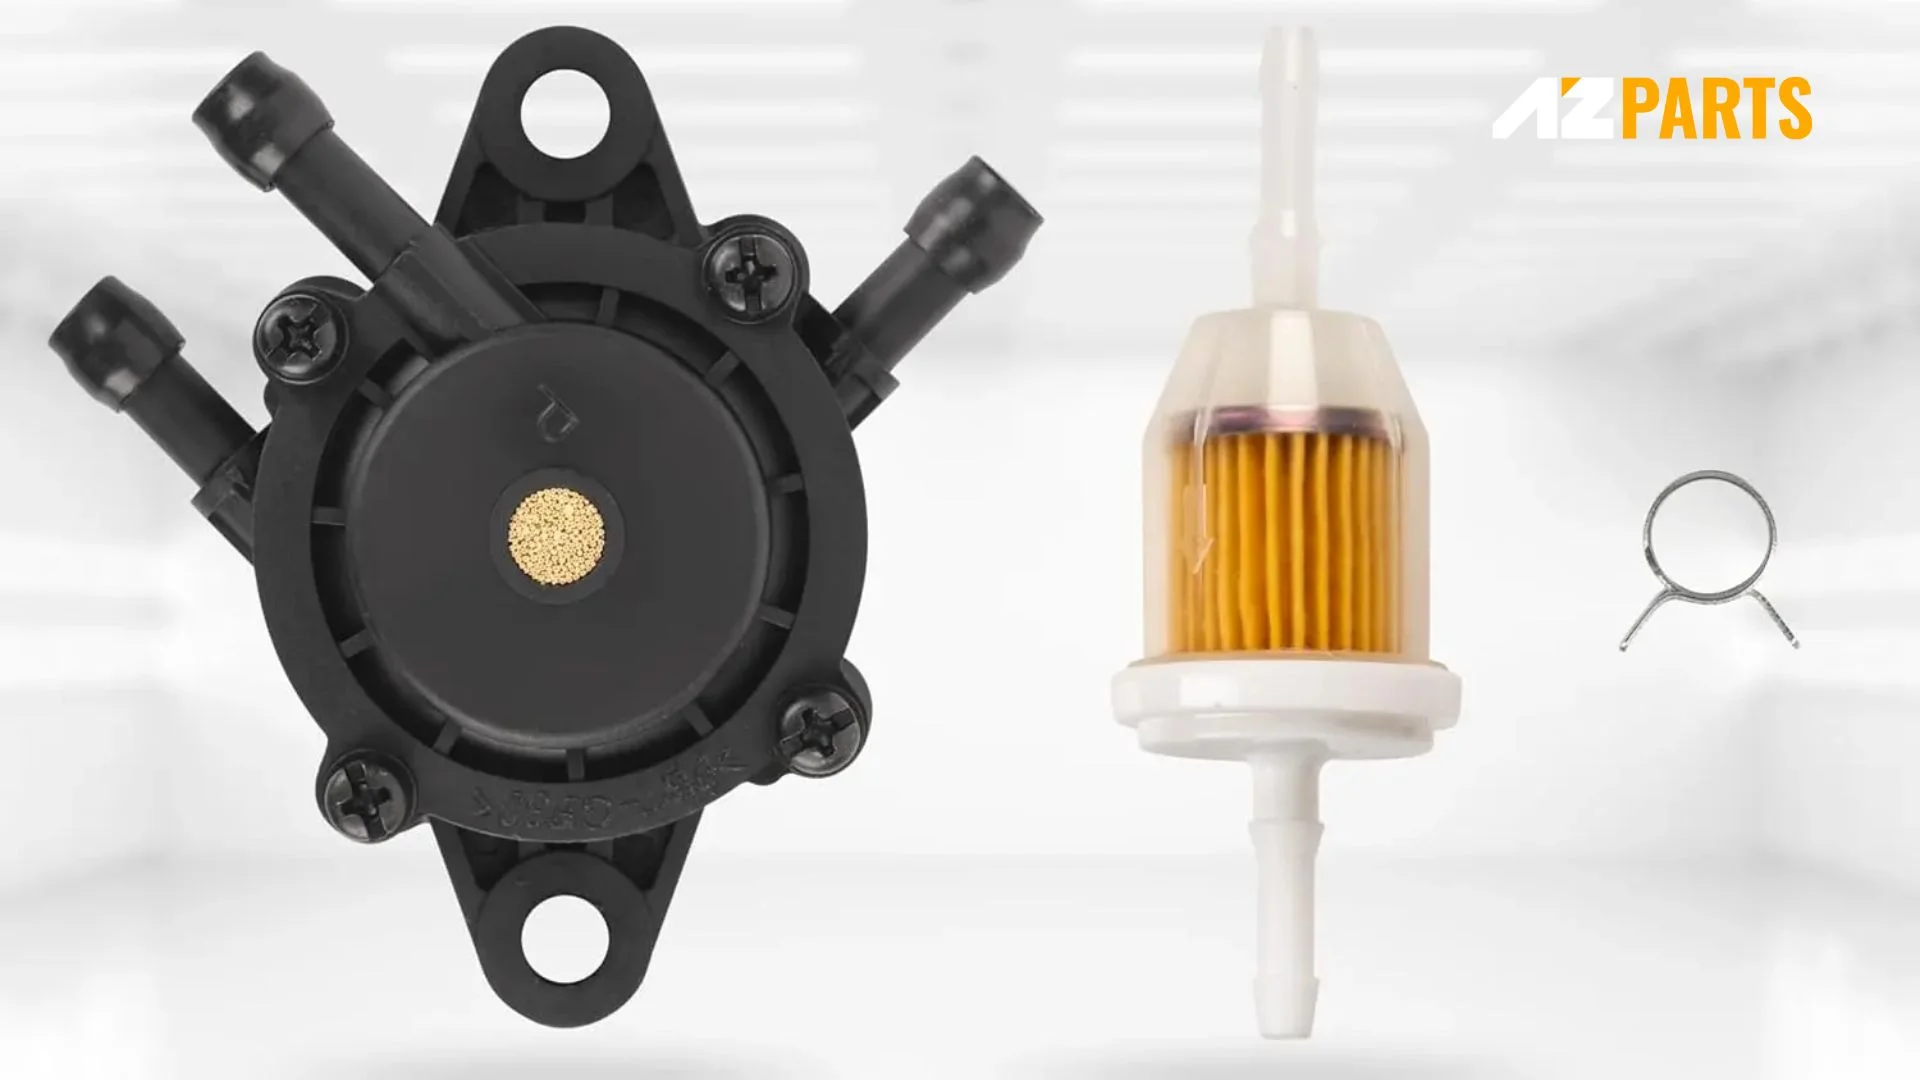
3.6. Step 6: Check and Replace the Fuel Filter (if needed)
A clean fuel filter is essential for smooth mower operation. Its role is simple yet critical: blocking dirt, rust, and other contaminants from reaching your engine. Over time, the filter can become clogged, restricting fuel flow and causing hard starts, sputtering, or complete engine failure.
Before starting, always work in a well-ventilated area, away from open flames or sparks, and keep a fire extinguisher nearby. Fuel is highly flammable, safety comes first.
Steps to Check or Replace the Fuel Filter:
- Locate the Filter: Refer to your mower’s manual to determine if it has a fuel filter and what type, in-line (small, cylindrical, connected to fuel lines) or canister-style (larger, similar to an oil filter).
- Shut Off Fuel Flow: Turn the fuel shut-off valve to the OFF position. If your mower doesn’t have one, you may need to clamp the fuel line to prevent leaks.
- Prepare for Spillage:
- Place a small container or drain pan beneath the filter area to catch any dripping gasoline.
- Wear gloves and eye protection.
Replacing an In-Line Fuel Filter:
- Use hose clamp pliers or a flathead screwdriver to loosen the clamps securing the fuel lines on either end of the filter.
- Gently slide the clamps away from the filter.
- Twist the filter slightly to break the seal, then pull it free from the fuel lines.
- Pay attention to the flow direction marked by an arrow on the filter body (usually pointing toward the carburetor).
- Install the new filter in the same orientation.
- Reattach the clamps and tighten securely.
Replacing a Canister Fuel Filter:
- Follow steps similar to changing an oil filter:
- Unscrew the old filter.
- Clean the sealing area.
- Lightly coat the lawn mower gasket of the new filter with fresh fuel (or engine oil, if recommended).
- Install the new filter by hand, do not overtighten.
Final Checks:
- Turn the fuel valve back on.
- Check for leaks at the connections.
- Prime the fuel system if needed, then start the engine and let it run for a minute to ensure proper fuel flow.
Pro Tip: Replace the lawn mower fuel filter at least once a season or more often if you’re using older gasoline or notice performance issues.
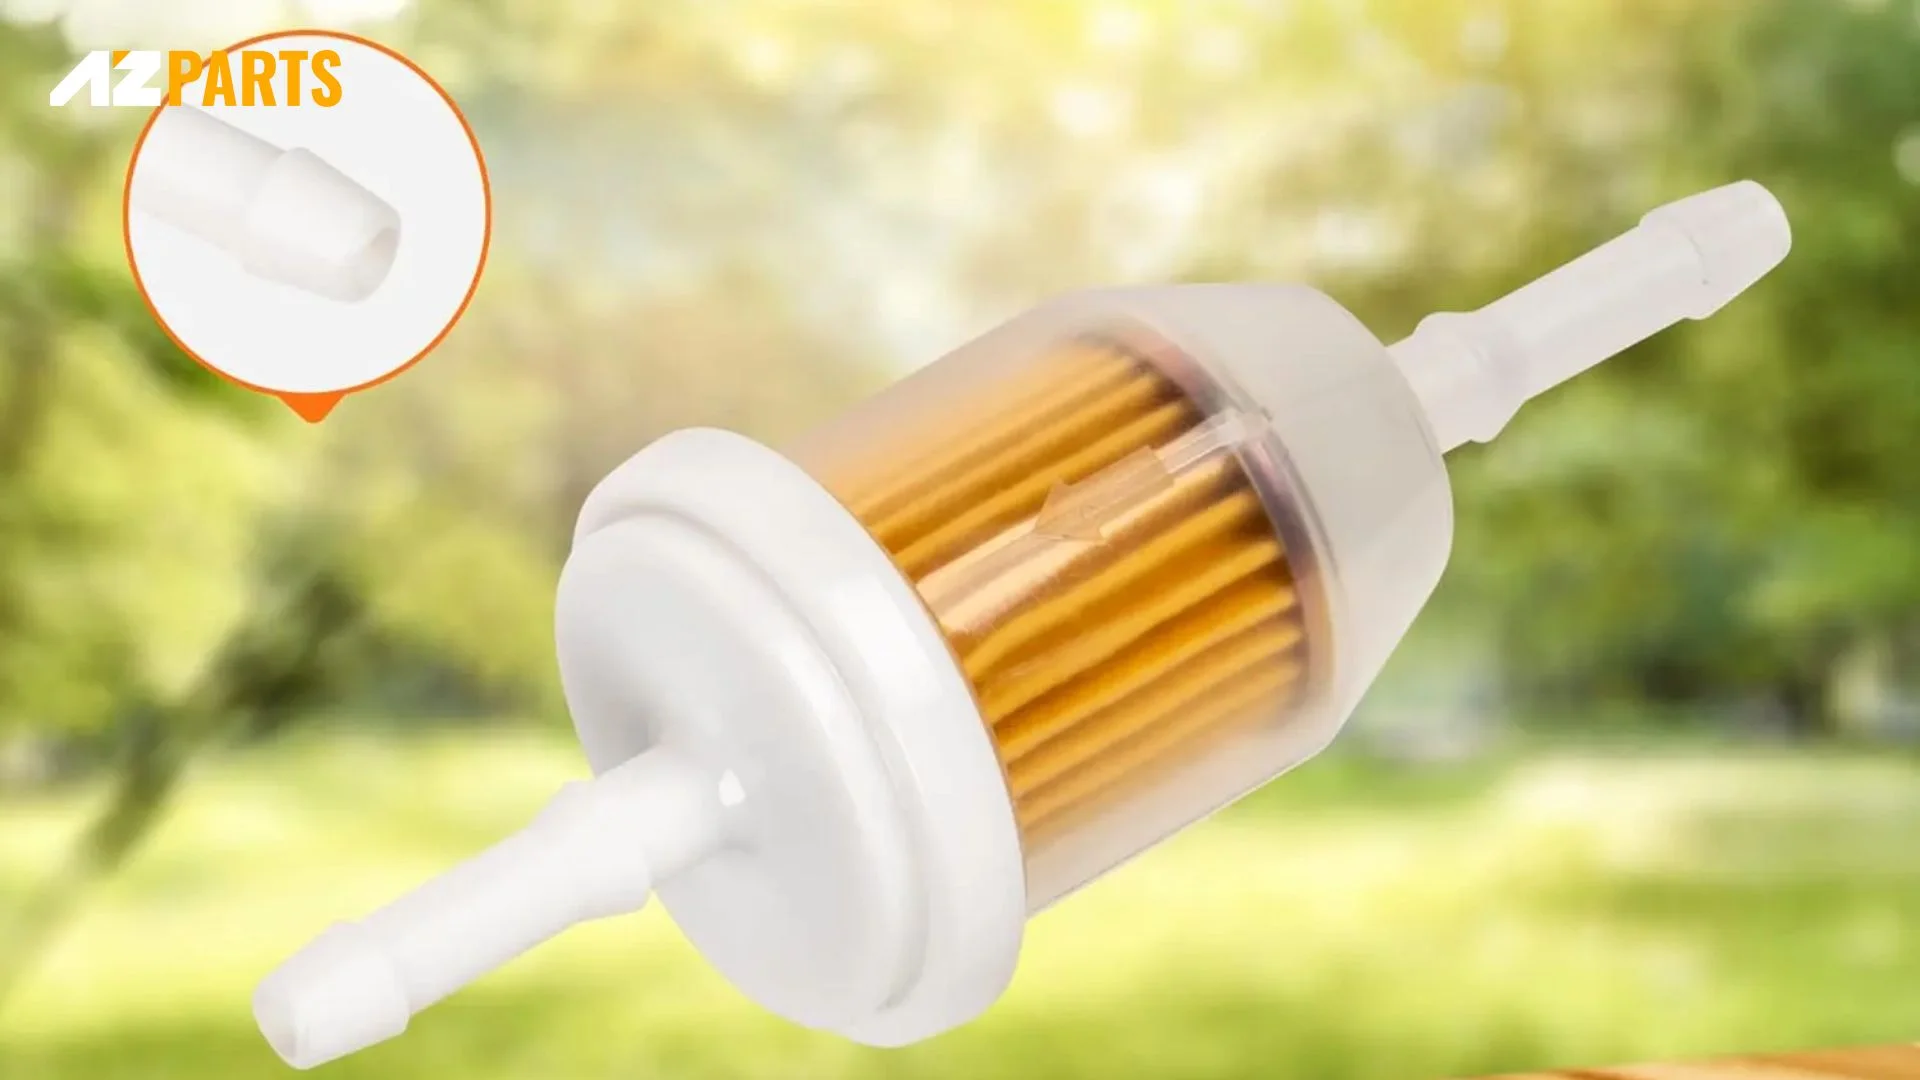
If lawn mower filter is old, it should be replaced (Source: AZParts)
3.7. Step 7: Reconnect Spark Plug and Test Run
Now that all maintenance tasks are complete, it’s time to bring your mower back to life and ensure everything is running smoothly.
Reattach the Spark Plug:
- Locate the spark plug wire and firmly push it back onto the spark plug until it clicks into place.
- Double-check that the connection is snug but not forced, you want good contact without damaging the terminal.
Perform a Test Run:
- Move your mower to a well-ventilated outdoor area and never test indoors due to exhaust fumes.
- Check the oil level one more time using the dipstick.
- Ensure that all tools, rags, and cleaning materials are removed from the mower.
- If your mower has a primer bulb, press it as instructed by the manual.
- Pull the starter cord or turn the ignition key to start the engine.
What to Watch & Listen For:
- A smooth and consistent engine sound
- No excessive smoke or vibration
- The blade engages and spins freely
- The mower cuts evenly during a short test patch on your lawn
Pro Tip: Let the mower run for a few minutes. This allows fresh oil to circulate fully and helps confirm that all parts are functioning correctly.
Reconnect lawn mower and test if it starting (Source: AZParts)
4. FAQs about Tuning up Lawn Mower
4.1. How much does a lawn mower tune-up cost?
A standard tune-up for a gas-powered push mower typically costs $50–$100, depending on the service provider and your location. If you're doing it yourself, expect to spend $20–$40 on parts like oil, air filters, spark plugs, and possibly a new blade or fuel filter. Riding mower tune-ups will be more expensive, ranging from $100–$250.
4.2. Is it cheaper to repair or replace a lawn mower?
It depends on the age and condition of your mower. For minor issues like a clogged filter or dull blade, repair is far more economical. However, if your mower has a cracked deck, engine trouble, or repeated failures and it’s more than 7–10 years old, it may be more cost-effective to replace it.
4.3. How often should I tune up my mower?
You should give your mower a full tune-up once per mowing season, ideally at the start of spring. However, it’s a good habit to check key components (like the air filter and oil level) every 25 hours of use. Heavy-duty or commercial mowers may require more frequent maintenance.
4.4. Can I skip blade sharpening during a tune-up?
Technically, yes but it's not recommended. Dull blades tear the grass instead of cutting it cleanly, which can lead to brown, frayed lawn tips and make your yard more susceptible to disease and pests. Sharpening your blade takes just a few minutes and significantly improves mowing results.
Regular maintenance of your lawn mower is more than just a seasonal task, it’s a practical and cost-effective way to extend the life of your machine, improve fuel efficiency, and ensure your lawn always looks its best. A thorough tune-up at the beginning of the season allows you to catch potential issues early and keep your mower running smoothly throughout the months ahead.
If you’re ready to take on your next tune-up, AZParts is here to help. We provide a wide selection of high-quality lawn mower parts, including spark plugs, filters, blades, and maintenance kits, for all major mower brands. Whether you're a DIY enthusiast or a lawn care professional, you'll find everything you need to get the job done right.
Learn more lawn mower maintenance and repair tips:
Contact Info
Address: 8 The Green, Ste A, Dover, Delaware 19901-3618, United States
Email: support@azparts.com
Lawn Mower
- 1. When Should You Tune Up a Lawn Mower?
- 2. Safety First: Pre-Tune-Up Checklist
- 3. How to Tune up Lawn Mower
- 3.1. Step 1: Clean the Mower (Deck & Undercarriage)
- 3.2. Step 2: Change the Engine Oil
- 3.3. Step 3: Replace the Air Filter
- 3.4. Step 4: Replace the Spark Plug
- 3.5. Step 5: Sharpen or Replace the Blade
- 3.6. Step 6: Check and Replace the Fuel Filter (if needed)
- 3.7. Step 7: Reconnect Spark Plug and Test Run
- 4. FAQs about Tuning up Lawn Mower
Further Reading
Further Reading

How-To Guides
January 14, 2026
Proper care and cleaning of your clean lawn mower play a crucial role in maximizing its performance and durability. Keeping your mower in good condition helps promote a lush, healthy lawn while avoiding issues from accumulated debris. AZParts provides reliable, genuine parts and helpful guidance for easy mower upkeep. Find everything you need to keep your mower working perfectly.

How-To Guides
November 24, 2025
Is your lawn mower refusing to start, stalling mid-job, or cutting unevenly? Don’t let frustration take over your weekend plans. Whether it’s a faulty spark plug, clogged filter, or dull blades, understanding what’s wrong is the first step toward a smooth-running machine. AZParts will guide you through quick and effective lawn mower troubleshooting solutions so you can fix common problems with confidence and keep your yard looking its best.

Repair help
July 24, 2025
When your lawn mower runs rough, it can turn a simple job into a frustrating chore. From clogged filters to worn spark plugs, small issues can lead to big problems if left unchecked. In this guide, AZParts will help you diagnose the cause and get your mower running smoothly again with high-quality replacement parts and easy-to-follow repair guides.

Repair help
July 21, 2025
Seeing smoke rise from your lawn mower can be unsettling, but do not panic just yet. Whether it is a harmless case of spilled oil or a sign of a more serious issue, understanding the cause is the first step to a fix. From clogged air filters to engine overload, even electric mowers are not immune. AZParts will guide you through the diagnosis and provide the reliable parts you need to restore your mower’s power and performance. Get back to a clean, even cut with no smoke in sight.

Repair help
June 18, 2025
Maintaining a pristine lawn requires reliable equipment, and Troy-Bilt lawn mowers have earned their reputation as dependable workhorses in yards across America. However, even the most robust machines can encounter operational challenges that leave homeowners frustrated and lawns unfinished. In this essay, AZParts will help you identify common Troy-Bilt lawn mower problems and provide effective solutions to fix them quickly.