Repair help
Your Washer Agitator Not Working? How to Fix It Yourself
AZparts Team
Updated on July 14, 2025
13 min read
Struggling with a washer that won't agitate? Don't worry - many agitator problems can be solved at home with proper guidance. This guide will help you diagnose the issue and implement effective fixes whether your agitator is stuck or not moving properly. In this article, let's explore common agitator problems and their step-by-step fixes with AZParts, your trusted source for genuine replacement parts that make DIY appliance repairs accessible and affordable.

1. Understanding Why Your Washer Agitator Isn't Working
A properly functioning agitator is essential for effectively cleaning your clothes. When it fails, your laundry won't be thoroughly washed no matter how long the cycle runs. Before attempting any repair, it's important to understand what might be causing your agitator problems. Here are a few common causes of agitator failure:
- Worn or broken agitator dogs (cogs): These small plastic pieces connect the agitator to the drive mechanism. Over time, they can wear down or break completely.
- Damaged agitator coupler: This connects the agitator to the transmission. When it fails, the agitator won't turn even when the motor is running.
- Faulty transmission: More serious issues may involve the washing machine's transmission, which transfers power from the motor to the agitator.
- Broken drive belt: In some models, a drive belt connects the motor to the transmission. If this belt breaks or becomes loose, the agitator won't turn.
- Motor problems: Although less common, motor issues can also prevent proper agitation.
- Control board malfunction: In modern washing machines, electronic control issues might prevent the agitator cycle from activating properly.
Identifying which of these components is causing the problem is the first step toward a successful repair. Let's start with proper diagnosis techniques.
2. How to Diagnose a Faulty Washer Agitator
If your washer’s agitator isn't working properly — maybe it’s not moving, making strange noises, or only spinning one way — don’t worry. You can often diagnose the problem yourself without calling for professional help. Follow these detailed steps to safely check, test, and troubleshoot your washing machine agitator.
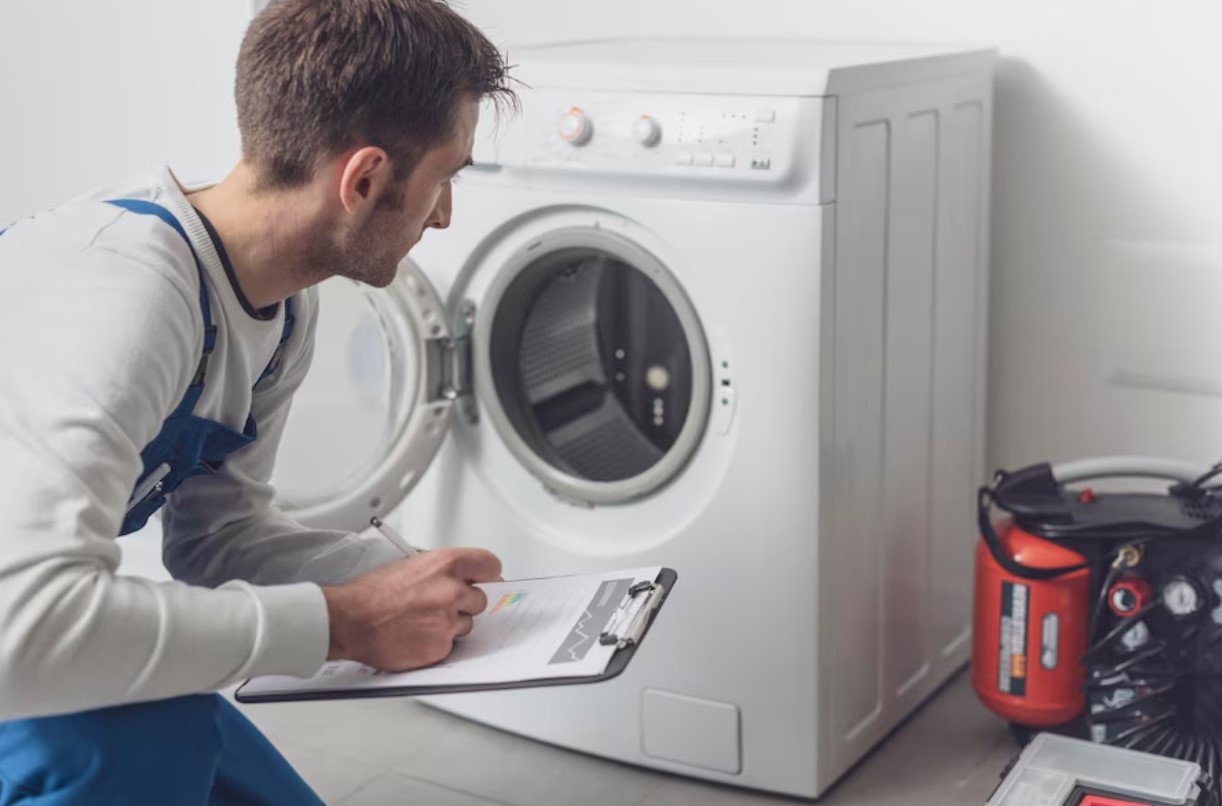
Step 1: Unplug the Washer
Before inspecting or handling any parts, unplug your washing machine from the power outlet. This eliminates the risk of electric shock and ensures you can work on the machine safely.
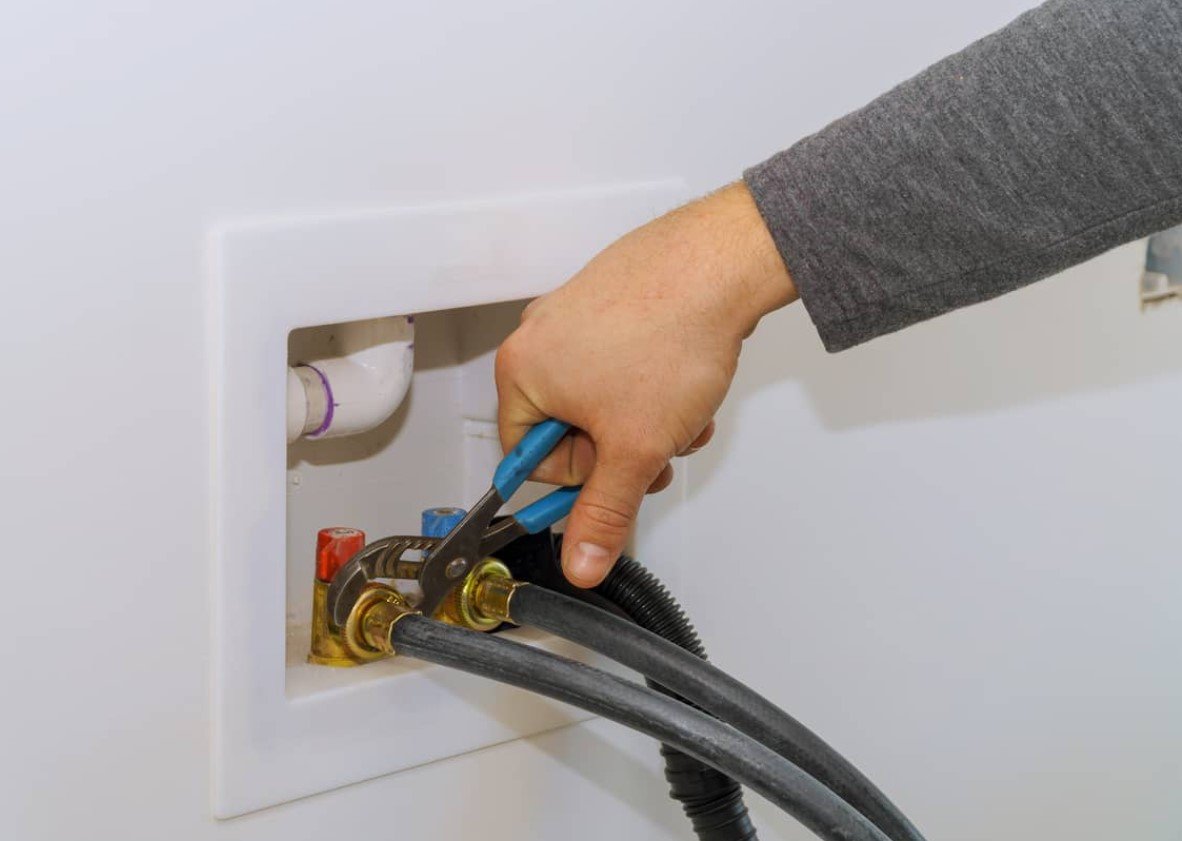
Unplug the washer (Source: Google)
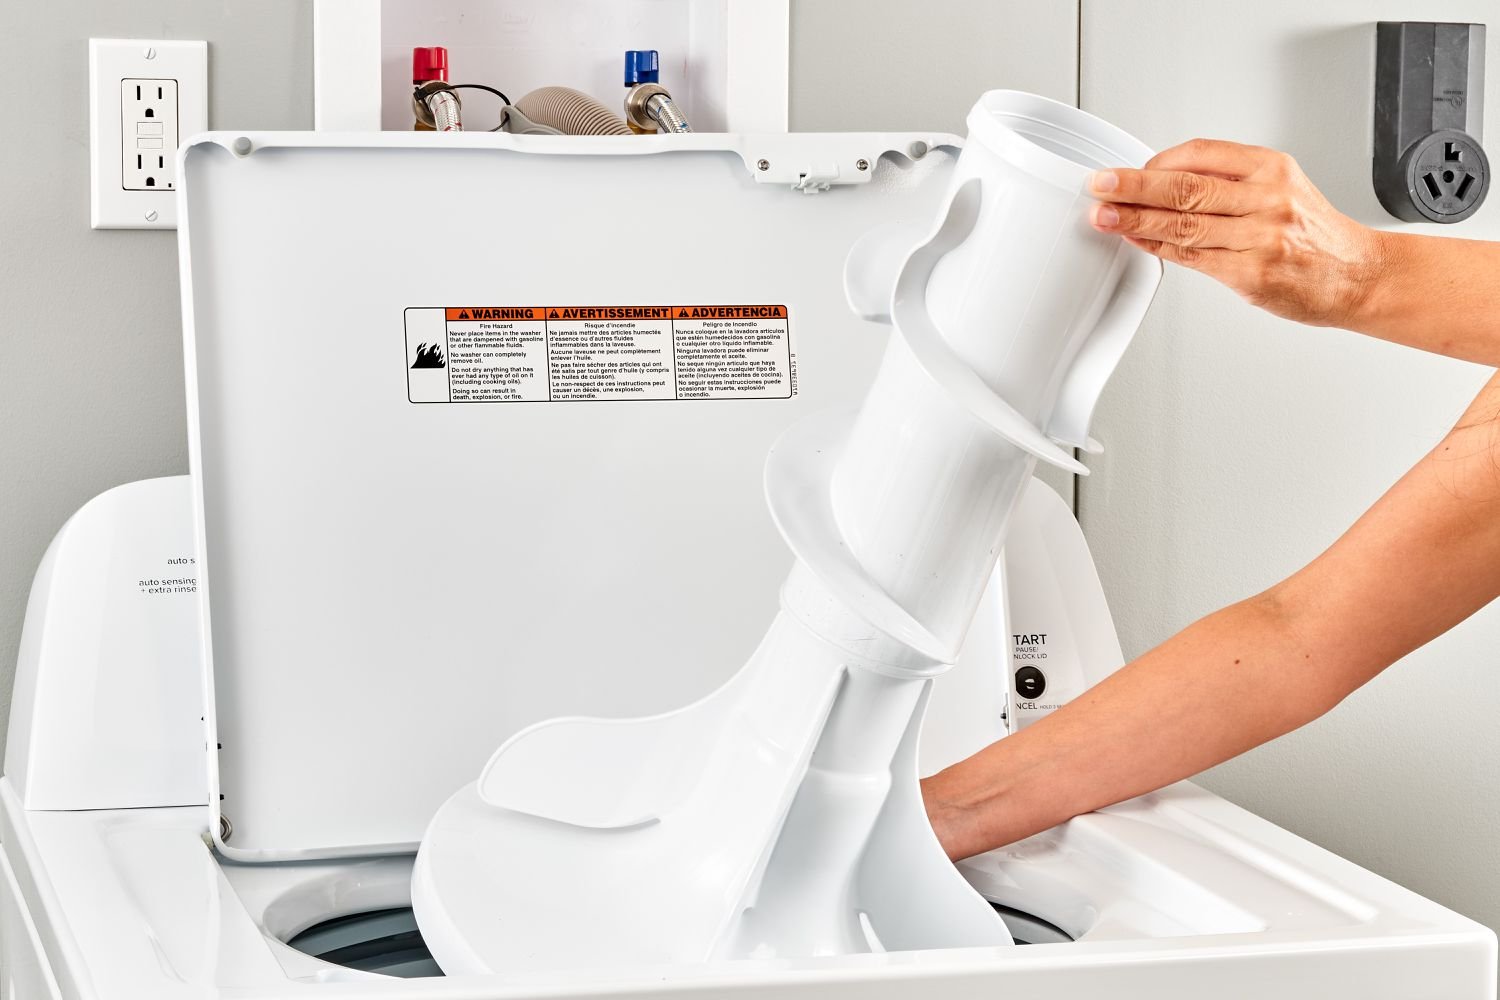
Step 2: Perform a Visual Inspection
- Open the washer lid and carefully look at the agitator (the central post inside the drum).
- Check for visible signs of damage such as cracks, chips, broken fins, or loose parts.
- If your model has an agitator cap (a small removable piece at the top), gently pop it off to inspect underneath.
- Look around the base of the agitator and inside the drum for any foreign objects like coins, buttons, small clothing items, or fabric debris. These can jam the agitator and stop it from moving properly.
- Inspect the surrounding area for buildup, detergent residue, or anything else that might restrict movement.
Taking a few minutes for a careful visual inspection can often reveal problems without the need for disassembly.
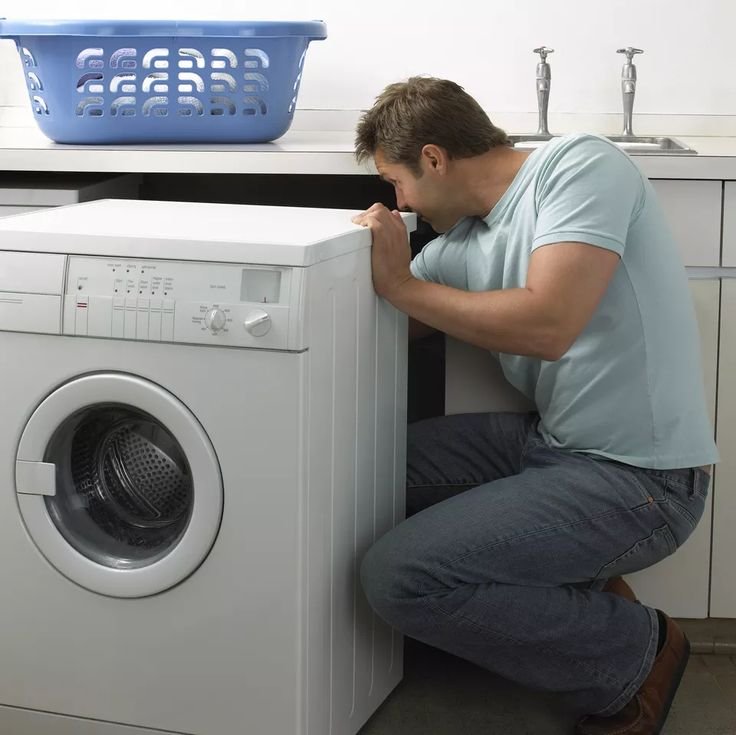
Step 3: Manually Test the Agitator
- With the machine still unplugged, grip the agitator firmly and try to turn it by hand.
- You should feel moderate resistance; it shouldn’t spin freely or feel completely stuck.
- If the agitator spins loosely or doesn’t move at all, this suggests a problem with internal components like the agitator dogs or drive block.
- If accessible, remove the agitator cap and check the components inside:
- Hold the top part of the agitator and try to move the bottom section separately.
- If the base moves while the top stays still, worn agitator dogs (small plastic gears) are often the cause.
- As you manually turn the agitator, listen for any grinding, clicking, or scraping sounds, which may indicate broken or stripped parts inside.
Manual testing gives you a clearer idea of whether the issue is minor or if a replacement part may be needed.
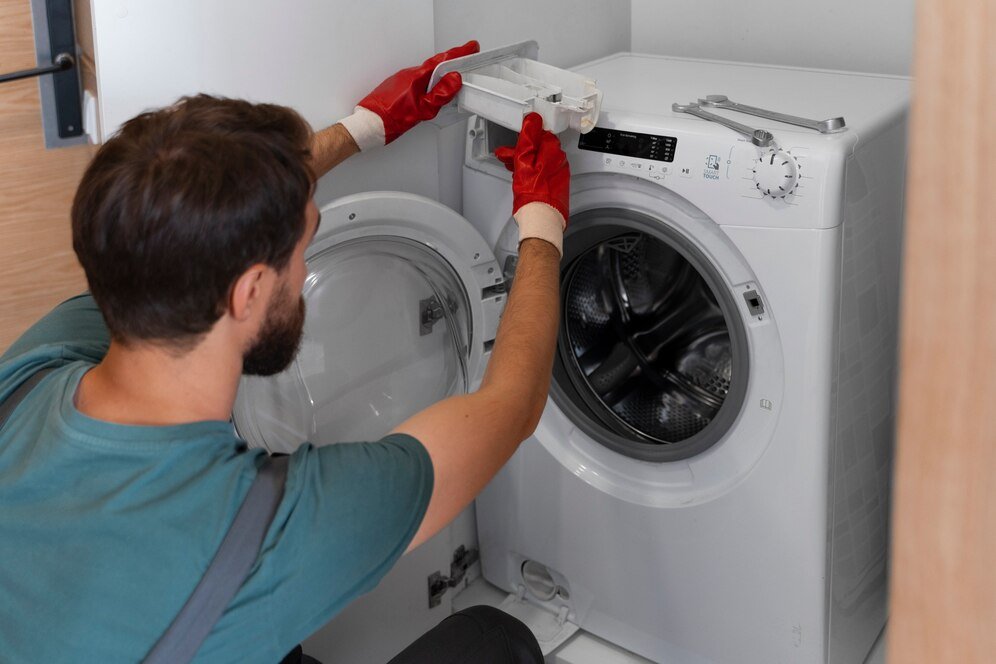
Manually test the agitator (Source: Freepik)
Step 4: Plug In and Run a Test Cycle
- After completing your visual and manual checks, plug the washer back in.
- Start a regular wash cycle and closely observe how the agitator behaves:
- Does it start moving properly?
- Does it only move in one direction (instead of the typical back-and-forth motion)?
- Is it making unusual noises during agitation?
- Watch carefully during both the agitation and spin cycles.
- If the problem only occurs during agitation, it’s likely related to the agitator itself.
- If there are issues during spinning too, the problem could involve the transmission, motor coupling, or another part of the drive system.
Take note of any patterns or timing of the malfunction — this information is very useful if you later decide to repair it yourself or seek professional help.
3. Step-by-Step Guide to Fixing Common Washer Agitator Problems (DIY Repair)
Once you've diagnosed the issue with your washer's agitator, follow these step-by-step instructions to fix the problem yourself. Using quality replacement parts from AZParts will help ensure a smooth and lasting repair.
3.1 Replacing Worn Agitator Dogs (Cogs)
Problem:
When agitator dogs (also called cogs) wear out, the top part of the agitator may spin freely without properly agitating the clothes.
When agitator dogs (also called cogs) wear out, the top part of the agitator may spin freely without properly agitating the clothes.
Tools needed:
- Flathead screwdriver
- Pliers
- Replacement agitator dogs (Agitator dogs from AZParts)

12 packs of agitator dogs (Source: AZParts)
Step 1: Prepare and Access the Agitator
Unplug the washing machine for safety, then remove the agitator cap using a flathead screwdriver. If present, remove the inner bolt with a socket wrench, then pull the agitator straight up, rocking it gently if needed to loosen.
Step 2: Remove and Replace Agitator Dogs
Split the agitator into two parts if necessary to access the agitator dogs inside the top section. Carefully remove the old dogs with pliers, noting their orientation, then install new ones in exactly the same position.
Step 3: Reassemble and Test
Reconnect both parts of the agitator, reinstall the bolt (if removed), and replace the agitator cap securely. Plug the washer back in and run a short cycle to verify the agitator moves correctly during washing.
3.2 Replacing a Damaged Agitator Coupler
Problem:
If the agitator doesn't move at all, the coupler connecting it to the motor or transmission may be broken.
If the agitator doesn't move at all, the coupler connecting it to the motor or transmission may be broken.
Tools needed:
- Flathead screwdriver
- Phillips screwdriver
- Socket set
- Replacement agitator coupler (Agitator coupler from AZParts)
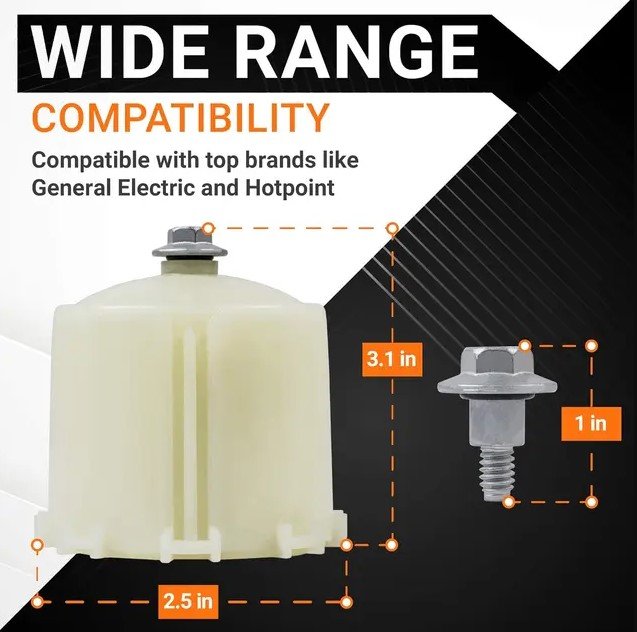
Washer Agitator Coupler Kit (Source: AZParts)
Step 1: Prepare for Replacement
Unplug the washing machine completely for safety, then remove the agitator by prying off its cap, removing the securing bolt, and pulling it straight out.
Step 2: Replace the Coupler
Access the coupler (located under the agitator or inside the tub area depending on your model), remove any securing bolts with a socket wrench, and slide off the broken coupler. Align the new coupler with the drive shaft and click it firmly into place.
Step 3: Reassemble and Test
Reposition the agitator over the new coupler, tighten the bolt, and replace the cap. Plug in the machine and run a wash cycle to verify proper operation.
3.3 Fixing a Stripped Spline
Problem:
Splines are the grooves that fit the agitator onto the motor shaft. If they’re worn or stripped, the agitator won’t engage properly.
Splines are the grooves that fit the agitator onto the motor shaft. If they’re worn or stripped, the agitator won’t engage properly.
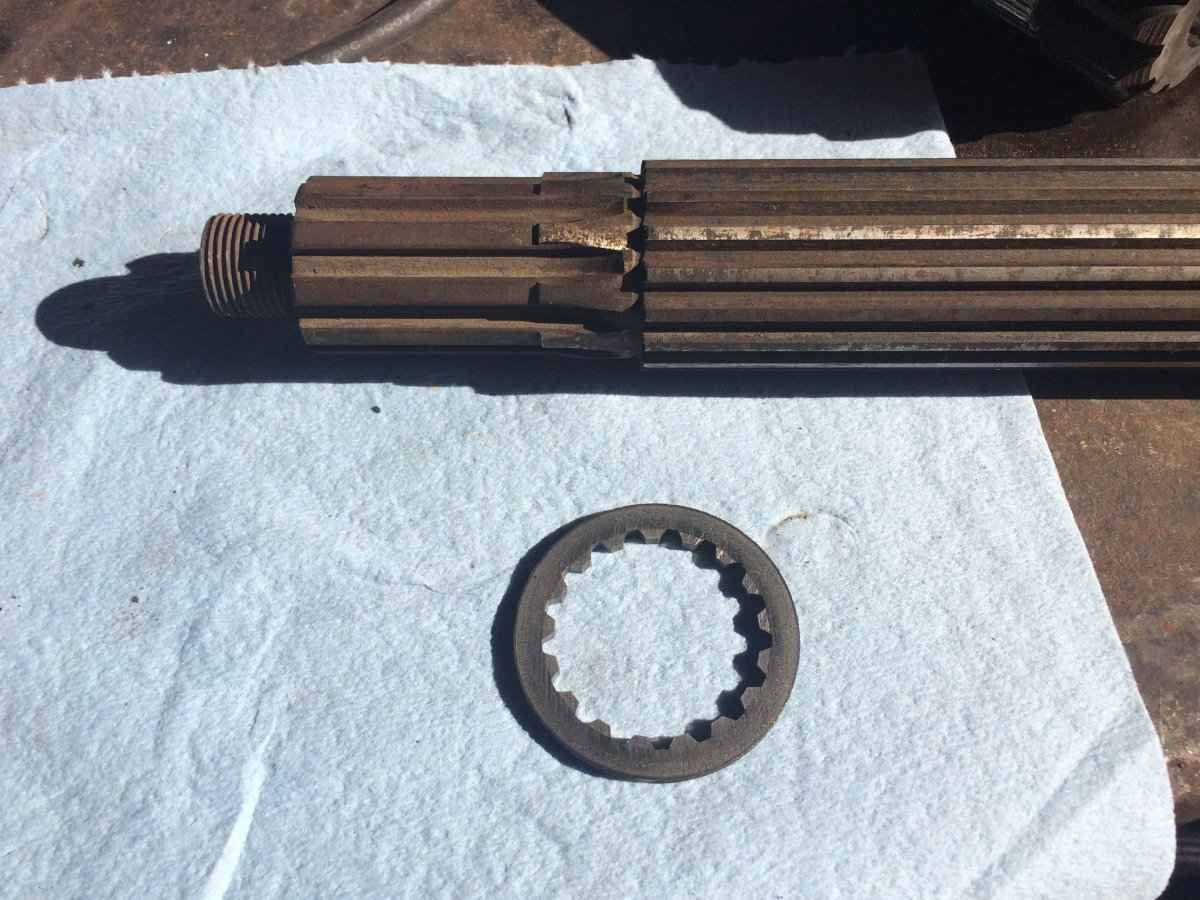
Stripped and worn washer splines (Source: Google)
Tools needed:
- Flathead screwdriver
- Pliers
- New agitator (if necessary)
Step 1: Access the Splines
Unplug the washing machine for safety, then use a screwdriver to remove the agitator cap and lift the agitator free from the shaft.
Step 2: Inspect and Address Issues
Examine both the inside of the agitator and the drive shaft for worn or stripped splines. For minor issues, clean the splines gently with a brush. If splines are badly damaged, replace the entire agitator by aligning a new one onto the drive shaft.
Step 3: Complete the Repair
Replace the cap, reconnect power, and run a full wash cycle to verify proper operation.
3.4 Addressing Transmission Issues
Problem:
The transmission is responsible for shifting the washer between agitation and spin cycles. Issues here are more complex but sometimes repairable.
The transmission is responsible for shifting the washer between agitation and spin cycles. Issues here are more complex but sometimes repairable.
Tools needed:
- Socket set
- Screwdrivers
- Pliers
- Replacement transmission components (if necessary)
Step 1: Prepare and Access the Washing Machine
Ensure safety by unplugging the washing machine before beginning any repair work. Remove the outer cabinet following your machine's service manual instructions to access the internal components. Locate the transmission assembly, typically positioned beneath the tub and connected to the drive motor.
Step 2: Inspect and Repair the Transmission
Thoroughly examine the transmission for damage indicators such as oil leakage, broken gears, or worn belts. Carefully tighten any loose bolts or fittings you discover. For damaged components like gears or seals, remove the faulty parts and replace them with compatible new components that match your washing machine model.
Step 3: Reassemble and Test Performance
Carefully reassemble the washing machine by reversing the disassembly process, ensuring all panels and components are properly secured and aligned. After reassembly, run multiple test cycles to verify that the transmission shifts smoothly through all phases and that the washer agitates and spins correctly under different load conditions.
Test the washer thoroughly (Source: Freepik)
4. Finding the Right Washer Agitator Parts for Your Machine
When it’s time to replace your washer agitator or any of its internal parts, finding the correct replacement is crucial for a smooth repair. Using the wrong part can lead to improper operation or further damage, so it’s important to identify your machine correctly and order the right components.
Identifying Your Washing Machine Model
The first step is locating your washer’s model and serial number. On most machines, you can find this information inside the lid or door frame, typically on a sticker or a metal plate. For top-load washers, it’s often under the lid or along the back panel. Be sure to write down the full model number carefully, as even minor differences between models can affect part compatibility.
Finding the Right Washer Agitator Parts for Your Machine (Source: Google)
Using AZParts to Find Exact Replacement Parts
AZParts offers an extensive selection of high-quality washer parts designed to keep your laundry appliances running efficiently. Our comprehensive inventory includes essential components for various washer brands and models, ensuring that customers can find exactly what they need for repairs and maintenance. From water inlet valves and drain pumps to door seals and control boards, AZParts provides reliable replacement parts that match original equipment specifications.
The washer parts collection at AZParts features components manufactured with durability in mind, helping extend the life of your washing machine while maintaining optimal performance. Customers appreciate our competitive pricing structure that makes maintaining laundry equipment affordable without compromising on quality. With regular maintenance using our quality parts, you can avoid costly appliance replacements and ensure your washer operates at peak efficiency for years to come.
Tips for Ensuring Part Compatibility
When ordering a replacement part, it's crucial to ensure full compatibility with your washer model. Start by comparing the part numbers between your old component and the new one. Even slight differences can affect fit and performance.
Next, closely examine physical details such as the size, shape, and connection points of the part to catch any potential mismatches. Keep in mind that manufacturers sometimes update or supersede part numbers, offering newer versions that are still compatible with older machines. So always check for any notes about superseded numbers.
5. When to Call a Professional
While many agitator issues can be resolved through DIY repairs, some situations warrant professional assistance:
- Complex internal problems: In some cases, washing machine issues go beyond simple agitator repairs. You should consider calling a technician if the transmission shows signs of significant internal damage or if multiple components have failed simultaneously. If you notice that the motor has electrical problems or encounter sealed systems that require specialized tools to access and repair, it’s best to leave the job to a professional. Attempting complex internal repairs without proper expertise can lead to further damage and higher costs.
- Safety concerns: Your safety should always come first. If you notice burning smells, electrical issues, or significant water leakage, it’s time to call a professional. Handling electrical components without experience can be dangerous. Additionally, if your washing machine displays error codes that you can't resolve through basic troubleshooting, professional service is the safest option. Don’t risk personal injury or additional damage by pushing beyond your comfort zone.
- Cost considerations: Before deciding to hire a repair service, it’s important to weigh the cost of the repair against the value of your washing machine. Most service calls start at $75–$150, not including parts. In contrast, DIY repairs using quality parts from AZParts typically cost only a fraction of that. If the cost of professional repair approaches or exceeds the value of the appliance, replacing the machine might be a more economical choice.
- Finding a qualified technician: If you decide that professional help is necessary, make sure to find a certified appliance repair specialist. Look for technicians with strong customer reviews and high ratings. It's wise to ask about warranties that cover both parts and labor for added protection. Also, confirm that the technician has experience working with your specific washing machine brand, whether it's Whirlpool, Kenmore, Maytag, LG, Samsung, or others.
- Preventive maintenance tips to avoid future agitator problems: Good maintenance habits can help extend the life of your washing machine and prevent agitator issues. First, avoid overloading the washer, as this puts extra strain on the agitator. Clean the agitator regularly to remove detergent buildup, lint, and fabric softener residue. Run a cleaning cycle at least once a month using a washer cleaner or white vinegar. Distribute laundry evenly around the agitator to maintain balance during operation, and always use the correct wash settings for your load type.
- Early warning signs to watch for: Catching problems early can prevent costly repairs. Listen for unusual noises during the agitation cycle, such as grinding or squeaking. If clothes aren't moving properly during a wash or you notice only partial agitation, it could signal developing issues. Visible wear or cracks on the agitator itself are also warning signs. Finally, if your wash cycles take longer than usual to get clothes clean, your agitator may not be functioning efficiently anymore. Addressing these signs early will help you avoid more serious and expensive repairs.
Essential tips for preventive maintenance to keep your agitator running smoothly (Source: Pinterest)
6. Frequently Asked Questions
6.1 How do I know if the problem is with the agitator or something else?
If your washing machine fills with water but the clothes aren't moving properly, it's likely an agitator issue. However, if there are other symptoms like the machine not filling or draining, the problem may lie elsewhere in the washer's systems.
6.2 How often do agitator dogs need to be replaced?
Agitator dogs typically last 3-7 years depending on usage frequency and laundry volume. Families doing multiple loads daily may need to replace them more frequently than those who use their washer less often.
6.3 Can I replace just the agitator dogs without replacing the entire agitator?
Yes, in most models, the agitator dogs or cogs can be replaced independently of the agitator itself, making it a simple and cost-effective repair.
6.4 Is it worth fixing an older washing machine's agitator?
For machines less than 10 years old, repairing the agitator is usually cost-effective. For older machines, compare the repair cost against a new washer, considering that a simple agitator dog replacement can extend your machine's life by several years at minimal cost.
6.5 Why does my agitator only turn in one direction?
This is actually normal for many washing machines. The agitator is designed to turn in one direction during the wash cycle and then make short, quick turns in the opposite direction to prevent clothing from tangling.
By following this step-by-step guide, you now have the insight to diagnose common washer agitator issues and take on the repairs yourself. Not only does this save you time and money on service calls, but it also builds your confidence in tackling other washing machine problems that may arise in the future.
Ready to fix your washer agitator? Browse AZParts' extensive collection of washing machine components to find the exact parts you need for your model. Our high-quality, genuine replacement parts ensure a perfect fit and lasting performance. Shop with confidence knowing that expert advice is just a click away if you need additional guidance during your repair process.
Contact Information:
8 The Green, Ste A, Dover, Delaware 19901-3618, United States
support@azparts.com
support@azparts.com
Check out more: Agitator vs. Impeller Washer: Which One Should You Pick?
Washer
- 1. Understanding Why Your Washer Agitator Isn't Working
- 2. How to Diagnose a Faulty Washer Agitator
- 3. Step-by-Step Guide to Fixing Common Washer Agitator Problems (DIY Repair)
- 4. Finding the Right Washer Agitator Parts for Your Machine
- 5. When to Call a Professional
- 6. Frequently Asked Questions
Further Reading
Further Reading

Repair help
July 17, 2025
A washer that makes loud noise can be both annoying and concerning. Whether it's grinding, banging, or rattling sounds, these noises often signal underlying issues that need immediate attention. Understanding different noise types helps you address problems quickly and avoid costly repairs. At AZParts, we provide quality replacement parts and expert guidance to resolve your washing machine noise issues effectively.

Repair help
July 11, 2025
When your washer lid won't lock, this problem prevents your appliance from starting its cycle, leaving you with wet clothes and a non-functional machine. Understanding the root causes and knowing how to troubleshoot effectively can save you time, money, and unnecessary stress. This guide from AZParts will walk you through the most common causes of lid locking problems and provide step-by-step solutions to get your washing machine back to working order.

How-To Guides
July 11, 2025
A washer that won’t spin is a fairly common issue, often causing inconvenience in daily life when clothes remain soaking wet after a wash cycle. This problem can stem from various causes, from user errors such as overloading or unbalanced laundry, to internal component failures like a faulty lid switch, broken drive belt, or clogged drain pump filter. In this article, AZParts will help you identify the exact cause and guide you through effective solutions so you can get your washer back up and running without needing to call a technician right away.

Repair help
June 24, 2025
Kenmore washers are built to last and widely trusted for their reliability and efficiency. However, like any appliance used frequently, they can develop issues over time. From a washer that refuses to start to one that leaks or makes unusual noises, understanding the root causes is essential to fixing the problem quickly and effectively.
This guide offers a detailed look at Kenmore washers troubleshooting, covering the five most common issues, likely causes, and step-by-step instructions on how to diagnose and repair them. Whether you’re a DIY enthusiast or simply want to understand what’s wrong before calling a technician, this resource will help you get your Kenmore washer back in working order.
_1748341252.jpg&w=3840&q=75 "Where to Find the Model and Serial Number on a Washer")
How-To Guides
May 27, 2025
Whether you need to schedule a repair, register your appliance, or order a replacement part, knowing where to find the serial number for washing machine models is essential. This unique identifier helps technicians match the right components and ensures your warranty is valid. However, each brand places its label in different locations, which can make the search confusing. In this article, AZParts will show you exactly where to find the model and serial number on washers from leading brands so you can take the next step with confidence.