How-To Guides
How To Fix A Washing Machine Drain Overflows?
AZparts Team
Updated on July 17, 2025
12 min read
Washing machine drain overflows are a common issue, particularly in households that use their washing machines frequently. When this happens, water can spill onto the floor, soaking nearby furniture and creating a mess. More seriously, if not addressed promptly, it can lead to electrical short circuits or even damage the appliance. In this article, AZParts will show you how to check, resolve, and prevent washing machine drain overflows in a simple, effective, and cost-saving way.

1. How a Washing Machine Drains
After the washing machine finishes its wash and rinse cycles, the dirty water inside the drum needs to be discharged. To handle this, the machine uses a drainage system that works through several basic steps.
Step 1: Activating the drain pump
When the washing or spinning process ends, the machine automatically turns on a component known as the drain pump. This part is responsible for pulling the remaining water out of the drum and pushing it outside the machine.
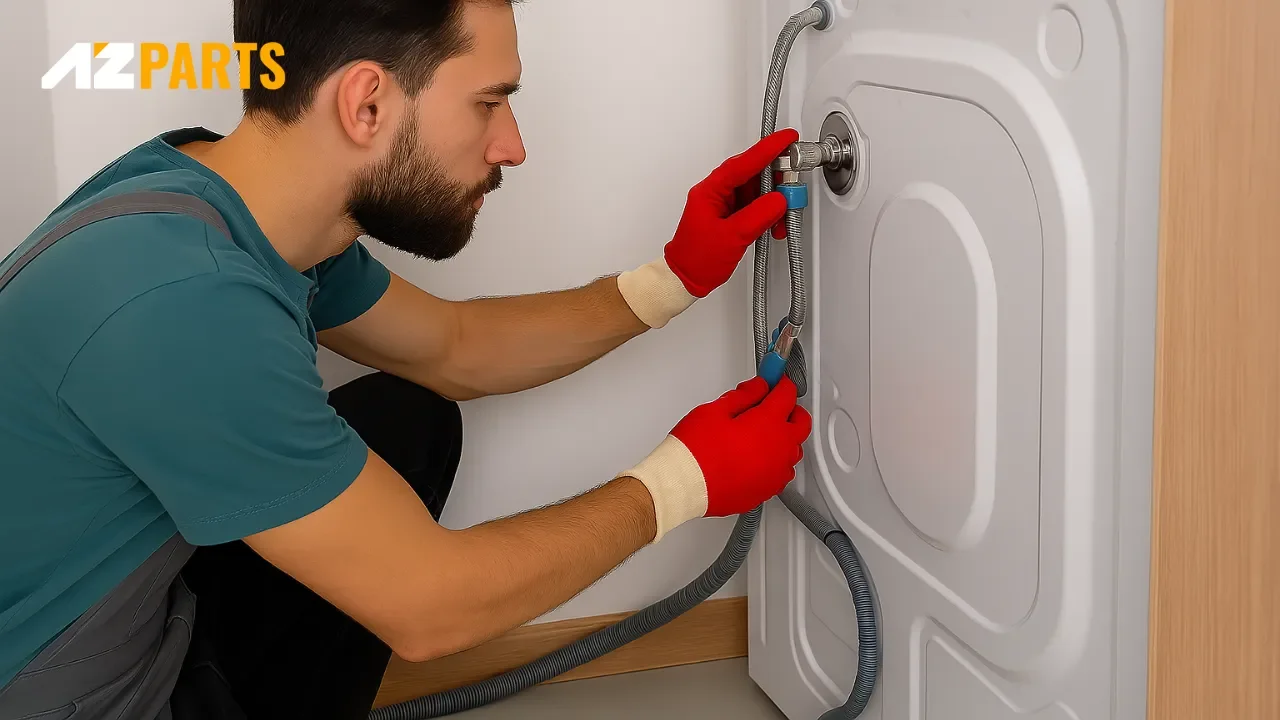
Step 2: Water flows through the drain hose
The dirty water is directed through a drain hose located at the back of the washing machine. From there, it flows out into the household drainage system. It is important that the hose is properly installed, not bent or twisted, and not inserted too far into the drain pipe to ensure smooth water flow.
Water flows through the drain hose (Source: AZParts)
Step 3: Filtering out debris and lint if available
Some washing machines come with a built-in lint filter or debris trap. These components help prevent materials such as hair, fabric threads, or sand from entering the drainage line and causing blockages. If the filter is full or clogged, water may drain slowly or even flow back into the machine.
Step 4: Water exits through the household drainage system
After passing through the drain hose, the water is released into your home's plumbing system. This is usually done through a vertical pipe located behind the machine or a floor drain positioned nearby.
The entire drainage system should be installed correctly and cleaned regularly. If there are any blockages, bent hoses, or dirty filters, water will not drain properly. This can lead to water overflowing onto the floor or the washing machine showing a drainage error.
2. How To Diagnose an Issue With Your Drain
When your washing machine overflows, fails to drain, or drains too slowly, the problem often lies with the drain hose. Below are steps you can take to inspect and diagnose the issue at home.
- Observe any unusual signs: When there is a problem with the drain hose, you may notice water spilling onto the floor after a wash cycle, the machine stopping mid-cycle with a drainage error, or water backing up into the drum instead of draining out. You might also hear the pump running without water actually exiting the machine. These are clear signs that the drainage system is not working properly.
- Check the position of the drain hose: The drain hose must be installed in the correct position to ensure proper drainage. If the hose is bent, twisted, or placed too high or too low (typically it should be between 60 to 90 centimeters from the floor), water may not drain properly or may overflow. In addition, if the hose is inserted too deeply into your home's drainage pipe, it can create a siphoning effect that pulls water back into the drum.
Check the position of the drain hose (Source: AZParts)
- Disconnect and inspect the inside of the drain hose: Before doing this, unplug the washing machine from the power source. Then remove the drain hose from the drain pipe and inspect the inside. Check for buildup of dirt, hair, lint, or foreign objects that could be causing a blockage. Use a flashlight to look inside or gently push a soft rod through the hose. If water does not flow through easily, there is a high chance of a clog.
- Inspect the debris trap or lint filter if available: Many washing machines are equipped with a debris filter or lint trap as part of the drainage system. These filters help stop debris like hair, fibers, or sand from clogging the hose. If the filter is too dirty or blocked, water will drain very slowly or not at all, which may result in overflows or error messages. You should remove and clean the filter regularly to ensure smooth drainage.
- Check the drain hose clamp: The drain hose should be securely fastened with a clamp to prevent it from coming loose or leaking during operation. If the clamp is loose, broken, or incorrectly placed, it should be adjusted or replaced. Using a proper drain hose clamp will help keep the hose stable and ensure safer water discharge during the wash cycle.
3. How Do I Fix Washer Drain Overflows?
A washing machine drain hose overflow is often caused by improper installation, a clogged or leaking hose, or a problem with the home’s drainage system. To fix it, you can follow these step-by-step instructions:
3.1. Step 1: Inspect the area behind the washing machine
Start by closely examining the area behind and around the washing machine. Identify exactly where the water is leaking from. It could be the end of the drain hose, the connection point between the hose and the machine, or the floor drain. If you see water pooling, signs of mold, or dirt buildup near the drain area, these are indicators that the hose system might be malfunctioning. Identifying the correct cause early helps ensure a faster and more accurate repair.
Inspect the area behind the washing machine (Source: AZParts)
3.2. Step 2: Pull the washing machine away from the wall
Before doing any repair work, unplug the machine from the power outlet to ensure safety. Gently move the machine away from the wall to create enough space for inspection and repair. Be careful not to stretch or tear the hose or spill any remaining water inside the drum. If the machine is too heavy, ask someone to assist to avoid scratching the floor.
3.3. Step 3: Prepare the area
Place a dry towel or absorbent cloth on the floor behind the machine to catch any water that may leak during the inspection. Gather all the necessary tools and materials such as a flashlight, gloves, screwdriver, small bucket, and a drain cleaning rod. Being well prepared will help you work more efficiently and keep the area clean.
3.4. Step 4: Fix any issues with the drain hose
Next, disconnect the drain hose from both the washing machine and the household drain pipe. Carefully examine the hose for bends, twists, cracks, or leaks. If the hose is old, stiff, or deformed, it should be replaced to ensure proper drainage and to prevent future overflows.
You can use the drain hose, made of durable flexible plastic that is heat resistant and kink resistant. It is available in various sizes and fits most washing machine models. Pairing it with the AZParts washer drain hose clip helps keep the hose securely in place and prevents disconnection or leaks during operation. This is a simple yet effective way to improve your drainage system at home.
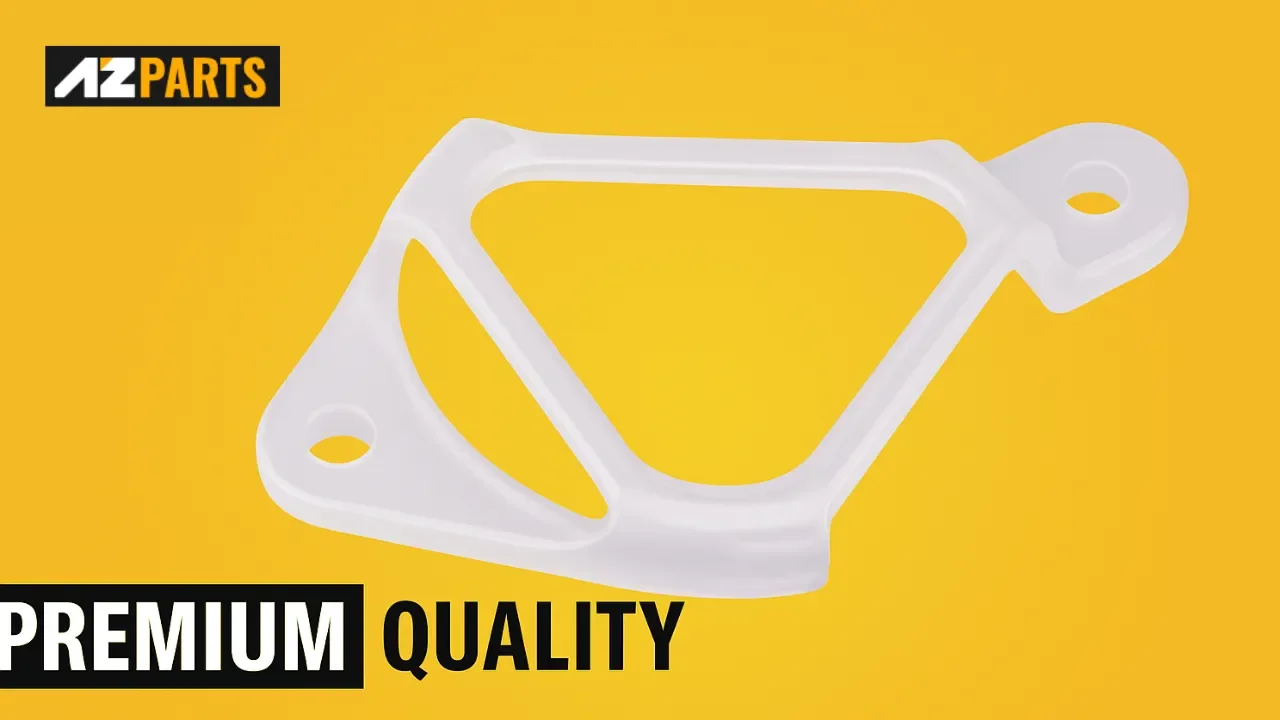
Drain Hose Clip helps keep the hose securely in place and prevents disconnection or leaks (Source: AZParts)
3.5. Step 5: Clear any clogs
Inspect the inside of the drain hose for clogs caused by hair, lint, debris, or foreign objects. These can slow drainage or cause water to flow back into the drum. Use a flashlight to look inside and gently push a flexible rod or cleaning wire through the hose to remove obstructions. Do not forget to check the wall or floor drain opening as this is another common spot for blockages that is often overlooked.
3.6. Step 6: Reinstall the drain hose and run a test cycle
Inspect the inside of the drain hose for clogs caused by hair, lint, debris, or foreign objects. These can slow drainage or cause water to flow back into the drum. Use a flashlight to look inside and gently push a flexible rod or cleaning wire through the hose to remove obstructions. Do not forget to check the wall or floor drain opening as this is another common spot for blockages that is often overlooked.
4. How To Prevent Future Washer Drain From Overflowing
To prevent issues such as drain hose overflow, clogging, or leakage after each wash, you can take some simple yet effective preventive steps:
First, check and clean the drain hose regularly
Over time, the washing machine drain hose can collect debris such as hair, lint, detergent residue, and dirt. These build-ups can eventually cause blockages. It is recommended that you inspect and clean the hose every three to six months. To do this, use a flexible cleaning tool or flush clean water through the hose to push out any trapped residue.
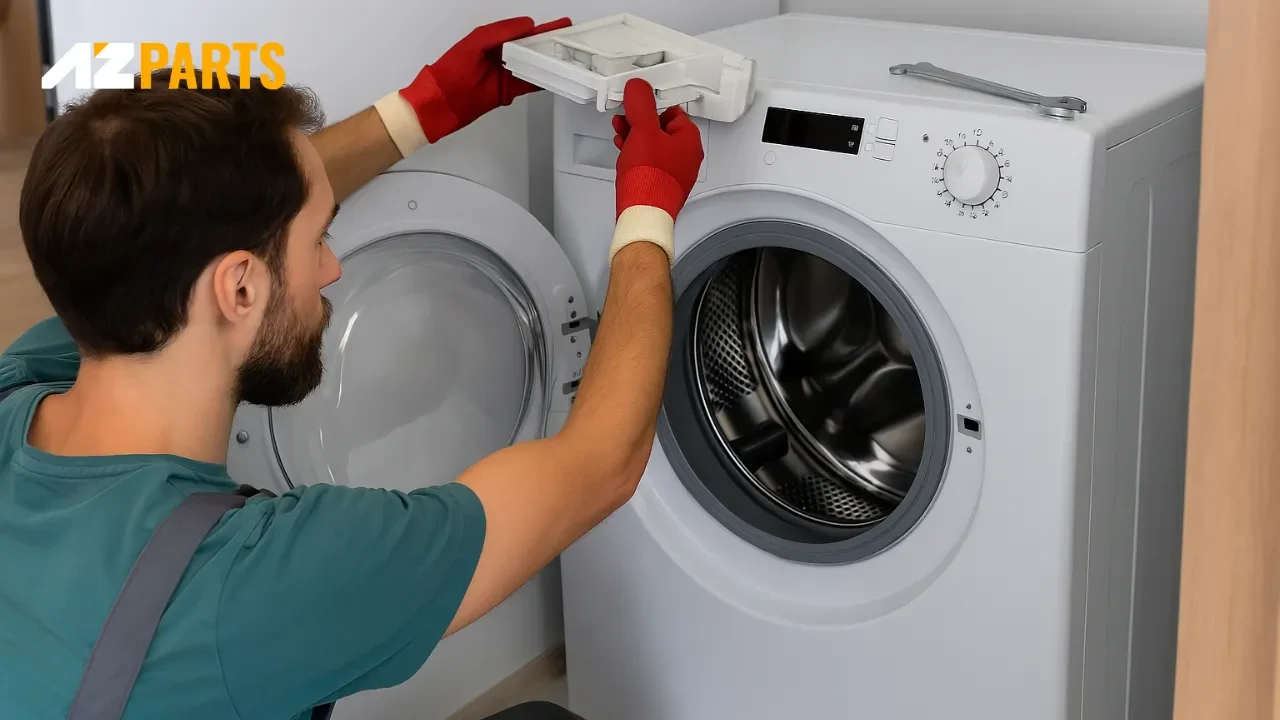
Second, clean the pump filter to prevent internal blockages
A common cause of drain hose blockages is debris like lint, coins, or hair that passes through the wash cycle and collects in the washer pump filter. If this filter becomes clogged, water may drain slowly or overflow. Make sure to clean the pump filter regularly according to the manufacturer's instructions. This not only helps prevent clogs but also protects the drain pump from damage and improves overall drainage efficiency.
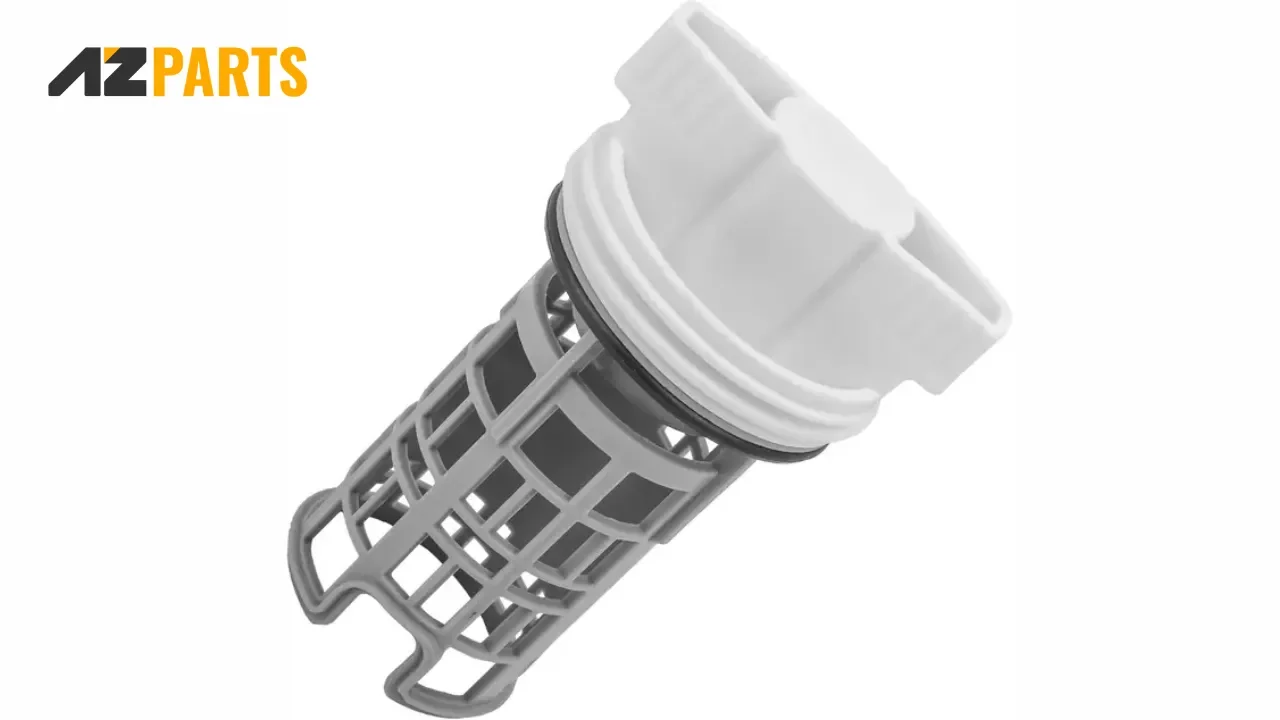
Clean the pump filter to prevent internal blockages (Source: AZParts)
Third, install the drain hose properly
Make sure the hose is set at the correct height, typically between sixty and ninety centimeters from the floor. It should not be bent, twisted, or inserted too far into the drainage pipe. Using a drain hose clamp from AZParts can help hold the hose firmly in place, preventing it from slipping out during use and causing overflow.
Fourth, choose durable and reliable accessories
Using high quality accessories like the AZParts washing machine drain hose and compatible components ensures long term performance and fewer problems. These upgrades help the machine operate smoothly and reduce the risk of breakdowns and repair costs in the future.
By following these simple steps consistently, you can enjoy worry free washing, keep your laundry area clean and dry, and extend the life of your washing machine.
5. Should You Repairing or Replacing The Washing Machine
When your washing machine encounters a problem, especially one related to the drainage system, it’s common to wonder whether to repair it or replace it entirely. The answer depends on several factors, including the machine’s condition, repair costs, its age, and your current usage needs.
Repairing is a suitable option when:
- The washing machine is relatively new, typically less than five years old.
- The issue is minor, such as a clogged or slightly leaking drain hose, or simply requires a hose replacement.
- The repair cost is low and the fix is easy to do at home.
- The machine still functions well in other aspects (washing, spinning, water intake, etc.).
In these cases, you can often handle the repair yourself by replacing the drain hose with an AZParts washing machine hose or securing it with an AZParts hose clamp to fix the overflow issue, saving both time and money compared to calling a technician.
Replacing is the better option when:
- The machine is old (over seven years of use) or has been repaired multiple times.
- The damage is severe and involves the control board, motor, pump, or other costly components.
- It consumes too much water and electricity, and no longer meets your usage needs.
- You want to upgrade to a more modern model with energy-saving features, drying capability, antibacterial functions, or smart connectivity.
Should You Repairing or Replacing The Washing Machine (Source: AZParts)
In summary:
If the issue is limited to the drain hose or other simple faults, repairing is the more cost-effective choice. However, if the machine is outdated or repair costs are high, replacing it is the smarter and more long-term investment.
6. FAQs about Fixing Washing Machine Drain Overflows
6.1 Why does my washing machine keep draining?
This could be due to a faulty water level sensor or a drain valve that doesn’t close properly, causing the machine to continuously fill and drain water. Another common reason is that the drain hose is installed too low or inserted too deeply into the drain pipe, which creates a siphon effect and pulls water out non-stop. It may also be caused by a malfunction in the machine’s control board or program settings.
6.2 What causes a washing machine drain to overflow?
Clogging due to hair, lint, or detergent residue is one of the most common causes of overflow. A bent, leaking, or loosely connected hose can also allow water to spill out during the draining cycle. It’s important to also check if the household drain or floor drain is blocked, as this can back up water and lead to overflow.
6.3. What is the correct height for installing a washing machine drain hose?
The ideal height is between sixty and ninety centimeters from the floor. If the hose is installed too low, it can cause backflow; if it’s too high, the machine may struggle to drain water effectively, leading to overflows.
6.4. How often should I check or replace the washing machine drain hose?
It’s recommended to inspect the drain hose every three to six months. If the hose becomes stiff, develops leaks, or drainage slows down noticeably, it’s best to replace it to maintain smooth and reliable machine operation.
Washing machine drain hose overflow is a common issue but can be fully resolved if you understand the root causes and follow the correct steps to fix it. By performing regular inspections, installing the drain hose properly, and keeping the water pathway clean, you can help your washing machine operate smoothly. This reduces the risk of breakdowns and prevents unnecessary time and effort spent on repairs later.
To make repairs and maintenance more effective, it is a good idea to prepare high quality washer parts such as drain hoses, hose clamps, and lint filters. Products from AZParts are a dependable choice. They are easy to use and allow you to maintain or replace parts at home quickly and efficiently without overspending.
Contact Information:
8 The Green, Ste A, Dover, Delaware 19901-3618, United States
Discover other washer issues here:
Washer
Further Reading
Further Reading

Repair help
July 17, 2025
A washer that makes loud noise can be both annoying and concerning. Whether it's grinding, banging, or rattling sounds, these noises often signal underlying issues that need immediate attention. Understanding different noise types helps you address problems quickly and avoid costly repairs. At AZParts, we provide quality replacement parts and expert guidance to resolve your washing machine noise issues effectively.

Repair help
July 11, 2025
When your washer lid won't lock, this problem prevents your appliance from starting its cycle, leaving you with wet clothes and a non-functional machine. Understanding the root causes and knowing how to troubleshoot effectively can save you time, money, and unnecessary stress. This guide from AZParts will walk you through the most common causes of lid locking problems and provide step-by-step solutions to get your washing machine back to working order.

How-To Guides
July 11, 2025
A washer that won’t spin is a fairly common issue, often causing inconvenience in daily life when clothes remain soaking wet after a wash cycle. This problem can stem from various causes, from user errors such as overloading or unbalanced laundry, to internal component failures like a faulty lid switch, broken drive belt, or clogged drain pump filter. In this article, AZParts will help you identify the exact cause and guide you through effective solutions so you can get your washer back up and running without needing to call a technician right away.

Repair help
June 24, 2025
Kenmore washers are built to last and widely trusted for their reliability and efficiency. However, like any appliance used frequently, they can develop issues over time. From a washer that refuses to start to one that leaks or makes unusual noises, understanding the root causes is essential to fixing the problem quickly and effectively.
This guide offers a detailed look at Kenmore washers troubleshooting, covering the five most common issues, likely causes, and step-by-step instructions on how to diagnose and repair them. Whether you’re a DIY enthusiast or simply want to understand what’s wrong before calling a technician, this resource will help you get your Kenmore washer back in working order.
_1748341252.jpg&w=3840&q=75 "Where to Find the Model and Serial Number on a Washer")
How-To Guides
May 27, 2025
Whether you need to schedule a repair, register your appliance, or order a replacement part, knowing where to find the serial number for washing machine models is essential. This unique identifier helps technicians match the right components and ensures your warranty is valid. However, each brand places its label in different locations, which can make the search confusing. In this article, AZParts will show you exactly where to find the model and serial number on washers from leading brands so you can take the next step with confidence.