How-To Guides
How to Install Dryer Vent with 6 Simple Steps
AZparts Team
Updated on November 20, 2025
8 min read
Installing a dryer vent properly is essential for the efficiency and safety of your dryer. A well-connected vent helps remove moisture, lint, and heat, preventing potential fire hazards and improving drying performance. In this guide, AZParts walks you through the simple steps to install your dryer vent correctly, whether you're replacing an old one or setting up a new dryer.

1. Preparation Checklist for Installing a Dryer Vent
Materials
- Rigid or Flexible Metal Dryer Vent Hose (4-inch diameter recommended for most dryers)
- Vent Elbows – Optional, for angled installations
- Foil Tape or Metal Vent Clamps – To secure connections
- Tin Snips – For trimming metal ducting if needed
Tools
- Tape Measure – For accurate hose length and vent placement
- Screwdriver – To tighten hose clamps or fasten vent cover
- Vacuum Cleaner – To clear lint from old vents or floor
- Protective Work Gloves – To handle sharp-edged ducting safely
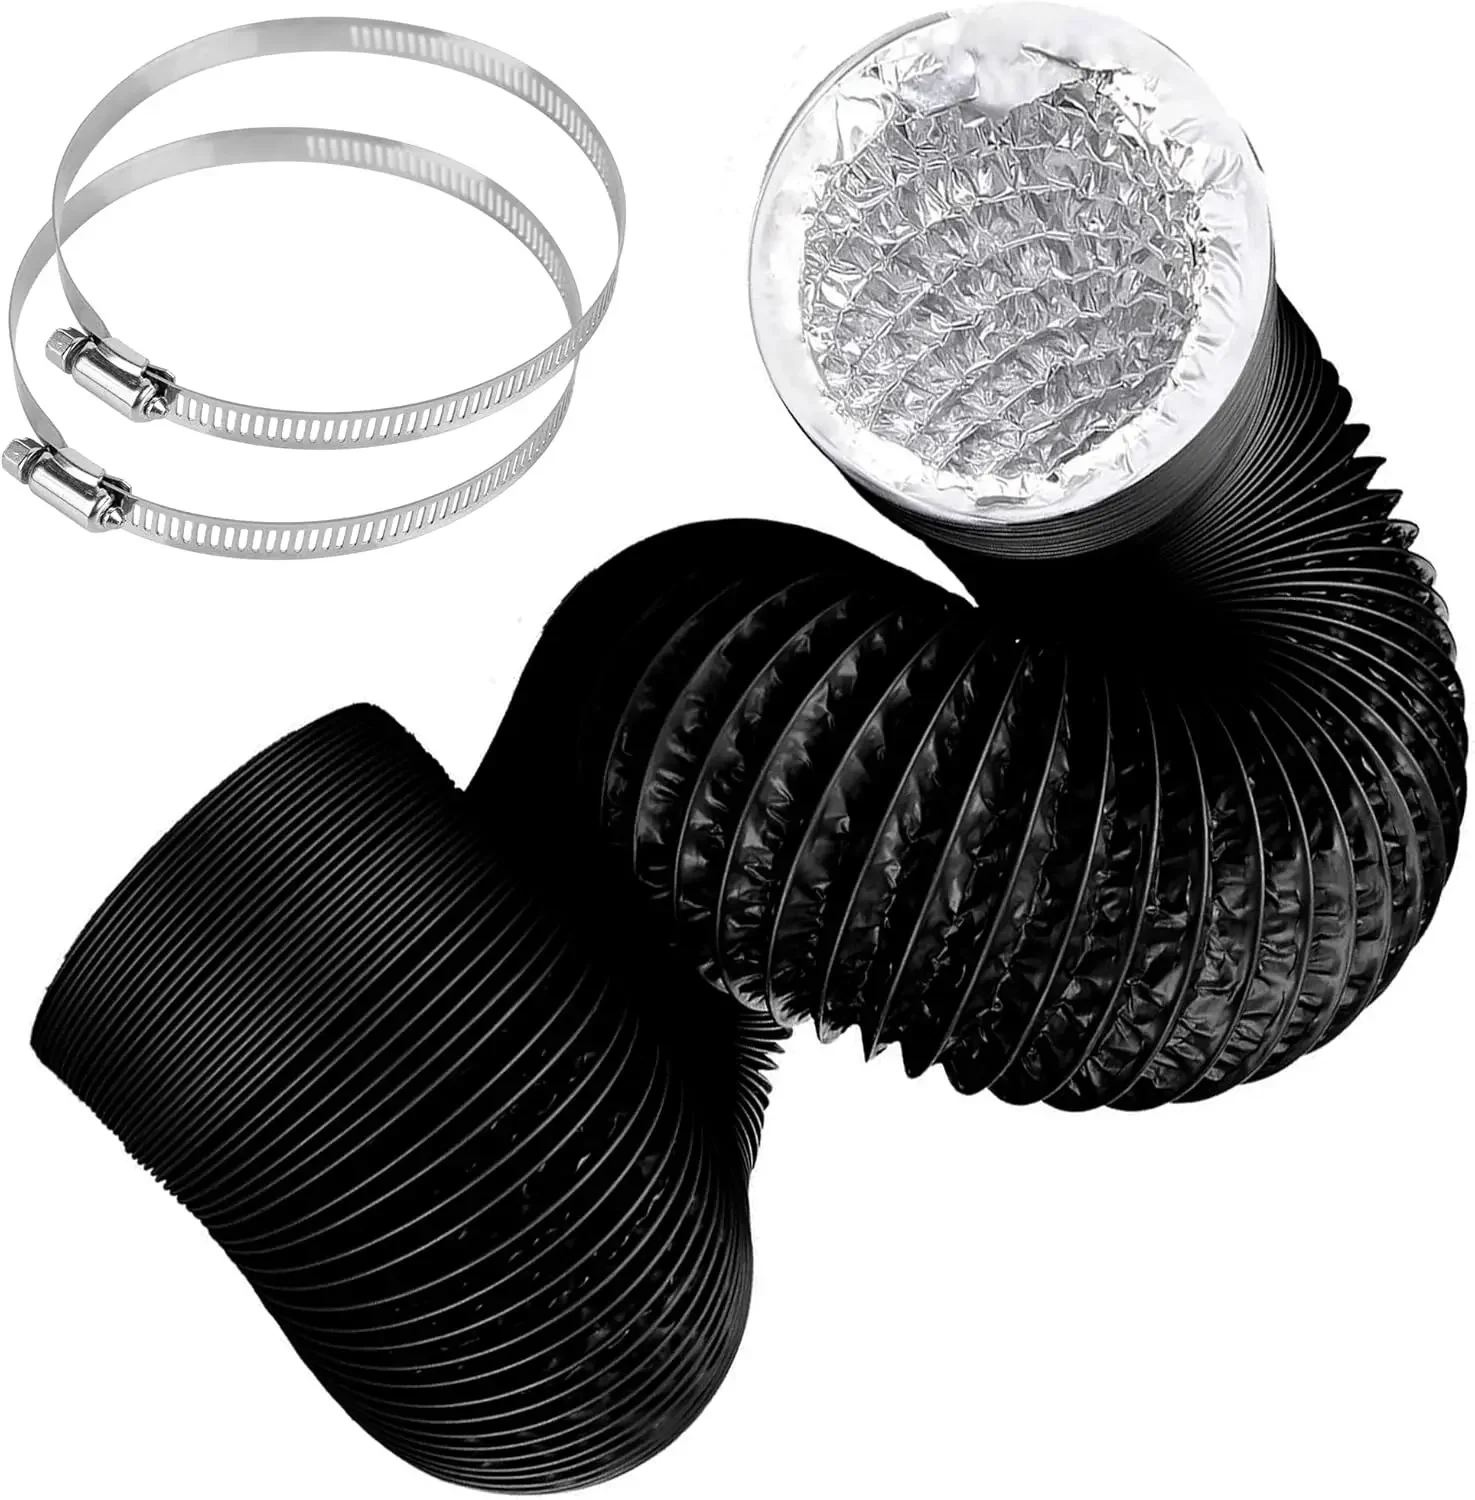
Prepare new dryer vent hose to install (Source: AZParts)
2. How to Install Dryer Vent
Installing a dryer vent properly helps improve drying efficiency and reduces the risk of lint-related fire hazards. Follow these steps to install your dryer vent safely and securely.
2.1. Clean the Venting System
Before installation, ensure your dryer and vent system are free from lint build-up.
- Disconnect any old ducting from both the dryer exhaust outlet and the wall vent.
- Remove lint manually from the exhaust outlet, ducting, and wall opening.
- Use a vacuum cleaner to remove any remaining debris inside the ducts.
- Don’t skip the exterior: remove the outside vent cover and vacuum the vent hood thoroughly.
Pro Tip: Clean the dryer vent regularly to maintain dryer performance and safety.
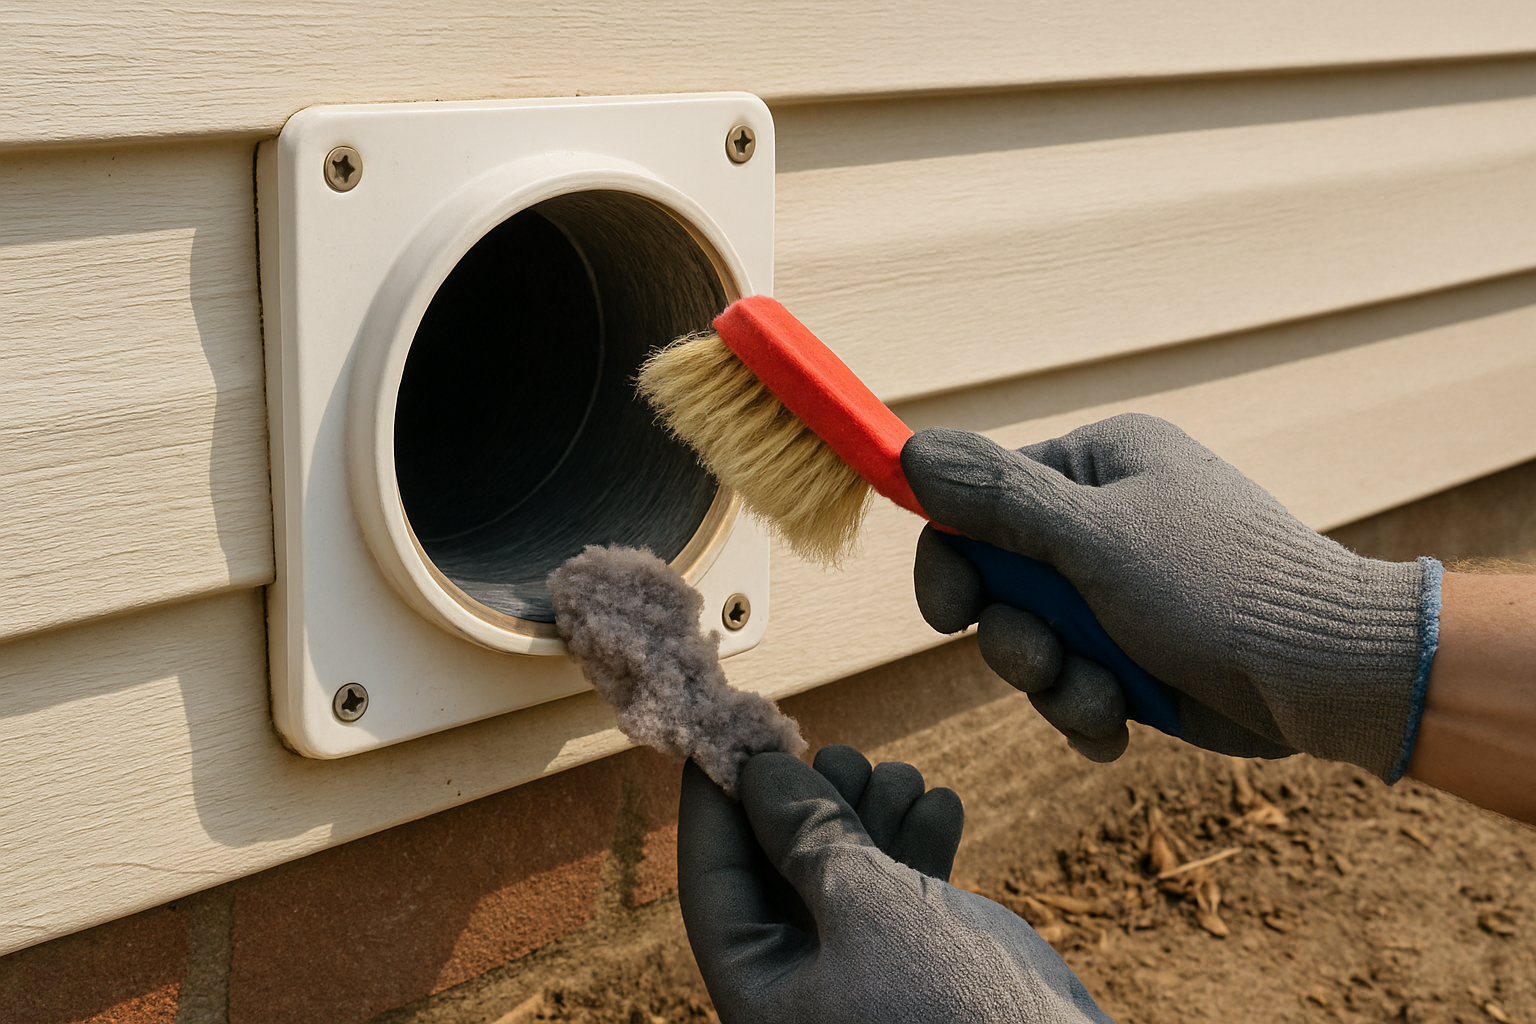
Clean the dryer vent opening before installing vent (Source: AZParts)
2.2. Measure the Venting Path
Using a measuring tape, calculate the total distance from your dryer’s exhaust outlet to the exterior vent opening.
- Include any twists, turns, or elbows in your measurement.
- Aim for the shortest and straightest path possible to improve airflow and reduce lint build-up.
Note: Refer to your dryer’s user manual for maximum vent length and allowable elbow joints.
2.3. Choose Your Venting Type
There are two primary types of dryer vent hoses: rigid metal and flexible metal. Both are typically 4 inches in diameter and designed for dryer exhaust use.
Rigid metal is more durable and offers better airflow, while flexible metal is easier to install in tight spaces. Always follow the recommendations in your appliance manual, and avoid plastic or vinyl hoses as they are not safe for dryer venting. For example, 6-inch Diameter 16ft Length Hose Dryer Vent or 5-inch Diameter 16ft Length Dryer Vent Hose available at AZParts are made of 3-layer reinforced materials, providing durability and flexibility, and come with stainless steel clamps.
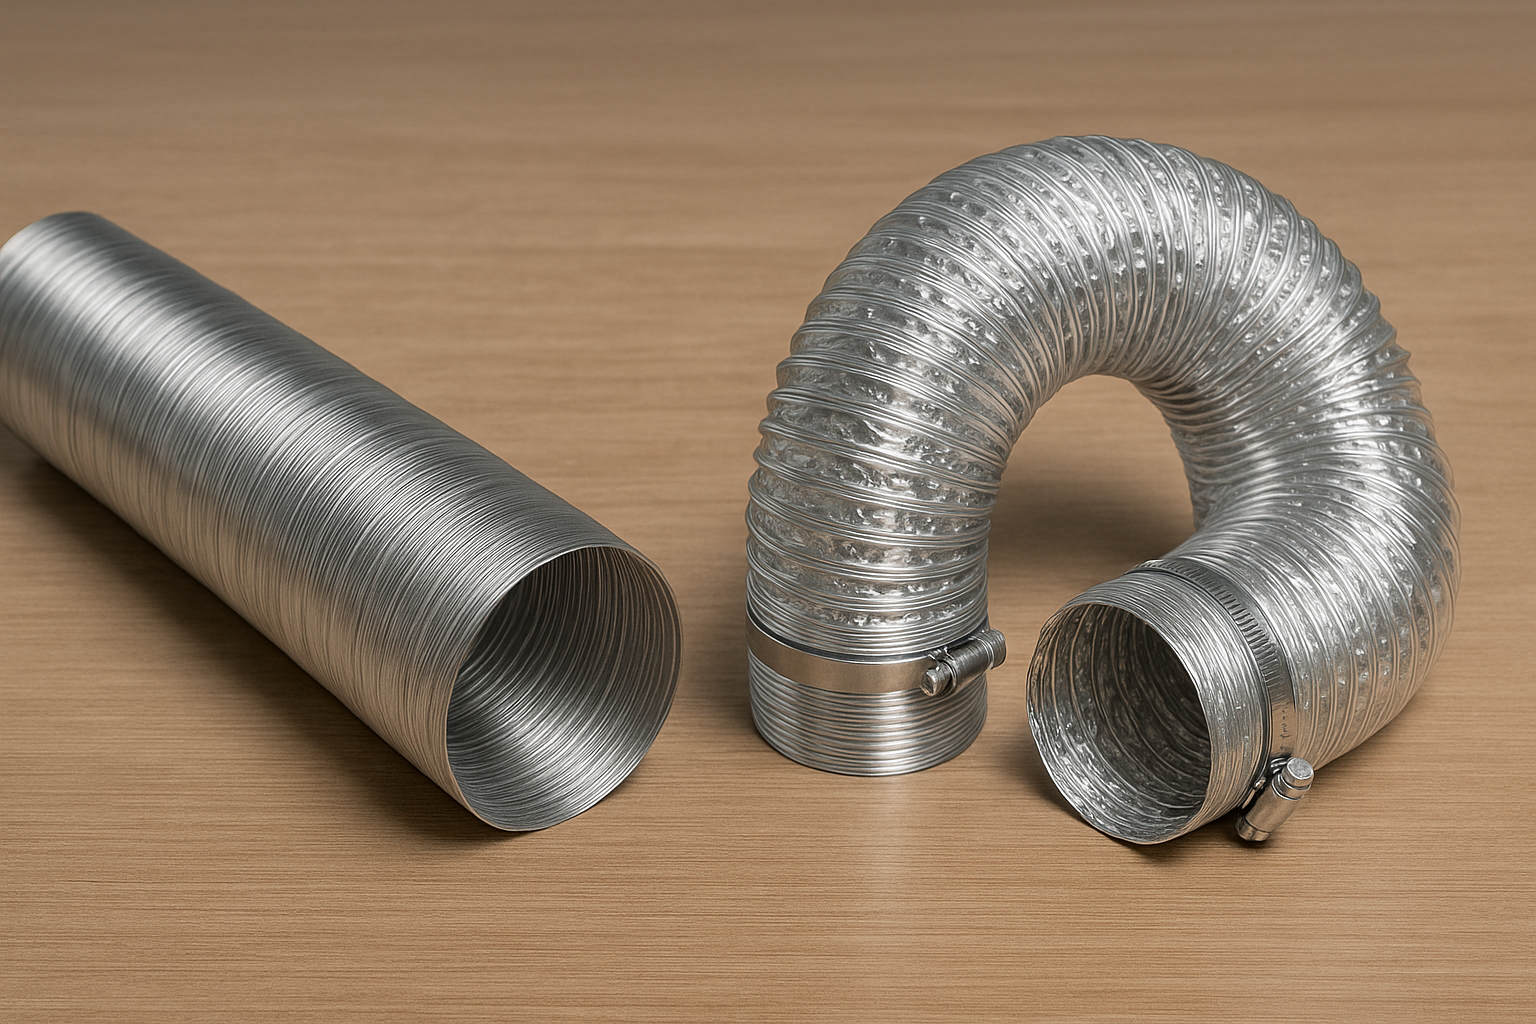
Choose right dryer vent hose is one of most important steps (Source: AZParts)
2.4. Trim the Vent Ducting
Make sure your dryer vent hose fits snugly with minimal slack.
- Use your earlier measurement to mark the correct duct length.
- Add about ½ inch for overlap.
- Wear work gloves, and use tin snips to trim the metal duct carefully.
A tight, supported duct improves airflow and prevents kinks or sags.
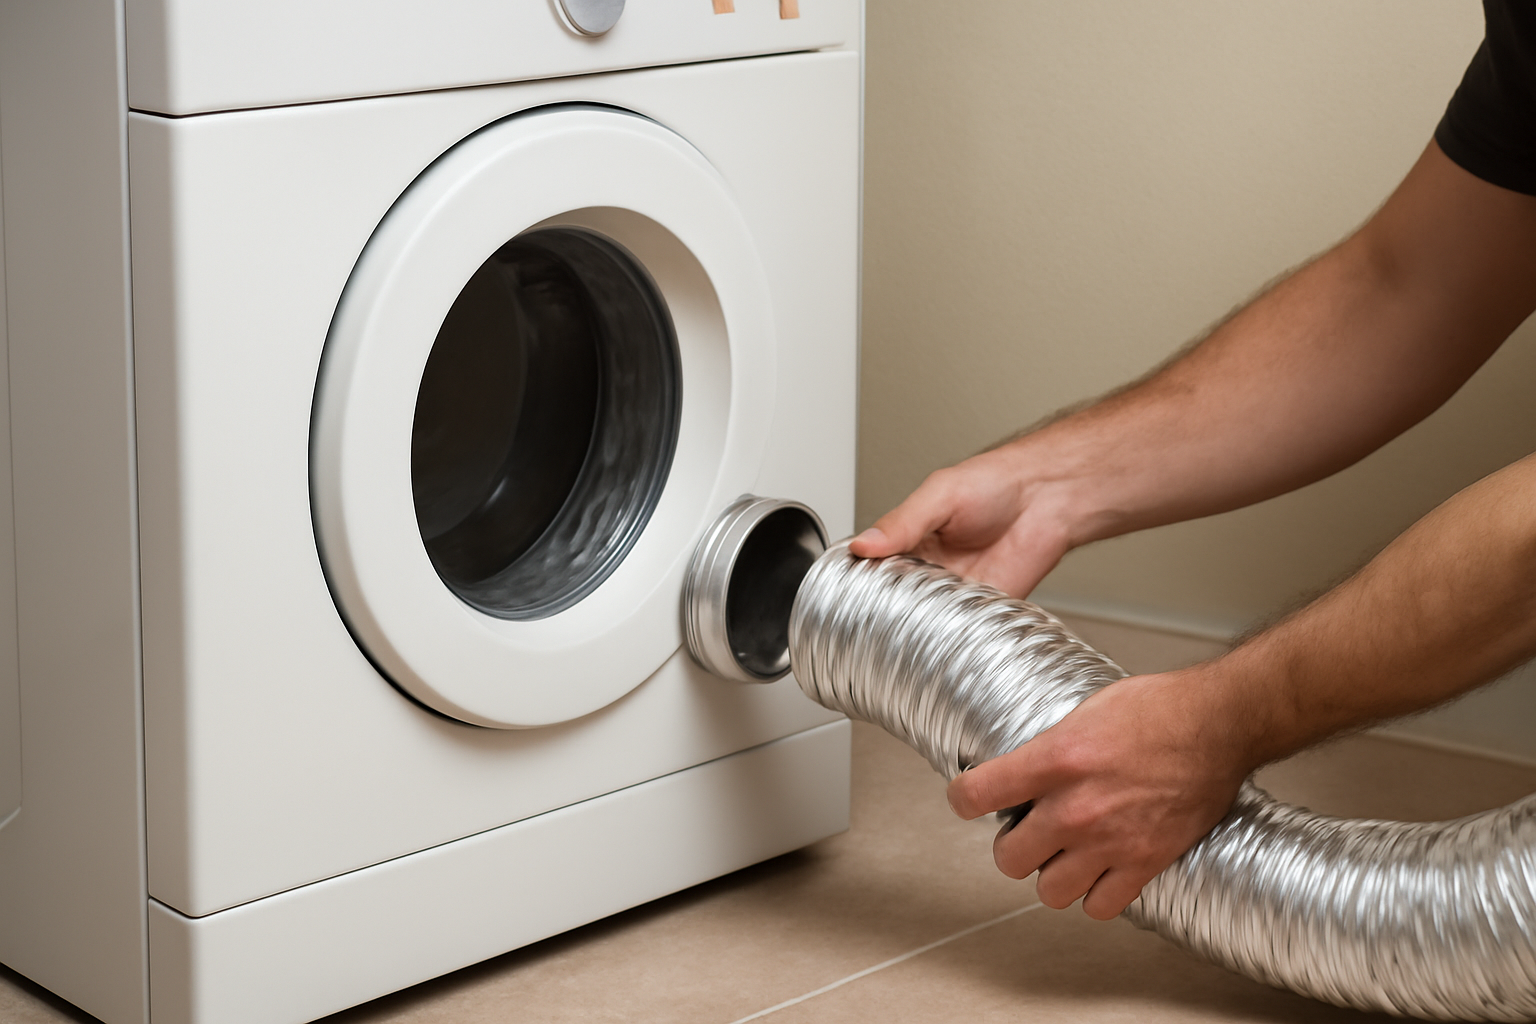
2.5. Attach the Dryer Venting
Secure the vent hose to both the dryer and wall outlet using either vent clamps or foil tape:
- If using clamps:
- Slide the clamp over the duct end, attach the duct to the dryer or wall outlet, and tighten with a screwdriver.
- If using foil tape:
- Wrap the tape firmly around the connection point to create a secure seal.
Give each end a gentle tug to make sure it's tightly fastened and leak-free.
2.6. Reposition the dryer
Slide your dryer back into place, guiding it to avoid kinks in the venting. Be sure to adjust your dryer so that the venting is as straight and sturdy as possible.
Final Check: Push the dryer carefully back into place, ensuring the vent hose isn’t kinked or crushed. Plug in the dryer, turn it on, and check for proper airflow at the exterior vent outlet.
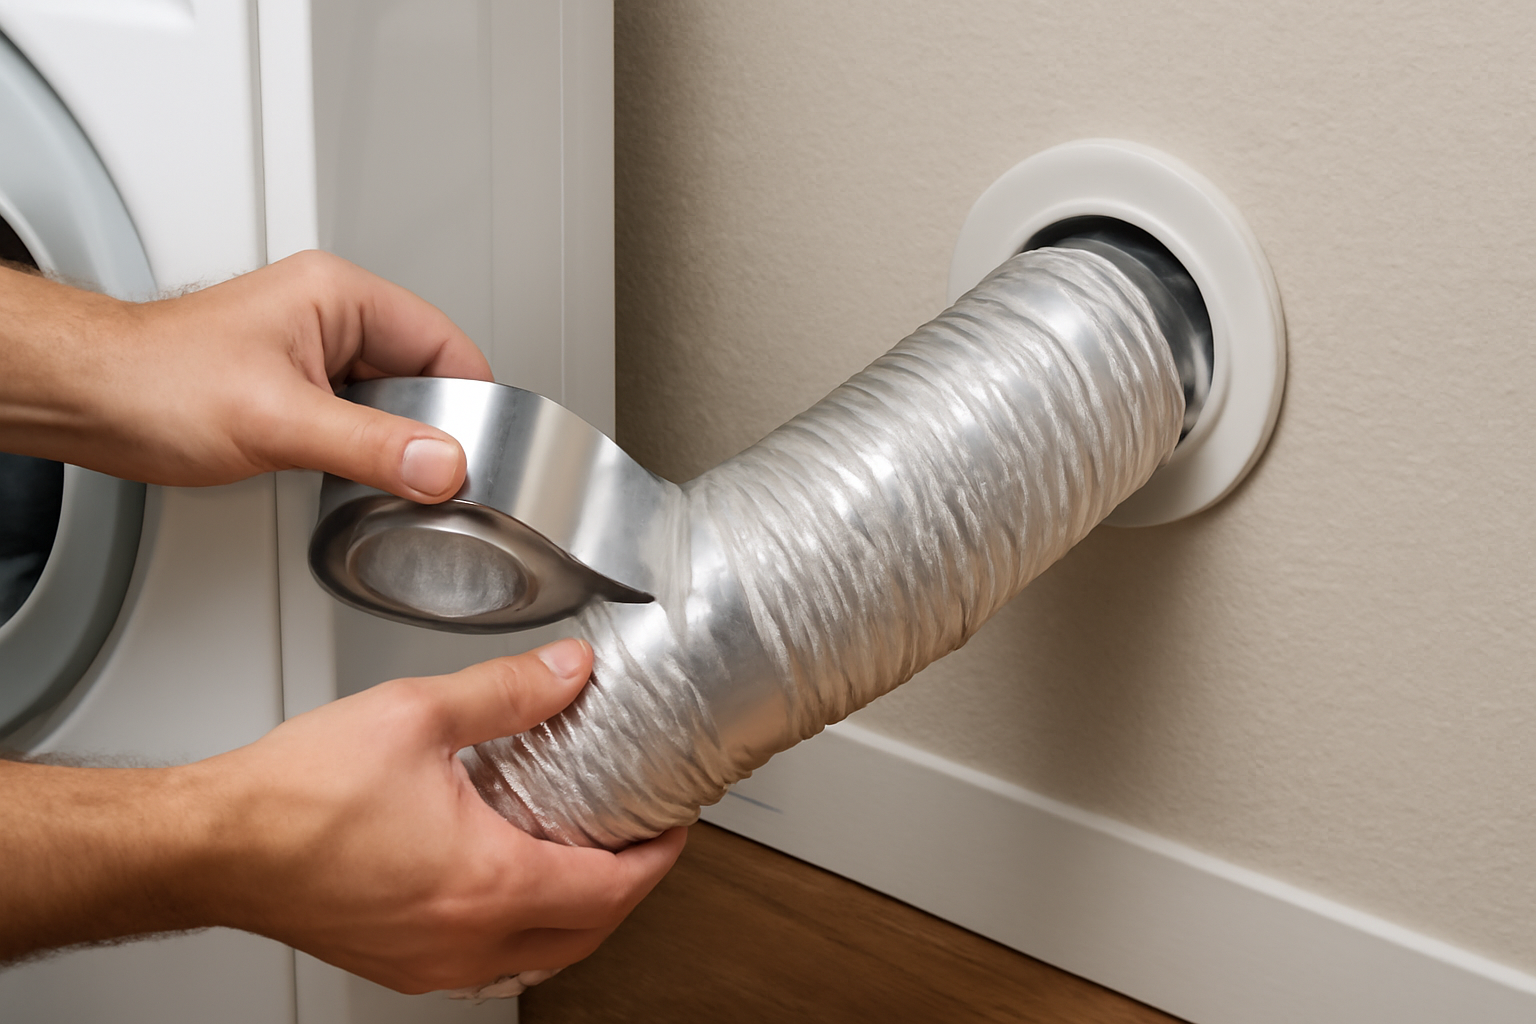
Select either vent clamps or foil tape to fasten the hose (Source: AZParts)
3. Installation Dryer Vent Hose Tips
Here are some essential tips to keep in mind when installing a dryer vent, ensuring safety, efficiency, and a longer dryer lifespan:
- Use only metal venting such as rigid or semi-rigid aluminum. Plastic or vinyl hoses are flammable and not recommended for dryer exhaust.
- Keep the vent path as short and straight as possible. Long or twisting vents reduce airflow and increase lint buildup, which can lead to overheating.
- Do not use screws to secure the hose, as they can trap lint and obstruct airflow. Instead, use foil tape or vent clamps designed for dryer ducts.
- Clean both the inside and outside venting system regularly, ideally every 6 to 12 months. This prevents lint buildup, reduces fire risk, and improves dryer performance.
- Always use foil tape, not regular duct tape. Foil tape is heat-resistant and safe for high-temperature applications like dryer vents.
- Measure carefully before cutting the vent hose. Make sure it fits snugly without excess slack, but with enough overlap for secure connections.
- Ensure the outside vent flap opens easily and is free of obstructions like lint, leaves, or bird nests. Blocked exterior vents can force heat and moisture back into your home.
- Wear protective gloves when handling and cutting metal ducting to avoid cuts from sharp edges.
- After installation, run the dryer and check for strong airflow at the exterior vent. Weak airflow may indicate a blockage or kink in the hose.
- If your dryer is in a tight space, consider using adjustable elbows or slim venting kits to reduce bending and improve the fit.
Tips to install dryer vent hose for extending lifespan (Source: AZParts)
4. FAQs about Clothes Dryer Vent Installation at Home
4.1. Is it better to clamp or tape dryer vent hose?
Both vent clamps and foil tape are effective for securing a dryer vent hose. Vent clamps provide a strong mechanical hold, while foil tape offers a tight, heat-resistant seal. Avoid using duct tape, as it can deteriorate from heat. For best results, use either vent clamps or high-quality foil tape designed specifically for dryer vents.
4.2. Can I replace a dryer vent hose myself?
Yes, replacing a dryer vent hose is a manageable DIY task if you follow safety steps carefully. Make sure to unplug the dryer or turn off the gas supply first, then remove the old hose and install the new one following proper guidelines. However, if your vent path is complicated or hard to access, consulting a professional might be safer and more efficient.
4.3. How do you attach a dryer vent hose?
To attach the vent hose, slide one end over the dryer’s exhaust outlet and the other over the wall vent. Secure both ends using vent clamps tightened with a screwdriver or wrap with foil tape. Make sure the connections are snug without gaps to prevent leaks and lint buildup.
4.4. Should the dryer vent hose be straight?
Yes, the dryer vent hose should be as straight and short as possible. Straight ducts allow better airflow, reduce lint buildup, and improve drying efficiency. Avoid excessive bends, kinks, or sagging sections which can trap lint and cause blockages.
4.5. How much does it cost to install a dryer vent?
The cost of installing a dryer vent can vary depending on materials, labor, and location. Doing it yourself typically costs between $150 and $250 for supplies. Hiring a professional can cost between $140 and $275. Prices may vary based on the complexity of the vent path and local labor rates.
4.6. Does a Dryer Have to Be Vented Outside?
While dryers can technically be vented indoors, it is highly recommended to vent them outside. Venting inside can increase moisture levels, leading to mold growth and poor air quality, which may aggravate respiratory issues. Outdoor venting provides safer, more efficient drying and better air quality in your home.
4.7. Semi-Rigid vs. Flexible Dryer Ducting: Which Should You Use?
Semi-rigid ducting is more durable, maintains its shape better, and traps less lint, making it ideal for longer or more complex venting paths. Flexible ducting is easier to install in tight spaces and less expensive but can kink or sag more easily, reducing airflow. Choose semi-rigid for best performance and safety; flexible may be better for compact or awkward spaces.
Proper installation of your dryer vent hose is essential for maintaining your dryer’s efficiency, safety, and longevity. Using quality dryer parts from trusted suppliers like AZParts ensures a secure fit and durable performance. Whether you’re replacing an old vent hose or installing a new one, following the correct steps with reliable components helps prevent lint buildup, reduces fire risks, and improves drying efficiency.
Contact Information:
8 The Green, Ste A, Dover, Delaware 19901-3618, United States
Read more:
Dryer
- 1. Preparation Checklist for Installing a Dryer Vent
- 2. How to Install Dryer Vent
- 3. Installation Dryer Vent Hose Tips
- 4. FAQs about Clothes Dryer Vent Installation at Home
- 4.1. Is it better to clamp or tape dryer vent hose?
- 4.2. Can I replace a dryer vent hose myself?
- 4.3. How do you attach a dryer vent hose?
- 4.4. Should the dryer vent hose be straight?
- 4.5. How much does it cost to install a dryer vent?
- 4.6. Does a Dryer Have to Be Vented Outside?
- 4.7. Semi-Rigid vs. Flexible Dryer Ducting: Which Should You Use?
Further Reading
Further Reading

Repair help
April 1, 2026
If your dryer has suddenly stopped working, won’t start, or fails to complete a cycle, the problem might be easier to fix than you think. In many cases, replacing a faulty component can get your dryer running again without the need for expensive repairs. In this guide, we’ll walk you through the 7 most common reasons your dryer isn’t working and what you can do to fix them. We’ll also point you to the specific dryer parts available at AZParts that can help you resolve each issue.

Repair help
December 28, 2025
When your dryer won’t spin, even the smallest load becomes a hassle. In this guide, AZParts walks you through the most common causes, from power and startup issues to mechanical breakdowns and motor failures. You’ll also find practical advice on handling safety and sensor dryer problems, along with a step-by-step diagnostic guide to help you identify the problem and get your dryer working again.

Repair help
November 28, 2025
Does your dryer smell like mildew every time you open the door? That musty odor is a common sign of moisture buildup and poor ventilation, often caused by clogged lint traps, dirty vents, or worn-out parts. While regular cleaning is essential, truly eliminating the dryer issue may require replacing faulty components such as lint screens, door seals, or vent hoses. In this article, AZParts explore the common causes behind why your dryer smells like mildew and provide practical tips to eliminate those unpleasant odors.

How-To Guides
November 20, 2025
Dryer running cold? The heating element is probably broken. Learn how to fix the heating element in the dryer yourself, it's easier than you think and saves repair costs. This comprehensive guide will walk you through identifying, removing, and installing a new heating element in your dryer, with expert tips from AZParts to ensure your clothes are drying efficiently again in no time.

Review
November 19, 2025
Choosing the right dryer vent hose is more important than you think. Each dryer vent hose type affects your dryer's efficiency and safety differently. In this article, AZParts will introduce the most common types of dryer vent hose, compare their pros and cons, and help you pick the best fit.