How-To Guides
How to Prevent Mold in a Humidifier: Tips and Tricks
AZparts Team
Updated on June 5, 2025
10 min read
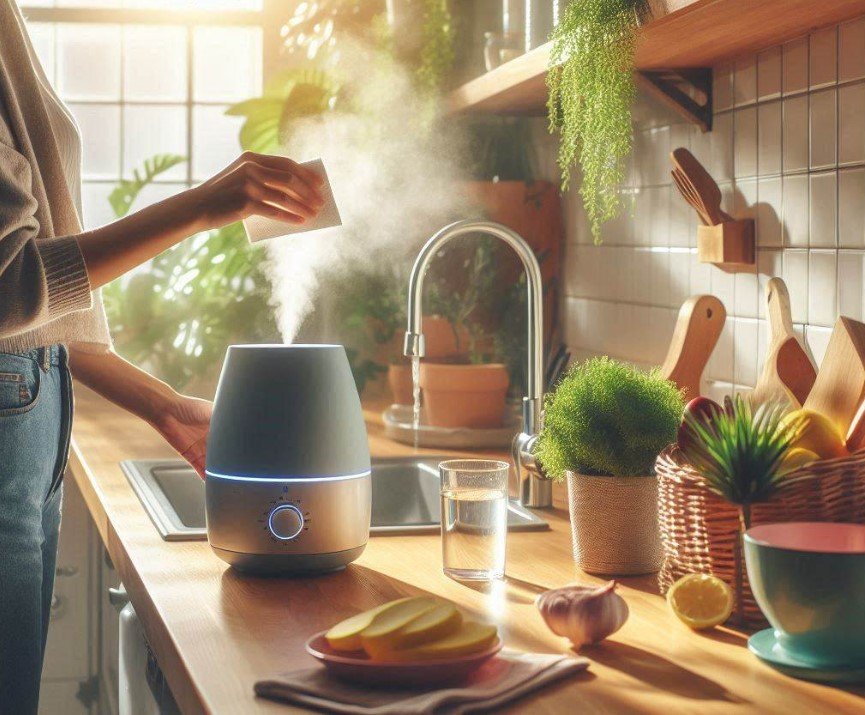
Keeping your humidifier clean is essential for healthy air and optimal performance. At AZParts, we understand how important proper maintenance is, especially when it comes to avoiding mold. In this guide, we'll show you exactly how to prevent mold in a humidifier using simple, effective tips. Whether you're a first-time user or a seasoned homeowner, these strategies will help extend the life of your device and protect your air quality.

1. Can a Moldy Humidifier Make You Sick?
Absolutely, a moldy humidifier can make you sick. When not cleaned properly, humidifiers can become a breeding ground for mold and bacteria. As the machine runs, it disperses tiny mold spores into the air, which you then breathe in. This can lead to a range of health problems, especially for those with allergies, asthma, or weakened immune systems.
Common symptoms of mold exposure from a humidifier include:
- Sneezing, coughing, or congestion
- Throat and sinus irritation
- Itchy or watery eyes
- Breathing difficulties or asthma flare-ups
- Headaches and fatigue
If you've been experiencing any of these symptoms while using a humidifier, it might be time to check for mold inside the unit.

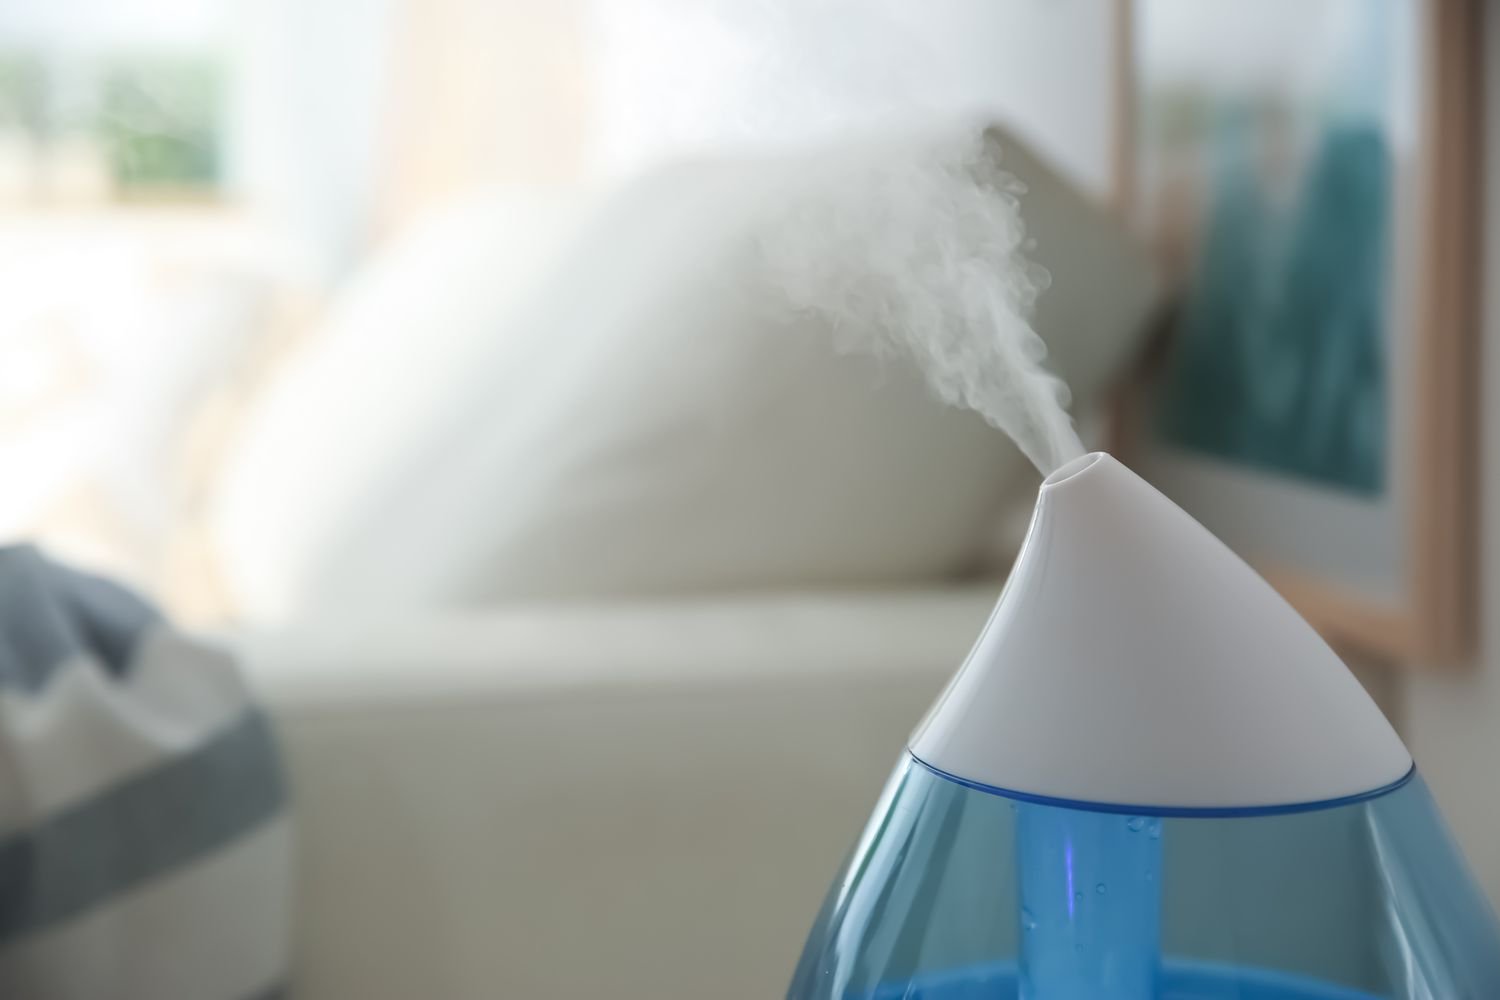
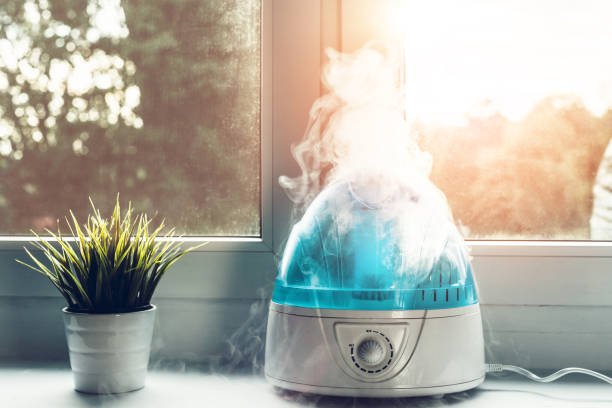
Knowing how to prevent mold in a humidifier is key to avoiding these health risks (Source: Freepik)
2. How to Prevent Mold in a Humidifier
Cleaning humidifier is essential not only for the longevity of the device but also for your health. Mold can grow quickly in the warm, damp environment of a humidifier and then spread through the air you breathe. Fortunately, learning how to prevent mold in a humidifier is simple if you follow a few consistent habits:
- Use distilled or demineralized water: Tap water often contains minerals that promote mold and bacterial growth. To minimize buildup and reduce the chance of mold forming, always use distilled or demineralized water in your humidifier.
- Empty and refill the tank daily: One of the most effective ways to prevent mold is by avoiding stagnant water. Empty the tank every day, rinse it, and refill it with fresh, clean water before each use. This keeps mold and bacteria from having a chance to grow.
- Clean the humidifier weekly: Regular cleaning is crucial. At least once a week, clean the humidifier thoroughly using a solution of white vinegar or 3% hydrogen peroxide. Scrub the base, tank, and any removable parts to eliminate any residue or early signs of mold.
- Dry all components completely: After cleaning, allow all parts of the humidifier to dry completely before putting them back together. Mold thrives in moisture, so ensuring your unit is dry is a key step in prevention.
- Replace filters as recommended: If your humidifier uses a filter, follow the manufacturer's replacement schedule. A dirty or old filter can become a hidden source of mold and bacteria, even if the rest of the unit is clean.
- Store the humidifier properly: When not in use, especially during warmer months, drain and dry the humidifier thoroughly and store it in a cool, dry place. Avoid leaving water in the tank during storage.
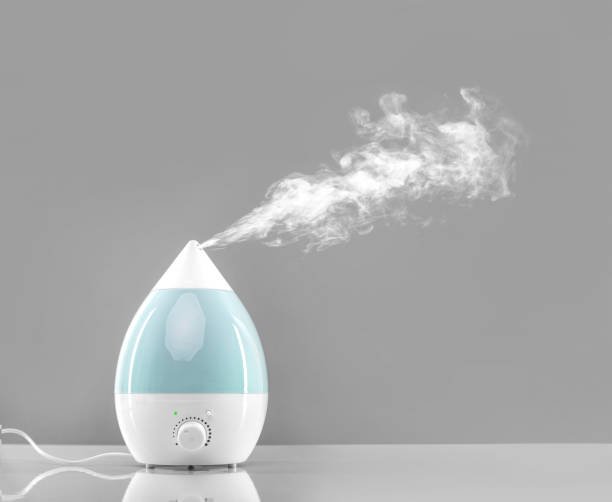
One of the most effective ways to prevent mold is by avoiding stagnant water (Source: IStock)
3. How to Remove Mold in the Humidifier
If you notice a musty smell, visible spots, or feel like your humidifier isn’t working as efficiently, it may be harboring mold. Fortunately, you can get rid of it effectively with just a few household items. Below is a step-by-step guide on how to remove mold in the humidifier and restore clean, safe air to your home.
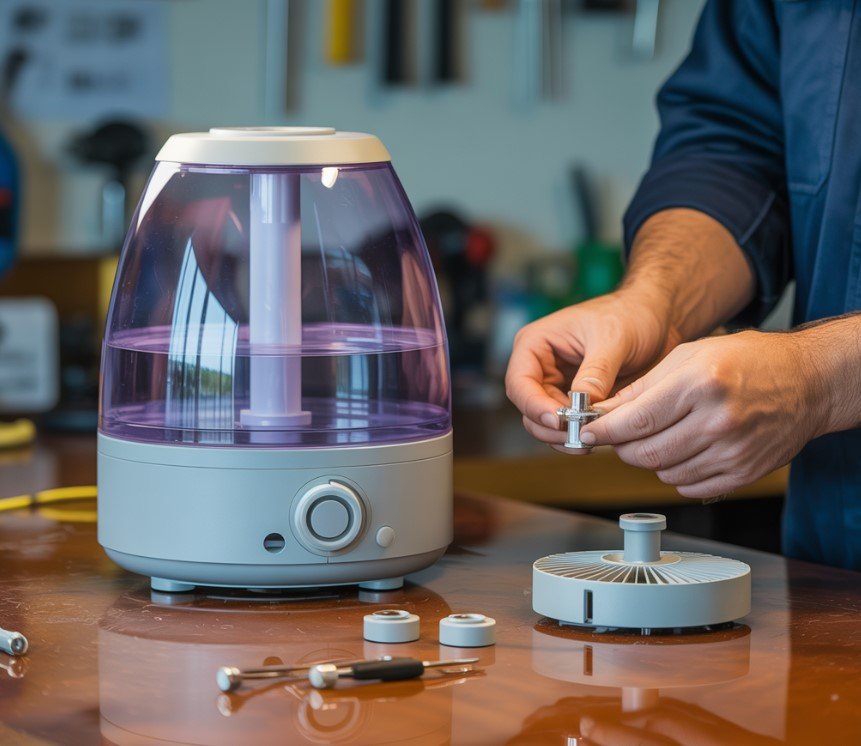
Step 1: Unplug and Disassemble the Humidifier
To begin the cleaning process, the user should unplug the humidifier to eliminate any risk of electric shock. After ensuring it is safely disconnected, the user must disassemble all removable components. These typically include the water tank, the base, the filter (if present), and any detachable nozzles or trays. For detailed instructions on how to take apart each component, the user should refer to the product’s user manual provided by the manufacturer.
The user must disassemble the water tank, base, filter, and any detachable nozzles or trays (Source: Freepik)
Step 2: Empty the Water Tank
Next, the user should pour out all remaining water from both the tank and the base of the humidifier. It is important to remove standing water because it often serves as a breeding ground for mold and bacteria. Leaving water inside the unit between uses increases the risk of contamination and unpleasant odors.
Remove standing water to prevent mold and bacteria growth (Source: AZParts)
Step 3: Soak Components in a Cleaning Solution
To effectively disinfect the unit, the user should fill the water tank with a solution made of equal parts white vinegar and clean water. This solution should be allowed to sit in the tank for 30 to 60 minutes. The soaking process helps dissolve mineral buildup and kill any mold spores. If the unit has significant residue or stubborn deposits, the user may add a small amount of hydrogen peroxide for enhanced cleaning power.
Fill the water tank with a solution made of white vinegar and clean water helps dissolve mineral buildup and kill any mold spores (Source: IStock)
Step 4: Scrub All Surfaces
After soaking, you should scrub the interior surfaces of the tank and base using a soft-bristled brush or an old toothbrush. Scrubbing is especially important for corners, crevices, and any narrow areas where mold or scale tends to accumulate. Applying gentle pressure will help remove residue without scratching or damaging the plastic components.
Step 5: Rinse Thoroughly
Once all surfaces have been scrubbed, the user must rinse each component under clean, running water. This step is crucial for removing any remaining vinegar or hydrogen peroxide from the humidifier. If these cleaning agents are not fully rinsed, they could produce strong odors or harmful vapors when the device is turned back on.
Rinse each component under clean, running water (Source: AZParts)
Step 6: Let Everything Dry Completely
Before reassembly, the user should place all cleaned parts on a dry towel or a clean rack and allow them to air dry completely. Any remaining moisture inside the humidifier can promote mold growth, even after a thorough cleaning. Proper drying helps ensure that the unit remains safe and hygienic during operation.

Place all cleaned parts on a dry towel or a clean rack and allow them to air dry completely (Source: AZParts)
Step 7: Reassemble and Maintain Regular Cleaning
Once every component is fully dry, the user can reassemble the humidifier and return it to service. To keep the humidifier functioning efficiently and safely, the user should perform regular maintenance. This includes emptying the water tank daily, replacing the water with fresh water each time, and cleaning the unit thoroughly at least once a week. For more detailed care tips, users can refer to our complete humidifier maintenance resource.
Once every component is fully dry, you can reassemble the humidifier and return it to service (Source: AZParts)
4. Tips for Maintaining a Mold-Free Humidifier
Preventing mold in your humidifier isn’t just a one-time task, it’s about consistent maintenance. A well-maintained humidifier not only functions better but also helps protect your indoor air quality. Here are four effective tips for maintaining a mold-free humidifier all year round:
4.1. Use the Right Water
Humidifier owners should always opt for distilled or demineralized water instead of regular tap water. Tap water typically contains minerals that can build up in the tank and provide ideal conditions for mold and bacterial growth. Choosing purified water also helps prevent the formation of white dust, which can settle on furniture and affect air quality.
4.2. Empty the Tank Daily
Leaving water in the tank between uses should always be avoided. Users should empty the tank every day, rinse it with clean water, and let it air dry completely. Stagnant water creates a perfect environment for mold spores and harmful bacteria to multiply.
4.3. Clean Thoroughly Every Week
A weekly deep cleaning is essential for keeping the humidifier hygienic. The cleaning process should involve disinfecting the tank and base with either white vinegar or hydrogen peroxide. Each component must be scrubbed carefully using a soft brush to eliminate buildup and ensure no residue is left behind.
Perform a deep cleaning of your humidifier at least once a week to remove any buildup or residue (Source: IStock)
4.4. Keep It Dry When Not in Use
Whenever the humidifier is not used regularly, such as during warmer seasons, it should be fully dried and stored in a cool, dry environment. Even without running, a damp interior can still encourage mold growth over time. Proper drying and storage protect both the device and indoor air quality.
Even when a humidifier is cleaned regularly, some parts, such as filters, water tanks, or seals, can wear out over time. Worn or damaged components may reduce the unit’s effectiveness and increase the risk of mold growth.
To ensure your humidifier operates safely and efficiently, you should replace any faulty parts as soon as possible. The Humidifier Parts from AZParts offers a wide range of high-quality replacement parts that are compatible with many popular humidifier models. Whether you need a new tank cap, filter cartridge, or maintenance accessories, AZParts provides the essential items to help you keep your humidifier in excellent working condition.
5. FAQs about Preventing Humidifier Mold
5.1. Will distilled water prevent mold in a humidifier?
Using distilled water significantly reduces the risk of mold growth in your humidifier. Unlike tap water, distilled water is free from minerals and impurities that can lead to scale buildup, which creates an ideal environment for mold and bacteria. While distilled water alone won’t eliminate the need for cleaning, it helps keep your unit cleaner for longer and supports your overall effort to learn how to prevent mold in a humidifier.
5.2. How to sanitize a humidifier?
Sanitizing your humidifier is a crucial step in preventing mold, bacteria, and mineral buildup. By following a few simple steps, you can ensure your unit stays clean and safe for daily use:
- Unplug and disassemble the unit.
- Fill the tank with a solution of 1 part white vinegar to 1 part water and let it sit for 30 minutes.
- For deeper disinfection, add a few tablespoons of 3% hydrogen peroxide after the vinegar soak and scrub all surfaces.
- Rinse thoroughly with clean water to remove any residue.
- Let all parts air dry completely before reassembling.
- Sanitizing your humidifier weekly is an essential part of preventing mold, bacteria, and mineral buildup.
5.3. Does vinegar in humidifier prevent mold?
Putting vinegar directly into the humidifier while it’s running is not recommended. However, cleaning your humidifier with vinegar is an effective and natural way to prevent mold growth. Vinegar kills mold spores, dissolves mineral deposits, and helps eliminate musty odors. It should be used as a cleaning agent, not as an additive to the water tank during operation.
For regular maintenance, clean your humidifier with vinegar once a week to keep it mold-free and safe to use.
By following the tips above on how to prevent mold in a humidifier, you’ll enjoy cleaner air, better performance, and greater peace of mind. However, if your humidifier is not working as it should, it may be time to replace a worn-out part.
By following the tips above on how to prevent mold in a humidifier, you’ll enjoy cleaner air, better performance, and greater peace of mind. However, if your humidifier is not working as it should, it may be time to replace a worn-out part.
AZParts is your trusted source for genuine replacement parts and accessories across a wide range of devices. Explore how to protect your home and your health with high-quality components and reliable support from AZParts today.
Contact information:
8 The Green, Ste A, Dover, Delaware 19901-3618, United States
Humidifier
Further Reading
Further Reading

How-To Guides
November 28, 2025
Experiencing problems with your humidifier can be frustrating, especially when indoor air quality is crucial for comfort and health. Whether your device has stopped producing mist, emits unpleasant odors, or makes unusual noises, understanding the root causes can help you restore functionality quickly. Here’s a quick guide from AZParts to troubleshoot your humidifier issues: identifying whether humidifiers not working is key to finding an effective solution.

How-To Guides
August 1, 2025
A humidifier is a useful device that helps maintain humidity in the air, providing comfort and protecting health. However, a common issue many users face is water leakage from the humidifier. This not only reduces its effectiveness but can also cause damage to the device if not addressed promptly. In this article, let’s explore with AZParts the common causes of humidifier leaks and simple solutions to fix them, helping you keep your device running smoothly and efficiently.

How-To Guides
August 1, 2025
The clean refrigerator water dispenser comes into direct contact with your daily drinking water, yet it’s often overlooked during routine kitchen cleaning. Over time, mineral deposits, bacteria, and mold can build up in the water line and nozzle, compromising both water quality and your health. Fortunately, with just a few basic tools and five simple steps, you can thoroughly clean this part right at home. In this guide, AZParts will walk you through the detailed cleaning process to help keep your water dispenser fresh, maintain pure taste, and extend the lifespan of your appliance.

How-To Guides
August 1, 2025
A clean microwave filter is essential for maintaining your appliance's performance and extending its lifespan. Over time, grease and food particles accumulate, reducing efficiency and potentially damaging internal components. Regular filter maintenance ensures optimal ventilation and keeps your kitchen fresh. Microwave filters come in two types: grease filters that capture vapors and particles, and charcoal filters that neutralize odors. Proper cleaning and replacement saves money on repairs while keeping your microwave running smoothly. For reliable replacement parts, AZParts offers a comprehensive selection of genuine microwave components.

How-To Guides
July 3, 2025
A humidifier is a familiar device that helps balance the humidity in the air, supporting both health and skin care. However, many people encounter the problem of the humidifier getting dirty quickly, leading to bacterial growth and negatively affecting indoor air quality. So, what causes a humidifier to become dirty so easily? And how can you clean it simply while ensuring safety and effectiveness? Let’s explore the details with AZParts in the article below!