How-To Guides
Dirty Humidifier? Here's Why It Happens and How to Fix It
AZparts Team
Updated on July 3, 2025
10 min read
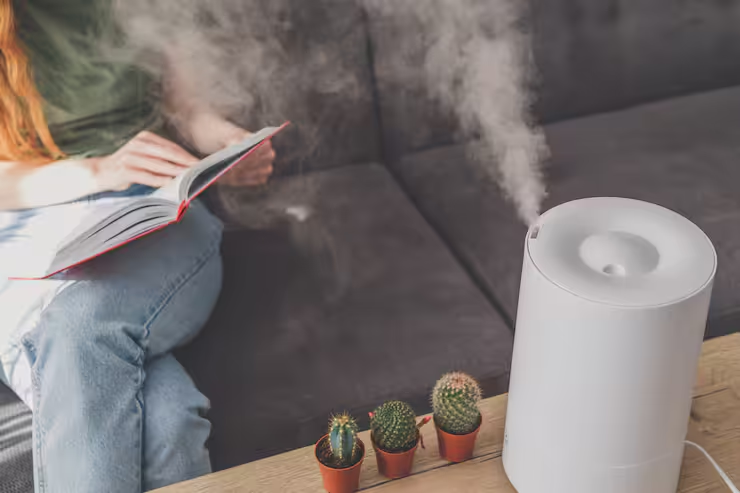
A humidifier is a familiar device that helps balance the humidity in the air, supporting both health and skin care. However, many people encounter the problem of the humidifier getting dirty quickly, leading to bacterial growth and negatively affecting indoor air quality. So, what causes a humidifier to become dirty so easily? And how can you clean it simply while ensuring safety and effectiveness? Let’s explore the details with AZParts in the article below!

1. Why does my humidifier get dirty so quickly?
A humidifier can get dirty fast due to several common factors:
- Using tap water: Tap water contains minerals (like calcium and magnesium) that can leave behind white dust and mineral buildup inside the tank and misting components.
- Not changing the water daily: Stagnant water is a breeding ground for bacteria and mold, especially if left for more than 24 hours.
- Lack of regular cleaning: Without daily rinsing and weekly deep cleaning, dirt and biofilm accumulate quickly inside the machine.
- Poor air quality or dusty environment: Dust particles can settle inside the humidifier, especially if your room isn't well-ventilated or cleaned often.
- Warm and moist environment: The warm, moist conditions inside the tank and misting chamber are ideal for bacterial growth if not properly maintained.
To avoid this, follow a strict cleaning routine using safe ingredients like white vinegar and baking soda, and always empty the tank after each use.
2. What You’ll Need to Clean Humidifier Properly
To ensure the humidifier cleaning process is effective, safe, and helps the device operate more durably, you should prepare the following items:
- Water: It's recommended to use warm water to help soften and remove long-standing dirt and mineral deposits inside the machine.
- White vinegar: This natural ingredient is effective at dissolving mineral buildup and preventing the growth of bacteria and mold inside the humidifier.
- Baking soda: Used alone or combined with vinegar, baking soda helps eliminate stubborn stains without damaging the device's surface.
- Specialized humidifier cleaning solution (if available): Some brands offer specialized cleaning products that make the cleaning process faster and safer for the device.
- Soft-bristled brush or small cleaning brush: These tools help you scrub into tight spaces, hidden corners, and other hard-to-reach areas inside the machine.
- Soft, clean cloth: Used for drying parts after cleaning, ensuring no residual moisture is left behind that could cause mold or damage to components.
- Rubber gloves (optional): If you have sensitive skin or want to avoid direct contact with cleaning solutions, gloves are a helpful option.
Preparing all these materials in advance will save you time and ensure the cleaning process is both efficient and protective of your humidifier’s lifespan.
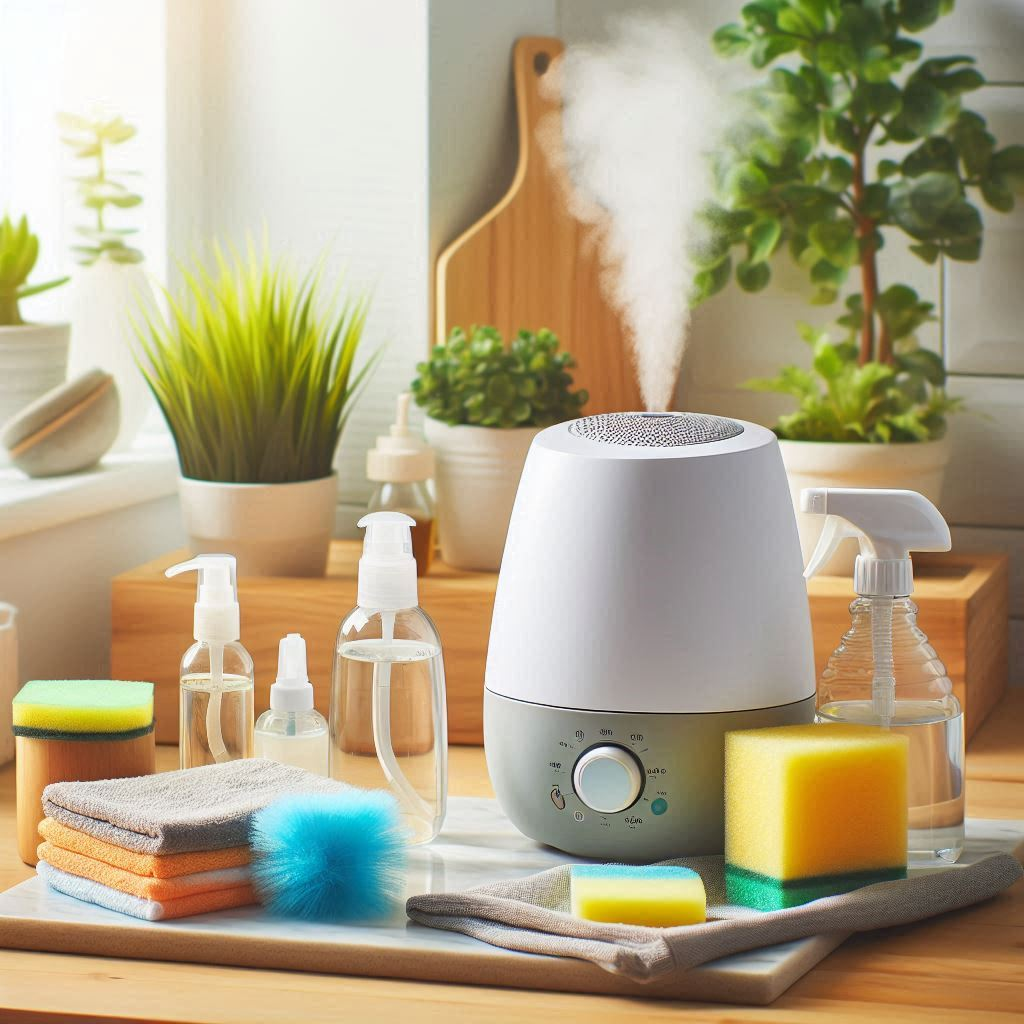
Preparing all these materials in advance will save you time and ensure the cleaning properly (Source: AZParts)
3. How do I clean a dirty humidifier the right way?
To ensure that your humidifier consistently operates at peak performance and produces clean, safe mist for your health, it is important to clean and maintain the device regularly according to a set schedule: daily, weekly, and monthly. Each stage of maintenance involves specific procedures, as follows:
3.1. Daily Care
To maintain the efficiency of your humidifier and ensure the mist it produces is safe and clean, it’s essential to perform basic cleaning after each use. Daily care prevents the buildup of bacteria, mold, and mineral deposits that can affect the performance of your humidifier and the air quality.
- Step 1: After each use, begin by emptying the remaining water from the tank. Leaving water in the tank for extended periods can encourage bacteria and mold growth, which may be harmful to your health.
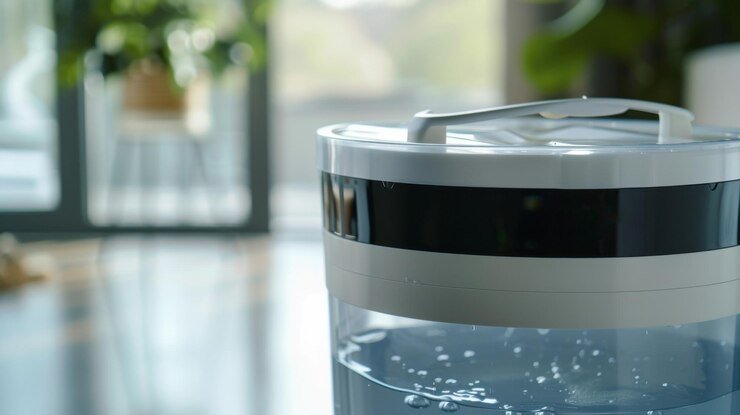
Emptying the remaining water from the tank (Source: Freepik)
- Step 2: Rinse the water tank thoroughly with clean water to remove any residual dirt or minerals. There’s no need to use soap or harsh cleaning agents—just a quick rinse with water is enough to keep the tank clean. Allow the tank to air dry completely.
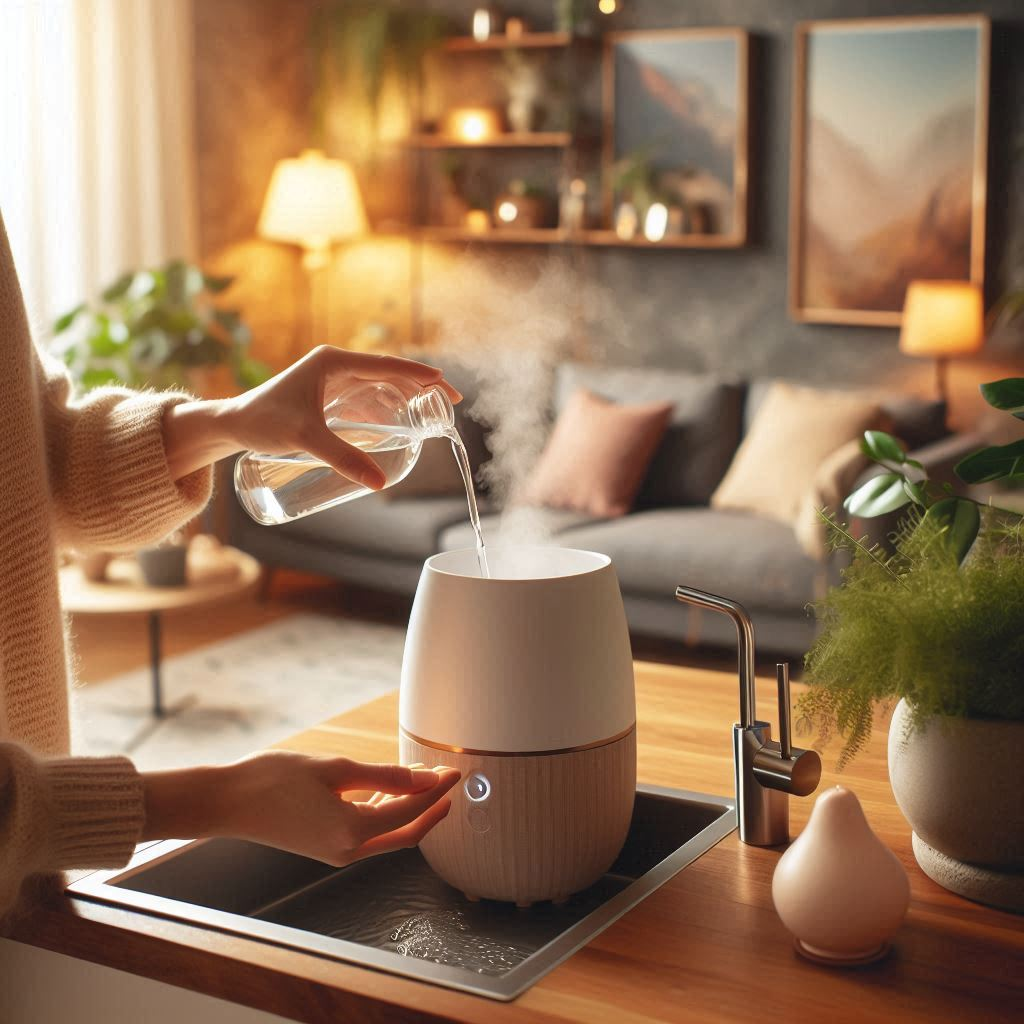
Clean and change the water in the humidifier daily (Source: AZParts)
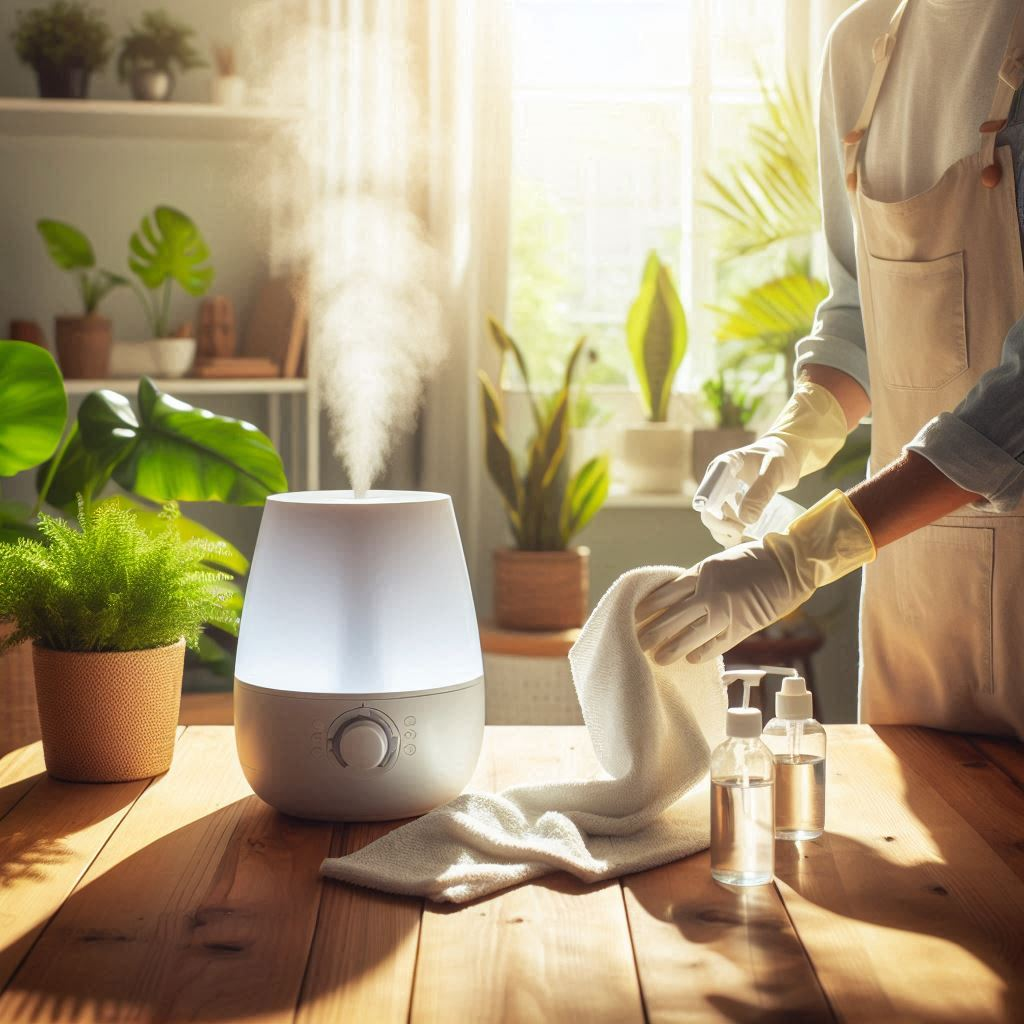
- Step 3: Use a soft, damp cloth to wipe down the exterior of the humidifier. This will help remove dust and any condensation, preventing the formation of stains and keeping the surface in good condition.
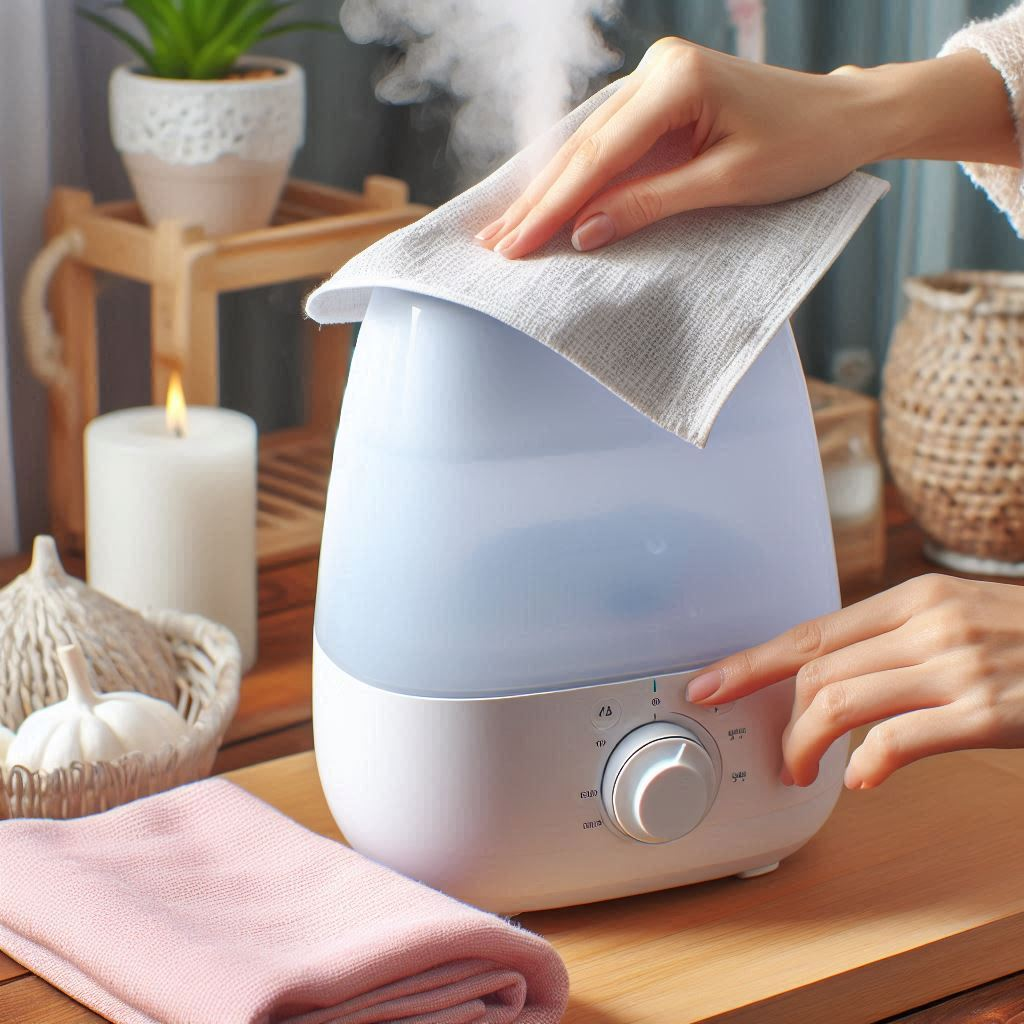
Use a soft, damp cloth to wipe the exterior of the humidifier clean (AZParts)
For humidifiers that are used frequently throughout the day, remember to check the water level regularly and top it up with fresh water to ensure the machine operates smoothly and continuously.
3.2. Weekly Maintenance
To keep your humidifier operating efficiently and ensure the mist it produces remains clean and healthy, a more thorough cleaning should be performed at the end of each week.
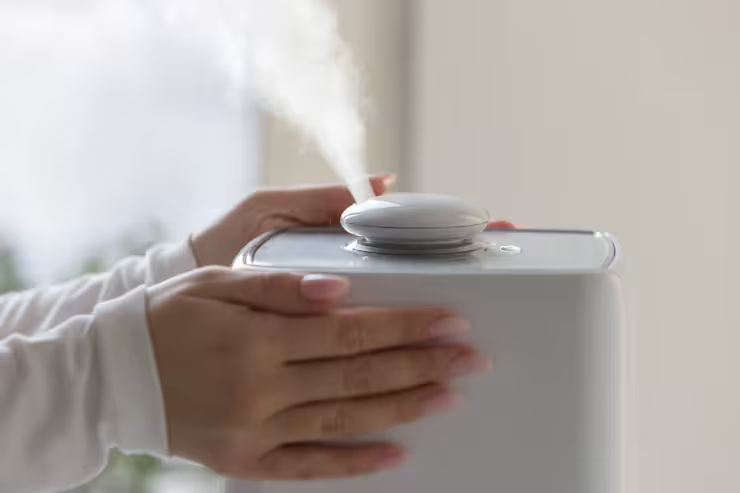
- Step 1: Carefully disassemble all removable parts, including the water tank, tank lid, diffuser, and misting components (if your model has them). Separating these parts allows you to clean each one thoroughly without risking damage to the machine’s electrical system.
To keep your humidifier operating efficiently and ensure the mist it produces remains clean and healthy (Source: Freepik)
- Step 2: Prepare a cleaning solution by mixing one part white vinegar with two parts water. Soak the water tank and any other components that come into direct contact with water in this solution for 20 to 30 minutes. White vinegar is highly effective at dissolving mineral deposits and naturally disinfecting surfaces without causing damage.
Prepare a cleaning solution by mixing one part white vinegar with two parts water (Source: AZParts)
- Step 3: After soaking, gently scrub all surfaces using a soft-bristled brush or a small cleaning brush. Pay special attention to narrow crevices and hard-to-reach areas where dirt, scale, and mold can accumulate. Avoid using abrasive tools or harsh scrubbing pads, as they can scratch or damage delicate components.
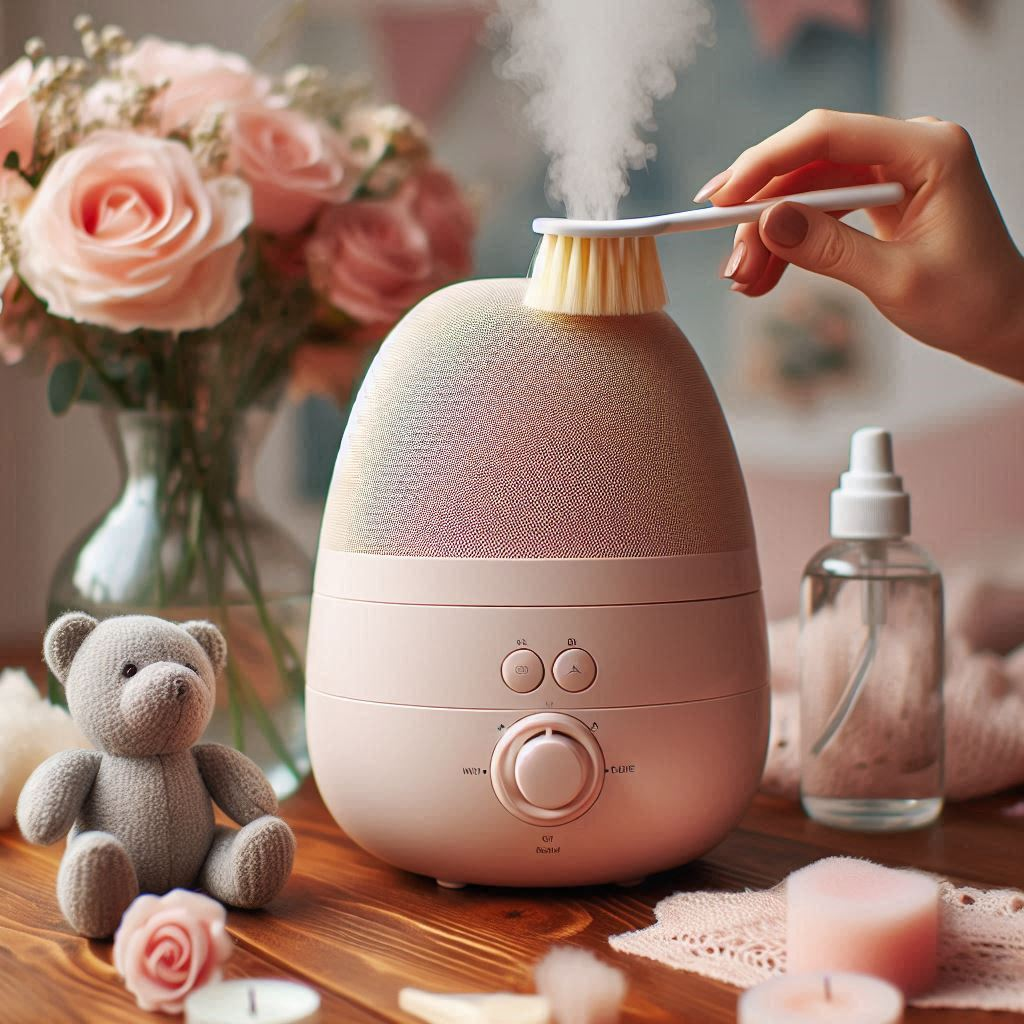
Gently scrub all surfaces using a soft-bristled brush (Source: AZParts)
- Step 4: Rinse all parts thoroughly under warm running water to completely remove any residual vinegar and loosened debris. Then, dry each piece carefully with a clean, soft cloth and allow them to air dry completely before reassembling the machine. Ensuring all parts are dry will help prevent moisture buildup, which can lead to mold growth or component degradation over time.

Ensuring all parts are dry will help prevent moisture buildup (Source: Freepik)
Regular weekly maintenance not only extends the life of your humidifier but also ensures it consistently delivers clean, healthy moisture into your living space.
3.3. Monthly Maintenance
Once a month, it’s important to carry out a more comprehensive and thorough cleaning process to ensure that your humidifier continues to operate efficiently and lasts longer.
In addition to cleaning the water tank and lid, be sure to inspect and clean internal components such as the humidity sensor, ultrasonic misting parts (if your model includes them), and the air filter (if applicable).
- Step 1: For areas with significant mineral buildup or stubborn stains, you can use a mixture of white vinegar and baking soda. This combination works effectively to break down and remove tough deposits without damaging the components of the humidifier.

Use a mixture of white vinegar and baking soda to clean the humidifier (Source: Freepik)
- Step 2: Additionally, check the condition of the water filter (if your humidifier uses one). Manufacturers typically recommend changing the filter periodically to maintain the quality of the mist and ensure the longevity of the machine. If the filter is old or discolored, it’s time to replace it with a new one.
Check the condition of the water filter (if your humidifier uses one) (Source: Freepik)
- Step 3: After cleaning, carefully reassemble all parts and run the machine for a few minutes to ensure it is working properly. This is also an ideal time to perform a thorough inspection of all components, allowing you to detect any potential issues or signs of damage early and address them promptly.
Monthly cleaning of the humidifier ensures optimal performance and longevity (Source: Freepik)
4. Tips to Clean Humidifier Safely and Effectively
To ensure that your humidifier is cleaned both safely and effectively, here are some important tips to keep in mind:
- Always Unplug the Humidifier Before Cleaning: Before disassembling or cleaning any parts, make sure the humidifier is unplugged. This not only helps avoid the risk of electric shock but also protects the internal components of the machine from potential water damage.
- Use Natural Cleaning Solutions: It’s best to use a diluted solution of white vinegar or a mixture of vinegar and baking soda for cleaning. These natural ingredients are effective at disinfecting and removing mineral buildup without damaging the surfaces of the device, unlike harsh chemical cleaners.
- Avoid Harsh Chemical Cleaners: Never use bleach, ammonia-based solutions, or corrosive chemicals to clean your humidifier. These substances can damage the machine’s materials, create unpleasant chemical odors, and affect the quality of the mist when the humidifier is in use.
- Do Not Submerge the Entire Humidifier in Water: Only the removable parts (such as the water tank and lid) should be rinsed directly with water. Never submerge the entire unit or the base (which houses the motor and electronics) into water, as this can cause severe damage to the humidifier.
- Clean Hard-to-Reach Areas Carefully: Use a soft-bristled brush, small scrub brush, or cotton swabs to gently clean narrow crevices and hard-to-reach areas of the humidifier. These areas can accumulate dust, mineral deposits, and other debris that are difficult to clean with a regular cloth.
- Ensure the Humidifier is Completely Dry Before Reusing: After cleaning, allow the parts of the humidifier to dry thoroughly before reassembling and operating it again. Any remaining moisture could cause electrical malfunctions or create an environment for bacteria to grow.
- Read the Manufacturer’s Instructions Carefully: Each humidifier model may have specific components and cleaning requirements. Always refer to the manufacturer’s manual for the recommended maintenance steps to avoid voiding the warranty or causing unintentional damage.
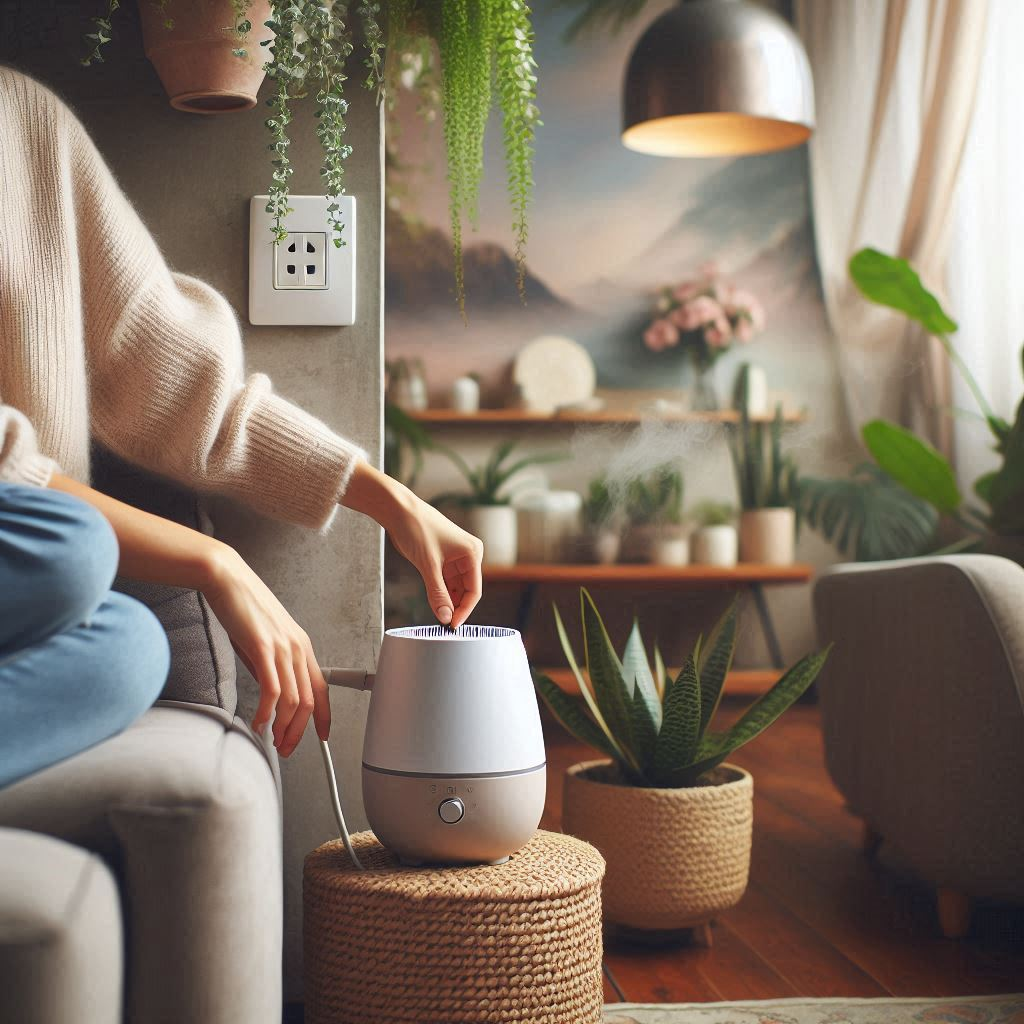
Always Unplug the Humidifier Before Cleaning (Source: AZParts)
5. Is It Safe to Use a Humidifier with Dirty Water?
No, it is not safe to use a humidifier filled with dirty or stagnant water. Here's why:
- Health risks: Dirty water can harbor harmful bacteria, mold, and viruses that are dispersed into the air you breathe, potentially leading to allergies, respiratory infections, or asthma flare-ups.
- Unpleasant odors: Bacteria or mold in the tank can cause musty or sour smells to spread throughout your room.
- Damaged device: Mineral deposits from unclean water can clog components, reduce mist output, or even damage the ultrasonic plate or fan.
- Lower air quality: Instead of improving air quality, a dirty humidifier can make it worse by spreading contaminants into the air.
Always use clean, fresh water, ideally distilled or demineralized, and clean your humidifier regularly to ensure a healthy and safe environment.
By following these tips, you can ensure your humidifier remains in optimal working condition, providing clean and safe air for your environment.
Humidifiers offer many health benefits, but if not cleaned regularly and properly, they can become a breeding ground for bacteria and mold — potentially harming your respiratory system. We hope the detailed instructions and simple tips in this article have helped you learn how to clean your humidifier effectively, keeping the air in your home fresh and safe. Don’t forget to follow a consistent cleaning routine to ensure your humidifier runs smoothly and lasts longer.
Humidifiers offer many health benefits, but if not cleaned regularly and properly, they can become a breeding ground for bacteria and mold — potentially harming your respiratory system. We hope the detailed instructions and simple tips in this article have helped you learn how to clean your humidifier effectively, keeping the air in your home fresh and safe. Don’t forget to follow a consistent cleaning routine to ensure your humidifier runs smoothly and lasts longer.
Is your humidifier not working properly? Need to choose the right humidifier part ? Shop now at AZParts today for high-quality replacement parts with personalized support and affordable price.
Contact Information:
8 The Green, Ste A, Dover, Delaware 19901-3618, United States
support@azparts.com
support@azparts.com
Humidifier
Further Reading
Further Reading

How-To Guides
November 28, 2025
Experiencing problems with your humidifier can be frustrating, especially when indoor air quality is crucial for comfort and health. Whether your device has stopped producing mist, emits unpleasant odors, or makes unusual noises, understanding the root causes can help you restore functionality quickly. Here’s a quick guide from AZParts to troubleshoot your humidifier issues: identifying whether humidifiers not working is key to finding an effective solution.

How-To Guides
August 1, 2025
A humidifier is a useful device that helps maintain humidity in the air, providing comfort and protecting health. However, a common issue many users face is water leakage from the humidifier. This not only reduces its effectiveness but can also cause damage to the device if not addressed promptly. In this article, let’s explore with AZParts the common causes of humidifier leaks and simple solutions to fix them, helping you keep your device running smoothly and efficiently.

How-To Guides
August 1, 2025
The clean refrigerator water dispenser comes into direct contact with your daily drinking water, yet it’s often overlooked during routine kitchen cleaning. Over time, mineral deposits, bacteria, and mold can build up in the water line and nozzle, compromising both water quality and your health. Fortunately, with just a few basic tools and five simple steps, you can thoroughly clean this part right at home. In this guide, AZParts will walk you through the detailed cleaning process to help keep your water dispenser fresh, maintain pure taste, and extend the lifespan of your appliance.

How-To Guides
August 1, 2025
A clean microwave filter is essential for maintaining your appliance's performance and extending its lifespan. Over time, grease and food particles accumulate, reducing efficiency and potentially damaging internal components. Regular filter maintenance ensures optimal ventilation and keeps your kitchen fresh. Microwave filters come in two types: grease filters that capture vapors and particles, and charcoal filters that neutralize odors. Proper cleaning and replacement saves money on repairs while keeping your microwave running smoothly. For reliable replacement parts, AZParts offers a comprehensive selection of genuine microwave components.

How-To Guides
June 5, 2025
Keeping your humidifier clean is essential for healthy air and optimal performance. At AZParts, we understand how important proper maintenance is, especially when it comes to avoiding mold. In this guide, we'll show you exactly how to prevent mold in a humidifier using simple, effective tips. Whether you're a first-time user or a seasoned homeowner, these strategies will help extend the life of your device and protect your air quality.