How-To Guides
How to Replace a Furnace Flame Sensor: A Step-by-Step Guide
AZparts Team
Updated on November 17, 2025
7 min read
Furnace flame sensor replacement is simpler than most homeowners think - and it plays a critical role in keeping your gas furnace operating safely. When your unit frequently shuts down or fails to ignite, it’s often a sign of a faulty flame sensor furnace that needs cleaning or replacement. AZParts explains everything you need to know about the furnace flame sensor replacement process, including when to replace it and how to replace a flame sensor on your own.

1. What does a flame sensor look like?
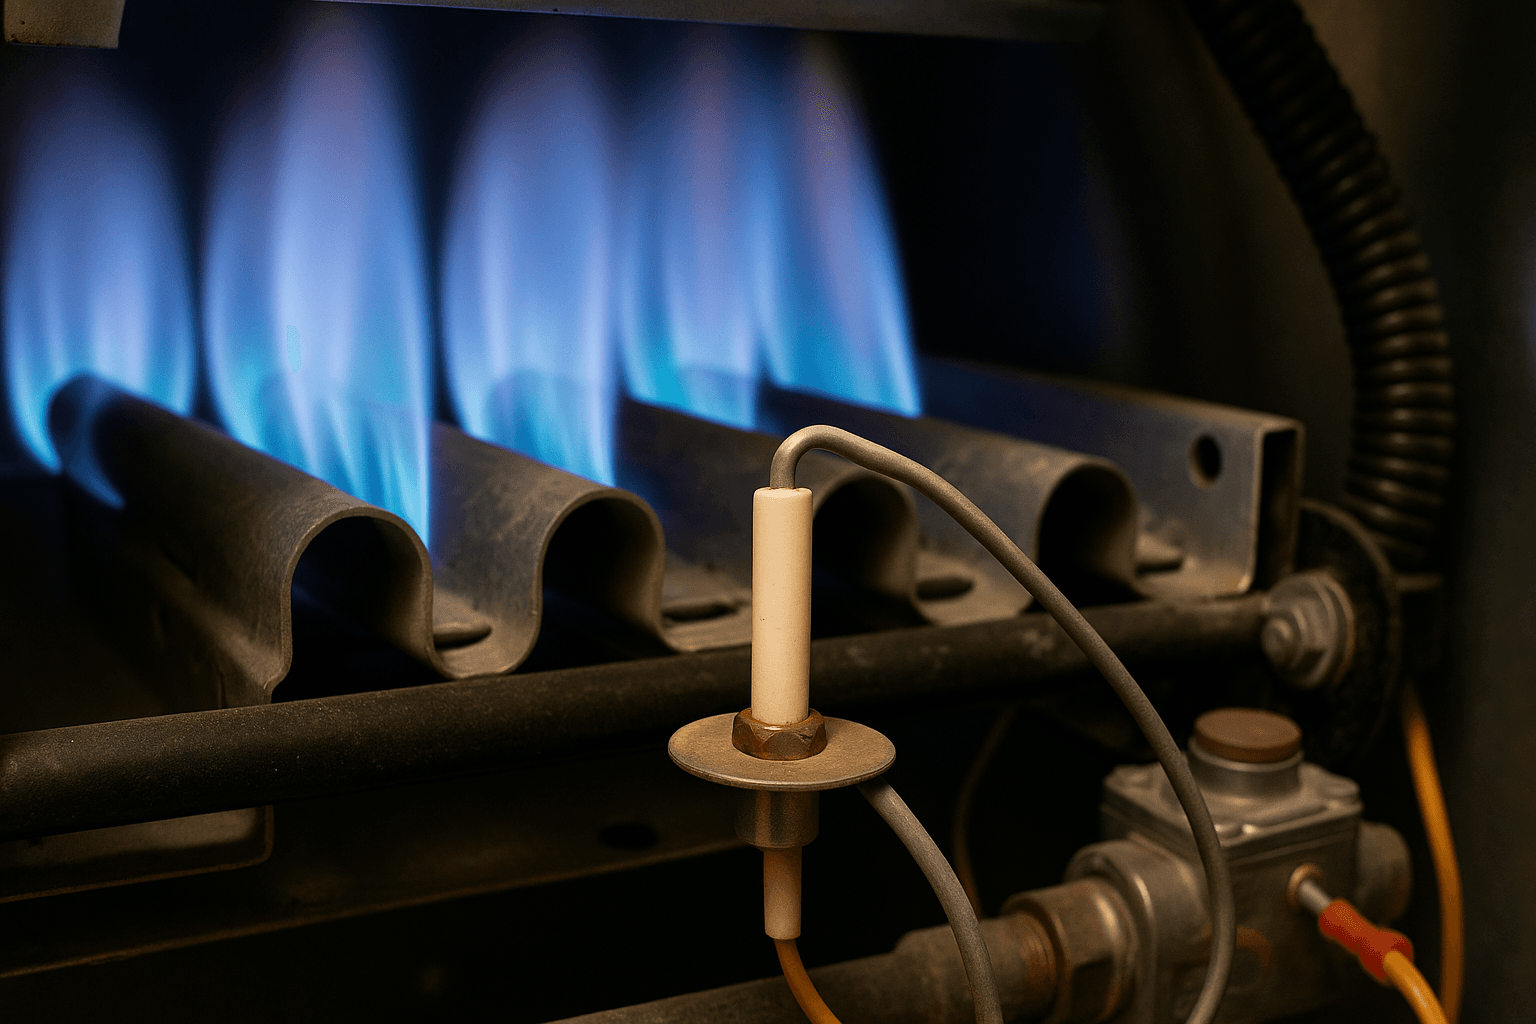
A flame sensor on furnace, sometimes called a flame rod furnace detector, typically looks like a small, thin metal rod (often with a ceramic base) connected by one or two wires. It sits near the burner flame to detect ignition and ensure gas flow is properly controlled.
These flame sensors are essential for maintaining optimal furnace operation (Source: AZParts)
2. Where is the furnace flame sensor?
The furnace flame sensor is located inside the burner compartment, typically mounted on the side of a burner tube, with the metal rod extending into the path of the burner flame.
Step-by-step to locate it:
- Turn off power and gas to the furnace for safety.
- Remove the access panel on the front of the furnace (usually the lower front panel).
- Look for the burner assembly – a row of metal tubes where the flames come out.
- Find a thin metal rod (2–4 inches) with a white ceramic base, usually held in place by a small screw and connected with a single wire.
- The metal tip will be positioned in front of one burner, directly in the flame path.
3. How Does a Flame Sensor Work?
In a gas furnace flame sensor, the metal rod detects the ionized particles in the flame, completing an electrical circuit that signals the control board the burner is operating correctly. Without this signal, the system shuts off the gas valve to prevent leaks or fire hazards. When the sensor picks up this radiation, it sends an electrical signal to the system. The system then processes the signal to either sound an alarm or start safety actions like shutting off the gas or activating fire suppression.
A flame sensor detects heat from the flame and sends a signal to the furnace control system for safe operation (Source: AZParts)
4. Signs Your Flame Sensor Might Be Failing
Like any component in a heating system, a flame sensor can wear out or fail over time. If your furnace is not operating properly, there are several warning signs to watch for:
- The burners start but turn off after a few seconds.
- The tip of the flame sensor looks black or dirty.
- The sensor is covered with dirt, soot, or debris.
- The porcelain base or casing is cracked.
- The metal part or where the sensor is mounted is rusty or corroded.
If your flame sensor furnace is covered with dirt, soot, or corrosion, it may fail to detect the flame accurately - causing short cycling or ignition failure:
- 69W43 Furnace Flame Sensor
- The 2-Pack 62-23543-01 Furnace Flame Sensor
- The 4-Pack 62-23543-01 Furnace Flame Sensor
5. How to Replace a Flame Sensor
Replacing a flame sensor is simple if you follow a few careful steps. Here’s how to do it safely:
5.1. Step 1: Turn Off Power and Gas Supply
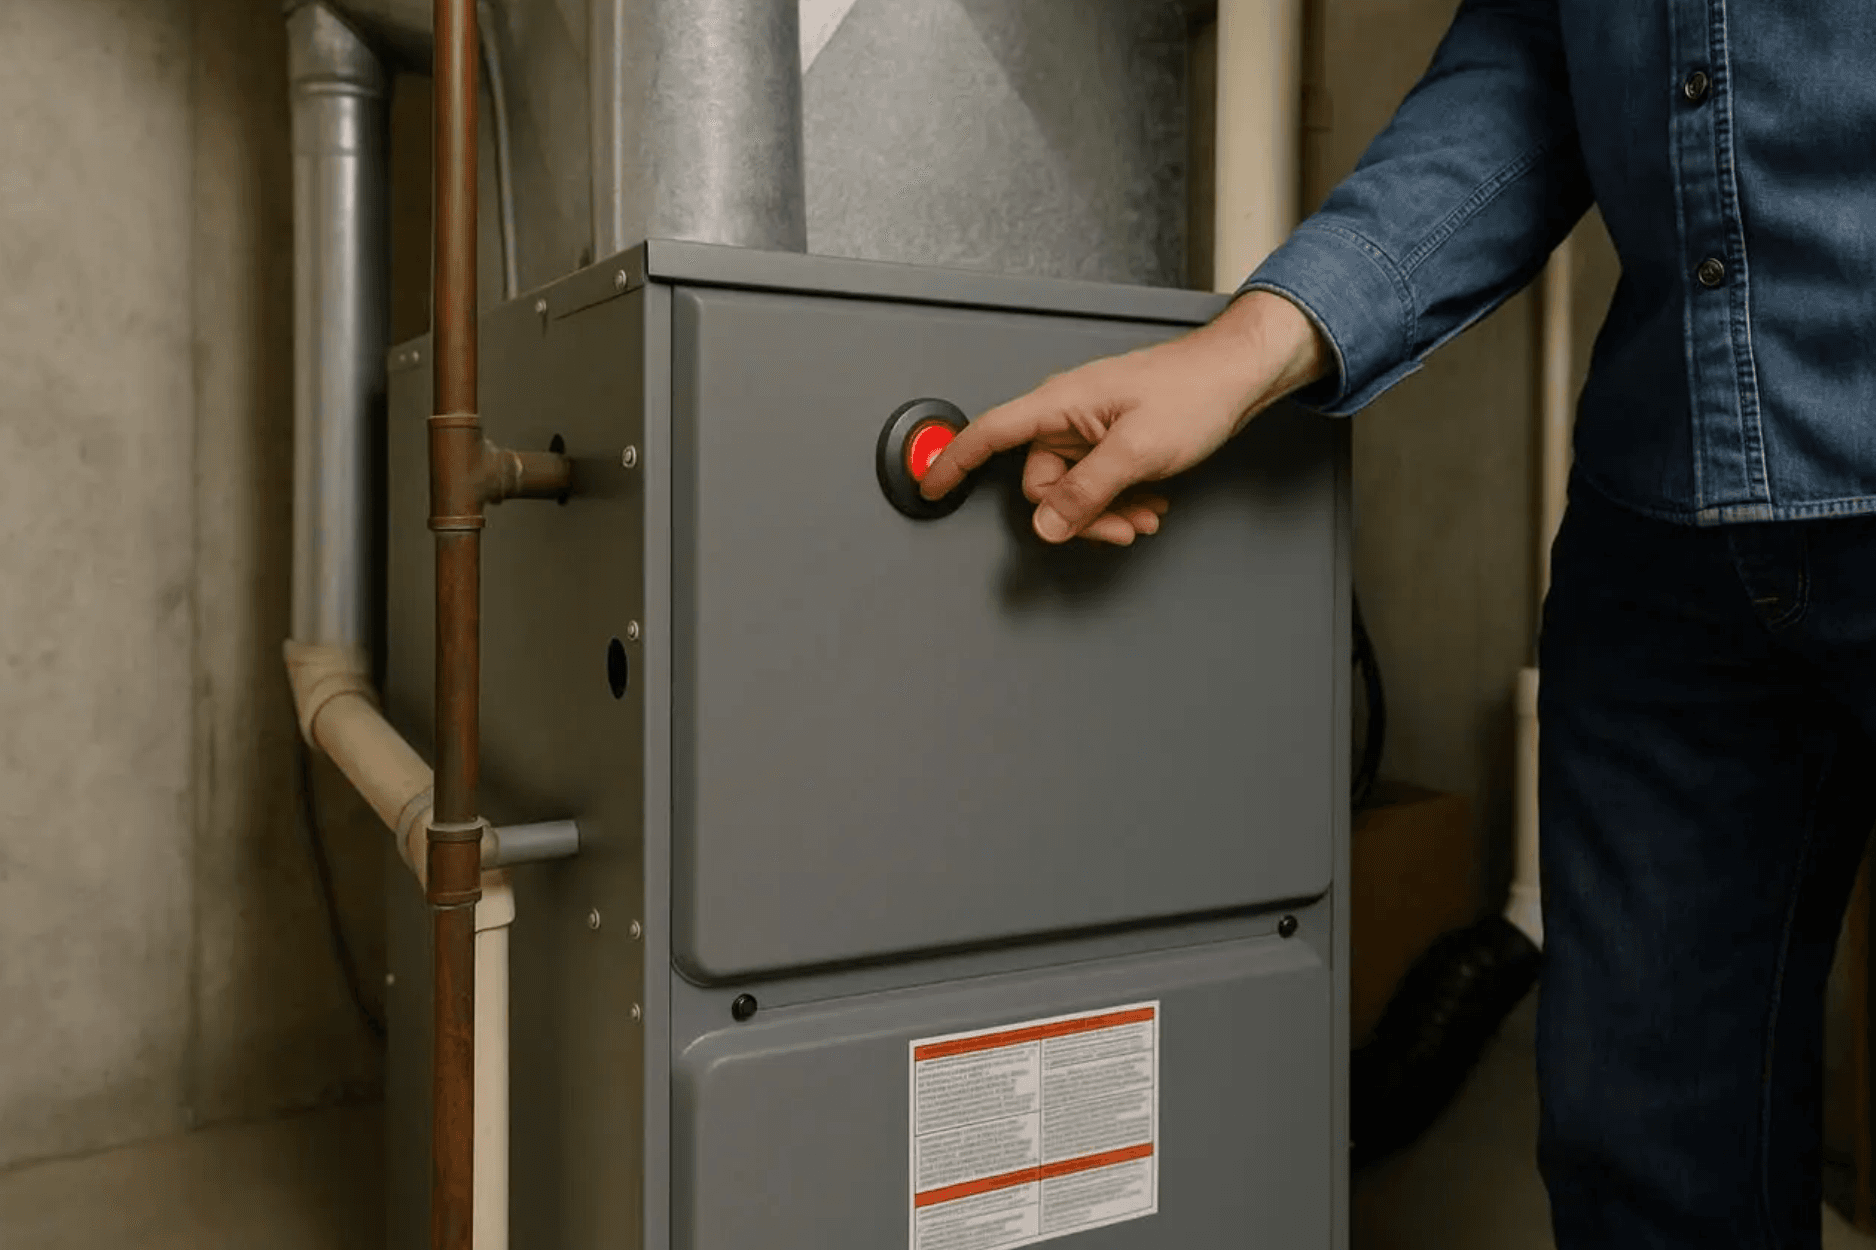
Before beginning, turn off the power switch located on the side of the furnace, or shut off the circuit breaker that controls the furnace. Also, close the gas valve to stop the gas flow. This prevents electrical shock and gas leaks during the repair.
Turn Off Power and Gas Supply (Source: AZParts)
5.2. Step 2: Check If the Flame Sensor Is Removable
Remove the burner access panel, usually located at the front of the furnace. Inspect the flame sensor to ensure it is easily accessible and secured with a mounting screw. Most sensors are designed to be removable with basic tools.
Check If the Flame Sensor Is Removable (Source: AZParts)
5.3. Step 3: Disconnect Wires
Carefully disconnect the wire attached to the flame sensor. This wire sends the flame detection signal to the control board. Handle it gently to avoid damaging the connection.
Disconnect Wires (Source: AZParts)
5.4. Step 4: Remove the Flame Sensor
Use a screwdriver to remove the mounting screw securing the flame sensor to the burner assembly. Gently pull the sensor out of its position. If the sensor tip appears blackened, misshapen, or cracked, replacement is necessary.
Remove the Flame Sensor (Source: AZParts)
5.5. Step 5: Install the New Flame Sensor
Insert the new flame sensor into the same position as the old one. Use the original screw to secure it firmly in place, ensuring a good grounding surface.
Install the New Flame Sensor (Source: AZParts)
5.6. Step 6: Reconnect Wires
Reconnect the sensor wire to the new flame sensor. Make sure the connection is secure to ensure accurate flame detection.
5.7. Step 7: Reattach Access Cover
Reinstall the burner access panel securely. Once everything is in place, turn the power and gas supply back on. Start the furnace and observe if the burners ignite and stay lit. If the furnace cycles properly, the flame sensor replacement was successful.
Reattach Access Cover (Source: AZParts)
6. How to Properly Clean a Flame Sensor?
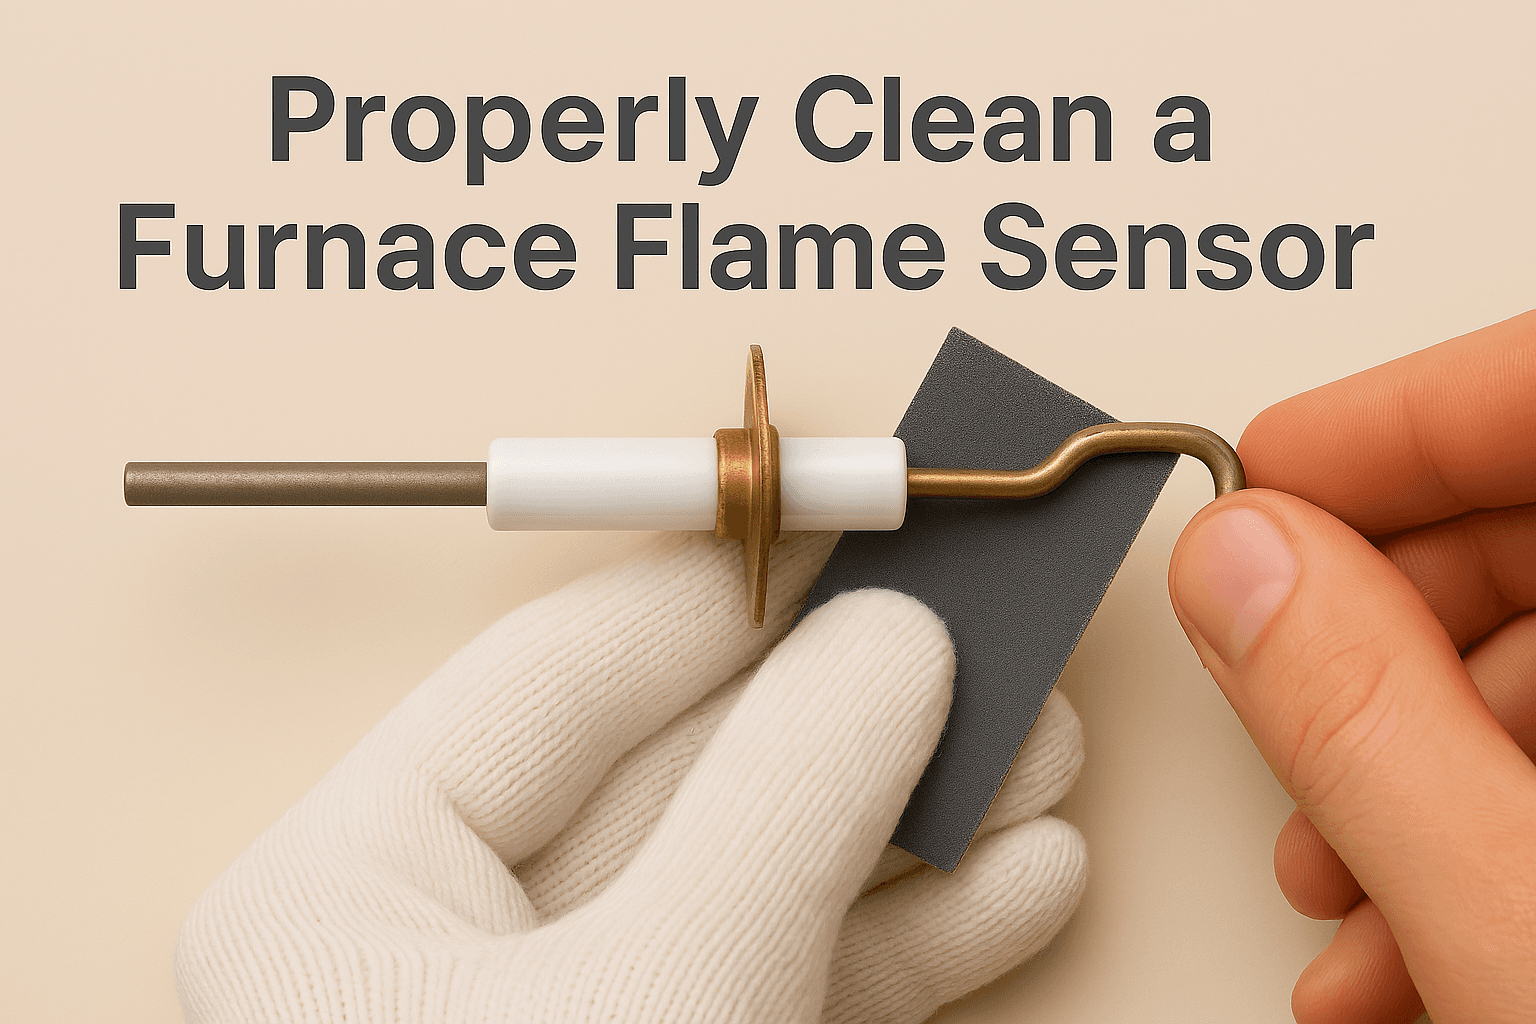
Regular furnace flame sensor cleaning helps your heating system ignite properly and run efficiently. Before starting, always turn off both the gas and electricity to the furnace to ensure safety. If your flame detector furnace looks blackened or has buildup, cleaning it carefully can often restore normal operation without needing a replacement:
- Step 1: Locate the flame sensor.
- Step 2: Remove the furnace access cover, which may require loosening screws or bolts.
- Step 3: Unscrew or unfasten the flame sensor from the burner assembly.
- Step 4: Disconnect the wiring from the sensor and the control box.
- Step 5: Carefully remove the sensor.
- Step 6: Gently clean the sensor with an emery cloth to remove any soot or debris.
- Step 7: Reattach the sensor to the burner assembly and reconnect the wiring to the sensor and control box.
- Step 8: Secure the access cover back onto the furnace.
- Step 9: Turn the gas and power back on, and test the furnace. If the furnace operates correctly after cleaning, you may not need to replace the flame sensor.
Cleaning a furnace flame sensor to ensure proper ignition (Source: AZParts)
7. Tips for Choosing and Replacing a Flame Sensor or Thermocouple
- Identify your furnace type: Older furnaces use thermocouples with standing pilots, while newer ones use flame sensors with electronic ignition.
- Match the part number: Always match the new part to the furnace manual or the number on the old part to avoid problems.
- Try cleaning first: Before replacing, check if cleaning the flame sensor can fix the issue. Look for dirt, soot, or corrosion.
- Choose quality replacements: Choose durable parts for better performance and a longer life.
- Proper installation: Follow the instructions closely and make sure the sensor or thermocouple is placed and wired correctly.
If you’re looking for trusted, high-quality flame sensors and thermocouples, AZParts offers a wide selection of reliable parts compatible with leading furnace brands. With a commitment to quality and customer satisfaction, AZParts makes it easy to find the right component to keep your heating system running safely and efficiently.
Whether you’re performing a quick flame sensor furnace cleaning or a full furnace flame sensor replacement, always use compatible, high-quality parts for your model to ensure safety and reliability.
AZParts offers a wide range of high-quality appliances parts (Source: AZParts)
A reliable flame sensor keeps your furnace running safely and efficiently. At AZParts, we make it easy for you to find trusted replacement parts, helping you prevent unexpected breakdowns and costly repairs. Don't wait for a breakdown! Get your trusted flame sensor replacement or other furnace part from AZParts now.
Contact Information:
- Address: 8 The Green, Ste A, Dover, Delaware 19901-3618, United States
- Email: support@azparts.com
Read more:
Furnace
Further Reading
Further Reading


