Repair help
How to Replace a Thermal Fuse on a Dryer?
AZparts Team
Updated on July 30, 2025
6 min read
Is your dryer not heating or suddenly shutting off? It might be time to replace the thermal fuse - a small but essential safety component. In this guide, we’ll walk you through how to replace a thermal fuse on a dryer step by step, even if you're not a repair expert. With the right tools and a quality replacement fuse from AZParts, you'll have your dryer running like new in no time.

1. What Is a Dryer Thermal Fuse?
A dryer thermal fuse is a small, one-time-use safety device placed near the heating element or exhaust duct. It prevents your dryer from overheating by cutting power to the heating system if temperatures exceed a safe level. Once the fuse trips, it cannot be reset and must be replaced before the dryer parts can safely operate again.
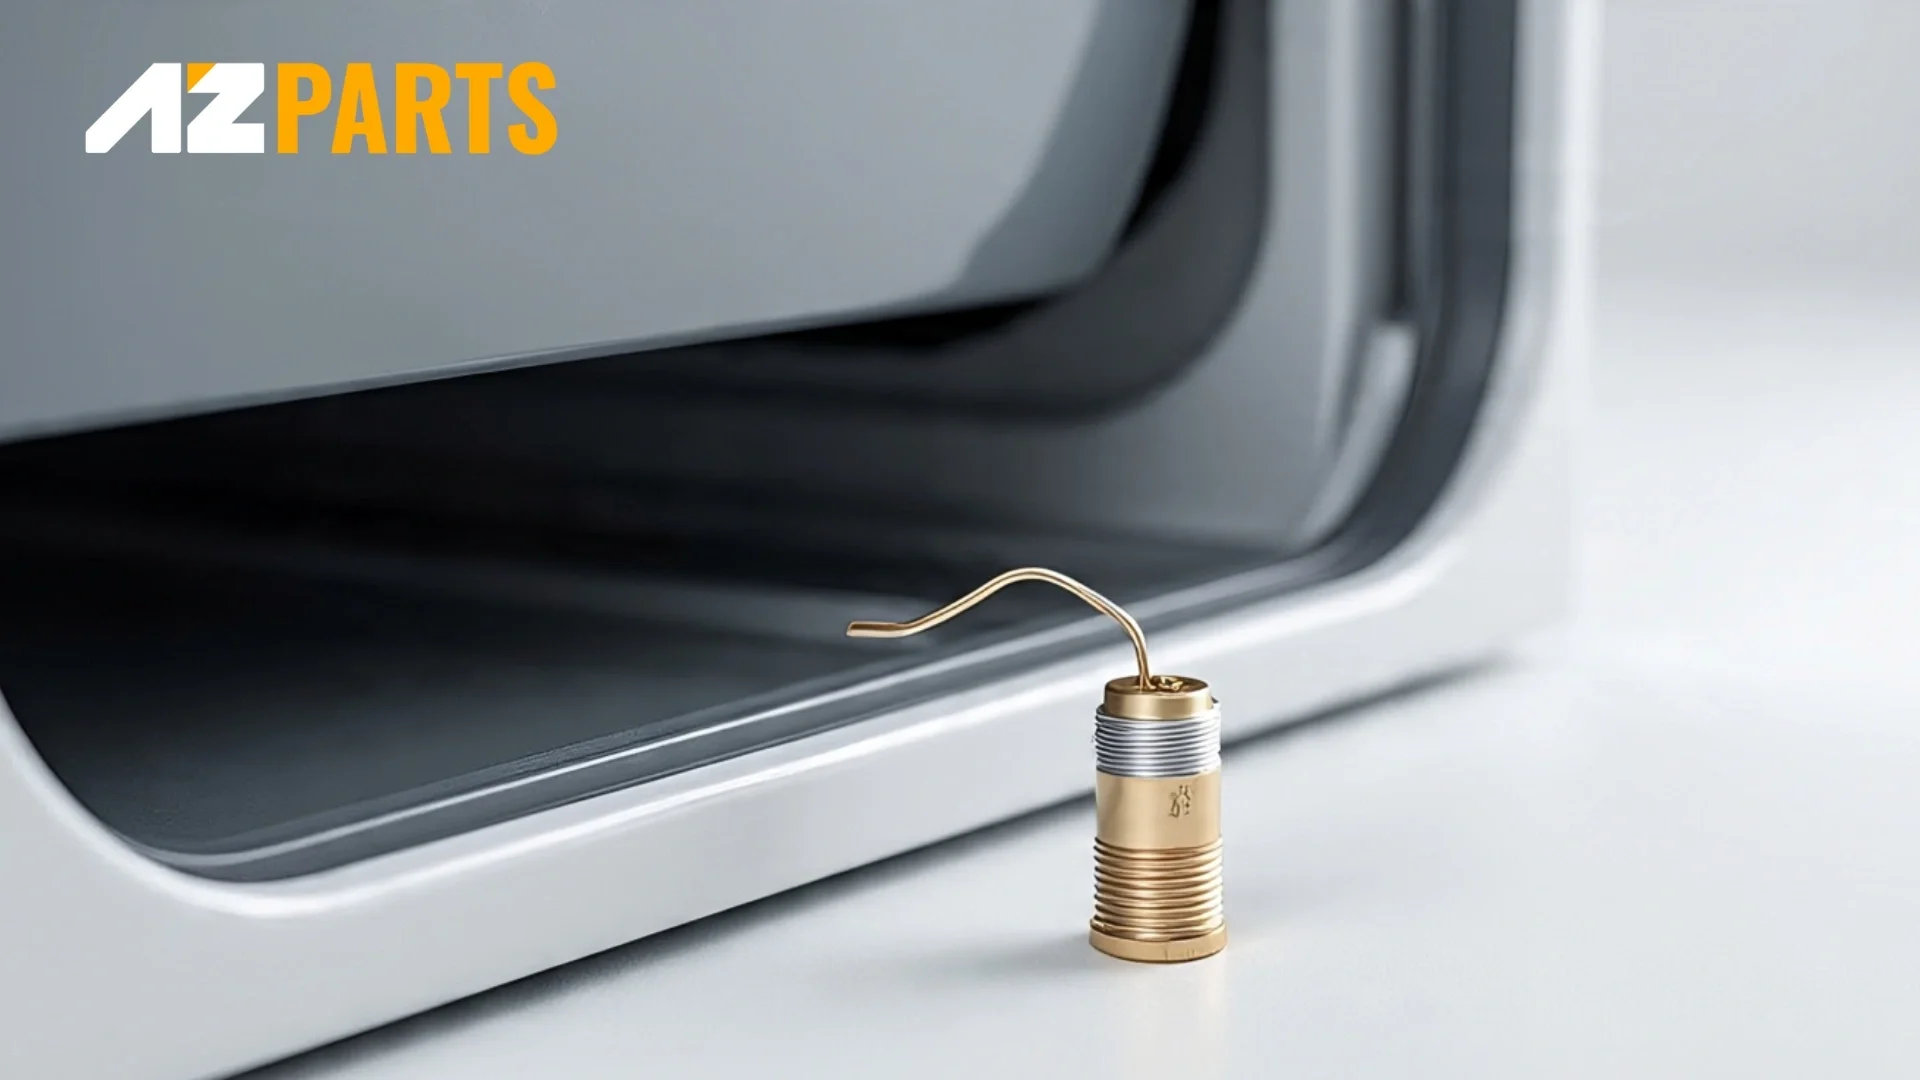
A dryer thermal fuse is a small, one-time-use safety device (Source: AZParts)
2. Where Is the Thermal Fuse Located?
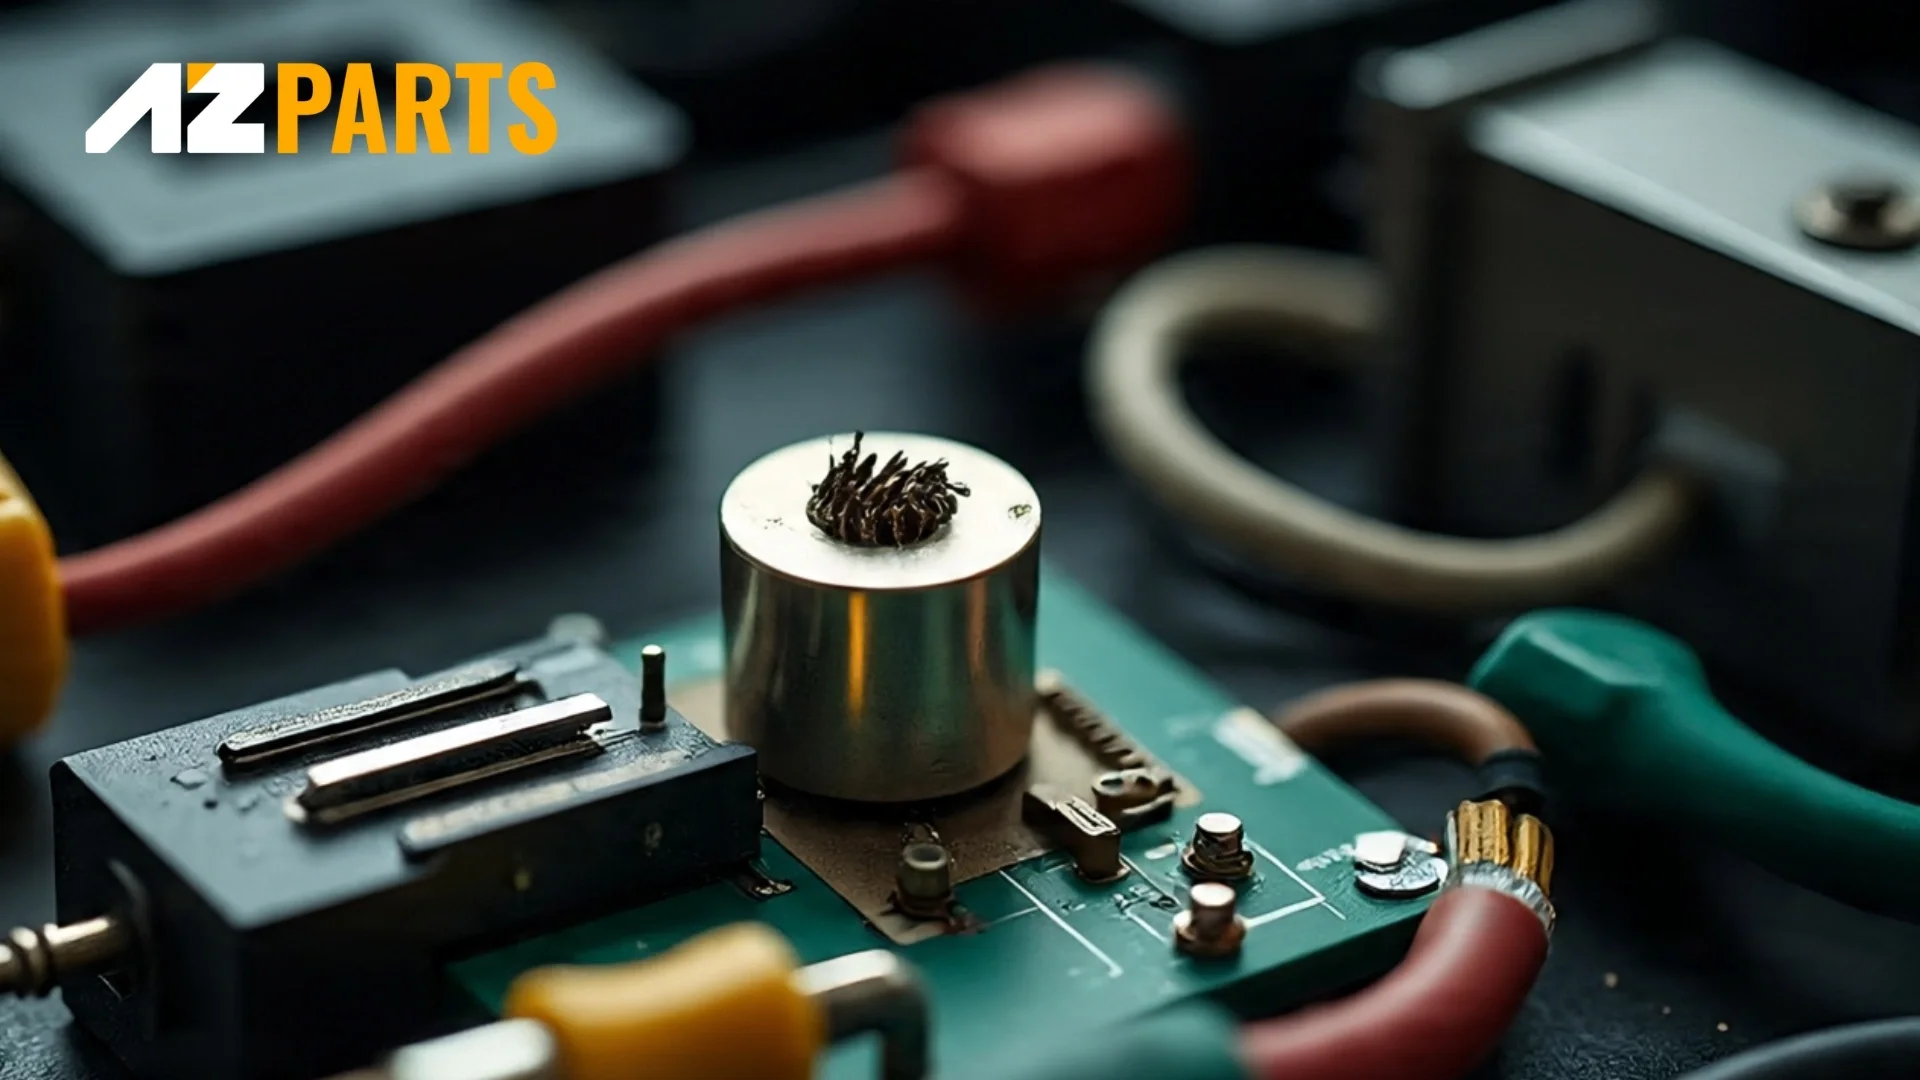
The thermal fuse is a small part, only about 1 or 2 inches long, and is usually found on the exhaust duct. However, the exact location of the exhaust duct can vary depending on your dryer’s brand and model. Once you’ve found the fuse, you can check to see if it has blown.

The thermal fuse is a small part, only about 1 or 2 inches long (Source: AZParts)
3. Signs of a Blown Thermal Fuse
If your dryer isn’t working as it should, a blown dryer thermostat might be the cause. Here are some common signs to look out for:
- Dryer runs without heat: The drum may tumble, but clothes stay damp because the fuse has cut power to the heating element.
- Dryer won’t start at all: Sometimes the machine won't turn on or initiate a cycle when the fuse is blown.
- Temperature-triggered shutdowns: In rare cases, an overheating fuse may shut down the dryer between or during cycles—this points directly to a blown thermal fuse or related issue.
A blown thermal fuse might be the cause (Source: AZParts)
4. What You’ll Need
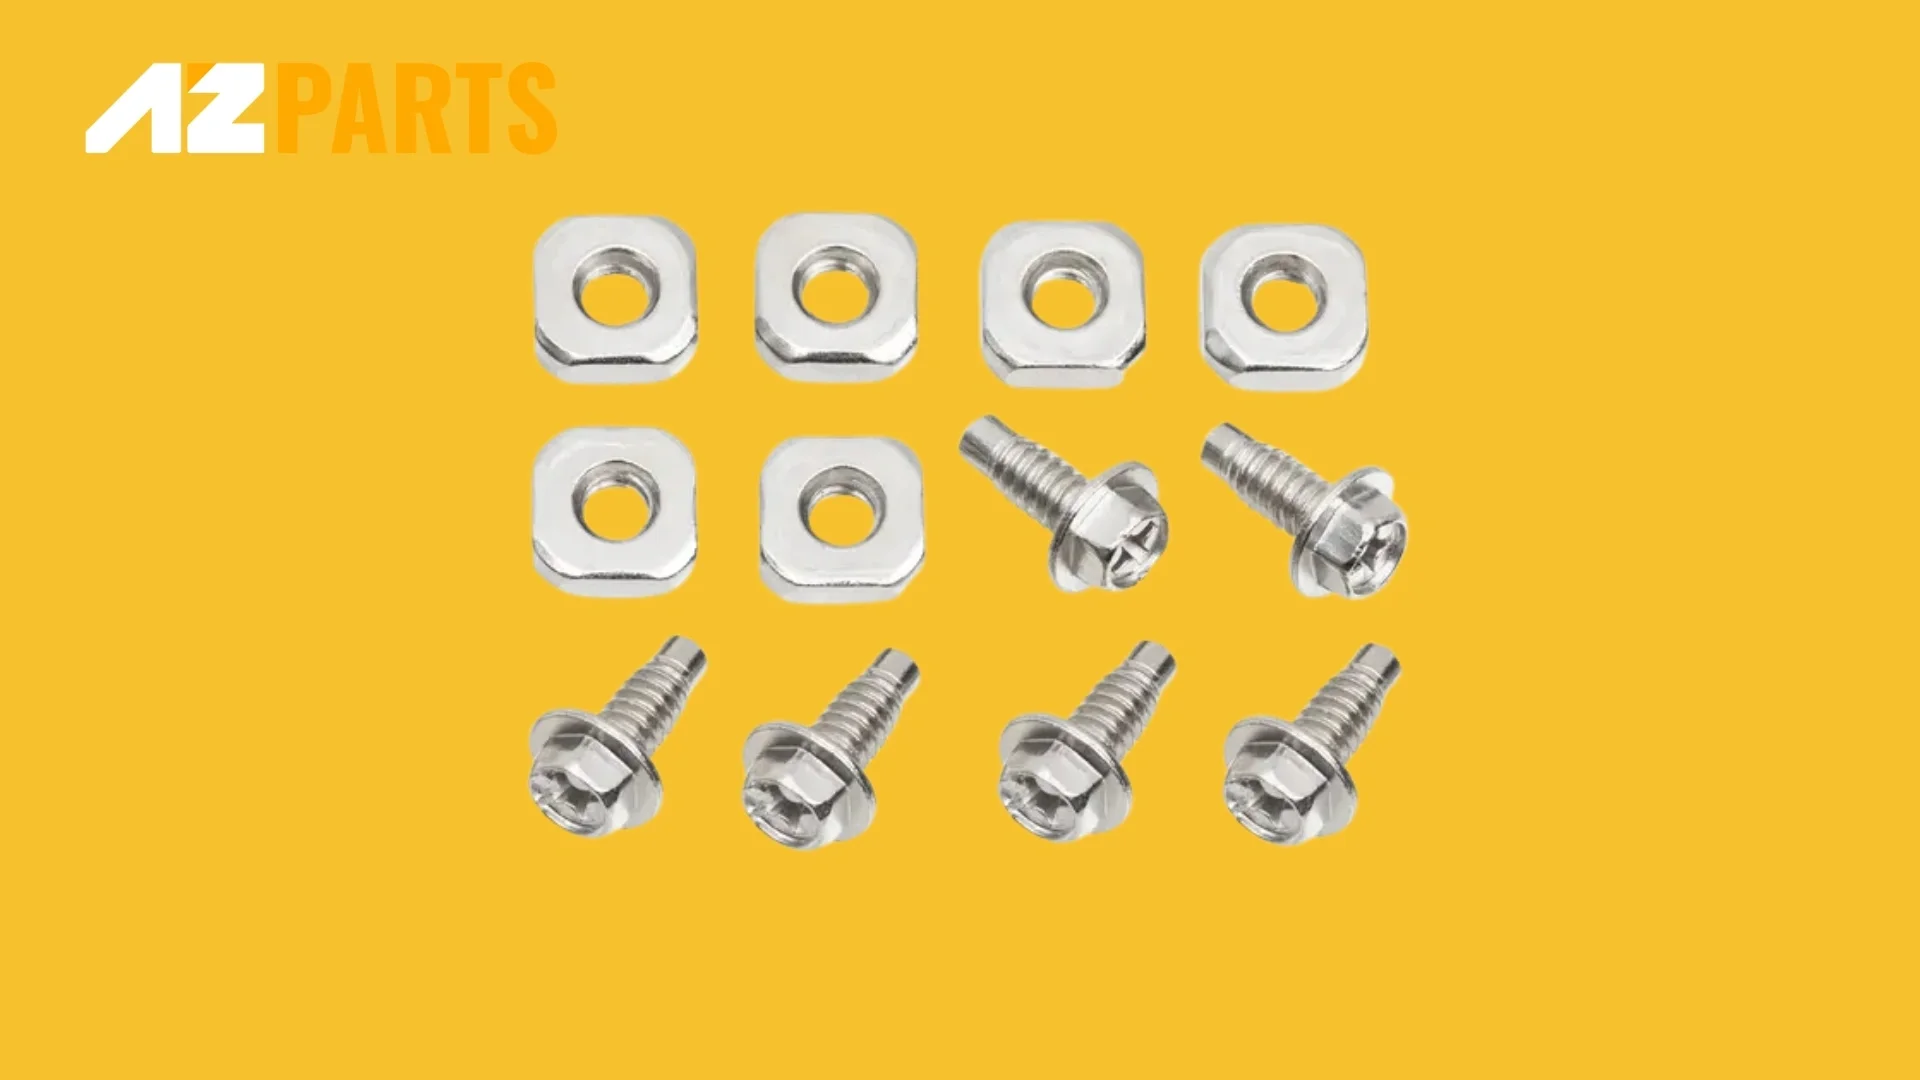
Before getting started, make sure you have the right tools and safety gear on hand. Here's what you'll need to replace a thermal fuse safely and effectively:
- 1/4-inch nut driver – To remove screws that hold dryer panels or components in place.
- Flathead screwdriver – Useful for gently prying open panels or disconnecting wires.
- Vacuum cleaner or shop vac – To clean up lint and debris inside the dryer.
- Duct cleaning brush – Helps clear out lint buildup from the vent and duct system.
- Work gloves – To protect your hands while handling sharp parts or working in tight spaces.

Make sure you have the right tools and safety gear on hand (Source: AZParts)
5. How to Replace a Thermal Fuse on a Dryer
Now that you have the right tools and safety tips in mind, it’s time to get started. Follow these steps to safely replace the thermal fuse on your dryer:
Step 1: Unplug the Dryer or Shut Off Power
Unplug the dryer from the wall outlet to make sure there’s no electricity running to the machine.
Step 2: Remove the Back Panel
Pull the dryer away from the wall. Use a 1/4-inch nut driver to remove the screws holding the back panel in place. Then, carefully lift off the panel and set it aside.
Tip: While the back is open, take a moment to vacuum out any lint or dust inside the cabinet to keep your dryer clean and running smoothly.
Use a 1/4-inch nut driver to remove the screws (Source: AZParts)
Step 3: Locate and Remove the Blown Thermal Fuse
Gently disconnect the wires attached to the thermal fuse. Then, use a 1/4-inch nut driver to remove the screw holding the fuse in place. Once the screw is out, pull the fuse off the blower housing.
Step 4: Install the New Thermal Fuse
Place the new thermal fuse where the old one was and secure it with the screw. Then, reconnect the wires by pushing them onto the metal terminals at the top of the fuse.
Step 5: Reattach the Back Panel
Put the back panel back onto the dryer and line up the screw holes. Insert all the screws and tighten them securely.
Step 6: Plug in and Test the Dryer
Plug the dryer into the wall outlet to restore power.
Step 7: Clean the Dryer Exhaust Vent
To help prevent the new thermal fuse from blowing again, remove the flexible dryer vent hose from the back of the dryer and clean it out. Use a duct cleaning brush to clear lint from the vent going outside. Finally, finish up by vacuuming the area to remove any remaining dust.
Ways to Replace a Thermal Fuse on a Dryer (Source: AZParts)
6. How to Prevent the Thermal Fuse from Blowing Again
To keep your thermal fuse intact and your dryer parts safe, focus on maintaining good airflow and keeping the system clean:
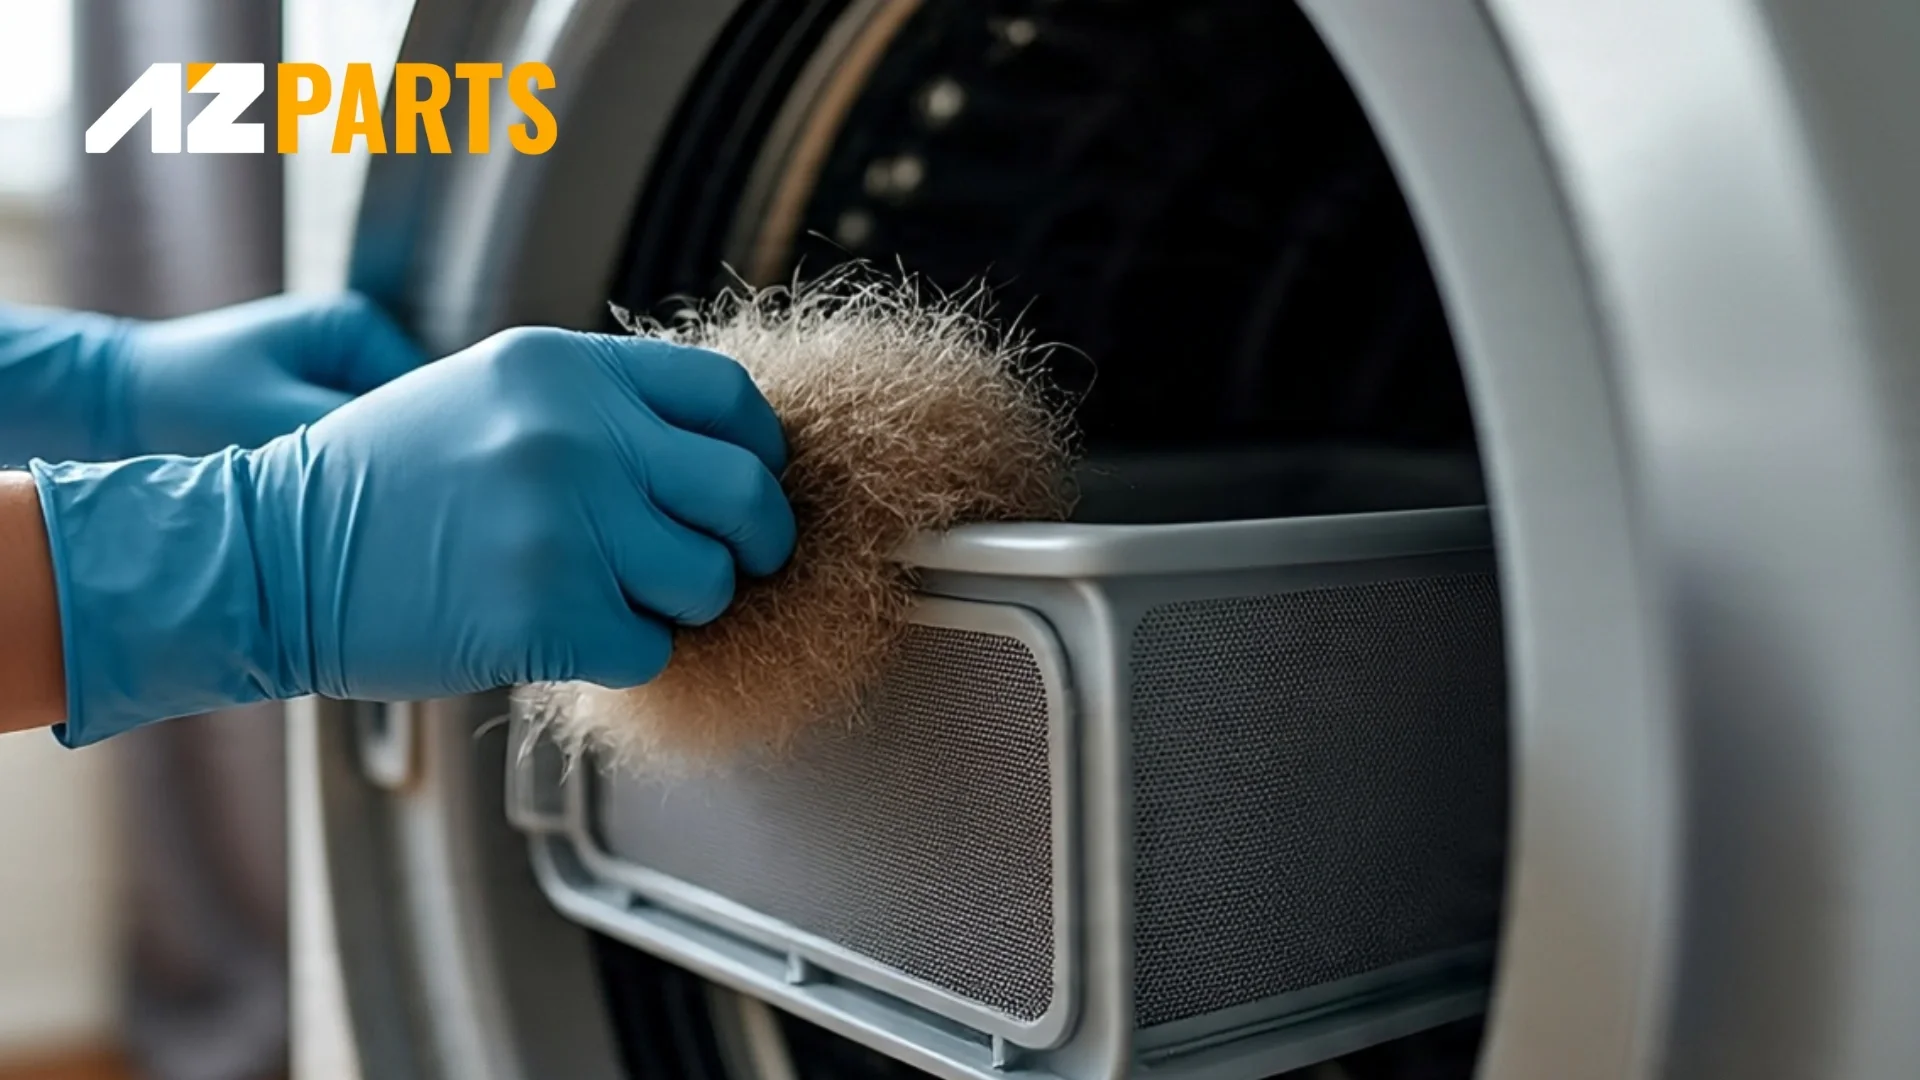
- Clean the exhaust vent regularly: Lint buildup in the vent is the #1 culprit behind thermal fuses blowing. Detach the vent hose yearly and vacuum it out with a vent brush to keep air flowing freely.
- Keep the lint trap clear: Empty the lint filter after every load to prevent lint from accumulating in the dryer’s internal system
- Inspect other components: If airflow is clear but the fuse still blows, check parts like the blower wheel, dryer heating element, and thermostats. A faulty cycling thermostat or clogged blower can cause overheating.
- Ensure proper installation: Use high-quality metal vent ducts and avoid sharp bends or kinks that could restrict airflow.

Focus on maintaining good airflow and keeping the system clean (Source: AZParts)
7. Frequently Asked Questions
7.1. Can I run my dryer without a thermal fuse?
No. The thermal fuse is a critical safety component that prevents fires by shutting off the heating element when temperatures get too high. Once the fuse has blown, the dryer won’t heat or may not start at all until it’s replaced.
7.2. How much does it cost to replace a thermal fuse?
Expect to pay between $75 and $150 for a technician to replace a thermal fuse, which includes both labor and parts. If you replace it yourself, the part itself typically costs just $5–$10, while OEM versions can be slightly more expensive.
7.3. Is a blown thermal fuse dangerous?
A blown thermal fuse acts like a safety valve—it’s meant to prevent the dryer from overheating and causing a fire. However, frequent fuse blowouts can signal bigger issues like restricted airflow or a malfunctioning thermostat, which are dangerous if left unresolved. So, while the fuse itself isn't harmful, the underlying cause could be.
Knowing how to replace a thermal fuse on a dryer can save you time, money, and the hassle of dealing with a faulty appliance. With the right tools, basic safety precautions, and a little patience, this DIY repair is well within reach for most homeowners. Just remember—replacing the fuse is only part of the solution. Preventing future overheating through regular maintenance is key to keeping your dryer running safely and efficiently.
Need a reliable thermal fuse or other dryer parts? Head over to AZParts, your trusted source for high-quality, compatible components and expert repair tips. Get what you need—fast, easy, and backed by support you can count on.
Learn more about how to fix other dryer's parts:
Contact Info
Address: 8 The Green, Ste A, Dover, Delaware 19901-3618, United States
Email: support@azparts.com
Dryer
Further Reading
Further Reading

Repair help
April 1, 2026
If your dryer has suddenly stopped working, won’t start, or fails to complete a cycle, the problem might be easier to fix than you think. In many cases, replacing a faulty component can get your dryer running again without the need for expensive repairs. In this guide, we’ll walk you through the 7 most common reasons your dryer isn’t working and what you can do to fix them. We’ll also point you to the specific dryer parts available at AZParts that can help you resolve each issue.

Repair help
December 28, 2025
When your dryer won’t spin, even the smallest load becomes a hassle. In this guide, AZParts walks you through the most common causes, from power and startup issues to mechanical breakdowns and motor failures. You’ll also find practical advice on handling safety and sensor dryer problems, along with a step-by-step diagnostic guide to help you identify the problem and get your dryer working again.

Repair help
November 28, 2025
Does your dryer smell like mildew every time you open the door? That musty odor is a common sign of moisture buildup and poor ventilation, often caused by clogged lint traps, dirty vents, or worn-out parts. While regular cleaning is essential, truly eliminating the dryer issue may require replacing faulty components such as lint screens, door seals, or vent hoses. In this article, AZParts explore the common causes behind why your dryer smells like mildew and provide practical tips to eliminate those unpleasant odors.

How-To Guides
November 20, 2025
Dryer running cold? The heating element is probably broken. Learn how to fix the heating element in the dryer yourself, it's easier than you think and saves repair costs. This comprehensive guide will walk you through identifying, removing, and installing a new heating element in your dryer, with expert tips from AZParts to ensure your clothes are drying efficiently again in no time.

Review
November 19, 2025
Choosing the right dryer vent hose is more important than you think. Each dryer vent hose type affects your dryer's efficiency and safety differently. In this article, AZParts will introduce the most common types of dryer vent hose, compare their pros and cons, and help you pick the best fit.