How-To Guides
How to Replace Washing Machine Door Seal (In 14 Steps)
AZparts Team
Updated on July 25, 2025
7 min read
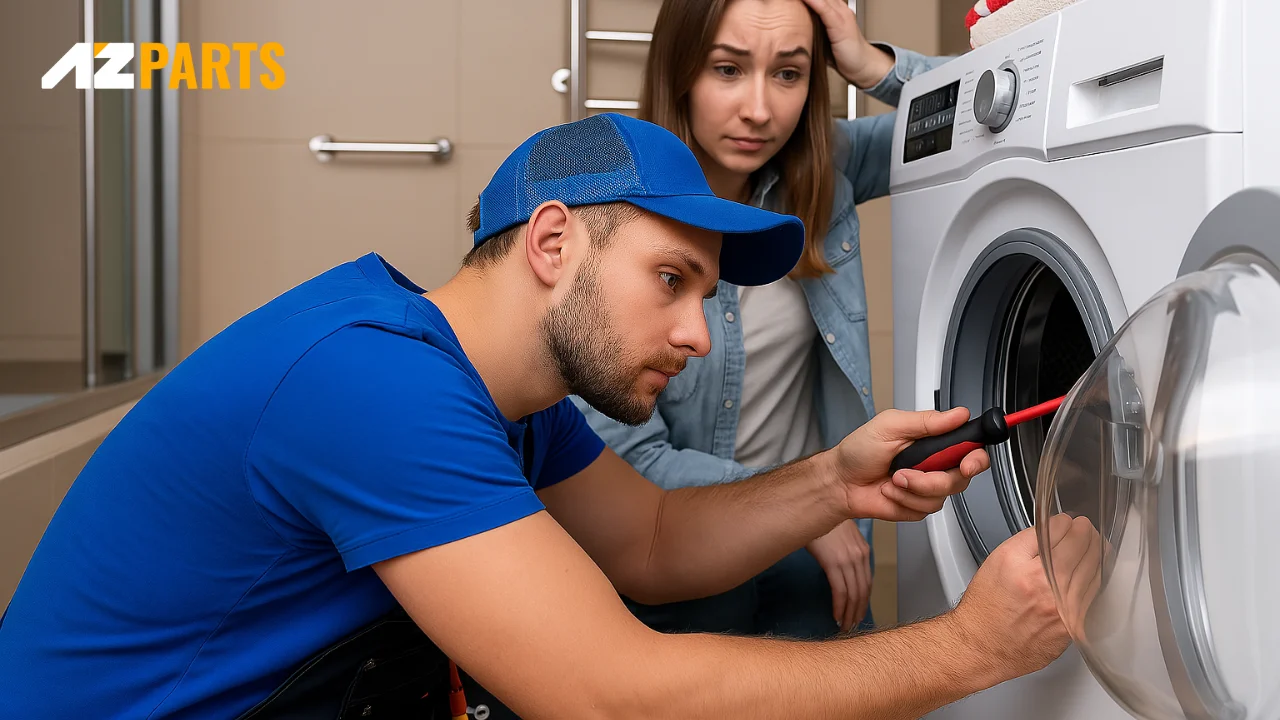
The washing machine door seal is an essential component that prevents water from leaking during the wash cycle. Over time, the seal can become torn, stretched, or develop mold, which can affect the machine’s performance. In this guide, AZParts will walk you through how to replace the washing machine door seal in just 14 simple, easy-to-follow steps you can do at home.

1. How to replace the rubber seal on a front-loading washer
Replacing the door seal on a front-loading washing machine is an important task that helps prevent water leaks and keeps the machine running efficiently. The process involves two main stages: removing the old seal and installing the new one. Below is a detailed step-by-step guide to help you safely and accurately perform this task at home.
1.1. Removing the Old Seal
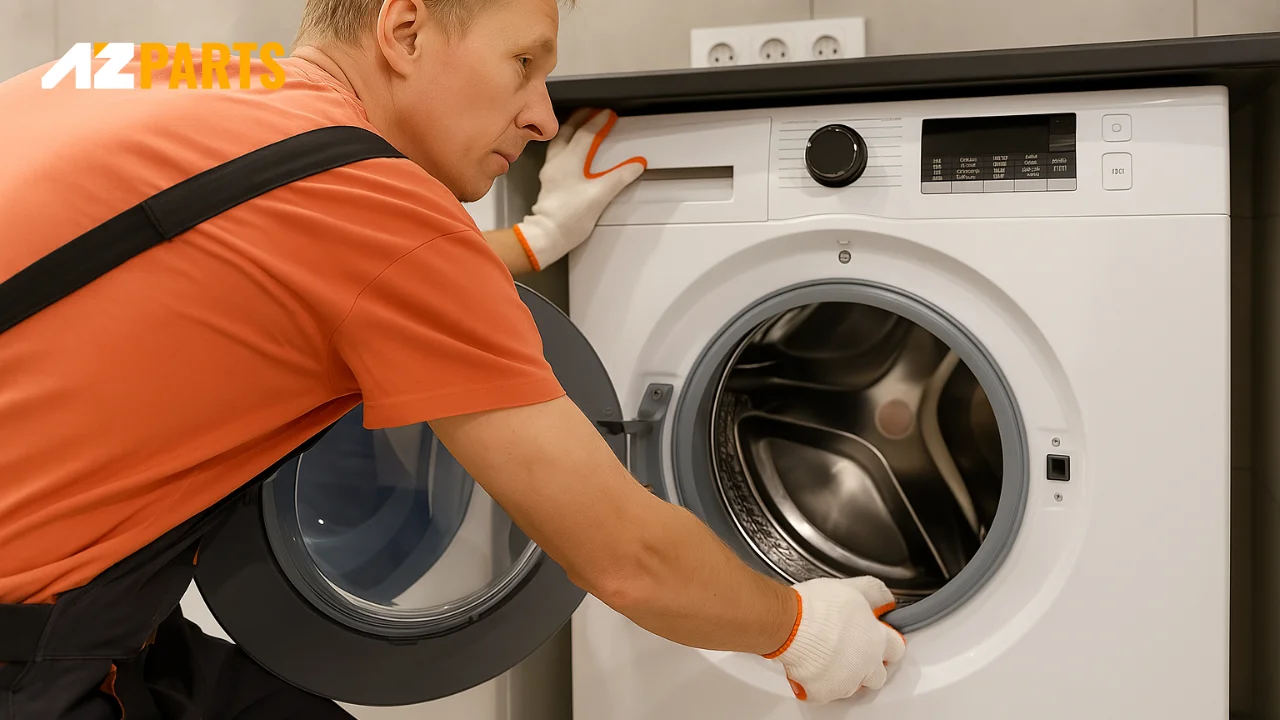
1.1.1. Unplug the washer
Before starting any repair work, make sure the machine is completely disconnected from the power source. Unplugging the washer ensures your safety throughout the process and helps prevent electric shock or damage to internal components.
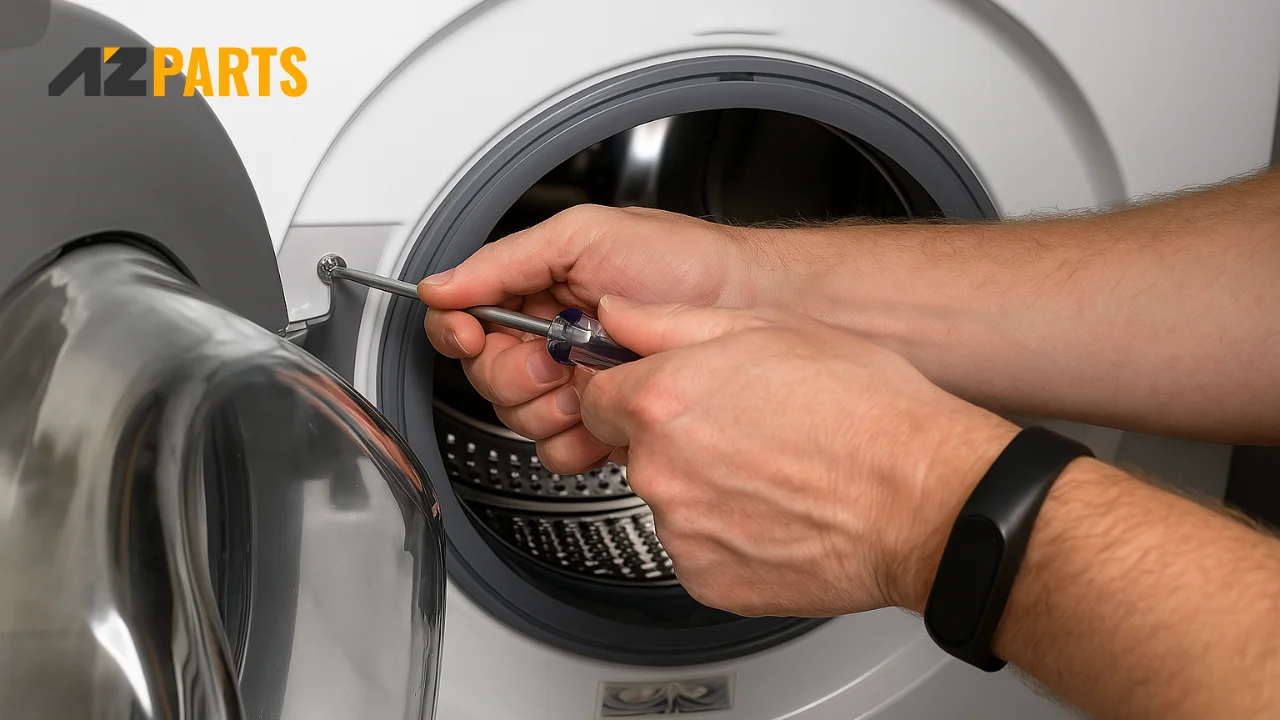
1.1.2. Remove screws of the front panel
Use a screwdriver to remove the screws securing the control panel and front cover of the machine. Depending on your model, you may need to take off the top cover, detergent drawer, or electronic control panel first to access the screws. Removing the front panel makes it easier to work on replacing the door seal.
Use a screwdriver to remove the screws securing the control panel and front cover (Source: AZParts)
1.1.3. Unremovable front panel washer
Some washing machines have a single-piece front design that’s not easily detachable. In this case, you can still replace the seal by carefully working through the door opening. However, this requires more patience and precision, especially when handling the retaining bands.
1.1.4. Pull off the outer retaining band
The door seal is secured by a metal or wire retaining band around the outer edge. Use a flathead screwdriver or your fingers to gently pry the band out of its groove. Be cautious, as the band may snap out unexpectedly. Once removed, the seal will loosen and become easier to handle.
Pull off the outer retaining band (Source: AZParts)
1.1.5. Fold the door seal into the washing machine
After removing the outer band, gently fold the seal inward into the drum. This gives you access to the inner edge of the seal, which is held in place by a second retaining band or spring.
1.1.6. Remove the retaining spring or band
Inside the seal, there is another spring or band that secures it tightly to the drum edge. Locate the connector or clamp point and gently loosen it using a flat tool or pliers. This part may be a bit tricky, especially if the spring is tight or rusted, so work carefully to avoid damaging the drum.
1.1.7. Find the position of your old drain holes
Before removing the seal completely, take note of or mark the position of any drain holes (if present) on the old seal. These holes are designed to allow condensation or leak water to drain to the bottom of the machine. Remembering this position will help you install the new seal correctly.
1.1.8. Remove the seal
Once both retaining bands are removed, you can gently pull the old seal away from the drum edge. If it’s stuck or difficult to remove, apply a bit of pressure, but avoid yanking it too hard to prevent damaging the machine body or tearing the seal in case you need to inspect it later. After removal, carefully inspect the drum and frame area to ensure there’s no dirt, debris, or rust before installing the new seal.
1.2. Installing the New Seal
1.2.1. Clean the drum
After removing the old seal, take this opportunity to thoroughly clean the area where the new seal will be placed, especially around the drum edge. Use a soft cloth and a mild cleaning solution to remove detergent residue, mold, or dirt buildup. This will help the new seal adhere firmly and last longer.
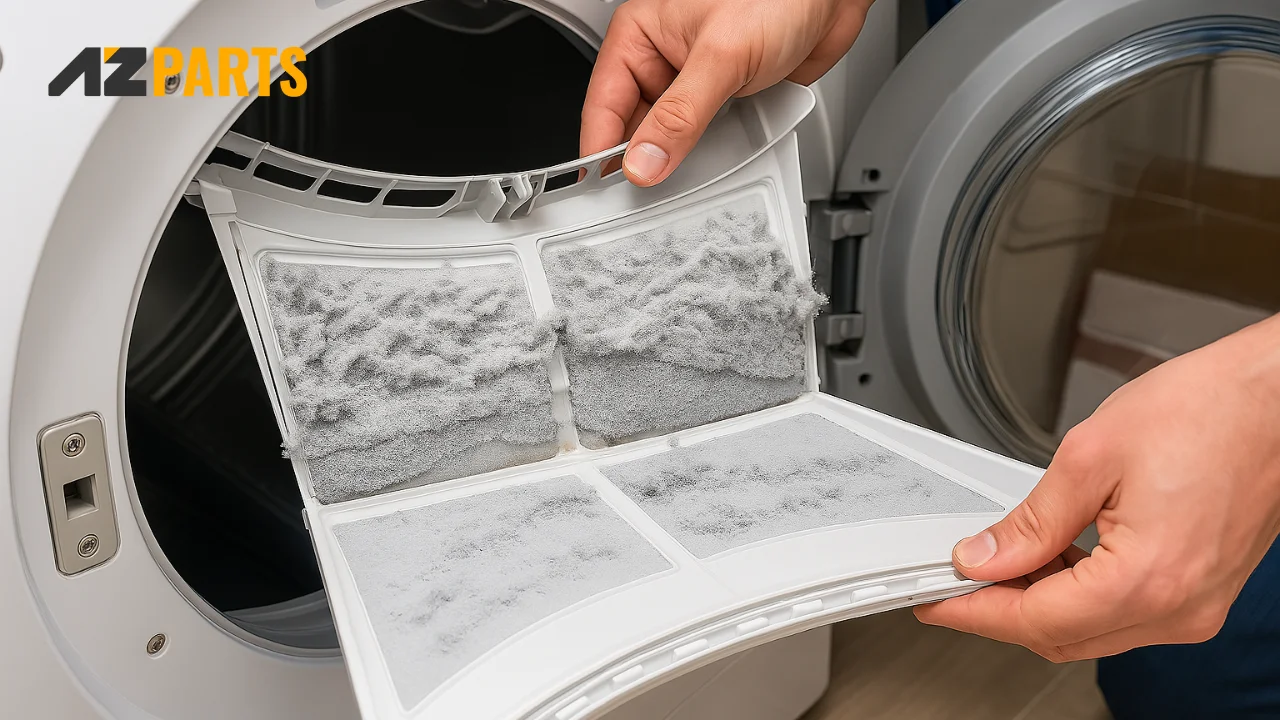
Clean the drum will help the new seal adhere firmly and last longer (Source: AZParts)
1.2.2. Lubricate the seal
To make installation easier, apply a light layer of lubricant such as diluted dish soap or silicone grease to the inner edge of the seal. Do not use motor oil or other unsuitable substances as they may damage the rubber material. Lubricating the seal allows it to slide and adjust more easily into the correct position.
1.2.3. Install the new door seal over the drum
Begin by fitting the inner edge of the new seal onto the drum rim. Make sure that any drain holes on the seal are aligned with the position of the old ones you noted earlier. Press around the edge gently and evenly to ensure the seal fits snugly and is not twisted or misaligned.
To ensure long term performance and durability, it is recommended to use high quality or genuine replacement parts. You can explore a range of compatible washer seals at AZParts which offers official components for many popular washer models.
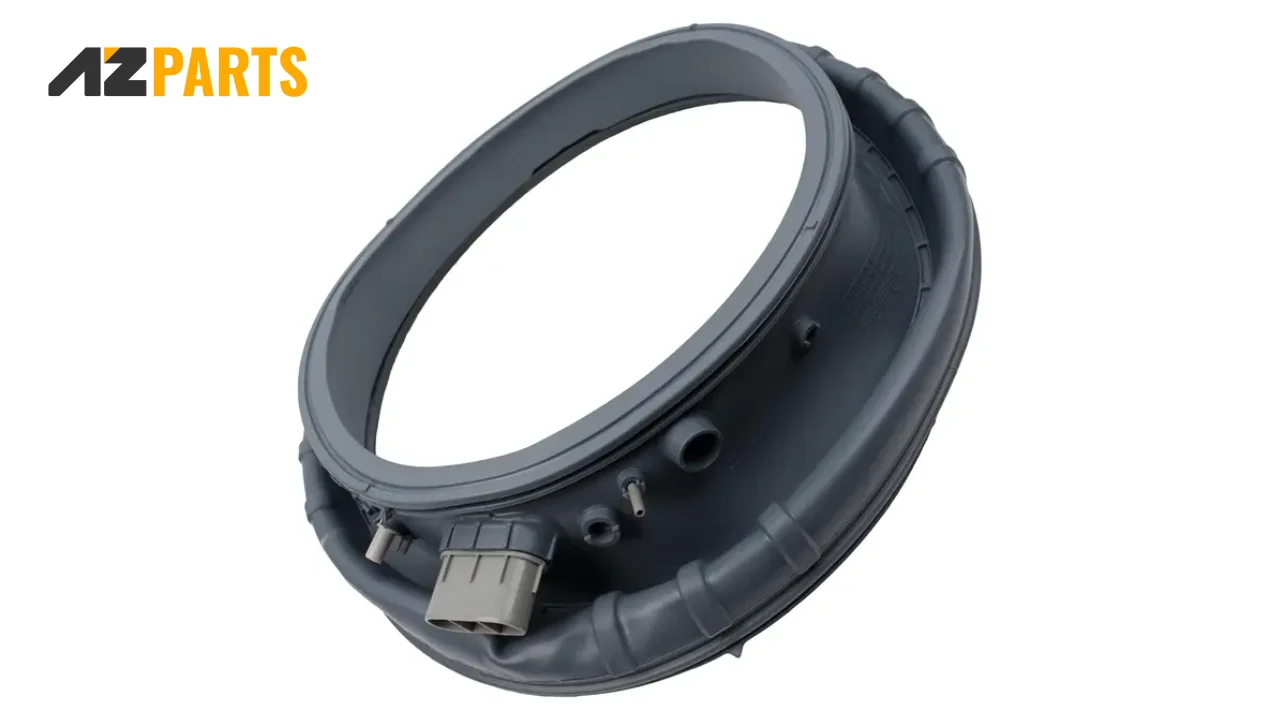
High quality washing machine seals (Source: AZParts)
1.2.4. Fit the inner spring/band
Once the seal is fitted securely, install the inner spring or band to hold it in place. Wrap it evenly around the full circumference of the seal and tighten it carefully so that it sits firmly in the groove without slipping. Make sure it is locked in position before continuing.
1.2.5. Fit the outer rim
Pull the outer edge of the seal over the front frame of the washer. Then place the outer band into its original position around the seal. Use your hands or a tool to press it into the groove securely and check all the way around to confirm it is seated correctly.
Pull the outer edge of the seal over the front frame of the washer (Source: AZParts)
1.2.6. Reattach all other parts
Reattach any parts you removed earlier such as the control panel, front panel, detergent drawer, or top cover if applicable. Tighten all screws back into their correct places. Once everything is reassembled, plug the machine back in and run a rinse cycle to test for leaks and ensure the new seal is working properly.
2. FAQs about replace washing machine door seal
2.1. Can you use a washing machine with a broken seal?
You should not use the washing machine if the door seal is torn or loose. Water may leak out, causing damage to internal parts and posing a risk of electrical short circuits. It is best to replace the seal as soon as possible.
2.2. How do you get mold off the rubber seal on a front-load washer?
Use diluted white vinegar or a specialized cleaning product to clean the moldy areas. Scrub gently with a soft brush to reach folds and crevices. Make sure to dry the seal thoroughly after cleaning.
2.3. How to maintain a front-load washing machine?
Clean the door seal and drum regularly every one to two weeks. Leave the door slightly open after each wash to prevent moisture buildup. Run a hot water cycle without laundry once a month to remove odors and residue.
Replacing a washing machine door seal is not too complicated if you follow each step carefully. A properly installed seal helps the machine run smoothly, prevents leaks, and reduces mold buildup. To ensure quality and long-lasting performance, it is recommended to use genuine washing machine parts from AZParts, which offers a wide range of compatible seals and replacement components for many popular washer models. Regular cleaning and inspection will also help keep your machine running efficiently for years to come.
Learn more about how to fix other parts of washing machine:
- How to fix a washer agitator
- How to replace a drive belt on a washing machine
- How do i fix a leaking washing machine
Contact Info
Address: 8 The Green, Ste A, Dover, Delaware 19901-3618, United States
Email: support@azparts.com
Washer
Further Reading
Further Reading

Repair help
July 17, 2025
A washer that makes loud noise can be both annoying and concerning. Whether it's grinding, banging, or rattling sounds, these noises often signal underlying issues that need immediate attention. Understanding different noise types helps you address problems quickly and avoid costly repairs. At AZParts, we provide quality replacement parts and expert guidance to resolve your washing machine noise issues effectively.

Repair help
July 11, 2025
When your washer lid won't lock, this problem prevents your appliance from starting its cycle, leaving you with wet clothes and a non-functional machine. Understanding the root causes and knowing how to troubleshoot effectively can save you time, money, and unnecessary stress. This guide from AZParts will walk you through the most common causes of lid locking problems and provide step-by-step solutions to get your washing machine back to working order.

How-To Guides
July 11, 2025
A washer that won’t spin is a fairly common issue, often causing inconvenience in daily life when clothes remain soaking wet after a wash cycle. This problem can stem from various causes, from user errors such as overloading or unbalanced laundry, to internal component failures like a faulty lid switch, broken drive belt, or clogged drain pump filter. In this article, AZParts will help you identify the exact cause and guide you through effective solutions so you can get your washer back up and running without needing to call a technician right away.

Repair help
June 24, 2025
Kenmore washers are built to last and widely trusted for their reliability and efficiency. However, like any appliance used frequently, they can develop issues over time. From a washer that refuses to start to one that leaks or makes unusual noises, understanding the root causes is essential to fixing the problem quickly and effectively.
This guide offers a detailed look at Kenmore washers troubleshooting, covering the five most common issues, likely causes, and step-by-step instructions on how to diagnose and repair them. Whether you’re a DIY enthusiast or simply want to understand what’s wrong before calling a technician, this resource will help you get your Kenmore washer back in working order.
_1748341252.jpg&w=3840&q=75 "Where to Find the Model and Serial Number on a Washer")
How-To Guides
May 27, 2025
Whether you need to schedule a repair, register your appliance, or order a replacement part, knowing where to find the serial number for washing machine models is essential. This unique identifier helps technicians match the right components and ensures your warranty is valid. However, each brand places its label in different locations, which can make the search confusing. In this article, AZParts will show you exactly where to find the model and serial number on washers from leading brands so you can take the next step with confidence.