Review
Types of Dryer Plugs: What Need to Know (3-Prong vs. 4-Prong)
AZparts Team
Updated on July 18, 2025
8 min read
When installing or replacing a clothes dryer, one of the most important details to understand is the type of power plug it uses. There are two main types of plugs for dryers: the older 3-prong and the newer, safer 4-prong configuration. Knowing the difference is essential not only for compatibility with your home’s outlet but also for ensuring safety and compliance with electrical codes. Join AZParts in exploring the differences between these plug types and what you need to know before making any changes.

1. 3-Prong vs. 4-Prong Dryer Plugs: What’s the Difference?
If you're installing a new dryer or moving into an older home, you may notice that not all dryer outlets are the same. Some use a 3-prong plug, while others require a 4-prong plug. Understanding the difference between the two is essential for safe operation and compliance with electrical codes.
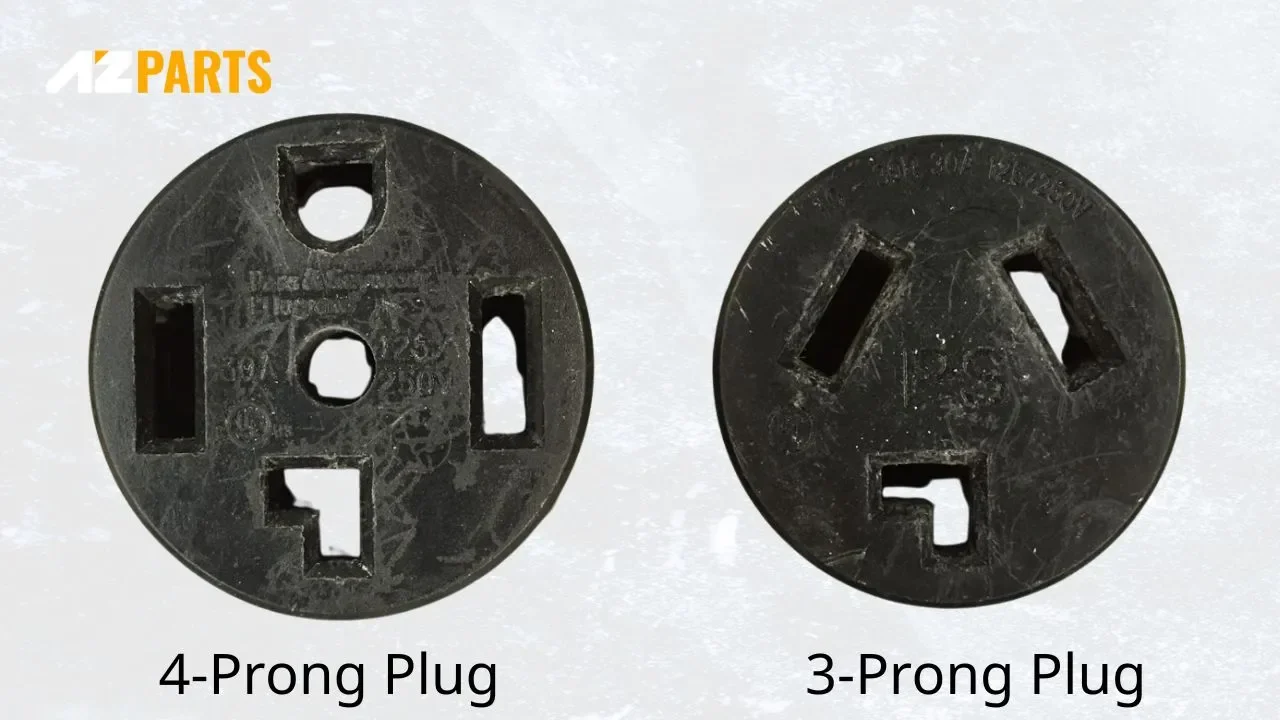
Understanding the difference between 3-Prong vs. 4-Prong Plug is essential for safe operation (Source: AZParts)
Both plugs are designed to power electric dryers, but they differ in grounding and safety features. The main difference lies in how they handle the neutral and ground wires, which impacts the safety and code requirements of your installation.
Feature | 3-Prong Plug | 4-Prong Plug |
Number of Wires | The plug has two hot wires and one neutral wire. | The plug has two hot wires, one neutral, and one ground wire. |
Grounding | The neutral wire also serves as the ground. | The ground wire is separate from the neutral, improving safety. |
Safety Standard | This type meets older electrical code requirements. | This type complies with modern (post-1996) NEC codes. |
Typical Usage | It is common in homes built before 1996. | It is standard in newer homes or when updating wiring. |
Installation Risk | Shared neutral-ground path increases shock risk. | Separate ground paths reduce electrical hazards. |
Code Compliance | It is no longer compliant for new installations. | It is required for all new electric dryer installations. |
2. 240V vs. 120V Dryer Outlets: What’s the Voltage?
Understanding the voltage requirements for your dryer is essential for both performance and safety. Dryers are available in both 120V and 240V models, but they are not interchangeable. The outlet type determines how much power the appliance receives and, consequently, how well it performs.
240V Dryer Outlets
A 240V dryer outlet is the most common type for standard electric dryers in the United States. These outlets deliver more power, allowing the dryer to generate sufficient heat and dry clothes efficiently. Most 240V outlets use either a 3-prong or 4-prong configuration, depending on the age of the wiring.
You should use a 240V outlet for full-size electric dryers that require high heat output. Attempting to connect such a dryer to a 120V outlet will prevent it from heating properly.
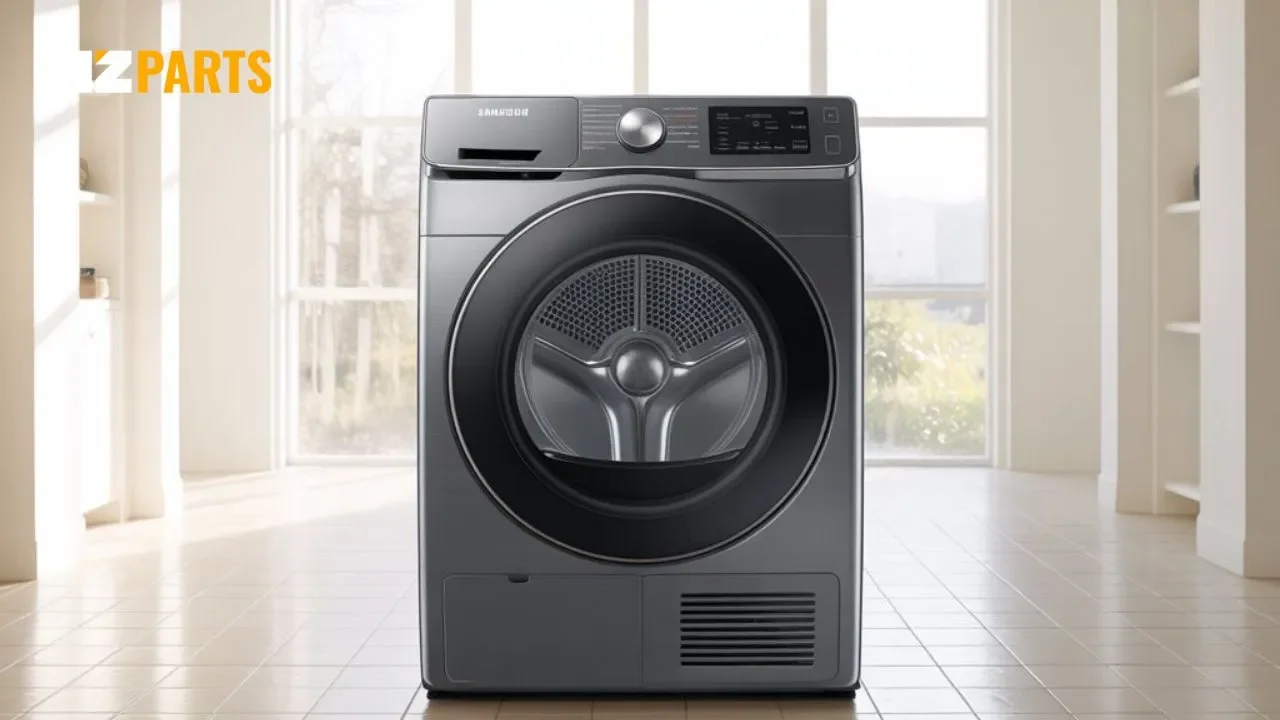
A 240V dryer outlet is the most common type for standard electric dryers (Source: AZParts)
120V Dryer Outlets
A 120V dryer outlet is usually found in homes that use compact or ventless dryers, especially in small apartments or condos. These dryers are often energy-efficient but may take significantly longer to dry clothes due to lower heat output.
You should only use a 120V outlet if your dryer is specifically designed for it. Connecting a 240V dryer to a 120V outlet is unsafe and can damage the appliance.
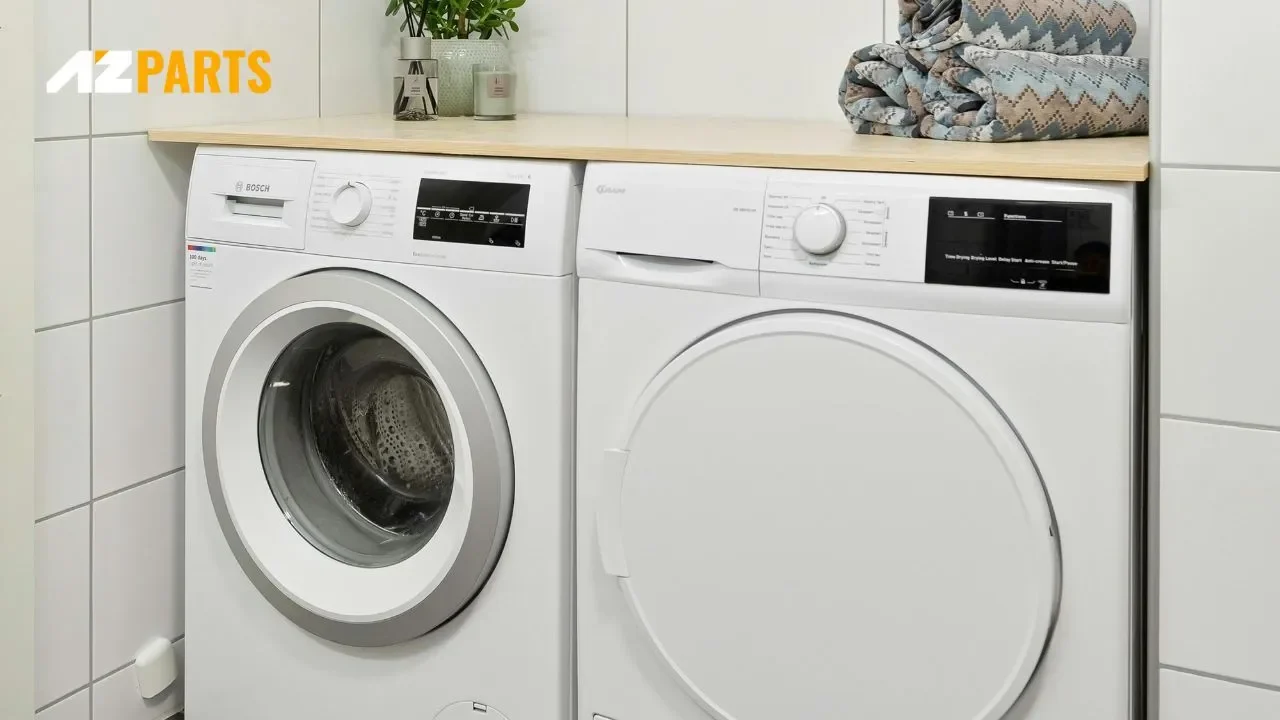
A 120V dryer outlet is usually found in homes that use compact or ventless dryers (Source: AZParts)
3. How to Replace or Install a Dryer Power Cord (4-Prong Example)
If your home was built or remodeled after 1996, you are required to use a 4-prong power cord for your electric dryer. Installing a new 4-prong cord or replacing a 3-prong one can be done in about an hour with the right tools and basic electrical knowledge. Always refer to your dryer’s manual for specific instructions, and if you are unsure about handling electrical work, consult a licensed electrician.
Tools and Supplies You Will Need
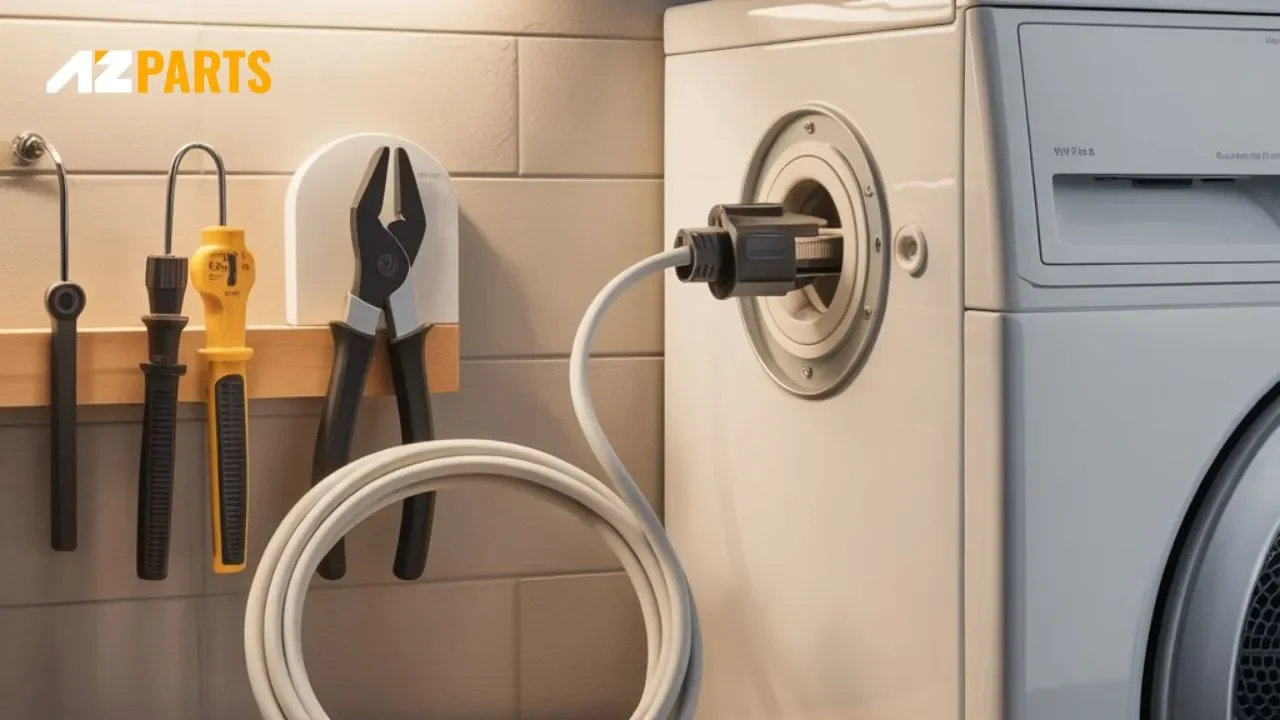
To replace or install a 4-prong dryer power cord, you will need a few essential tools and supplies as below:
- Screwdriver
- Socket wrench
- Pliers
- 30-amp, 4-prong dryer power cord
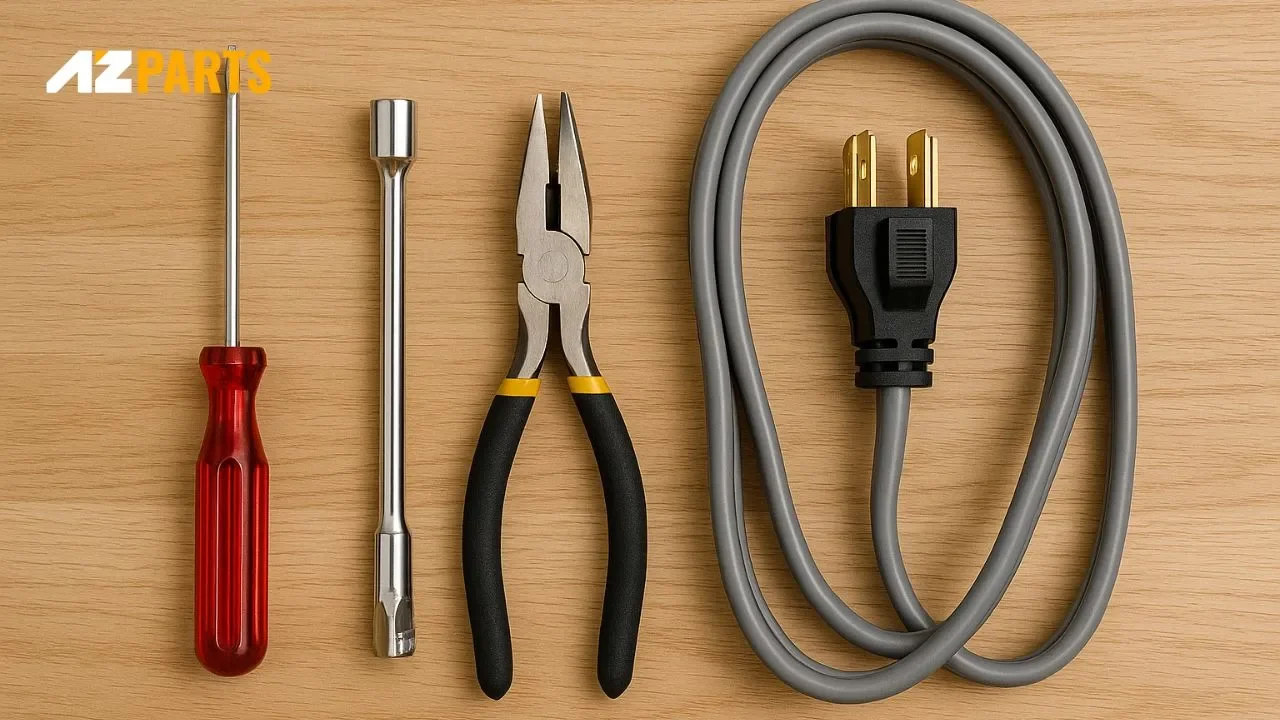
Tools you will need: Screwdriver, Socket wrench, Pliers, 30-amp, 4-prong dryer power cord (Source: AZParts)
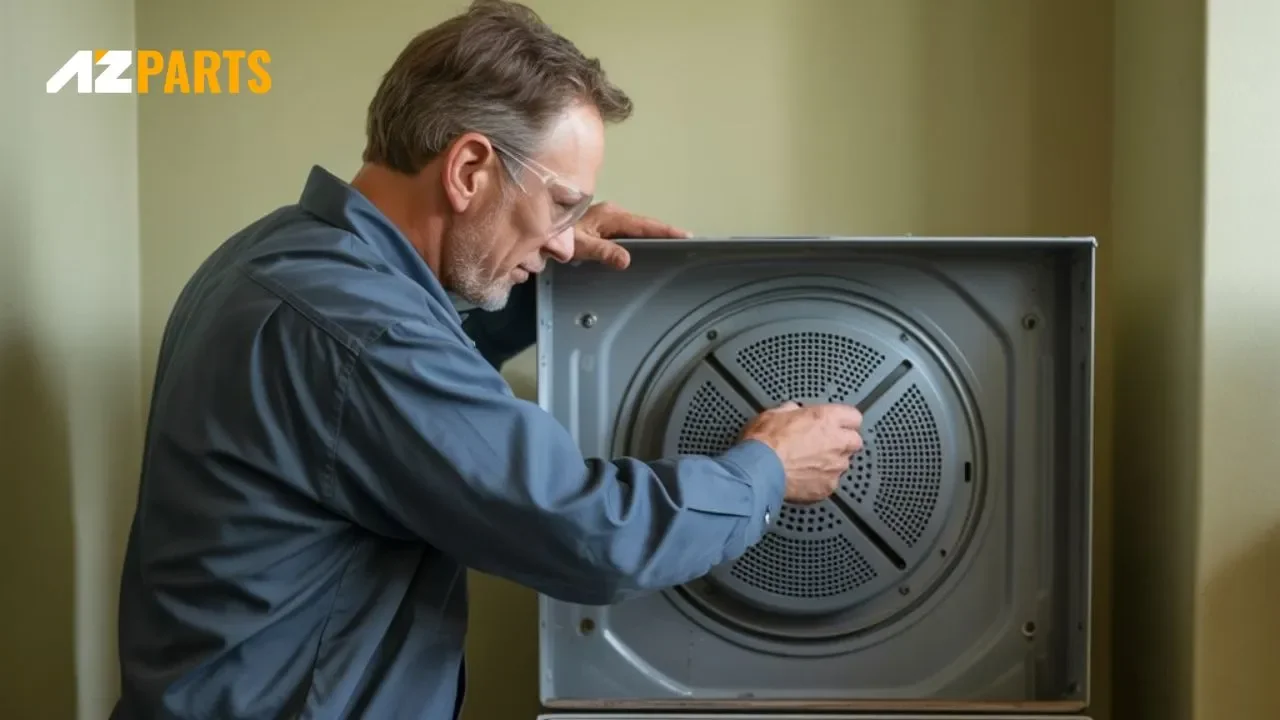
Remove the Cover Plate
First, you need to unplug the dryer from the electrical outlet. Then, use a screwdriver to remove the metal cover plate on the back of the dryer. This plate typically covers the wiring terminal where the cord connects. Using a magnetic screwdriver can help you avoid dropping the screws behind the appliance.

The first is unplugging the dryer from the electrical outlet (Source: AZParts)
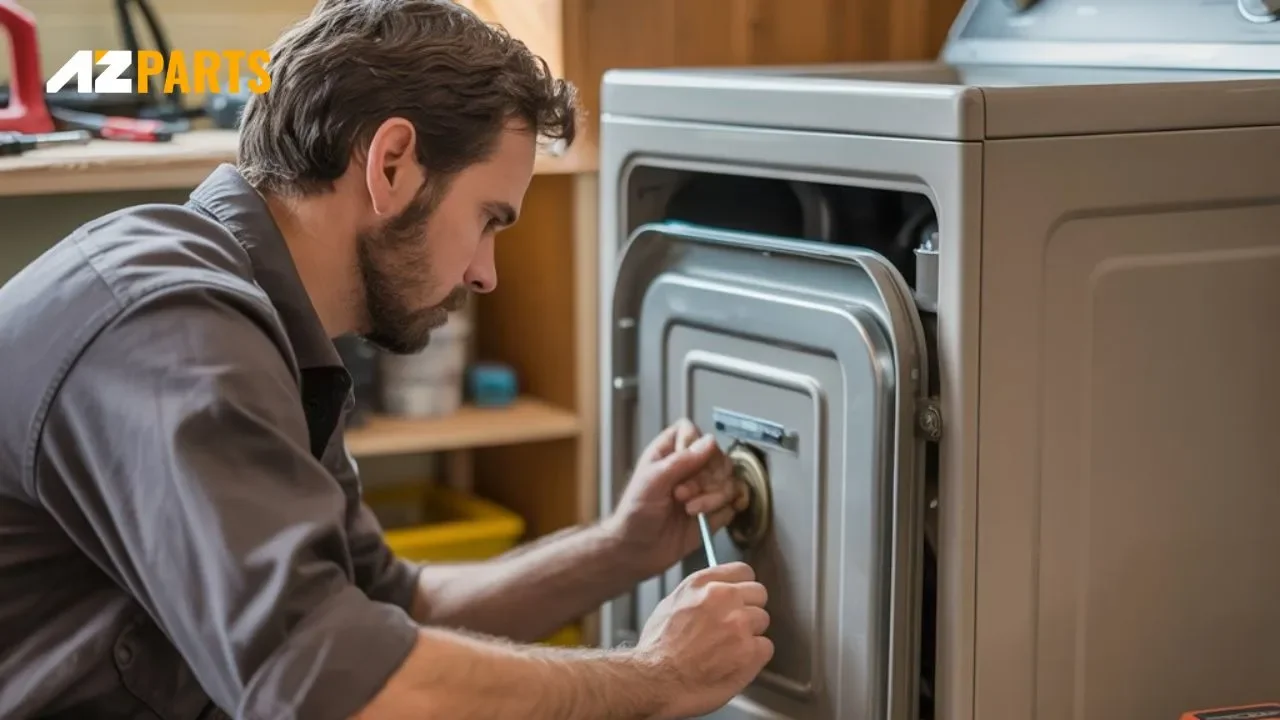
Loosen the Strain Relief Screws
Next, you need to locate the strain relief clamp that secures the old power cord to the dryer. You have to loosen the screws of the clamp and gently remove the old power cord from the dryer housing.
Next, you need to locate the strain relief clamp (Source: AZParts)
Disconnect the Wires
To begin, you should unscrew each wire from the terminal block carefully. After removing the screws, pull the old power cord out of the strain relief fitting. Make sure you also disconnect the neutral wire from the ground screw if it is attached. The neutral wire is usually white and is commonly connected to the center terminal.
Be sure to also disconnect the neutral wire from the ground screw if it is attached (Source: AZParts)
Connect the New 4-Prong Power Cord
You should insert the new 4-prong power cord through the opening of the strain relief fitting. Next, connect the green wire to the grounding screw and tighten it securely. Then, attach the white neutral wire to the center terminal on the terminal block. After that, connect the black wire to one outer terminal and the red wire to the other outer terminal. Ensure that all terminal screws are tightened firmly. Finally, tighten the strain relief clamp so the power cord is held securely in place without being pinched.

Ensure that all terminal screws are tightened firmly (Source: AZParts)
Reattach the Cover Plate and Plug It In
You should place the metal cover plate back over the wiring area to protect the electrical connections. Then, you secure the cover plate in place by tightening the screws. Once all the wires are properly connected and the cover is closed, you can plug the dryer into the 4-prong outlet.
You have to secure the cover plate in place by tightening the screws (Source: AZParts)
4. Can You Use a Dryer Plug Adapter?
It is not recommended to use a dryer plug adapter, especially when connecting a 3-prong dryer cord to a 4-prong outlet. While it may seem like a convenient solution, it does not meet modern electrical safety standards and can pose serious risks such as electrical shock or fire.
To stay compliant with current regulations and ensure safe operation, you should upgrade the dryer cord to a proper 4-wire connection. Always refer to your dryer’s owner’s manual for detailed instructions on making the switch. If you are unsure about modifying the circuit or performing the installation, it is best to consult a licensed electrician for professional assistance.
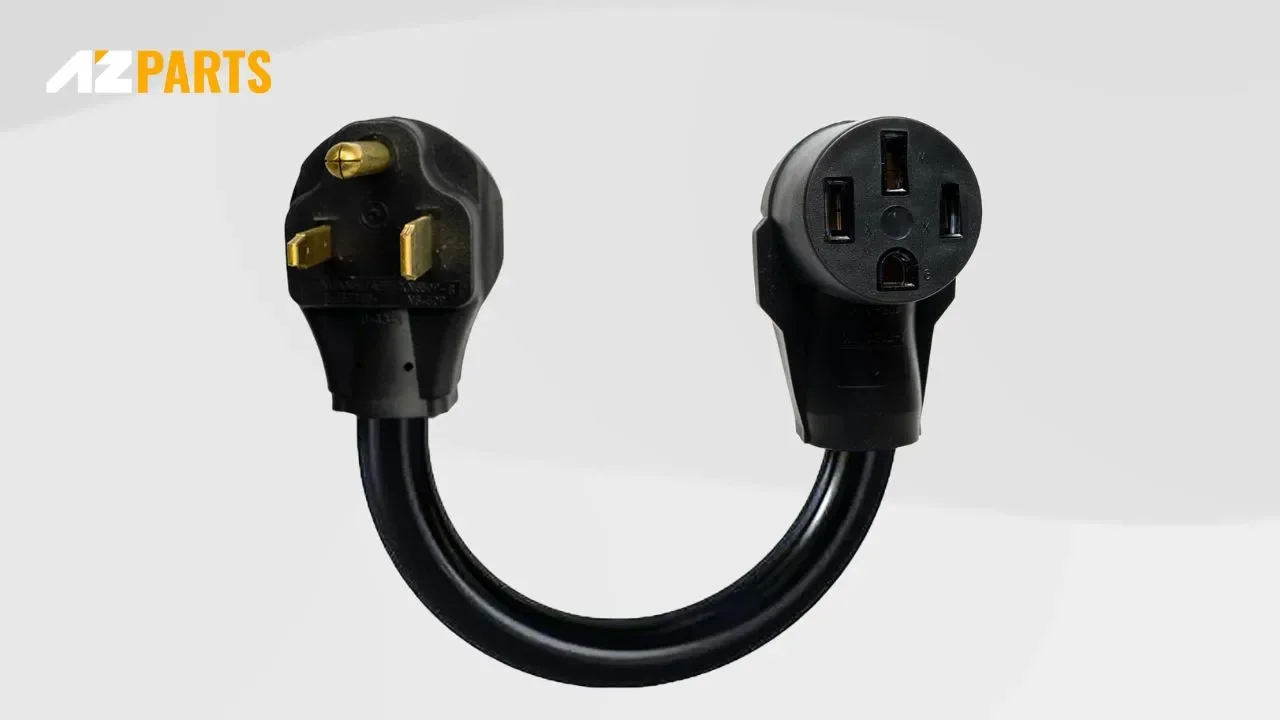
A dryer plug adapter does not meet electrical safety standards and can pose serious risks (Source: AZParts)
5. FAQs About Dryer Plug Types
Can I change a 3-prong dryer to a 4-prong plug?
Yes, you can change a 3-prong dryer cord to a 4-prong cord if your home has a newer 4-prong outlet. This involves disconnecting the old cord and installing a new one that includes a separate ground wire. Always follow your dryer’s manual, and if you are unfamiliar with electrical work, it is best to contact a qualified electrician.
Do I need an electrician to change a dryer plug?
While changing a dryer plug can be a DIY task for someone with basic knowledge of electrical wiring, it is recommended to hire a licensed electrician if you are unsure. Improper installation can lead to safety hazards such as shocks, short circuits, or fire. A professional ensures the job is done correctly and up to code.
Why did they change from 3-prong to 4-prong?
The switch from 3-prong to 4-prong dryer plugs was made to improve electrical safety. Older 3-prong plugs combined the ground and neutral wires, which could lead to shock hazards. The 4-prong design separates the ground wire from the neutral, reducing the risk of electrical shock and better aligning with modern electrical code requirements.
Understanding the different types of plugs for dryers can help you install your appliance correctly and avoid potential safety hazards. Whether you’re upgrading from a 3-prong to a 4-prong plug or simply replacing an old cord, make sure to follow proper guidelines or consult a professional. For high-quality dryer replacement parts, shop with confidence at AZParts, your trusted source for appliance solutions.
Contact Information:
8 The Green, Ste A, Dover, Delaware 19901-3618, United States
Learn more about dryer safety and proper installation standards here:
Dryer
Washer
Further Reading
Further Reading

Repair help
December 28, 2025
When your dryer won’t spin, even the smallest load becomes a hassle. In this guide, AZParts walks you through the most common causes, from power and startup issues to mechanical breakdowns and motor failures. You’ll also find practical advice on handling safety and sensor dryer problems, along with a step-by-step diagnostic guide to help you identify the problem and get your dryer working again.

How-To Guides
November 20, 2025
Dryer running cold? The heating element is probably broken. Learn how to fix the heating element in the dryer yourself, it's easier than you think and saves repair costs. This comprehensive guide will walk you through identifying, removing, and installing a new heating element in your dryer, with expert tips from AZParts to ensure your clothes are drying efficiently again in no time.

Repair help
July 17, 2025
A washer that makes loud noise can be both annoying and concerning. Whether it's grinding, banging, or rattling sounds, these noises often signal underlying issues that need immediate attention. Understanding different noise types helps you address problems quickly and avoid costly repairs. At AZParts, we provide quality replacement parts and expert guidance to resolve your washing machine noise issues effectively.

Repair help
July 11, 2025
When your washer lid won't lock, this problem prevents your appliance from starting its cycle, leaving you with wet clothes and a non-functional machine. Understanding the root causes and knowing how to troubleshoot effectively can save you time, money, and unnecessary stress. This guide from AZParts will walk you through the most common causes of lid locking problems and provide step-by-step solutions to get your washing machine back to working order.

Repair help
June 24, 2025
Kenmore washers are built to last and widely trusted for their reliability and efficiency. However, like any appliance used frequently, they can develop issues over time. From a washer that refuses to start to one that leaks or makes unusual noises, understanding the root causes is essential to fixing the problem quickly and effectively.
This guide offers a detailed look at Kenmore washers troubleshooting, covering the five most common issues, likely causes, and step-by-step instructions on how to diagnose and repair them. Whether you’re a DIY enthusiast or simply want to understand what’s wrong before calling a technician, this resource will help you get your Kenmore washer back in working order.